Transcripts
1. Intro: Hi, I'm Anna and welcome to this cozy winter
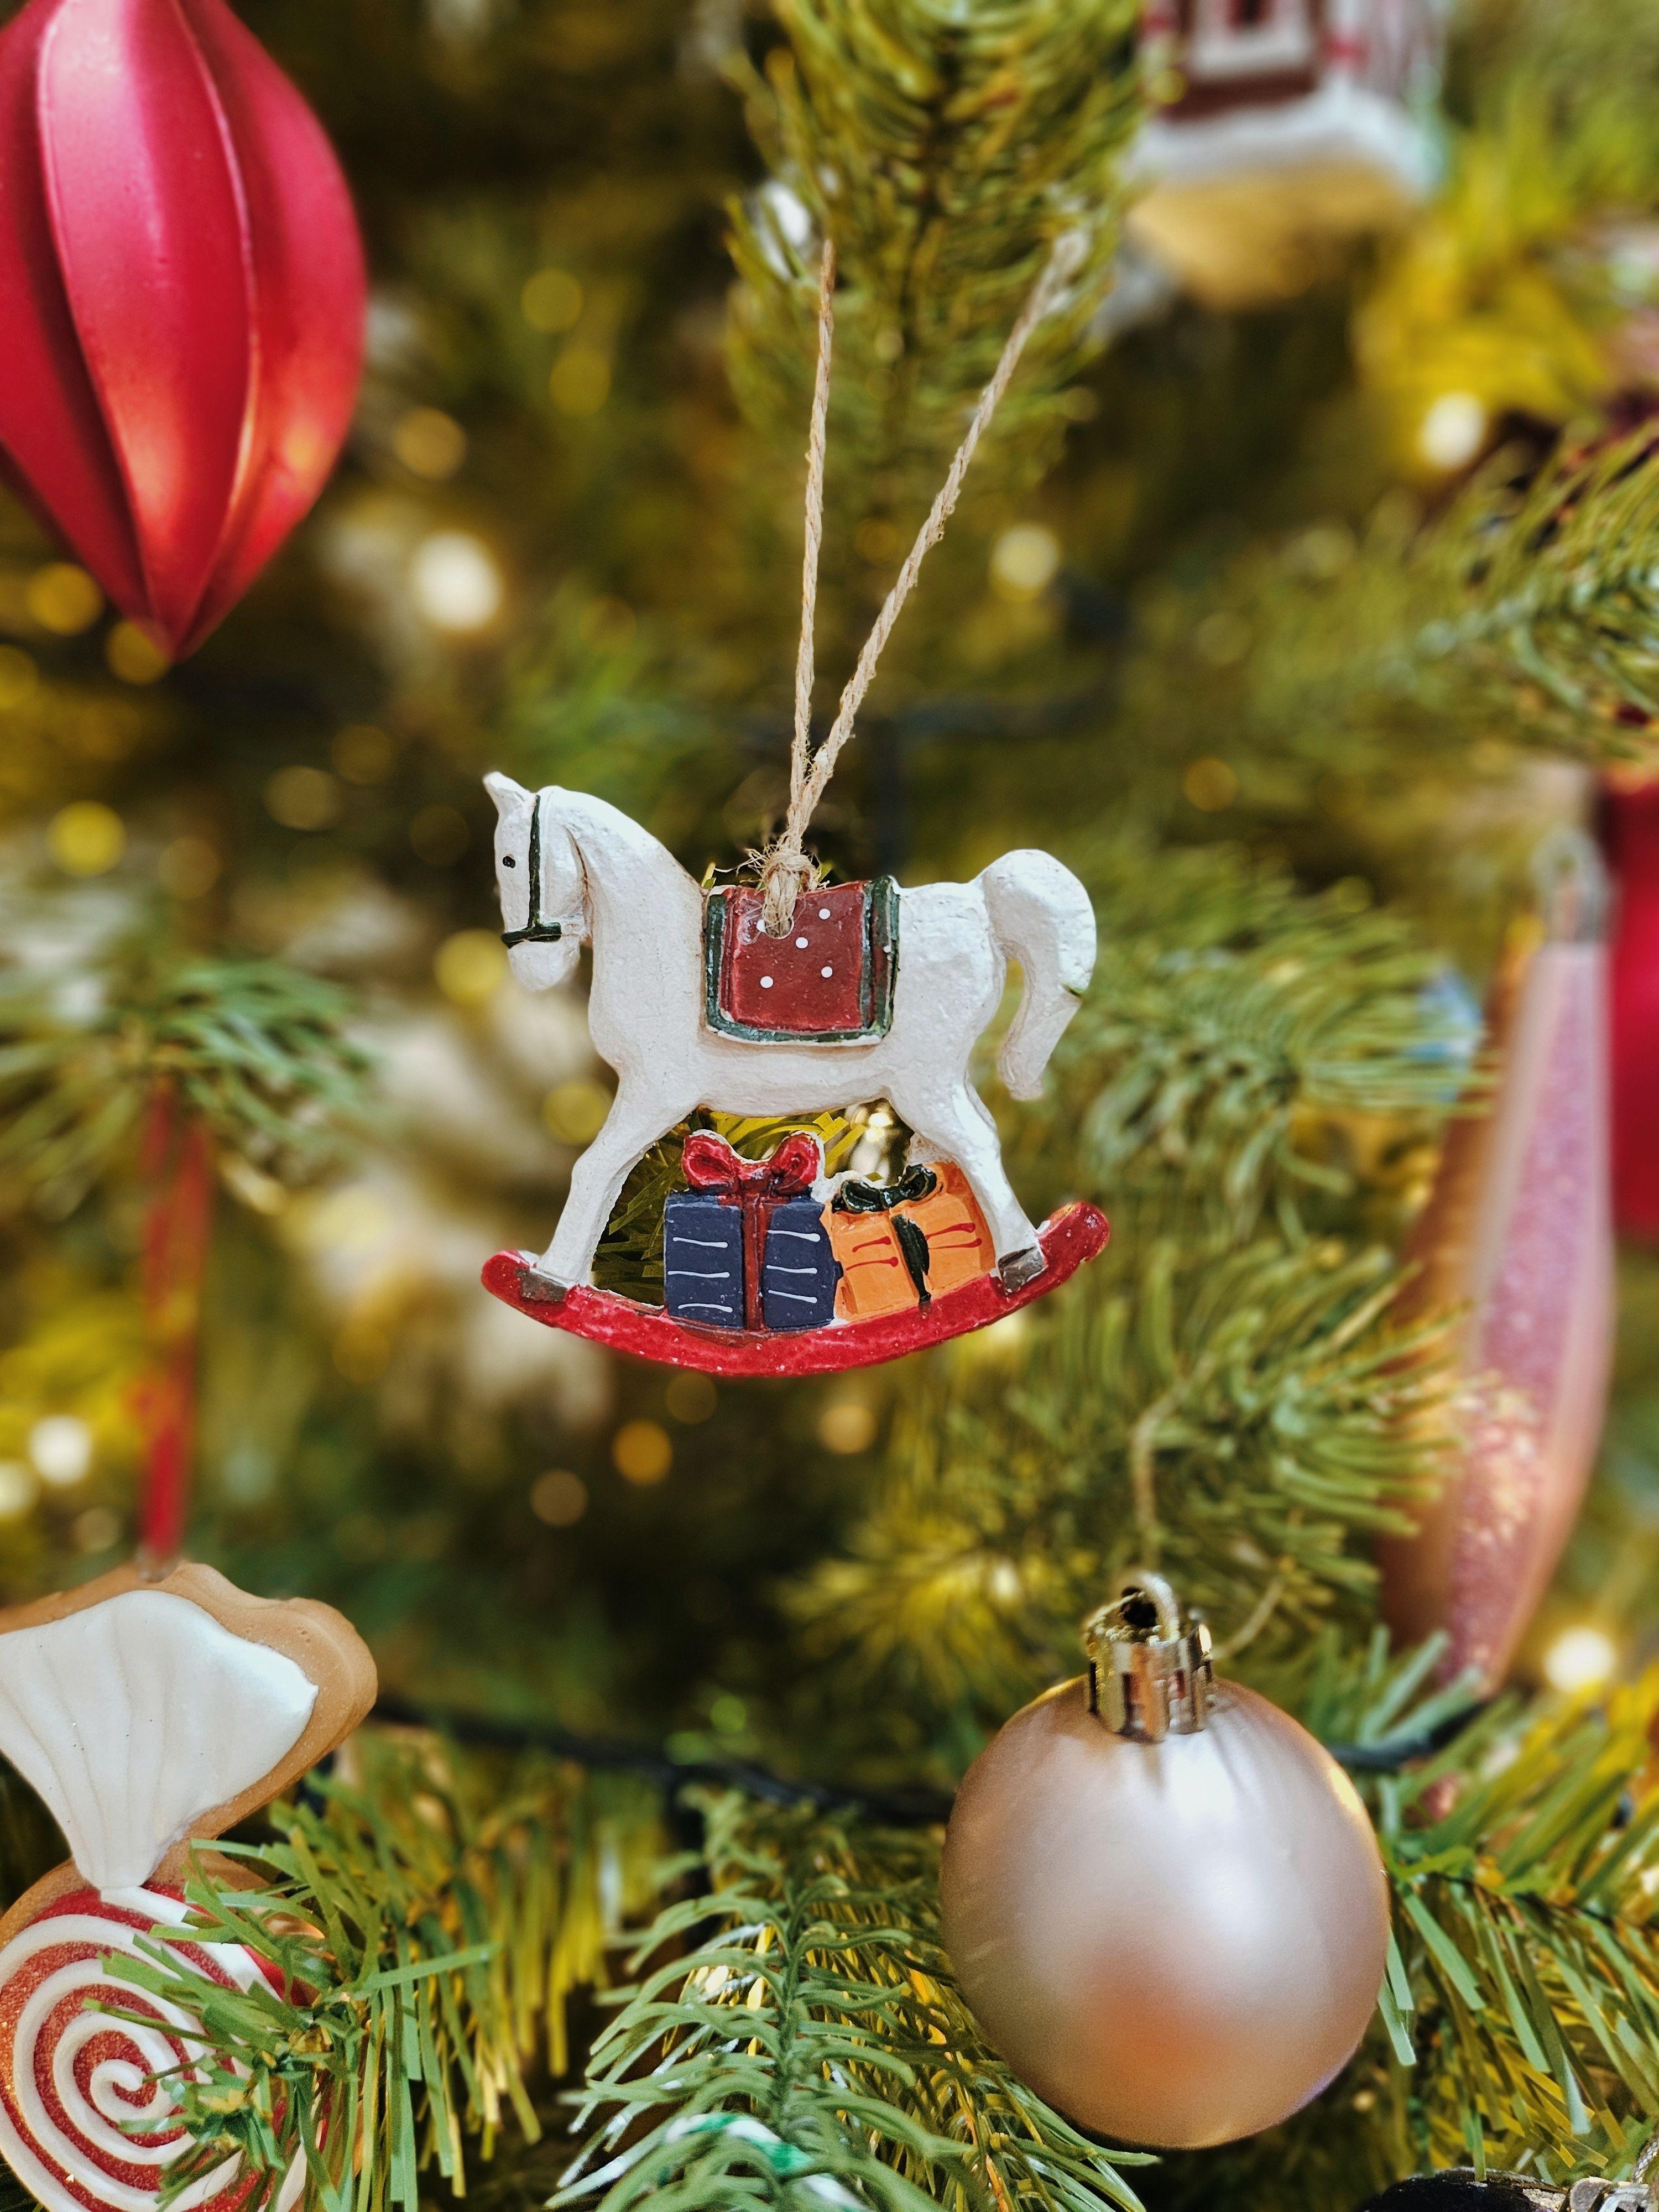
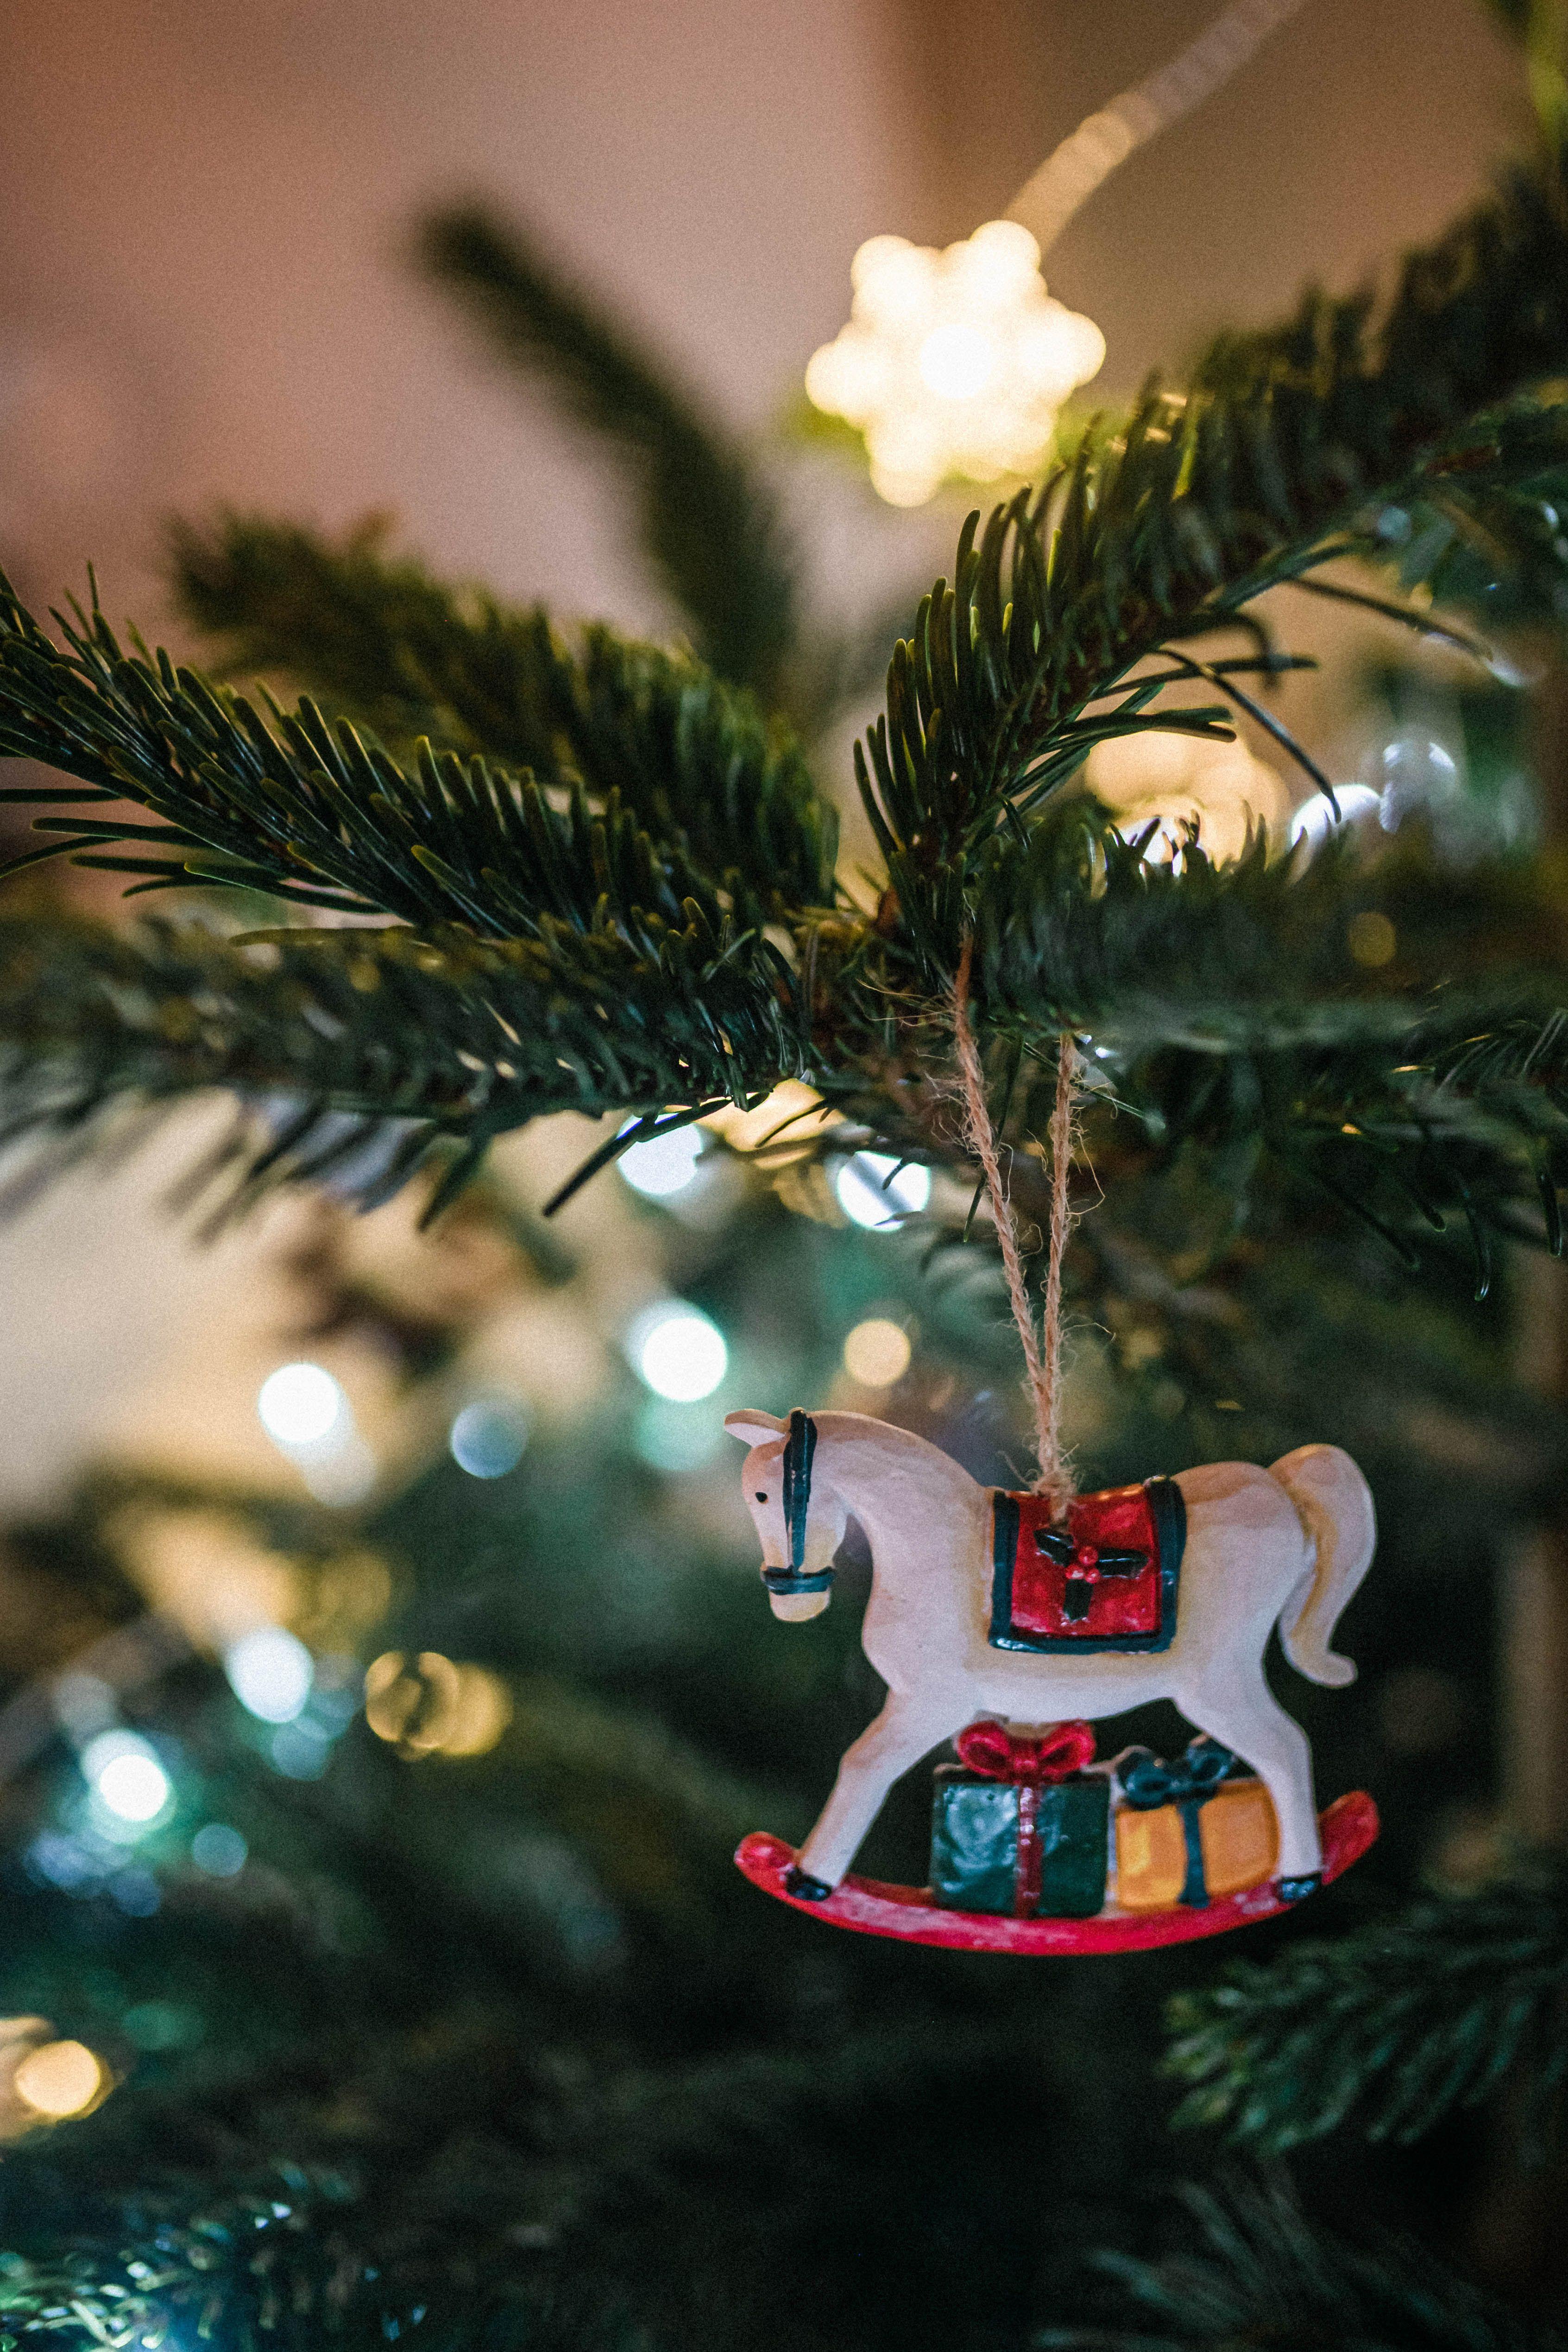
watercolor class. Today we will paint a red
rocking horse ornament, nestlet among
evergreen branches. I love this subject because it brings together rich
christmas colors, delicate details, and a
little childhood nostalgia. We will build the
painting step by step, adding depth to the horse
with layers of color and creating a full leafy background with expressive brush strokes. We will also explore
how light and shadow help our ornament stand
out against the greenery. Will guide you through
my process so you can take your time and paint
along at your own pace. You don't need to
copy every detail. Feel free to make this
little ornament your own. Grab your brushes, make
yourself a warm drink, and let's enjoy a little
festive painting time together.
2. Masking fluid: Okay. So first thing we
need to do is to mask the entire horse with a masking flod I will
use talens masking floid for that and just brush. And this is a brush. I am no longer painting
watercolor paints. I just dedicated it
only for masking floid. So I will cover the entire horse with
my Liquid masking film. And this masking fluid
dries quite quickly. You can see that in this
area, it's already drying. We don't have to wait a lot of time to move on to
the next stage. But first, let's cover the
whole. The whole horse. It Okay. And the last thing
is the string. If it's too hard for
you to make it narrow, you can make it a bit
wider than it is. I'm just doing it, placing my masking fluid
with this dabbing motion. With the tip of my square brush, I see that it's not
regular in here, so I will try to make it quite straight It's already
start to drying in here. Perhaps it will easier if
I remove my muskin fluid from my brush, once again, Okay. I almost I am almost done. Okay. We need to leave it to dry and I usually don't use a hair
dryer to speed up the process. I usually leave it for
about half an hour. You see in here that
it's almost dry. Only the wet areas
which we see are the ones which have the bigger amount of this
liquid masking film. Leave it to dry and see
you in the next video.
3. First background layer: Okay, so my masking
fluid is dry now, so I can start so I can
paint the first layer, the background layer
behind my horse. So we need to mix colors first. I will show you my colors and
we will mix them together. Spray with the
water in my spray, I will spray it on my palette. Okay. I need a lot of
these colors in here. We will also add a
touch of water in my mixing palette and we
need three shades of green. First one will be green gold. This is yellowish green and
I have it from Roman Schmal. This is aarquarius green gold, and I will mix my colors in
50 50 ratio, 50% of water, 50% of paint, and I need
quite a lot of this paint. That's why I will add
more water, more paint. Check on a scrap paper
how this color look like. The second color will be medium green and I will use
autumn green for that. This is a granulating
color and it's also from Roman Schmalst mix it
with a lot of water. We also need a darkish
tone of green. I will use I will mix autumn green with a
bit of ultramarine. With a bit of ultramarine
or pains gray, we just need to achieve
this darkish green. I will add more ultramarine. I think I need to add
more ultramarine. We have three shades of green. I think I need more ultra green. I see that they are quite. This one is still very
diluted with water, so I need it to be more thick. I need to add more
paint to my mixture. I also see that it's not very different from
the autumn green. That's why I need to add more blue or paints gray to
make it a bit darker. I could also add a red
shade to make this, but the red added to the green creates a very muted color
and I don't want muted color. Well, this is quite nice. I think it's the last time
when I'm adding ultramarine. Okay. And just for your notice, sometimes when I'm painting, I think it's not
enough this color. I will use colors straight from my pen and I have color which is called oxidteGreen also
from Aquarius Roman Schmal. So this one is a bit
similar to this, but this one is more muted and this one is granulating
one and this one is more intense and more vivid and I want to achieve
a vivid illustration. But still, if I will need quick to add some
color to my work, and this one won't be
accessible, for example, because it will
finish on my palette. Then I will use oxidteGreen. The format on which
we are painting, it's quite big. It's a four. That's why I think I will
need a lot of my colors, a lot of colors,
a lot of mixture, and I supposed to mix some more. I usually mix not enough paint. But still, when we are using
clear colors from our set, so we can add it straight from the pan it's not a big problem. The problem is when we
are using mixtures. I'm telling you this
because sometimes when we are not using
100% of cotton paper, it dries very
quickly, especially, for example, today is
very warm here in Poland. The paper the temperature makes the paper dries
quicker than usual. I need to have my
colors straight away. Also, we need brown and
I think it's better to use some kind of
darker brown and I will use for that color
which is called lava. It's brownish color. It's from Roman Smar Aquarius. It's a polish brand
and I love it. And this is granulating color. But still, if you don't have it, you can use dark brown. For example, this brown
her it's also fine, but it's too light. For example, you can use brown her and mix
it with a bit of pink gray to create a
similar dark brown. We don't need to mix it much
we only needed for branches. These are all colors which we are going to
use at this stage. I will change my water
and I will be right back. Okay, so we are almost
we are almost ready. I have my pallet nearby,
somewhere nearby. We need to cover the whole
area with the water. And usually to make it quicker, I use a spray bottle. So when you use a spray bottle, you don't necessarily
need to change your water because you still have a
clean water in your spray. So let's spray and let's cover the whole paper with water. Next, I will switch
to some mop brush. I have two mops. This one is stiffer and this one is softer. This one is bending very easily, and this one is very stiff. For example, I will take the softer one and we will start
with the lighter color and simply we at the touch of the
color our painting, we can move the scolor around
with moving our paper. Okay. I see that here, it dries a little. My paper dries a little so I
will add water to this area. Let's switch to
this medium green and I will paint simulation
of the branches. They have the direction. These moves have the direction. We can also start to
painting the needles. I know that they are going to
blend with the background. Okay. Let's switch
to the darker color. We need the darkest part
to be around the horse. Let's once again add
branches at needles. I'm painting it with
a tip of my brush. I want this area to be
darker in this area also. And I'm trying not to paint everything too dark
because on my second work, I did the background very dark. It's it's not a
problem or something. It's not a very bad thing
because on a dark background, the horse gets when it's
when the horse is lighter, it seems that it's near to us. But this time, I want my
background to be not as dark. I think in this
work was too dark. That's why I want on my first
work, it was too light. In the second work,
it was too dark. This time, I'm trying to achieve
something in the middle. Let's add these needles. Let's add the branches
with the brown color. I'm cleaning my brush. Make it dry on paper
towel and let's pick the lava color
and add the branches. I'm adding with the tip
of my brush and one tip, I see that I have a
lot of water in here. I know that when I
add my color in here, it will spread and
I don't want that. I'm adding my branches. In the areas which are wet, but they don't have
the lakes of water. I know that they will spread a little in these areas,
but not very much. For example, here I
will add on this way. Perhaps one more in here. I need to go back
to my medium color. I need to mix autumn
green once again and perhaps I will add some
splashes with this color with the tip of my brush, I will add more details. We will do the same with this dark green and
like I said before, I don't have time
to mix my color again with the autumn
green and ultramarine. That's why I'm taking oxidte
green with my oxide green, I will add this dark green elements. Also I want to add with
this oxidte green splashes, so I need to mix it
with the water on my palette and let's
do the splashes. Yes, I have splatters
over my desk. Let's quickly at
this dark green. And I'm taking it
straight from my pants, so it's not very
diluted with water. That's why it doesn't flow much with the background because the paint is
quite thick on my brush. Perhaps I will add more of this dark green in these areas around the horse. We are almost done. Okay, let's leave it that way. We need to leave it to dry. And if you want, you can speed up
the process with the hair dryer and see
you in the next video.
4. Second background layer: Okay. The first layer
is already dry, so we will add the second
layer with details, and I will mix the same colors. I will mix medium and
dark green and a brown. In my case, it was lava color. I will add I just added water to my previous color and I will add more pigment because I need this color to be more
solid and thick. This is my lava color. This is my autumn green, so it's medium green. I also will use oxidte green. This is dark green and this
oxidte green is granulating, granulating color,
granulating shade. It's not very dark though. It's like two tones
darker than autumn green. I have my colors ready. Let's switch to the work. I will take mop brush, but this one is stiffer. And has a very fine
tip with which I can paint different size lines. For example, I can paint very thick with only the
tip of my brush and when I press press my brush, the lines will get thicker. In this case, I can vary
the lines of the needles. I can make them thicker and
I can make them thinner. I will start with
my lava color and simply paint once again my
branches. They are here. I will than my brush, and let's switch to one
of the greenery colors. We'll take first autumn green, so the lighter one
and I will start adding this leaves details. We can also go on beyond our background color to
make them stand out more Okay. Let's switch to this darker color I
will clean my brush, dry it on paper towel
and take this darker. Let's add details with this darker. Right now, we need to
leave it to dry or we can also speed up the process with the hair dryer and after that, we will remove the
masking fluid.
5. Masking fluid part 2: Okay. My work is dry it's time to peel off
the masking fluid. So the royal talen
gets off very easily. You see, it was very quick. Right now, we need to mask again some details which should
be white on our picture. It will be this, this and the elements. Once again, with my
brush and masking fluid, I will mask these areas, this area. This area here. This element and the last element
on the other leg. Also, we need to take a
pencil and this is HB pencil. And we are going
to mark this part. I will draw the second line
inside. Something like that. I don't know how
exactly this is called, but I think this is the place which is under the
setting placed on horse. We need to leave it to
dry and after that, we will paint the horse and
the rest of the elements. See you in the next video.
6. Bottom of the horse: Okay, masking fluid is dry now. The first thing which
we are going to paint the rockers of the horse. We need to mix a few
colors for that. We need three reddish colors, three shades of red or
something like that. I say something like that
because we will start from orange and I
have red orange. So I will mix my color
with the water on the palette and I mix
them in 50 50 ratio. Don't have to mix them much. So this is my first color. The second color will be Rose. This is number 381
from Roman Schmal. But you can use whatever
reddish color you have. They mix quite well on
paper, these two colors. And we need some darker
colors to create the depth. I will use Alizarin. We will try to achieve the transition between
these three colors. The third one is Alizarin, the last the last one will be some kind of
purple and I have purple or you can use mineral pink if you have mineral pink so it's more reddish than purple. But I will use purple
destroy and see how it goes. Okay. So when we are
ready with the colors, let's go on to the work. I will use smaller
brush for this and I will use number four
from Princeton. And let's start with the water. So let's let's cover the whole area with the water. I know that the water is in a reddish tone
and that's okay. We don't necessarily
have to change it. Let's start with the orange
with the lightest color. Let's add it. I'm cleaning my brush, make it dry on paper
towel and I will take rose color and add
it in the middle of my rockers because I want these two colors to
blend with each other. I clean my brush, make it dry on paper
towel and I will take my Alizarin and add it in here, but not in the middle, perhaps to the one
third of my rockers. I want to create this
illusion of the T D in here. Okay. And I will take
a smaller brush. For example, number, but
I want a stiffer brush. I will take number three from restore House and I will take my purple and I will add the purple to the
bottom of the rockers. I want the bottom part
to be the darkest. Once again, I can add
with my stiffer brush, so I'm cleaning this
smaller and I will take on this Izarin
color and add it where the purple meets the other color, still, I'm cleaning
my brush and I want to lift the paint from
the top of the rockers. With the clean brush, I'm trying to lift
the color in here at the top and the same here because we have
some highlight in this area. Y. Perhaps once again, I will add more of this Aizarin in
here while this paper dries a little perhaps once again my purple to the
bottom of the rockers. That's all for this step. In the next step, we will move on to the horse.
7. The Horse: Time, we will paint the horse and we will use the
same three colors, which we have used in
the previous lesson, the same four colors. It will be once
again red orange, rose, Alizarin, and
mineral violet. Perhaps I will make them a
little more on my palette. I have my colors ready. Perhaps it's better
to change the water. I will take I'm thinking, this one is too big because I see that I have
rather small helmets. I think I will take number four. This is a softer brush, number four from Princeton. And we will paint from
section by section. For example, first, the
head, then the body, except the seat and the
sidle and the bottom, I will call it bottom. We won't be painting the
man and the tail right now, only the head with the ears
and the rest of the body. Similar for painting
the rockers, we will start with
the lightest color and we will place the first
layer with this orange, red, orange color here. I have the colors 50 50 ratio, so they are quite watery my
brush and pick rose color, and I will add it in the areas which should
be in the shadow. For example, like that. The truth is with
the rose color, you can add it anywhere, but I'm adding it in a way
that the orange is visible in some areas because I want the area not to be
in a flat one color. I want it to have this
transitions between few colors. I'm cleaning my brush right
now and I will pick Alizarin, with the alizarin, I'm
adding this color, especially in areas where we have shadow near
the masking fluid, Okay, here under the head. Okay. The last color I
want to add is purple, but I see now that
this is too wet. We need to leave it to dry a bit to add this purple because
when we add it right now, it will flow on the whole head. I don't want that effect. I want to purple to
only flow a little, not as much, I need to wait till this area
dries a little. Let's move on to
this part and we will observe this area if it's dry enough
to add the purple. For example, we will
add the purple with smaller and stiffer brush just
like we did in this area. I see that I can already add it in here and in this section, but this section is too wet, so I can do that. I will add it very
slightly in this area. I'm trying not to pick the brush up because
then it creates this bloom and I
don't want in here, and slightly in here.
And in this part. With this area, we need
to wait a little and I also like to add
it in here. Okay. Okay. That's fine. I switch
my brush for this bigger and stiffer and I will add water
to the body and then legs with the backside. We
will paint it at once. Okay. Let's speak on an orange color. And I will audit in here. Let's switch to the
rose color and add it. In this area, we want to create the three
dimensional filling I see that this is in the
right stage right now. I will pick my smaller and
stiffer brush and take this purple color
and add it in here. In the same time, I can add it in the corners to
make it even darker. I will clean that brush
also because it has a rose color on it and I want
to switch to darker red, so I will add it these areas. Where there should be a shadow The last thing is purple. But once again, we need to wait a little because I see
that this is all too watery. Let's wait a minute. I see that the legs are dry
enough to add the purple. I will add on this side, here some shadow
on the edges just look what is what part is safe enough to add
this color. In here, and perhaps we can
audit in here. I'm trying to do it without lifting the seal at the brush. Also in here. Okay. Let's add some shot also in this area and here
near the seed. This is done. This is done. I think it's better to dry the whole horse before we
move on to the next stage. I will make it faster with the hair dryer and I
will be right back.
8. Tail and mane: Okay, so my horse is dry now, but before we move on, let's change the water
for the next part. Perhaps I will mix the
colors right on a way. The first color, we need some darkish brown for
the man and the tail, and I will use lava color. I love this color because
it's granulating one. I will show you how it looks
and this is also lava, so it granulates on brown and purple or bluish tones we need this color
in a 50 50 ratio. This is my color. I think
I will even make it less translucent
and more pigmented. With the smaller brush, I will take smaller and softer I will paint the name
all with this color, one color, one shade. If you don't have this color, you can use some kind of
dark brown which you have. It could be burn sienna, for example, or any other dark brown. Okay. And I will only add my
color straight from the pan to the place where
the man meets the head. While this is still wet, so it should create this softer transition
from dark to light. Okay. I will switch to the bigger
brush but still soft, and I will draw tail, but I won't be
painting in the whole. I will paint it with
the strokes because we need to create the illusion that there are hairs in detail. We can leave white white spots. While this is wet, I'm adding darker color
in the few of these areas to create the illusion that the sun or the light is playing on the sale. Yeah.
9. Saddle: Okay, let's remove our
maskingluid right now. Since my horse is dry, Okay. Let's finish painting
the details. Once again, let's go
on to the lava color, the dark brown and I
needed to be quite thick. This is the dark brown we
used in previous step. I just add a little bit of water into my palette
and more paint to achieve quite thick paint with this thick paint
and a smaller brush. I have number two brush, will you can even
take a smaller brush. I will paint the details singular lines singular, darker lines on the sail. Okay. And that's all. For the saddle, we need
the light brown color, and I will use potters
pink for that. So I will almost take it
straight from my palette, and this is my color. It's like brown with
the pinkish tone. But if you don't have a
potters pink, you can use, for example, this color, this color, it's a red ocher. I know that it's
a bit different, but it doesn't really matter which kind of medium
brown you take. I will take the potters pink. And I will place it in the
right side of my saddle still with a smaller brush just to the middle
of the saddle, clean my brush and
with the wet brush, I will move this paint
around the saddle. We can add a little
bit more of paint to the top and to the side. Still, I want to achieve the three dimensional look with the color I showed you
before with the red ochre, so this is my red Ochre color, I will paint this part of the saddle I will
place my color. I wanted this part
to be very subtle. I'm placing my color
and once again, clean my brush and
with the wet brush, I will dilute this color
straight on a paper. Okay. We also need to paint this part, but since this and this
area are still wet, we need to wait a little
before we move on. Right now we will paint this two lines on strings on
which the horse is hanging. For that, I will
use Sienna light. This is my first color and
I will dilute it with water because I want the first color
to be light, quite light. So it's like medium. I call it 50 50 ratio, 50% of water and 50% of paint. So this shouldn't be very light. It shouldn't be very dark. And here, I had an orange
color on my palette in here, so I will clean I will
clean it and in this area, I will mix red or her
a little with water, with a little water my color. I should be quite thick. But can our brush and start with the sienna light color and let's paint our string one and the other one. Let's clean our brush, make it dry on paper towel, and let's pick this red
color and let's put it in the right part of this string to create
the illusion of depth. This part, we will just paint
simply with this red ocher. Now, I need to make a little bit of paints
gray here on the side. I will blend it
slightly with water. This is my paints gray. And with that color first, I will paint the eye, make a.in here on the head, and I need this area
to be very light. So just like before, I paint line with color, pin my brush, dry it a little on paper towel
and blend this color move this color around. I want to add details
with this paint gray, but I need stiffer
brush from that. I will take number
three from Restor House and I will take my paint is
crazed straight from the pan, it will be very thick
colour, perhaps too thick. I just test on the scrap
paper if I can paint a straight solid
line if that's so, I will just outline the seating. It blends a little, but this is okay and
the same in here. Only two steps left. First, we are going to
add some details with pencils and the second
one with the guash. Su in the pencils section.
10. Colored pencils: Okay, so I have my crayons. We will start with the blue. So this is number
162 from luminance. So it's fallow blue. And this color looks like that. And with that color, I want to add more
shadow on my horse. So in the places
where we have purple, we will add more shadows. Here. In the areas where
we have white, just remember that we will correct these shapes
with white guash later on. You need to be aware that
if you paint on a white, perhaps it will vanish
after you add guash. It Then I will take brown color, and this is Sepia
50% nine oh six from luminance and this
color looks like this. I will correct in some areas make them more visible the branches. We can also add some
shadow on these lines. I have three shades
of green one medium, and this is most green two
to five from luminance. This is dark green
number 26 from Cohen Norman Dalus and dark
sub green 739 from luminance. The the green colors
which I will use depends on how dark
your background is. Because on my previous work, my background was very dark, so lightest shades
of green looks better than this darkest because the darkest
wasn't even visible. When you look closely
to this work, you see that I placed lines details with
this darker color. But more visible are this
placed with the lightest shade. Here, my background isn't
as dark as it was before. I think I will start
with this medium green. Modulus is medium from the street greens,
is a medium green. I will try to add some details with my crayon. For example, in
the darkest areas where for example, we have here, I will try to add details with this lighter shade because
it's more visible. For example, I will switch for
the darkest color and here I will add I'm not
adding much these lines. I can switch to
this medium value. Okay. I think that's it. When it comes to the
pencils in the next step, the only thing left to
add is details with Gach, see you in the next video.
11. Gouache: Okay, so I will use Winston and Newton designers squash permanent white for that. And I have squeeze it in here, so it's dry now, but I just add water to
it and it gets fluid. I will use stiffer brush. So thin and stiff. I will add just a
bit of water to my gouache and mix it to achieve this very
thick white paint. On my brush, and on this scrap
paper on this test paper, I will just test if I can draw a straight antique
line with my brush. If not so, I'll still
mix with my gash. And test once again. Perhaps it will be easier if you have even thinner
brush than mine, but number three is
the smallest I have. I think I'm ready. The first thing, I
see that my eye is not dry enough because I want to add this
blink in the eye. I think we will add
it in a moment. First, let's correct
all the shapes. We have white. On our work. So this one. I. Okay. And let's add
the blink on the eye. Dot. And let's add the
shine on this horse. I would like these lines
to be thicker but thinner, but my brush should be smaller. Still, if you don't
have white wash, you can use, for example,
poscapin for that. And on this head and these lines don't
have to be perfect. I'm not painting these
lines on this blue which we just drew
in previous step. I'm painting them next to them or under them or over them. Okay. And let's add If your tail is too dark, then I suppose I would
add more these lines. Okay, and I think that we
have finished our painting. Congratulations. You did a great job and
see you in a rap up video.
12. Outro: And that's our winter
painting finish. Thank you so much for
painting with me. I hope you enjoyed bringing this little rocking
horse to life and exploring the
contrast between the bright red ornament and
the deep green branches. If your painting looks different from mine, that's
completely fine. Your brush strokes and color choices are
what makes it yours. I'd love to see what
you've created, please upload a photo
to the project gallery. You can also share a work in progress and tell me how
the painting went for you. If you enjoy the class, I'll really appreciate
a review and remember to follow me here on skill shirt to hear
about my next classes. Take care, keep painting, and I'll see you
in the next class.
 Anna Krupa, web developer & graphic designer, mix media artist