Transcripts
1. Welcome to Class!: According to a recent study, about one-third of people around the world are feeling
stressed, worried, or angry. The world was harder
and more stressed out in 2021 than ever before, according to a
recent Gallup poll. While we all know the consequences of
stress are very serious, there is also good news. Several strategies are
proven to reduce stress and improve your overall
psychological well-being. Exercise, spending
time with a pet, and getting outside more
are all effective methods. Studies have also shown that most people who try art
as a form of therapy or stress relief have experienced significant reductions in their cortisol levels
when doing so. Creating art stimulates
the release of dopamine, the feel-good hormone
that makes us feel happier. Isn't
that amazing? In this class, I will show you my favorite exercises that you can do to unwind
and release stress. They're easy, meditative,
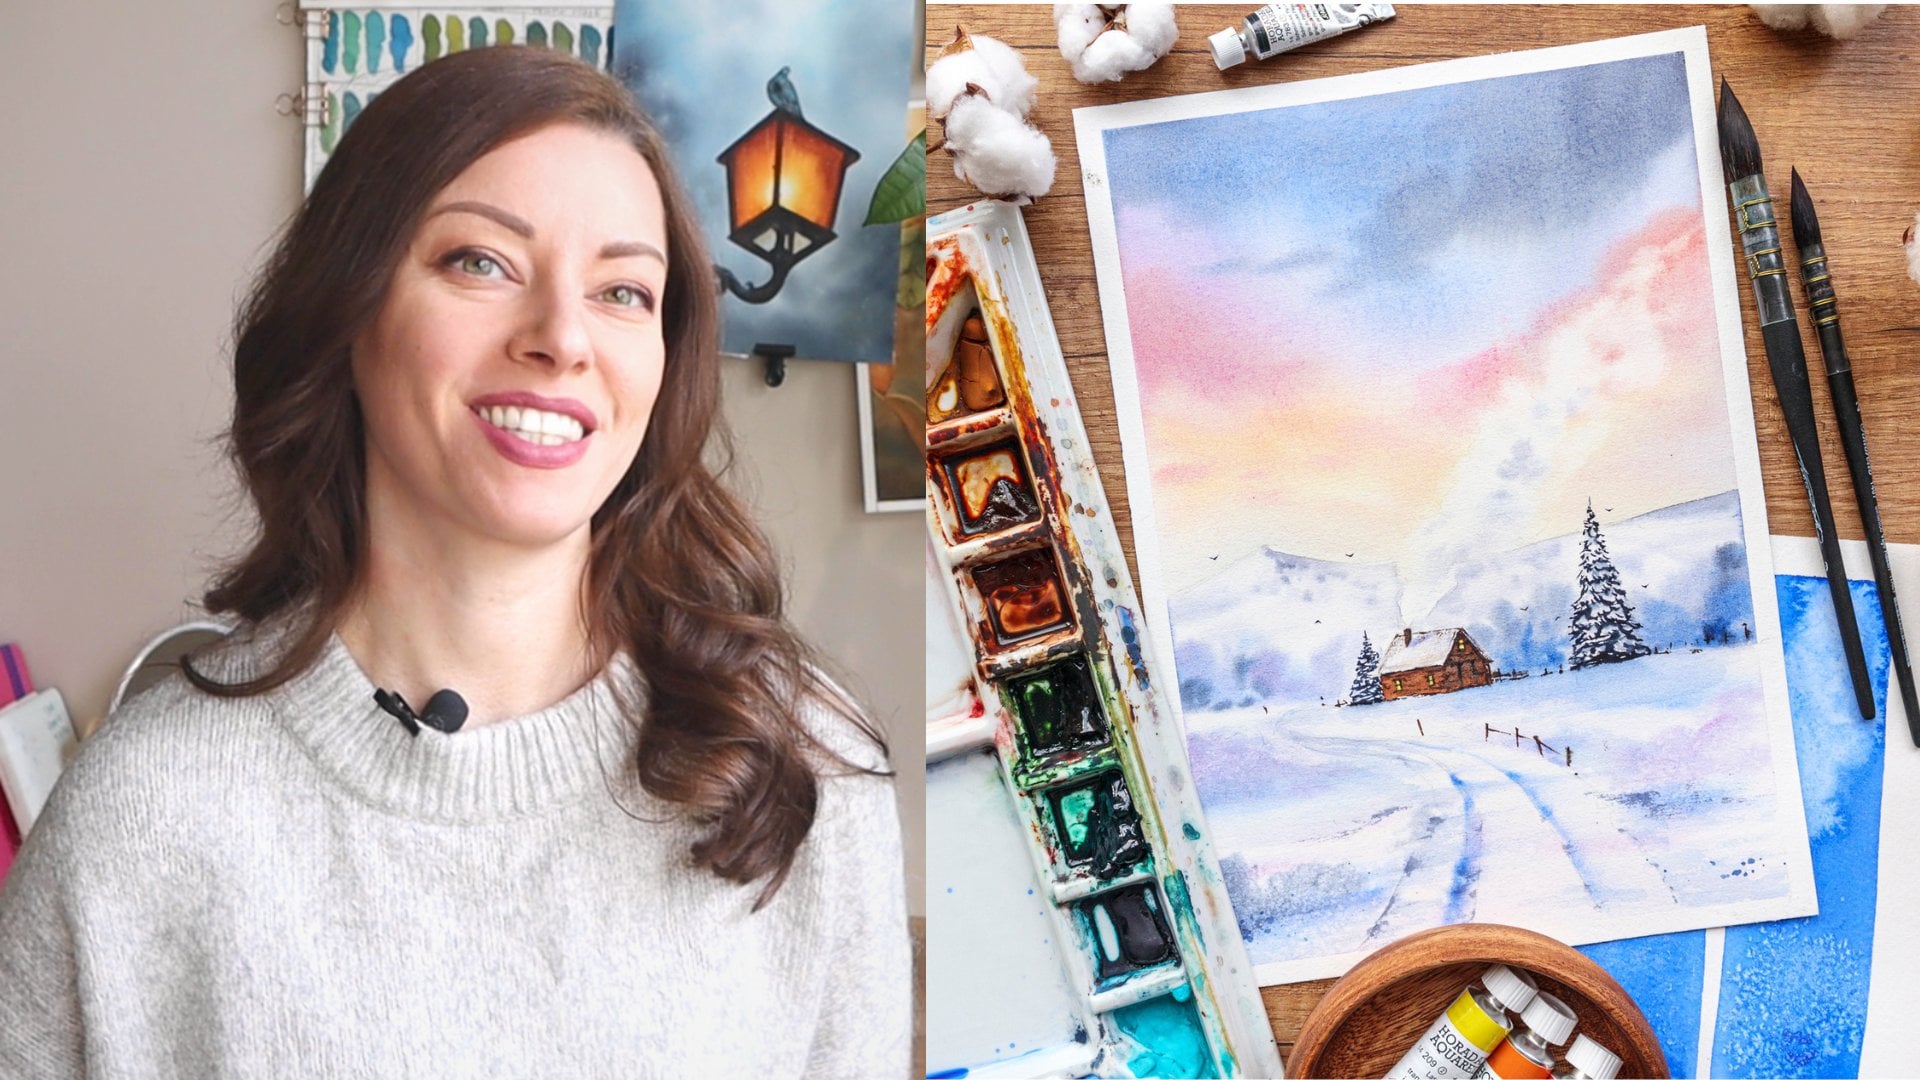
and very satisfying. Hello, my dear friends. My name is Selena and I'm a full-time artist
based in Bulgaria. The artist's life is
treating me well so far, and I'm enjoying it thoroughly. But that wasn't always
the case for me. Before that, I used to work in high demanding jobs and I remember being stressed
out constantly. It was then that I got
the idea of coming back to my childhood
hobby, making art. I can't tell you
how good it felt to have some time for myself not thinking about
anything except for my paints and paper and
the brush in my hand. With time my passion
grew bigger and today this is what
I do for a living. But I often come back to some of my favorite
quickly though, exercises I used
to do to unwind. They are so relaxing
and enjoyable, and today I want to
share them with you. I hope that you
will find them as soothing as rewarding as I do. Then you will adopt
some of them into your day-to-day life or
your mindfulness practice. You don't need any
fancy supplies or a vast experience
with watercolors. I believe that even if you
are an experienced artist, you will find this
class interesting. You also don't make much time just 15 minutes are enough, but you can also continue
for as long as you wish. You'll just need
another piece of paper. Great side benefit of
the exercises is that you will slowly get to
know better your brushes, your paints, and the mixes
that they can create. You'll get familiar
with water control, which is a crucial
part of improving all your watercolor
techniques and all these by simply enjoying
a few quiet moments at the end of your
workday or your workweek. Sounds good, right? Meet me
in the next video where I'll explain a bit more about the
class and the exercises.
2. Class + Project Overview: [MUSIC] Welcome
back. In this video, I'll tell you how the
class is organized and how we can approach
the exercise in it. There are seven
exercises in total. Each one is explained in a separate video
and in real time. You can watch one
video per day or per weekend or however
you find suitable. My advice is to watch them
first and then try on your own instead of trying to watch and repeat
at the same time. Remember that the
goal is to relax, not to stress you out. Some exercises you'll find
easier and more enjoyable than other and this is
totally normal and expected. After watching them and
trying all of them, you can choose your favorites and start practicing them more often or you can just do whichever one you feel
like at the moment. The final project for you in this class is to
complete at least one of the exercises and
upload a photo of the final result in the
project section of the class. All of those who love to
read about your experience, did you find the
exercises soothing? Which one is your
favorite and why? Was it easy for you to
find the time to practice? If you want to keep this
as a regular practice, have a look at this lesson in
my Autumn Challenge class. There I shared my
favorite tips on how to stay consistent
with your art practice. Try not to be focused on the actual outcome if the
project is going too good, if the colors are
pretty and so on. Instead, focus on the process. Immerse yourself in it. You can play your favorite
music or podcasts, or you can paint in silence. I am so excited to
get you started. In the next video,
I'll go quickly over the materials that I'll be using in this class. See you there.
3. Materials: [MUSIC] Welcome
back, my friends. In this video, I'll go over the materials that I'll
be using in this class. Please don't feel like you have to go and buy whatever I have. Remember that in this class, we're not going for results
but rather experiences. So materials don't matter as long as you enjoy the process. For each of the mini-projects, I have prepared these
sheets of paper. Their size is about one
eighth of an imperial sheet, so I got an imperial sheet, I cut it in four and
then each of the sheets, I cut in four smaller pieces. This is Arches 300 GSM, 100 percent cotton paper, and it has a rough texture. It's not necessary
to use cotton paper, just keep in mind
that paint acts differently over cotton
and cellulose paper. Just keep that in mind
in case you're wondering why your paint is not behaving
the same way as mine. The rough texture is also not necessarily is just
what they were, I have available right now, so I decided to use it. Just use whatever paper you have available as long as it's thick enough so that it can hold amount of liquid
we'll be using. You will also need
watercolor paints. I will use my custom palette. It has lots of colors,
as you can see, I've gathered these colors
for the last four years, and you definitely don't
need such amount of colors, just use whatever you
already have available. I will use these
board to tape down my paper with the help
of these paper tape. As for brushes I will
use these two today, they are from Schimoni art are thinner handmade
synthetic brushes. You can use just one brush, something that you
feel comfortable with, that can hold enough liquid, and that has a good pointer. For some of the projects
that I will use white brush, you don't necessarily need it, and if you have a white gel pen, that would work too. I will use this ceramic
palette to mix my paints. You can use a plastic palette, dinner plate or whatever
else you have available. A paper or cotton towels take off the excess liquid
from our brushes. I will use both. Finally,
a jar of clean water. This is everything you
will need in this class. Gather your materials and
let's meet in the next video where we'll start with our
first relaxing project.
4. Galaxy: [MUSIC] Welcome to our
first relaxing exercise, something that I really
love to do to wind down. It's also one of
the easiest things to paint with watercolor and you can get beautiful results even if you're a
complete beginner. Yes, I'm talking about galaxies. Let me first take my
paper to my board. I will show you just
one time how I do it, and in all of the next videos, I'll skip this step so that
we can get right into it. I'm placing my paper
tape so that it covers about five
millimeters from the paper. I put two stripes from
the top and bottom side. [MUSIC] Then I move to the left and right. This way, it's easier for
me to remove it afterward. [MUSIC] I run my fingers through it once I'm done to make sure it's firmly
stuck to the paper, and no water or paint
will sneak underneath. [MUSIC] I will start today's project by wetting the entire area of my
paper with clean water. [MUSIC] As this is a
thick cotton paper, it will take some time while
the paper absorbs the water. If you are working
on cell walls paper, you won't need that
big quantity of water. [MUSIC] The goal is to have a glossy surface. I'm wiping the side so
that these drops that gathered there won't crawl
back into my painting, once I cover with paint [MUSIC]. I will start by taking
some lemon yellow first. I take it straight from the pen, and I'm placing it
randomly on the paper. I have some bigger, and some smaller areas with
that lemon yellow now. Next I'll take orange. I'm repeating the same step, just randomly placing
the color while still trying to place it somewhere
around the yellow parts, you can already see
how it's spreading in. This is one of the most
relaxing parts of this process. Just watching how the paint is flowing on the paper surface. Next I'll add some pink. [MUSIC] the color is beautifully
flown to each other. [MUSIC] Now, let's add some
colder colors. I will take this blue-green and I will add it
here and there. Then lastly, some dark blue like this, indigo, for example. [MUSIC] Next, I will
splatter some water. The drops push some
of the pigment away and create this
pleasant texture. It will be lost soon,
but at least we're breaking that even
coat of paint. Now, with a clean brush, I will help the colors
to mix here and there. Some splatters and now
we get to the fun part. I will tilt my board in
different directions, and this way the colors
will flow and mix, and will create this nice
and interesting blends. I don't care if the
blue is going to mix with the orange and
make a muddy color, I'm not going for a
super bright galaxy. I'm just curious what colors
I'll get when they all mix, and it even makes the galaxy
look more natural this way. [MUSIC] I'm wiping the sides, because I got some drops
of paint on my paper tape. Now you can add more
colors if you like. I want to add some yellow here. [MUSIC] I'm tilting
my board again. It is starting to
look really good. I love all this
unpredictable blend. [MUSIC] Now here I have some liquid
that has gathered, and I will suck it up
with my **** brush. [MUSIC] Now I'll splatter some clean water again. Now it's starting to
look like a galaxy. [MUSIC] You can splatter some white gouache
too if you have it. [MUSIC] Another fun thing you
can do is just add it to the painting with the
brush in a swirling motion. These could be
clusters of galaxies. [MUSIC] You can tilt the board to help it flow, though keep in mind
that the gouache is moving less than
the watercolors. [MUSIC] I will splatter some clean water again, and now I will leave it to dry. You can use a hairdryer
to speed up the process. Now my painting is dry. You can see that it's
much less vibrant now, watercolors always
dry, a bit paler, but I'm happy with how it looks. I will add some stars
with white gouache now, so I take some of the jar
and mix it with water. It has to be watery,
but not too much. I will splatter some stars. [MUSIC] I'm focusing on the
same parts more than others, this way it will
look more natural. You can also add separate
stars with your brush. [MUSIC] If you have some whites spots that
are oddly shaped, you can use a down-brush to reactivate the paint
and fix their shape. [MUSIC] You can also use a white gel pen
to add some stars. [MUSIC] Or we can use it to make some
twinkling stars by adding a few rays of light
crossing in the middle. [MUSIC] Or you can add the tail to
some of the dots, and you got yourself
a shooting star. [MUSIC] You can play like this for as
long as you want. I'm happy with mine, so I
will remove the masking tape. [MUSIC] We're ready with our first relaxing project. Apart from being super
enjoyable and satisfying, this process will also help
you to master water control, and you will learn
a lot more about your colors and the
mixes they can create. It's often my goal to when
I don't know what to paint, or if I just want to watch some pretty colors
mingle together. See you in the next video for another colorful and
meditative experience.
5. Circles: Hello, again, and welcome to our second mindful exercise. I have taped my
paper to my board, and now just go ahead
by taking some color. [MUSIC] Just any color. I will make a few
circles with it. Now, I'm not trying to
make the perfect circles, but they're not also
some shapeless blobs. You can do this in a way that feels the most
relaxing for you. If trying to make a perfect
circle is meditative to you, then definitely do it. If it's stressing you out, just paint whatever shapes
you feel inclined to. You can paint hearts or squares. It's all up to you. I'll
take another color. I'll go for a blue
color this time. Then I'll add with some circles
next to the green ones. Since they are still wet, the colors flow into each other and create
interesting blends. It's always so satisfying
to watch them flow. And I'm always curious to see which color will
flow into the other. After some time, you can
predict what will happen. This means you're already
getting the hang of other control, which is awesome. But just staying curious and
watching what happens is such a joy and a wonderful way to spend some time
with yourself. I continue changing the colors and I've heard the
size of the circles. Another awesome
thing you can do is paint some circles
with just clean water, especially when you already have some colorful circles
on your paper, and you can add the
clear one in a way so that it touches a few
different color at once. [MUSIC] So far now, I'm sticking to the blue-green, yellow color palette is just
what I wanted to play with, which you can always
switch it up. [MUSIC] Now I'll add some circles with
this lavender color. [MUSIC] In continuing forward, I will add more and more
different colors to the paper. So you can stick to a
certain color harmony, or you can use all the
colors from your palette. You can put close together very different colors
to see how they'll mix. It's always fun when you add something bright
and unpredictable. [MUSIC] I will continue
like this until my entire sheet of paper is covered with colorful circles. You can go over
some of them that didn't mix well or
have too much liquid, or you can just leave
them to dry as they are, surely the results will
be interesting to see. [MUSIC] My paper is now completely dry and I
will remove the paper tape, so that was far-right. We introduce some
playful elements to it and you can make it yours by using your
favorite colors or even stricter monochrome, whatever you feel like
doing at the moment. [MUSIC] If you enjoyed watching the color
sworn to each other, I have another treat for you in the next video.
See you there.
6. Stripes: This is probably the easiest and quick of all the exercises, but it's also one
of my favorite. It's so effortless and
satisfying at the same time. I will use my flat
brush for that, but you can use whatever
brush you like. This mindful exercise is just layering different
colors next to each other. And I like to do it with colors
that seem unusual to mix. I'm starting with just Bordeaux, I make a stripe with it. Next I want to use
Naples yellow. Again, apart from relaxing
and satisfying to watch, this exercise can also
help you get more familiar with your paints
in the mixes between them, and also with water control. As with the time, you
will unconsciously know which color will flow into the other and how much
it will spread. You can try to keep your
stripes more defined by going over them or leaving
the colors to flow freely, like what I have over here. Next, I'll add some
Naples yellow deep. Now, some Persian
blue, some pink. See the vibrant purple
these two created. I never knew they mix that well. Now let's add some Indian gold. And here's another
surprise for me. Look at that bright orange
they created together. So gorgeous and how
beautiful it flows. I'll finish with some olive green and now leave it to dry. Now that it is dry,
you can take this to another level by simply adding
some words on top of it. I will use my gel pen. You can use gouache or a marker or whatever else
you find suitable. I'm writing just
the word create, but you cannot hold
sentences if you'd like. You can write your favorite
quote or an affirmation. Something that I like
to repeat in my mind when I'm winding
down is I am calm, I am relaxed, I am grounded. Or you can just make
some doodles on it, it's also very
relaxing activity. And if that last suggestion
resonated with you, I think you will like the next exercise
too, see you there.
7. Blobs + Doodles: Welcome back my friends. In this video, we will relax by painting some colorful
blobs and doodles. Thought unlike the
previous exercises here, we don't have any
specific outcome in mind. You don't need to imagine
the final result, you just put some
paint on the paper and form some shapeless spots. I do like to repeat the color
for a few of the forms, but other than that, I let my hand move freely. Once I get the basic shape that I fixed some of the edges, but you can also leave
them rough and unfinished. You can also stick to a
certain color palette, for example natural downslope, very nice with this type of art. Once the paint is dry, you can continue adding
different shapes on top, or you can just make
some scribbles. You can fill in the
forms you already have filled the blank
spaces in-between, or just go wherever you feel like there are no rules here. On lighter colors you can go with more concentrated
watercolor, and on top of dark colors, you can try pens, markers or white glass. In my case, technical
pen didn't work, so I'll come back which
dark watercolor on top. White gel pen is also
tricky to use on top of watercolors sometimes
I'll go with gouache. You can continue adding more and more
elements for as long as you like or until
there is no space left. I think I'm ready with this one, so I will remove
the masking tape. I ended up with a pretty nice abstract artwork I don't think. In the next video we'll try something that requires
more precision.
8. Random Shapes: [MUSIC] Hello again, my friends. In this video, I will show you a pretty cool and
meditative exercise that can also help you strengthen
your precision skills. I'll start by
taking some orange. You can take whichever
color you like of course. I'm adding enough water to it. Then I will paint
a random shape. Then next week, I will paint another shape that
fits the previous one, so that I have just a
little gap between them, just a couple of millimeters. The goal is to fill the
entire sheet of paper by painting shapes that are
that close to each other. There are no rules
about the shapes or how big or small
they should be. You can do it however you want. Doing this also helps you get more comfortable
with your brush. You're getting familiar
with the water control, and you also develop
greater precision as you're living
such a small space between the different shapes. Since you have such
easy to follow guidelines and the
rest is up to you, this then becomes a very
relaxing activity that will quiet your mind and keep it focused on the
shapes and colors. Speaking of colors,
you can paint this with one or many colors. You can use different color for each shape or how
I like to do it, I gradually add more and
more from another color, and then little by little,
I'm changing hues. I'll start by adding some
yellow to my orange. I'll speed up the video so
that you won't get bored. Now I will add some more yellow. You can also paint geometrical shapes like
triangles or hexagon, or you can write your name or just the first letter and then add more
shapes around that. There are so many options. I'm adding more and
more yellow to the mix. Now I'll add some
green to that yellow. You can also start with
a shape in the middle of the painting and then paint shapes around it,
but with watercolor, this gets a bit tricky
and you'll have to rotate your paper so that you won't smudge the wet paint
with your hand. It's why I like to do this from the top left corner to
the bottom right corner. Adding more green now. Let's finish with
some deeper green. I'm ready with my random
shapes meditation. It's a very relaxing
and comforting process. In the next two exercises, we'll enjoy once again, the flow of watercolors.
9. Free Flow: [MUSIC] Welcome back.
In this exercise, we will paint a flower using
the free flow of colors. It's very freeing
and satisfying. Others say they'll
paint a flower, but you can paint whatever you like: a fish, fruit, a leaf. I'll start by taking
enough water on my brush and I'll make
a circle of droplets, it doesn't need to
be a perfect one. [MUSIC] Then I'll drag each droplet into a petal shape. I bring more water to it with
my brush so that the shape stays glossy while we continue with the
rest of the petals. [MUSIC] My water is slightly bluey, but it's even better this way because you can see it better. [MUSIC] The shape of my petals is quite irregular
with very rough edges, but if you prefer, you can make yours round and symmetrical. Just don't forget to
leave some white gaps so that we give the impression
of separate petals. [MUSIC] Now I will introduce non-concentrated paint in
the middle of the flower. [MUSIC] It spreads out because the petals
are still wet. Some pigments will travel
farther than others, and it depends a lot on how much water you have on
your brush and paper. Another fun thing you can
do is to tilt your board. In this way, the
paint will travel in different directions and we'll color the petals beautifully. [MUSIC] You can also add some strokes with your brush with the same color or another. [MUSIC] You can define the
edges of the petals or leave them fading
into the background. [MUSIC] You can add smaller petals or some green leaves speaking out. [MUSIC] Now I will add some dark color in the center of my flower. [MUSIC] You can add more
lines from the center to the edges of the
petals once it's dry. [MUSIC] I will leave
mine as it is, but I'm curious to see
what you'll create. [MUSIC] See you in the next video for the final relaxing exercise.
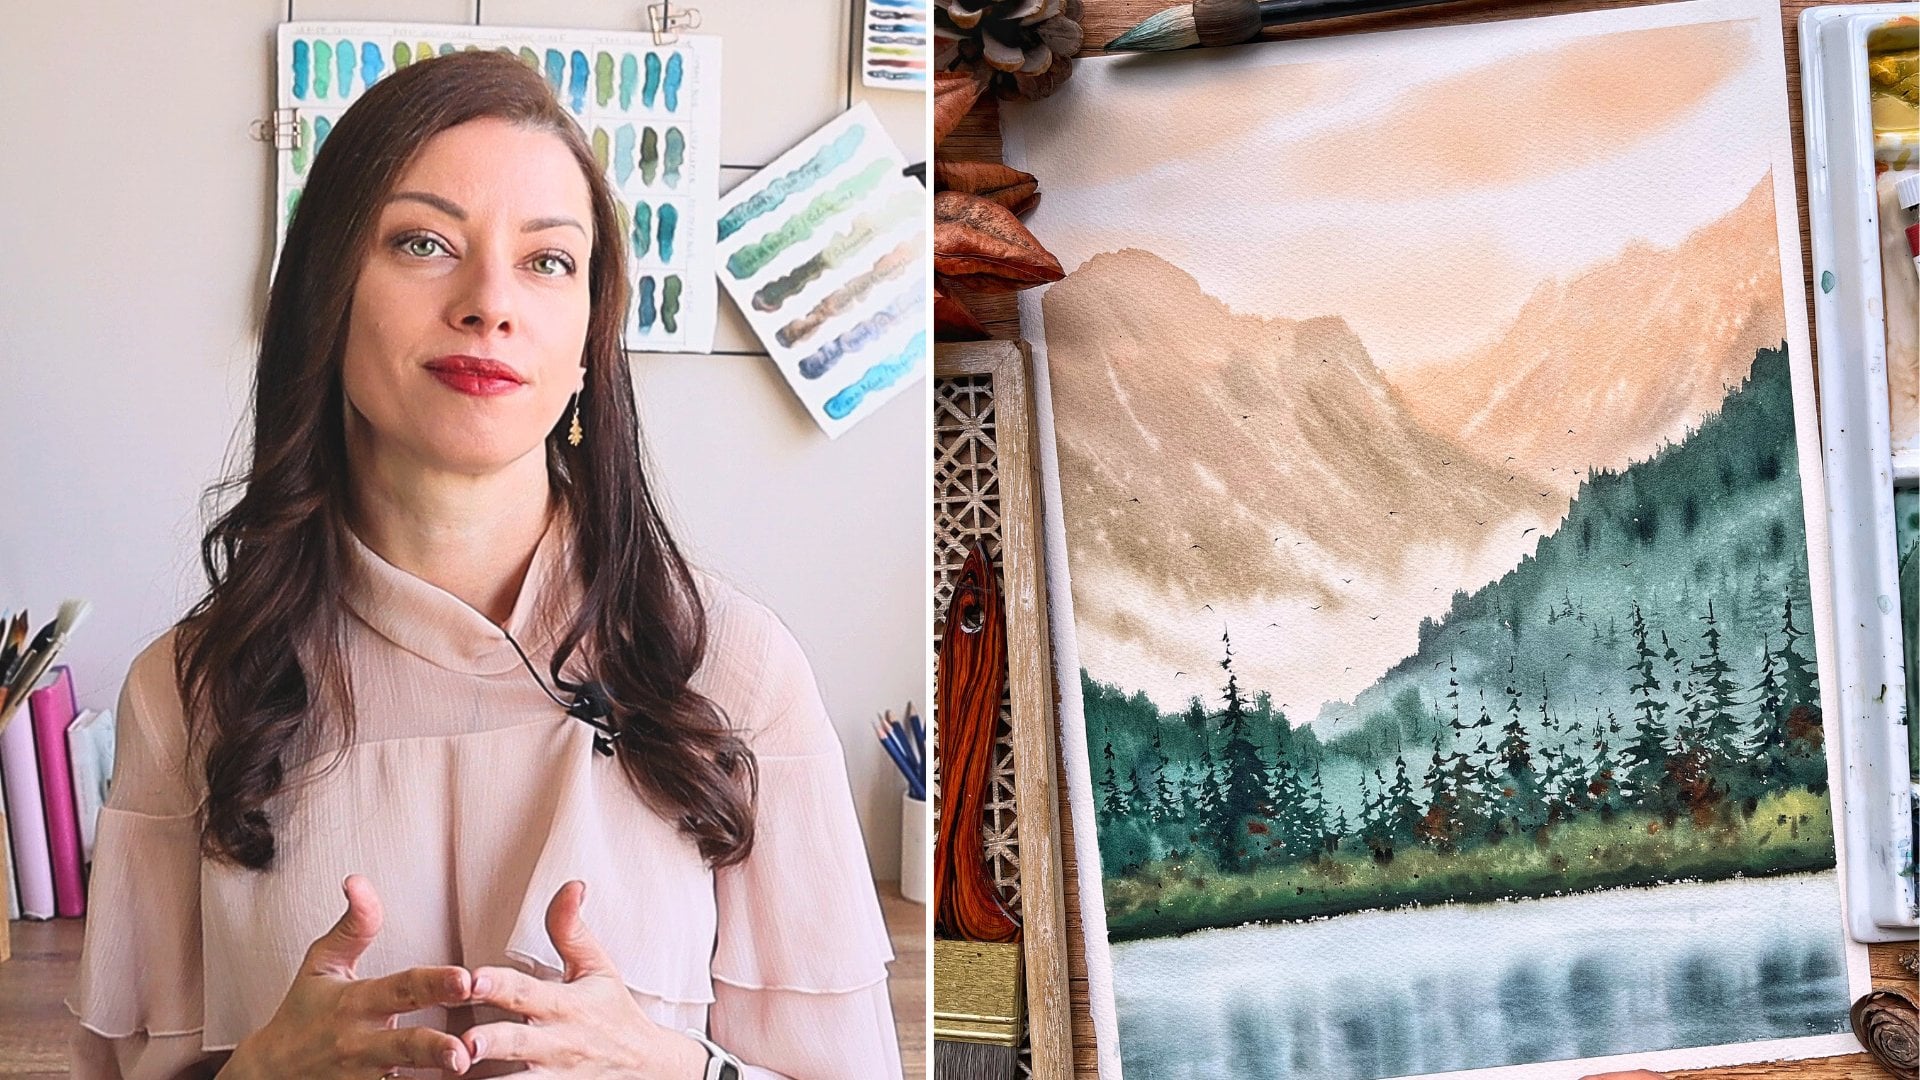
10. Abstract Landscape: [MUSIC] Welcome to
the final exercise, our project in this class. This one is a bit more
creative and unpredictable, but this can also be a huge source of
inspiration and creativity. As each of the other exercises, this one is extremely
satisfying and relaxing. I call this one
abstract landscape, but you can let go off
the expectation to create the landscape and just enjoy the flow of the colors. I start by taking some very concentrated paint
with my flat brush. If you have tubes,
you can directly squeeze some paint
out of the tubes. Another way is to use
the palette knife or some other instrument to scoop some paint from your pans, and transfer it to your paper. I usually start with some blues and greens, maybe some yellows. I'm just imagining
a forest scene with the river or a lake. I can add some browns too, and some greens here on top. That would be the
crowns of my trees. Here comes the fun part. I'm starting to add some
clean water to my paper, and this reactivates the
paints and it starts to flow. It's really curious to watch how the colors flow and
shapes they're forming. You can leave the paint to flow freely or we can try and
guide it with your brush. You can also tilt your board. You can add more colors. I think I interfere too much. I should have left it as
it was in the beginning, but still I'm going
to finish it. After all, we're not
going for result here, but for a time nicely spent
and some relaxation and joy. I'll add some trees
with my flat brush. I will add more
blue to the water. Some splatters. You can really go crazy here and add as many colors or
shapes as you want. You can experiment and then try to make it look like something, or just leave it unfinished and messy, the choice is yours. I will leave it to dry.
My painting is now dry. Now I will define the trees. I'm just going over with some brown, adding some branches. Now let's add some grass. Somewhere with a darker green. I will define this space between
the water and the grass. Finally, I will add
some texture to the crown of the trees
using a dry brush, some lighter green too. Some ripples in the water. With that, I consider my
abstract landscape complete. I will remove the masking tape. As I said in the beginning, this one requires a
bit more attention and creativity from your end, but it can also be just the
thing you need sometimes. You can try different
and unusual colors and different compositions
for the spots. The possibility here
are truly endless. We'll wrap up the class
in the next video.
11. Wrapping Up the Class!: [MUSIC] Congratulations
on completing the class, well done. I hope you enjoyed the
exercises and you'll continue forward taking some of them with you in your
day to day life. Don't forget to upload your creations in the project
section of the class. I'm so excited to see them. I also love to read about your experience so don't
hesitate to share. If you find the class helpful, please leave a review so that other students will
find it more easily. It helps me a lot too and I always appreciate your feedback. If you have a question for me, just post it in the
discussion section of the class and I'll get back
to you as soon as I can. If you post your
project on Instagram, don't forget to tag me so
that I won't miss your work. You can now also
find me on YouTube. I started my account very recently and I'm
slowly uploading more real-time tutorials and process videos from
which you can learn. Thank you for joining me and
for painting along with me. See you in the next class.
 Elina Zhelyazkova, Watercolor Artist