Watercolor Fun - Paint a Floral Wreath with Birds | Denise Hughes | Skillshare
Search

Playback Speed


  • 0.5x
  • 1x (Normal)
  • 1.25x
  • 1.5x
  • 2x

Watercolor Fun - Paint a Floral Wreath with Birds

teacher avatar Denise Hughes, Illustrator, Designer, Tutor

Watch this class and thousands more

Get unlimited access to every class
Taught by industry leaders & working professionals
Topics include illustration, design, photography, and more

Watch this class and thousands more

Get unlimited access to every class
Taught by industry leaders & working professionals
Topics include illustration, design, photography, and more

Lessons in This Class

    • 1.

      Introduction

      1:15

    • 2.

      Materials

      1:27

    • 3.

      Doodling Flower Shapes

      1:25

    • 4.

      Practising foliage with paint

      9:43

    • 5.

      Painting your wreath

      4:58

    • 6.

      Painting the birds

      2:36

    • 7.

      Final Thoughts

      0:54

  • --
  • Beginner level
  • Intermediate level
  • Advanced level
  • All levels

Community Generated

The level is determined by a majority opinion of students who have reviewed this class. The teacher's recommendation is shown until at least 5 student responses are collected.

3,240

Students

59

Projects

About This Class

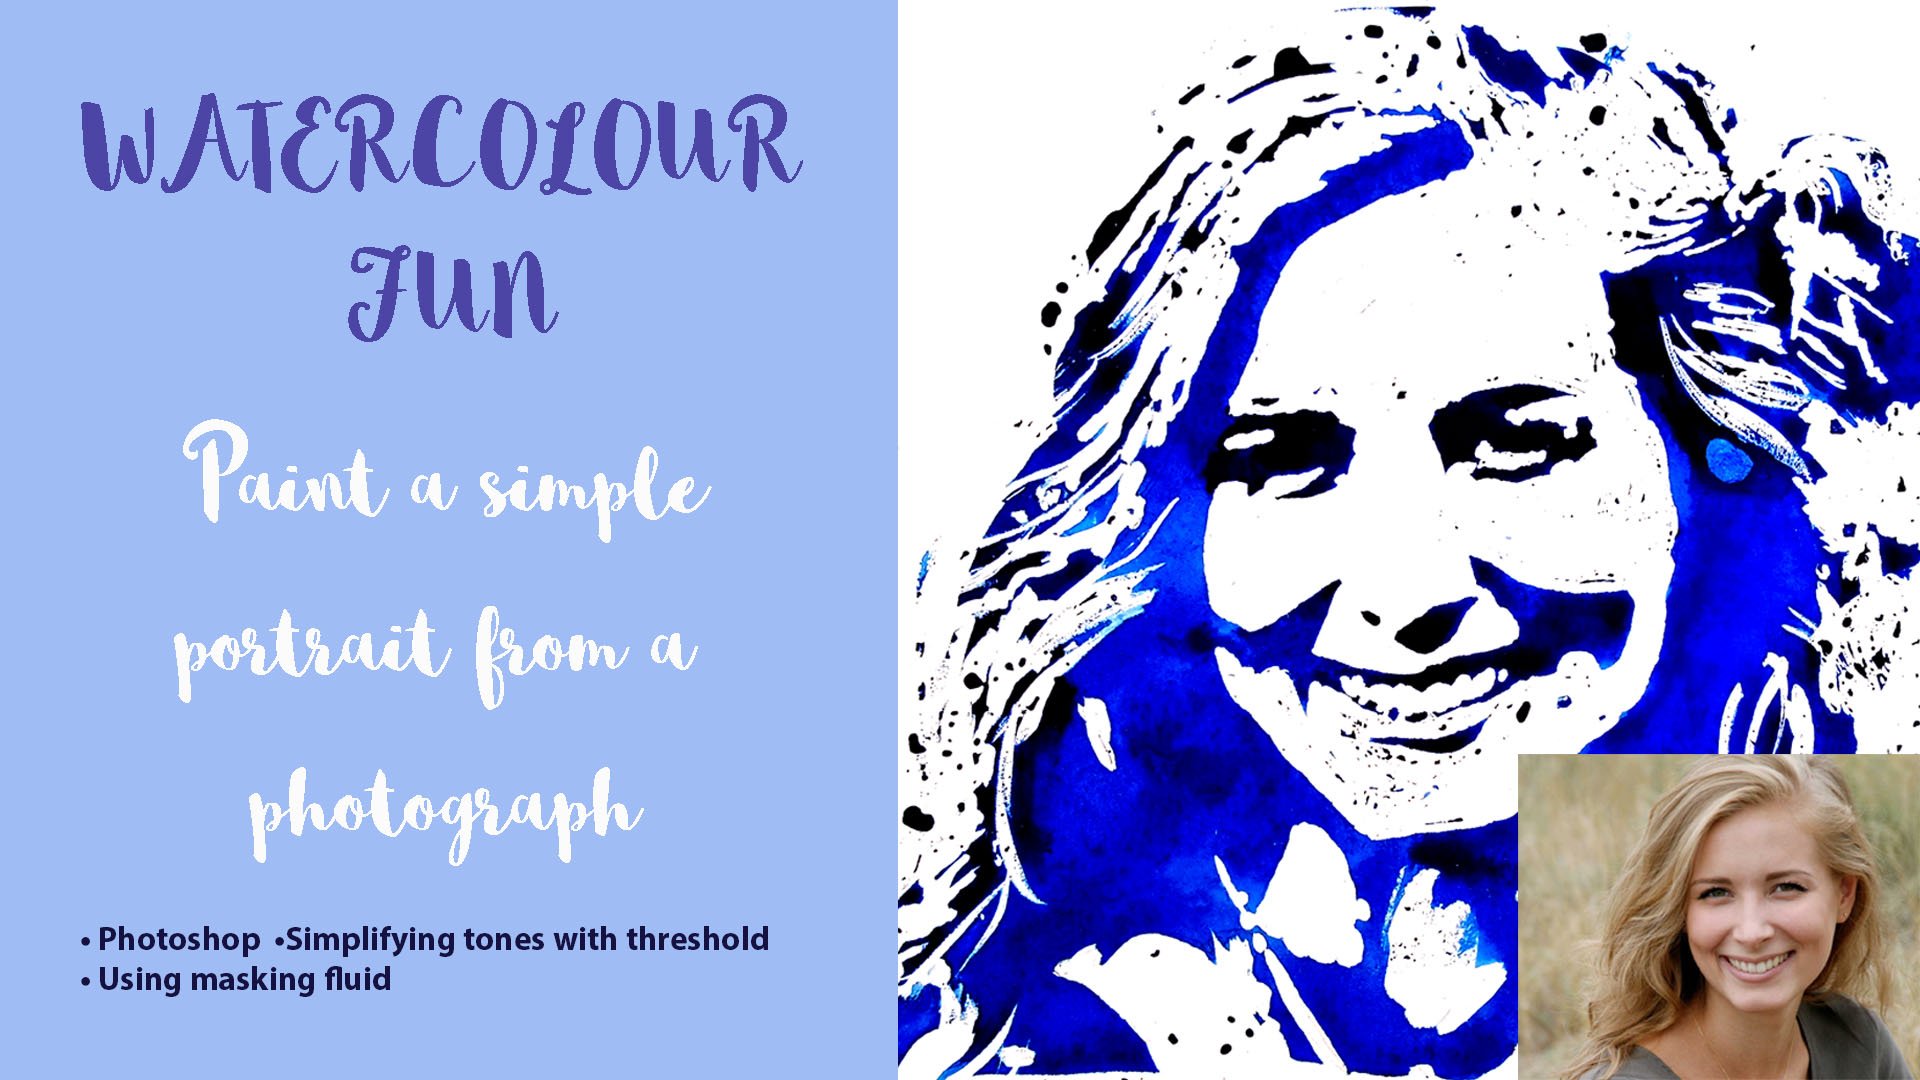
In this class you will learn how to illustrate a beautiful floral wreath using watercolors. This is your chance to really use your imagination and make a piece of work that is personal to you!!

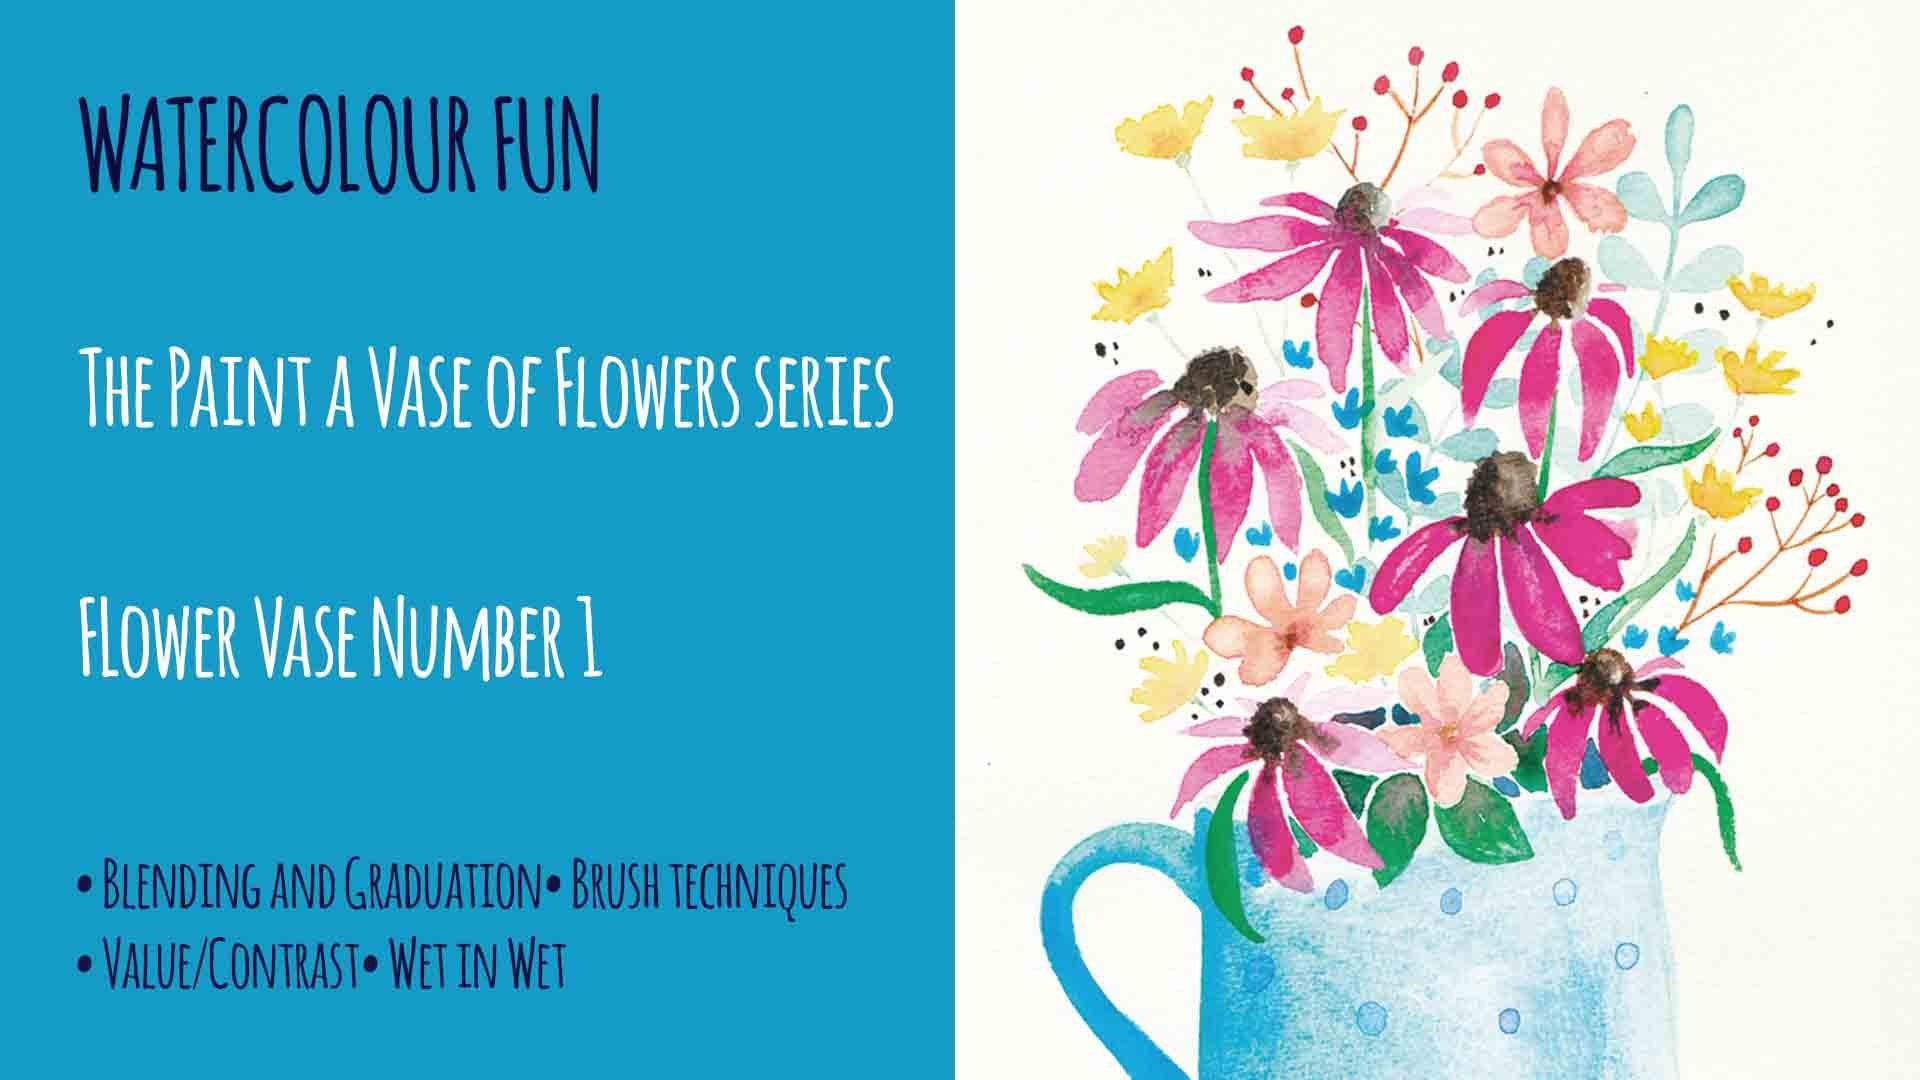
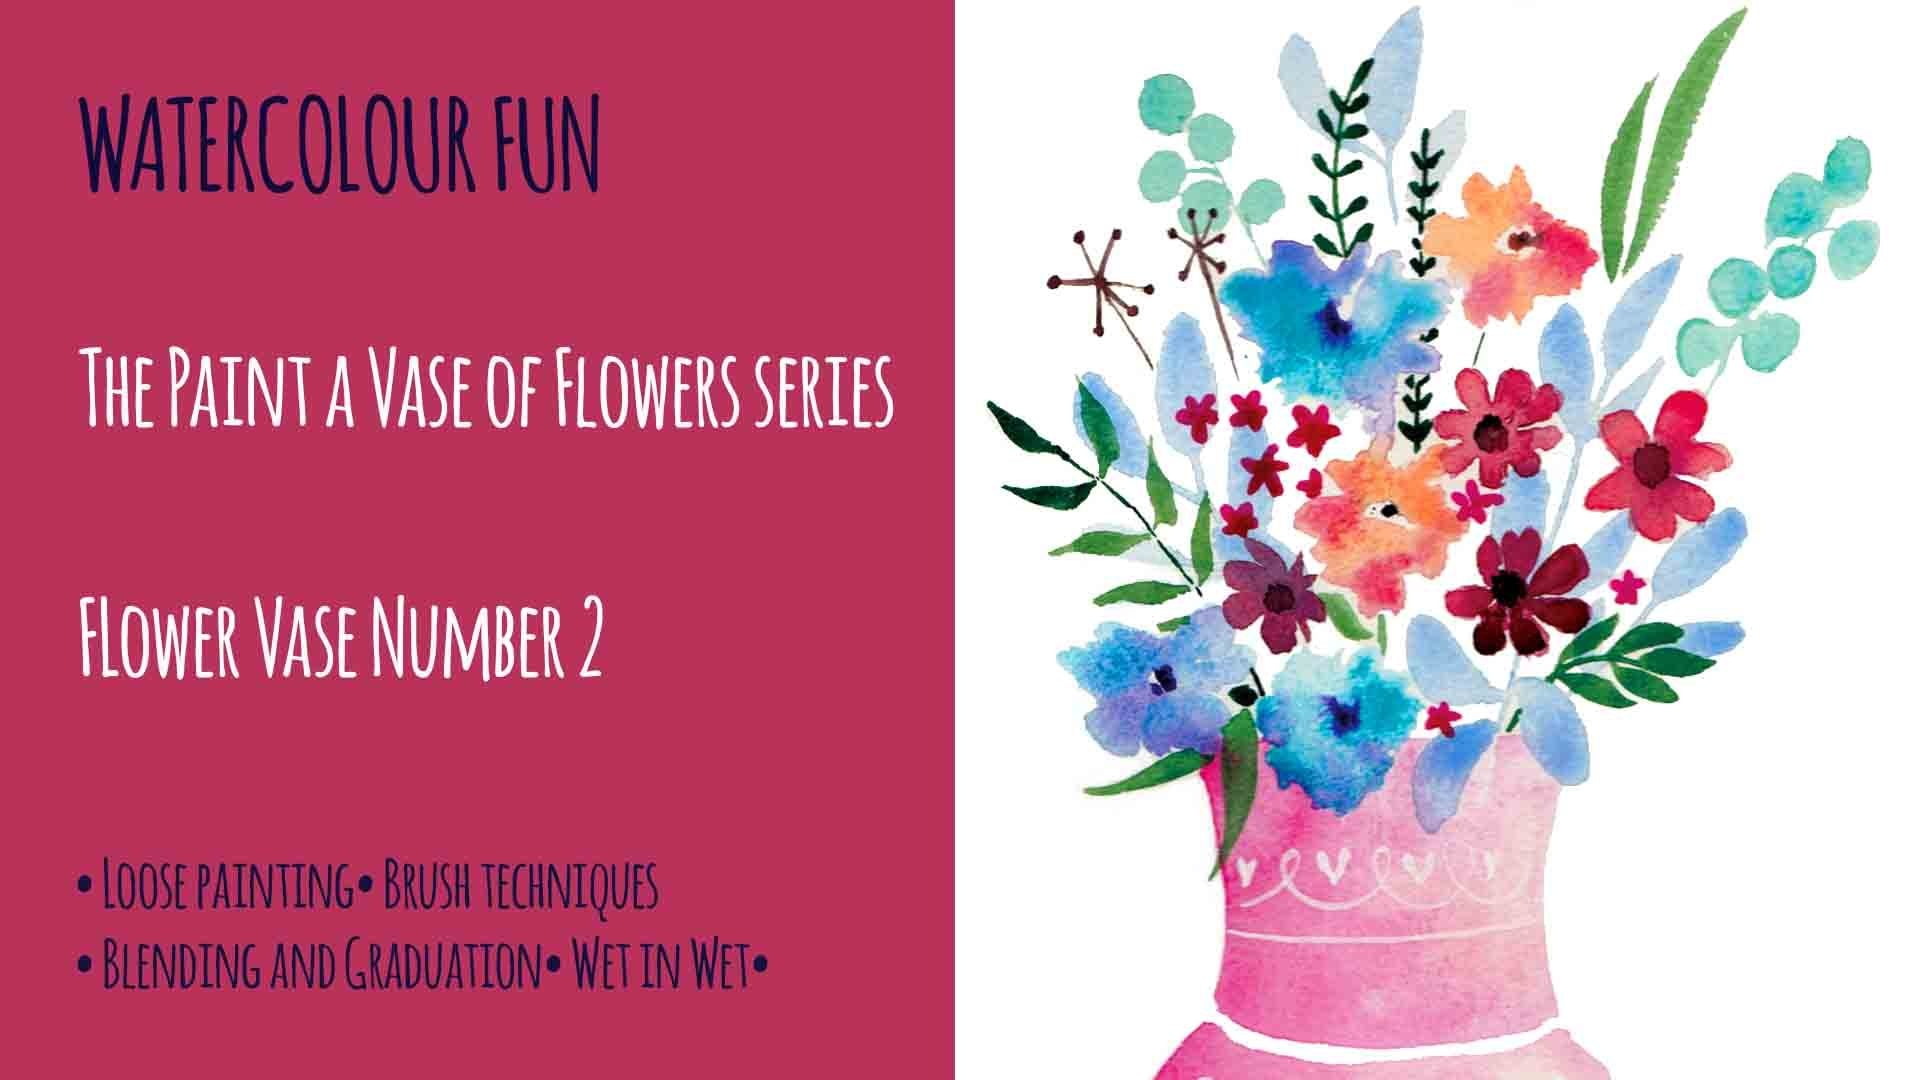
We will be looking at flowers and plants in the real world and using these images to produce simplified illustrated sketches in pen or pencil and then working them up into watercolor.  I will show you how to blend watercolor using the wet on wet technique and we will get to grips with some watercolour brush techniques which help to make painting easier. 

I will take you through the process of creating your unique painting step by step, all broken down into manageable, bite sized chunks. 

You will need something to draw with, scrap paper, watercolour paper, watercolours, brushes. Access to images of flowers and birds - maybe from your own garden!!

Meet Your Teacher

Teacher Profile Image

Denise Hughes

Illustrator, Designer, Tutor

Teacher

Denise Hughes is a freelance illustrator, surface designer and obsessive doodler who lives and works in Hampshire, UK. Denise works from her studio at The Sorting Office in Hampshire which she shares with 8 other makers and designers.

Denise has worked as a freelance illustrator for 10 years and currently licenses her designs internationally.  She is represented by The Bright Group International.  Denise combines digital work, watercolor and drawing to create her beautiful, contemporary images. 

Running workshops and sharing my skills with others online is really rewarding.

I hope you enjoy my classes.  


See full profile

Class Ratings

Expectations Met?
    Exceeded!
  • 0%
  • Yes
  • 0%
  • Somewhat
  • 0%
  • Not really
  • 0%

Why Join Skillshare?

Take award-winning Skillshare Original Classes

Each class has short lessons, hands-on projects

Your membership supports Skillshare teachers

Learn From Anywhere

Take classes on the go with the Skillshare app. Stream or download to watch on the plane, the subway, or wherever you learn best.

Transcripts

1. Introduction: With this project, you're going to create a unique floral read from your own drawings. I'll show you exactly what materials you'll need for this project. Firstly, will practice doodling some simplified flower shapes. Then we'll look at some simple brush techniques, which will really help you with your painting. We'll paint all re using our do doors as reference, and I'll also show you the wet on wet watercolor technique. Finally, we're going to finish armories with a bird centerpiece. This is going to be really fun. Get your brushes at the ready. 2. Materials: So here's what you'll need to complete your project. Some more colors. A small bow, a pencil, a black pin to watercolor brushes. I'm using a number one on the number three, some kitchen town since graph paper and, of course, some good quality water kind of paper. So there you have it. Let's get started for this painting I'm using to sable brushes. They're both by Windsor and Newton on their Serie seven sable brushes. I'm using a size one size three sable hair. Brushes are the best for water color, as they are the softest. They hold the most paint, and they retain a fine ticks on wet. However, if you don't have them, please don't worry. Just pick a couple of ram brushes that you feel comfortable painting. 3. Doodling Flower Shapes: when you found something that inspires you, start doodling. Let your imagination take control and take your pen for a walk across the page. You don't need to feel precious about these sketches there really just for reference. And to get you started painting, try and fill a hole a four sheet with doodles of flower shapes and leaves and foliage. 4. Practising foliage with paint: - it's all about brush technique. Learning a few simple ways People brush work really help your painting. Brown boards, color brushes have a thick and we told the paint Fine. We can use both parts of these brush to change the weight and shape of our lines. Bill your brush with water on paint, the first technique going to use a tip by painting with just the tip. We can create a thin line practices a few times just to get it on the second technique. We use the pick apart brush if we pressed down so that the hairs on a brush flat to the paper get a match. I think after getting real control of your brush, you need to practice using thin and thick lines alternately dishdasha with thing, Push down some food up. Okay, down two up. Two down to six. I was using my number three brush. Most of these shapes can easily be made by a single brushstroke circles. You just use the tip of your brush on paint a small circle. Of course, you could make the bigger If you want to make a really fine dots. Just use the very tip and press it onto the paper, going to try to make this shape here. Now, firstly, we'll start with the stem in the center, which is just a thin line, thin curve. And then each of the petals is just as pushing the brush down to its full it's with and then lifting off. Press it down to its fullest wit and lift it off. This flower shape uses exactly the same techniques, but just in a different position. So we're putting three petal shapes at the top of each stem. Now we're going to paint the foliage with the teardrop shape. So again, start off with the central stem in a curved line. And then what I do for these is I draw the outline off the teardrop shape and then fill it in to add some depth to this leaf. I'm going to add a touch of red where the leaf joins the stem. I just said it flood through into the wet paint. This is called the wet on wet technique. Me, This one so very going, actually, brush brush. Okay. Just using the tick of my brush with this one brush. Nice froth. Main stem. What? Free was these lies? I have little snow one coming up orange Do adults don't have to be orange? Very site do . 5. Painting your wreath: Firstly, take a small bowl and draw around it lightly with a pencil. You want the line to be really faint, as once you paint over the pencil, it will be very difficult for a raise. Take the watercolor doodle shapes we practiced earlier. Let's start adding them around the circle. They don't have to follow the circle Exactly. You can be quite loose with the design and remember to leave some white spaces in between the foliage. What this will do is give your designs and breathing space and allow you to go back in and fill these with flowers and more foliage. If you wish, - the next stage is to add the flowers. The first flower that we're going to do is a rose, so you need to mix yourself a nice pink and then starting from the center of the rose, paint a small arc and then opposite that and not the coming out from the center and then another. Now the paint needs to be quite watery for this, because this is just an initial coat of paint, which will be painting on top off again. Use the wet on wet technique to add more pigment This gives a little bit of definition to the rose on a bit of shadowing. Turning your paper as you paint can really help you keep the circle shape. Normally, paint all the foliage from the bottom, going up and meeting at the top in the middle. Doing it this way. You'll also find it is much easier to control your brush. Once your roses a dry, go back in with a thin brush on a darker pink and draw the edges of the petals in fine lines. 6. Painting the birds: for my centerpiece. I'm choosing to do since simple bird shapes. But of course you could experiment with something else if you wish. I'm using my pencil really likely to sketch the at one of the birds, and then I'm going to fill them in with my choice of water color. If you don't feel confident drawing the bird shapes, you invite a template in the class resources to help. Now we're going to paint some additional branches for the birds to sit on. Try to incorporate them into your wreath so they look as natural as possible. Now choose a color to paint your birds. I've chosen orange for mine. Using the wet on wet technique. We can get the birds and shading. I'm going to pick a sudden dark orange on. Just drop it in on the underside of the birds. Then I'm going to clean my brush and go back in and blend the two areas of pain together. Of course, you can make your birds as detailed as you wish, but I'm choosing to keep my quite simple. I wonder what will be in the centerpiece of your E. I can't wait to see it 7. Final Thoughts: So you've painted your floor. Read congratulations. Along the way, we have learned how to use nature for inspiration. We've got how to take our sketches and simplify them into an illustration. We've learned some useful brush techniques to help us with our painting. We've also learned the wet on wet watercolor technique. You've used all these techniques to create your beautiful, unique painting. Whatever you have created, I really want to see it. So please share it in the project. Calorie. I can't wait to see what you created till the next flower.