Transcripts
1. Introduction: Hello friends, Indiana and I am back with another water color for beginners class. I can't even express how much I loved watercolors for all those cool effects you can get only with this medium. And several of them we are going to explore in this class today. Painting with watercolors can be challenging sometimes, but I can promise you today it's going to be relaxing and fun and you know why? Because we are going to be painting Misty pine forest. And painting trees is my favorite thing to do because it just can't go wrong. Okay? Trees are there in so many shapes and sizes. You don't really need to worry about proportions or symmetry. You can even paint from your imagination. But if he wants to have some reference photo just to be sure to get inspired, I'm going to provide several of them. In this session. I'm going to walk you through the basic difference between wet on wet and wet on dry painting techniques. And how to use these techniques to paint beautiful MR. forest and creates a depth in your painting. And not just in this painting, but in any other painting, painting in the future. We are going to create two paintings today. One showing the forests from the distance and another one like from within. Like we are standing in the middle of beautiful misty forests. And guys, this is by far my favorite painting styles. So I really cannot wait to share all my tips and tricks with you. So if you are ready, we can get started.
2. Materials: There is nothing special you would need for this class and Project. But just to make sure, let's see what I got here. We are going to need a watercolor paper. Here I have a sheet of Aquafina and watercolor paper by Taylor and Brownie. I can recommend this kind of paper for exercises and practicing. But really any other kind of watercolor paper you have, it's fine, no stress. I have some water color paints intense here. This is white knight series by russian brand St. Petersburg, which is surprisingly lovely watercolor set with really rich colors. I use it a lot, especially this lovely indigo color here, which is my favorite and I am going to use it in this class as well. I also have three brushes here. This one is bigger and I'm going to use it primarily to wisdom paper. And these two are smaller. This will be used when the trees and small details. When I'm painting on a single sheet of paper, like not a sheet of paper glued to the block of papers. I like fixing the paper to the cardboard with a masking tape is optional, but I like it because it helps the paper stay stretched and prevents backlink. I also have two jars of water here. One of them will be used to clean the brush as working with the pain. So it's going to get dirty. And water in the second one will remain clean and it will be used to whether the paper and the paint, our lovely white folk, bear that in mind, two jars of water. And as I like to recommend, it's good to have a piece of paper towel handy when painting with watercolors. It can help you to correct mistakes or clean your brush. And that's pretty much it. Nothing special guys. So if you have these few things at hand, we can move to a bit of practicing.
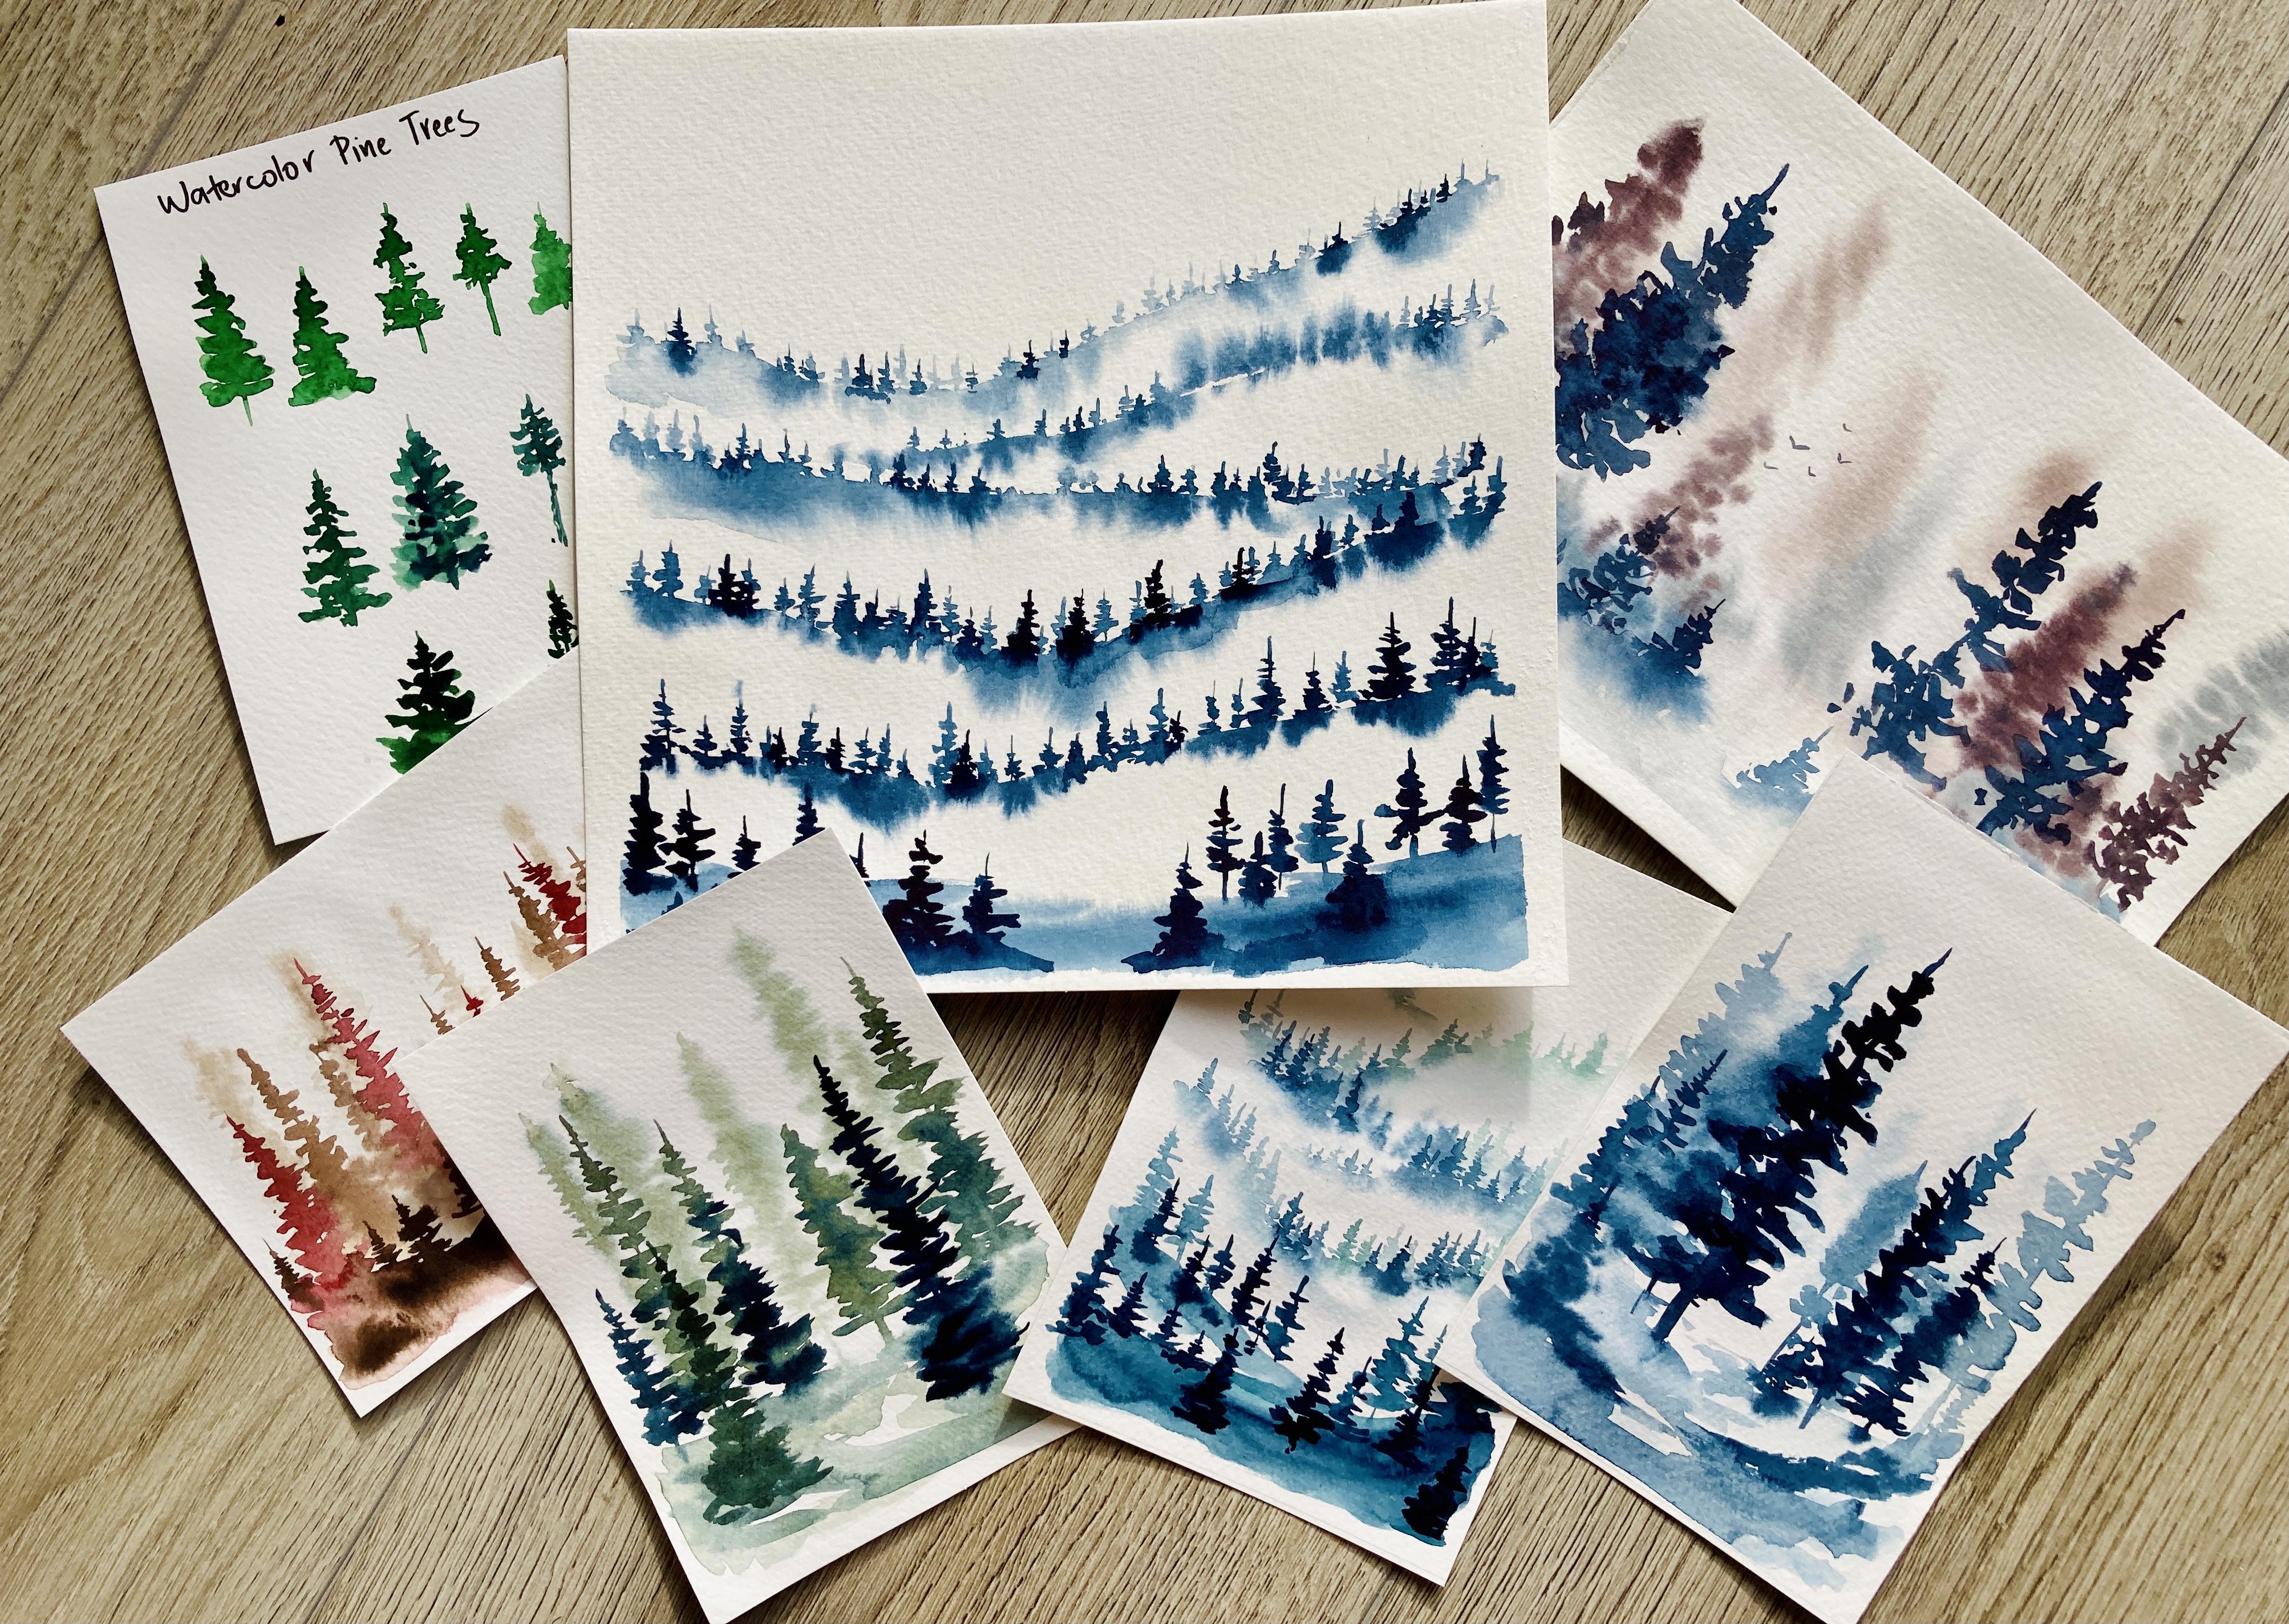
3. Painting Pine Trees + Watercolor Techniques: I believe that what makes people nervous about, about a colours is mostly how they run on wet paper. It's hard to predict the results sometimes when you paint on whether background, but this feature also makes watercolor my most beloved medium ever. Watercolors. Ability to run Flow and create lovely soft edges and smooth chord transitions makes it possible to really capture the depth in your painting. Especially in our case, when we want to paint trees partially hidden in a male chemist, you may be hurt artists talking about wet on wet and wet and dry. These are basically the two most used about a couple of techniques. And not only in landscape painting. Wet on red means that we are painting with a wet brush on wet paper. This technique gives your objects smooth edges and depending on how much water is on your brush and on your paper, the object can change its shape to a certain extent. This technique works perfectly for objects in the distance covered in fog or smoke, because in this case is there will be no details visible and the whole object would be an off not so much definition. On the other hand, wet and dry technique isn't placed when you want to paint in details. You want your object to be precisely defined. The edges are sharp, colors more vivid, and in landscape, you would use this technique for objects closer to you, are objects emerging from missed. Another extremely important thing to mention is that the only wide we have in watercolor is the white of the paper. He is, of course, there are some white watercolor paints, but they are used mostly to be mixed with other colors for small finishing touches, but not to cover bigger areas because they are transparent. They are not opaque enough. So before you start painting and all the time you are painting, you need to keep in mind which areas you want to remain white or light. Because once you cover these spots accidentally with darker paint, there is no turning back and there is no way to correct it. I'm saying this because we will have wide MACed in our painting. And this white mist will be painted just by leaving the paper clean. Only clean water will be used. Now the older necessarily theory is covered. Let's paint some trees. This is how I pains pine trees. I basically started with the drawing, a line representing trunk and then edges to build the branches around from the top to the bottom. I don't worry about details at this point. I just want a nice pine tree shape. For more details, you can play around with their special features. Like some trees have the branches only on top. Some have some missing branches in the middle. Okay. Some of the trees can be rich. And why? Some are tall? Whatever you like and whatever suits your style. This is exactly what I was talking about. It's very variable and you can just have fun painting. This is a trace. Now let's try painting some pine tree on the ground to see what it would look like in our final benthic. And they'll also help you to get the feeling of how much water to apply on the paper to get the desired result and how it should be to make the tree look like it's in the fog. Okay. As the first layer dry ice, you can try painting more trace over it. This time were darker color. You can see the difference between applying color on a wet versus damned paper. This time your trees are more visible, more defined because they are closer to you and they are covered in less mist. And finally, as the paper is completely dry, let's find another line of trees. And this time I'm using gray rich color because these trees are right in front of me and I can see them clearly. And now let's practice giving your tree this feel like it's covered in fog on the bottom and only the tip and few branches are visible. To get this emerging look, you wants to combine wet on wet and wet over dry technique. Here I'm going to apply a layer of clean water and that will be my missed. This was area will give us those nice soft edges in the lower part of the tree. Now I'm going to mix myself nice light blue, and I'm painting above that area so that the top of the tree is nicely visible. But as we go lower and reach the west part of the paper, the paint runs into the water and three is fading in the Fock. You can paint several trees next to each other. And you can also add one more layer of trees in darker tones to add some depth. The painting does not need to be monochromatic. You can choose two or three colors and combine them allied with the trees in the distance can be blue and those that are closer to you or to the observer can be green. It's fully up to you. You can choose any color you like. But if you want this calm for the effect, I recommend shades of blue, dark green, or gray. I like painting forests like this in only one color and play with his intensity to create different shapes. In case the paper dries in the meantime and your pain is not running properly. You can always go back and watch the paper again with clean water and clean brush. And you can play around with colors and more layers if you want to create even deeper effect. And when you're ready, you can proceed to our final project with me.
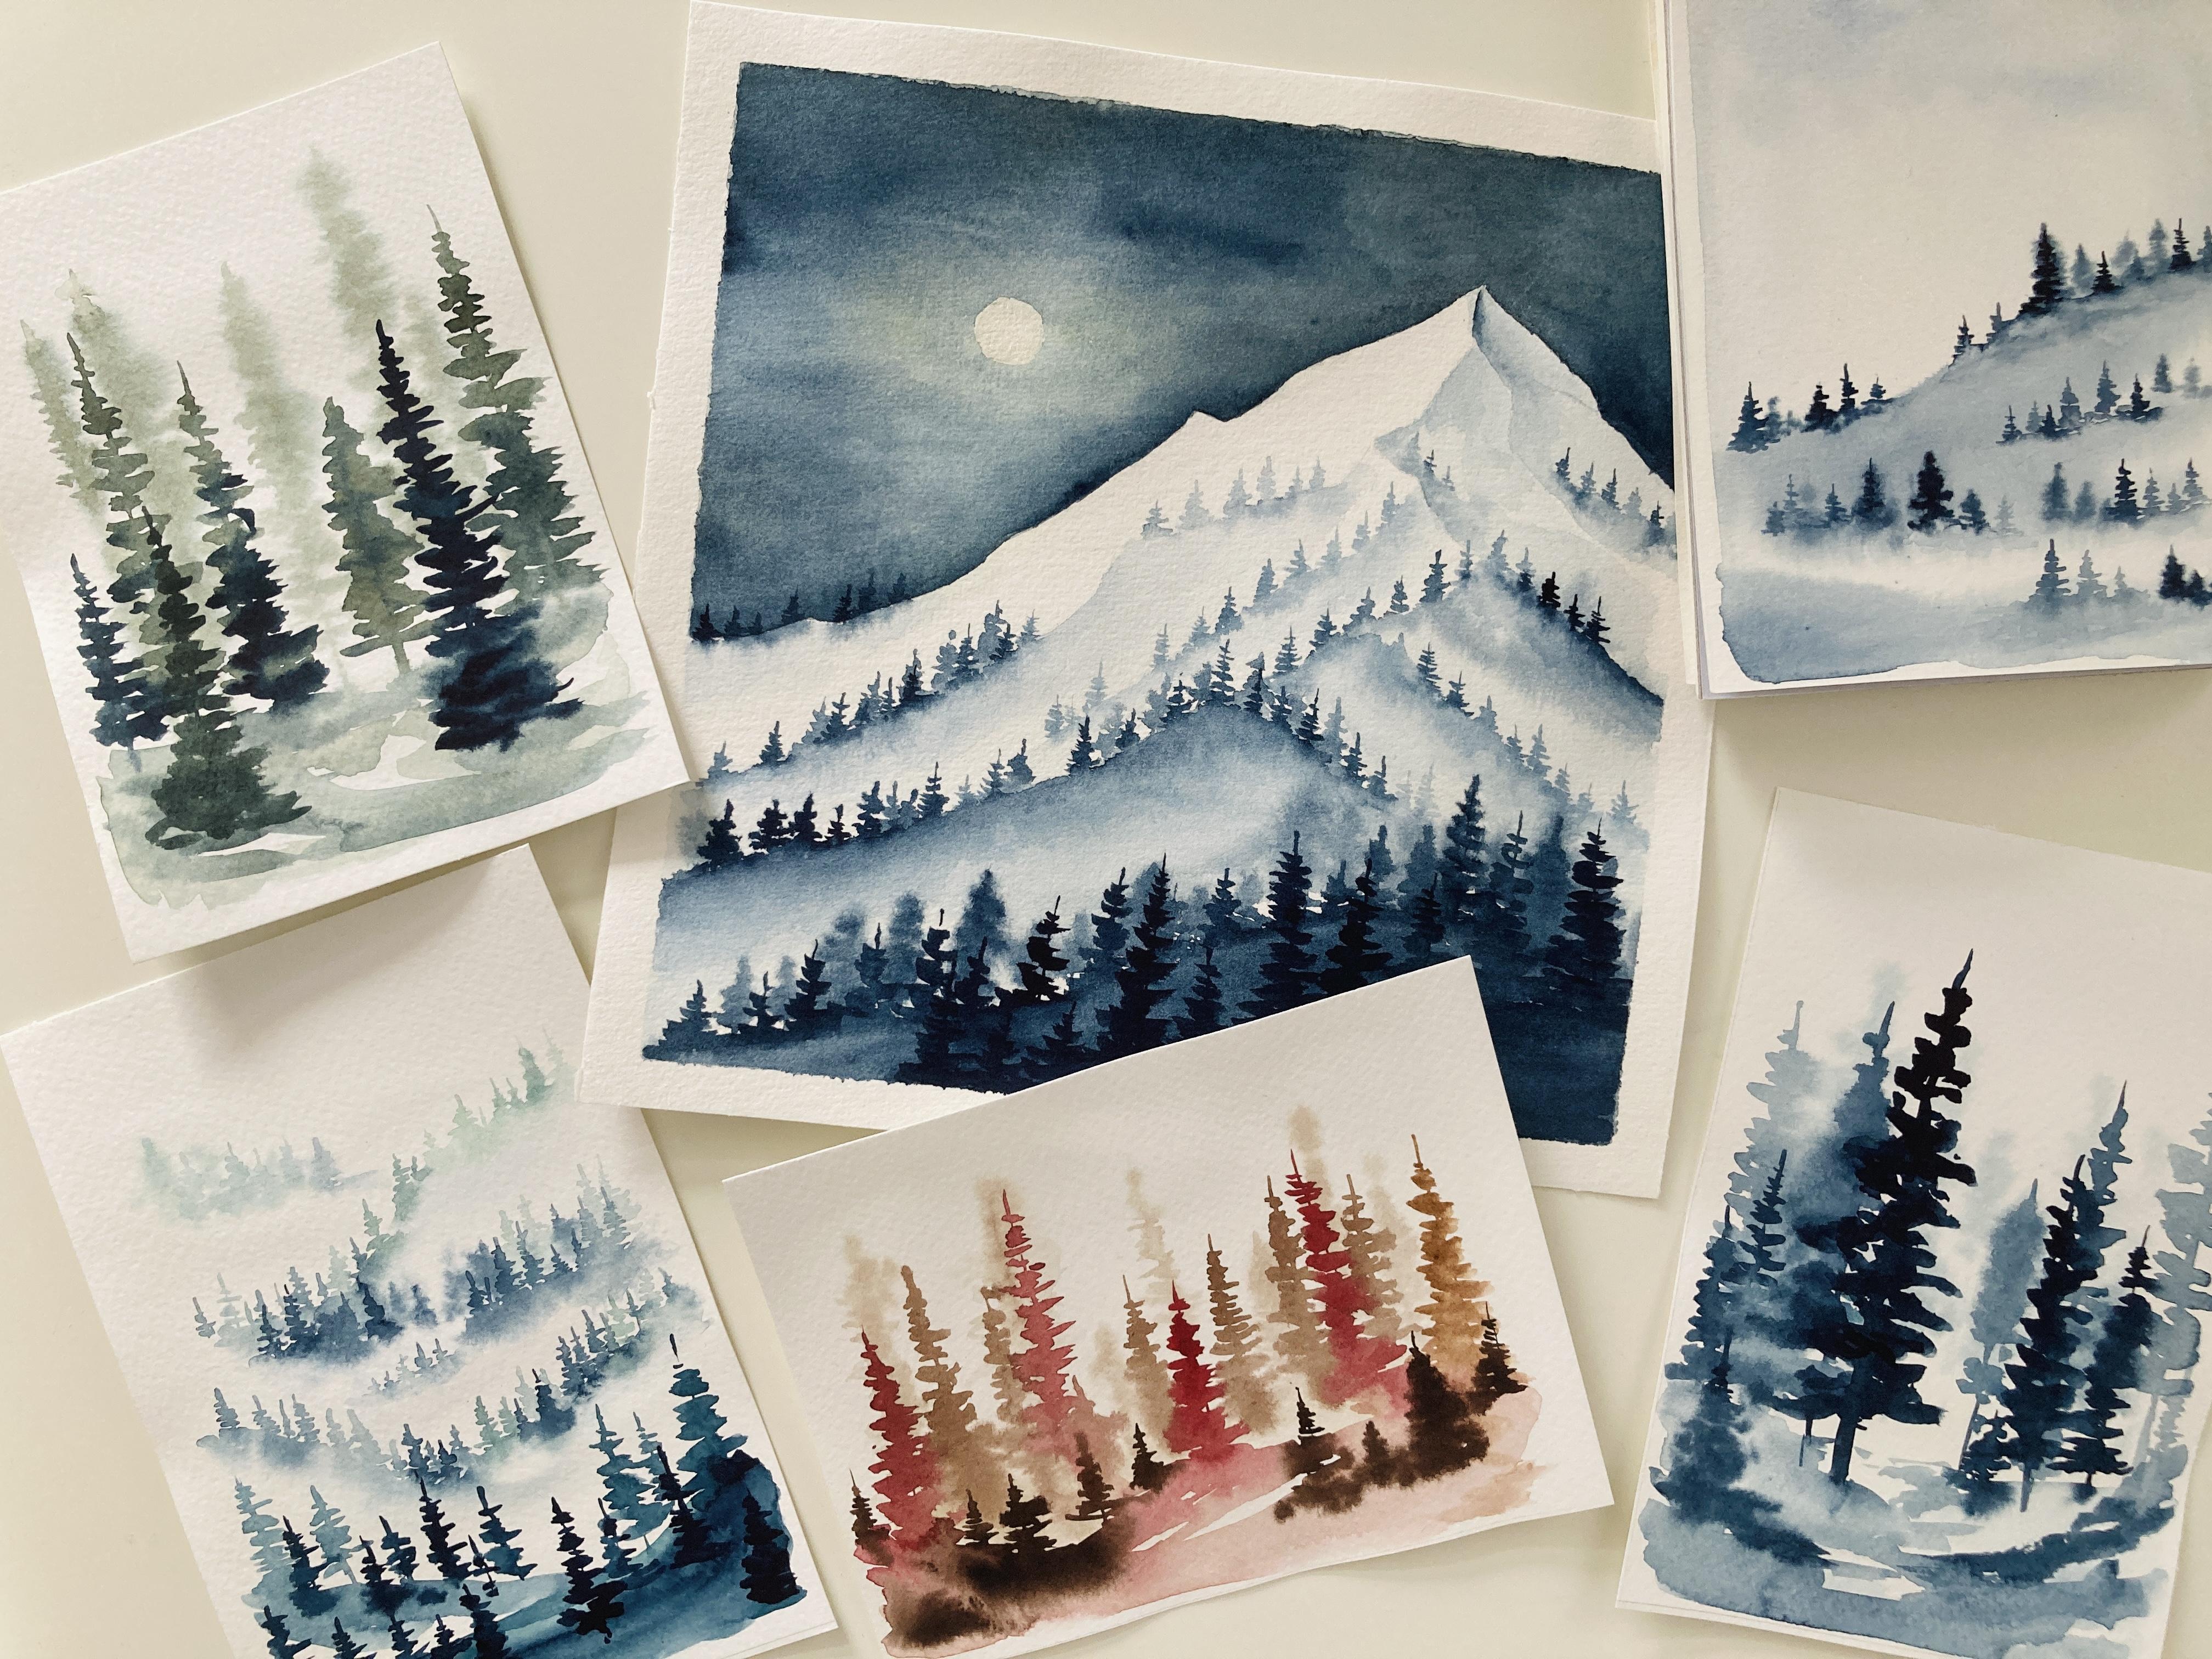
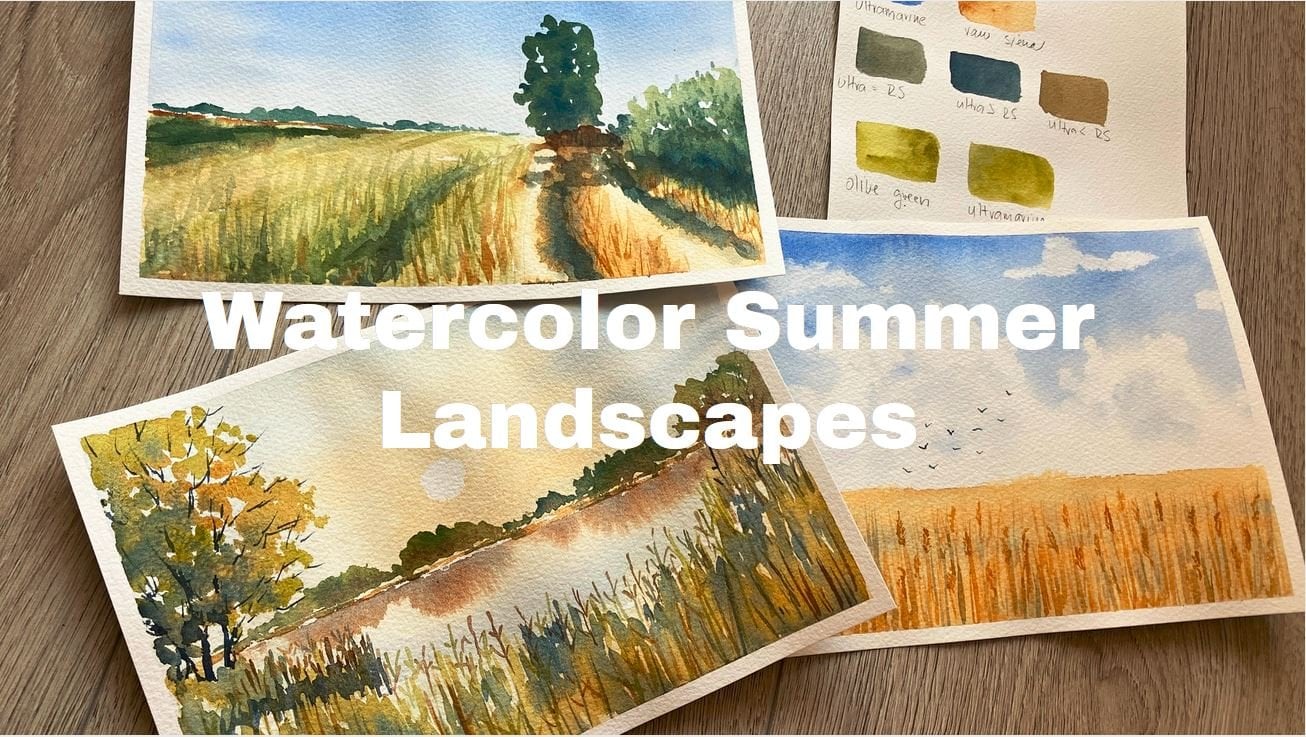
4. Project 1: This is final project number one. And here I want to paint a boundary forest emerging from domestic, Like I would say it from the distance. In the project section, I uploaded several reference photos for you so you can get inspired. But you can also just depend from your imagination or a paint along with me. I am painting from my imagination and I am starting with deciding where I want my trees to appear. I like painting the trees in ranges descending and ascending to represent the, the hills. And that is the only sketching I am doing here. Just slightly suggest how the hills with the trees would fall and rise. Don't draw the lines to direct. You don't want them to be visible under the painting. You can see that my paper is fixed to hard board with masking tape. You can do it, but it's not necessary for this project because we are not using data much bolder. Also, my paper is 21 by 21 centimeters. You can choose whatever size you like. I like painting on small papers, that array. I do not need to rush so much before the paper dries. I started with the most distance trees. Those are the trees on the highest hill. So let's take my clean water and clean brush and apply a water under the line I drew. Here, the wet area will be my mist and the trees will be painted above that with ERA. As these trees are the most distant, I'm going to paint them in lighter color. And as I go closer and closer and the paint would go darker and darker. Also, the trees in the distance are smaller than those in the foreground. But we're not there yet. So let's focus on the first layer and the first hill We have to paint. You can see that I paint these really small and really lose now. And I also jumped from left to right and then to the middle. But you don't want to read like me, you can go one direction. That's also good. And you can see how lovely the pigment runs into the west. And again, do not worry if the paper dries before you are done with the painting. You can always apply more water under the trees and mentor paint run nicely again. I am going to now be darker color now just here and there because I want my highest held to be the lightest. Okay. I think the first seal is done. So let's apply some water under another range of trees. And now I mix a little bit a darker blue to paint the trees a little bit closer to me. Also see how I try to change the size of the trees. Don't make them too uniform. It looks more natural and they differ. Interesting thing happening here. The wet area from the first hill is still wet and I arranged it painting the second range of trees. So now I'm doing full wet on wet dump pen and give something like this happens. It can work in your advantage and create some interesting effects. And I like it very much actually. See the randomness of watercolor can really be magical. I was not planning for this and yet it looks absolutely lovely. Okay, let's go clean water and we're painting. Forgot to change the intensity of the color as you go. Even in the same range of trees, it will make it more interesting. Now here I have to come back with a wet, clean brush. This era seems, alright, the dry. Here we go, flowing nicely again. You can see that I still do not worry much about the details. My trees are just a shape, but just a hint. One central line for trunk and few crossing lines, four branches. It's easy and it's still looks lovely. Watercolor is the best medium for Lewis painting style, I guess, or at least my favorite. And we are moving to heal number four and we are really getting calls now. Apply some Walter sketched line and here we go. My 3's are now bigger, but I'm still keeping this low style because I just like it. The color is darker again as we go closer. And I'm going to mix myself even darker blue to make it more interesting. And here I'm putting some more water here and there under those trees were depend does not flow anymore. I'm almost done here, guys, how are you doing? I must say I love it very much already. I can't wait to see our paintings. The last Hill, let's go. Clean water and indigo paint. This time really rich and the trees are even bigger. The paint runs lovely into the wet area. Here you can play with the shapes of the trees, just like when you are practicing. You can give 13 more branches then the other sub tree can have visible trunk. Whatever comes to your mind. See you don't need to worry. This is in my opinion, the best way to relax. Just paint some random trees and led to water, do half of the job. And now guys, sorry, you don't see it properly. But I am now painting the foreground with a rather whether indigo mix. This will be the ground. My closest three is grow from. If you like the painting, we are the foreground. That's okay. You don't have to paint it and that means that you are done. But if you want to try it, just paints the ground. Also, you can go in with clean water to smoothen the edges. And then with really rich color. Pens at the foreground, three is nice and big. I still keep my trees loose because I like it and see how i do not place my foreground threes right next to each other. I wrote a pain to understanding a little bit higher. The other gives us even more that they like it because I love it. This is all for today, guys, I have one more project for you. So if you are done with this one and the one to try something similar, but let's go to the second project.
5. Project 2: For the second part of final project, let's paint a MR. forest from within. Imagine you are standing in the middle of a forest. You can see the threes right in front of you. But the farther the trees are, the more they fade into the silken mists. Also, to add some more perspective, threes closer to you, I appear bigger and those in the distance appear smaller. If you need some inspiration, there are some reference photos and paintings in the project sections for you. I recommend fixing the paper to some panel or desk this time because we will be using much more water than in the first project. And the paper called curl a lot and we need to keep it stretched. This time I'm doing NOW sketching and all. I'm going to paint all my trees randomly. Just bearing in mind the dose trees farther from me are lighter and software and those closer to me are darker and more defined. I started with wetting my paper first. And remember, this wide of the paper will represent the fog deep in the forest. So now as my paper is wet, I just take my brush and I make surreal light shade of nice reddish brown. This is Carmen and scipy omics in fact. And pain. Several lines and dots here and there. You can see how the paint runs on the width background. There is no need to worry about details and branches. This is the least visible group of trees. A hint. It's going to change its shape. So now it looks a little bit like a tree, but in few minutes you will see just a blur spots of very light color. This is wet on wet. And similarly to the exercise we were doing before, we are going to build more and more layers of the forest by painting the 3s darker and darker. Adding a bit more details to the three is closer to us. So here I have another mix, this is indigo and CAPI and given me a nice gray. And I'm painting more trees, more shapes, and the paper is still quite wet, so the paint is running nicely. One very important thing to remind you, do not cover every wide spot in some color. Leaves some of the gaps between trees, white. Covering all the paper with color, even light color will take that area elegance away from your painting. So be careful to preserve some white spots. Not only. We paint for reforest, but almost in any kind of watercolor painting. Here, I am painting some foreground. I have, my paper is still quite wet and also the color is rather watery and light. You can add also some bushes here and there I paint mine would indigo paint. And it's still very runny and loose. Now as the paper is done to applying another layer of trees, you can see that my trees are more visible, more defined, and see that my paint is quite thick now not to water. I am also painting some grasses or small brushes with this reddish brown to create some contrasts in the foreground. And now I want to add the last layer of trees and I wanted to paint it on dry paper. So wet and dry. And my paper is already dry. So here I have a nice dark indigo and I will use it for the closest trees. And I'm painting them tall. The edges are sharp, but I still do not worry about details very much. I want them loose. I don't want to overwork it. And it's also quite important thing to say about, about a colours that usually license more. And look at those trees were painting the First, they are completely hidden in the fog. If your paper is derived already, but you still need to create this effect. You can apply a bit of water over a dried layer, but be careful applied to Walter gently not to pick up the pigment already on the paper. See here I used the same technique we used for the first project. So I am watching some spot on the paper and painting the trees above that spot. Letting the bottom part of the tree touch the wet area and drum. And as we move to the foreground, you can add more details, paint, sample shares. And one small thing I love to do is to feign couple of flying birds, just very simple v shapes. And instead, I'm going to remove the tape only when the paper is completely dry so that it dries flat.
6. Final Thoughts: Thank you guys for taking this class. I really enjoyed it and not just because I love painting trees, but because I had this chance to share my process with you, I hope you liked it as well. And if you want to, please leave your feedback and do not forget to upload your creations in the project section, I would love to see your paintings until next time. Take care.
 Jana Raninis, watercolorist