Transcripts
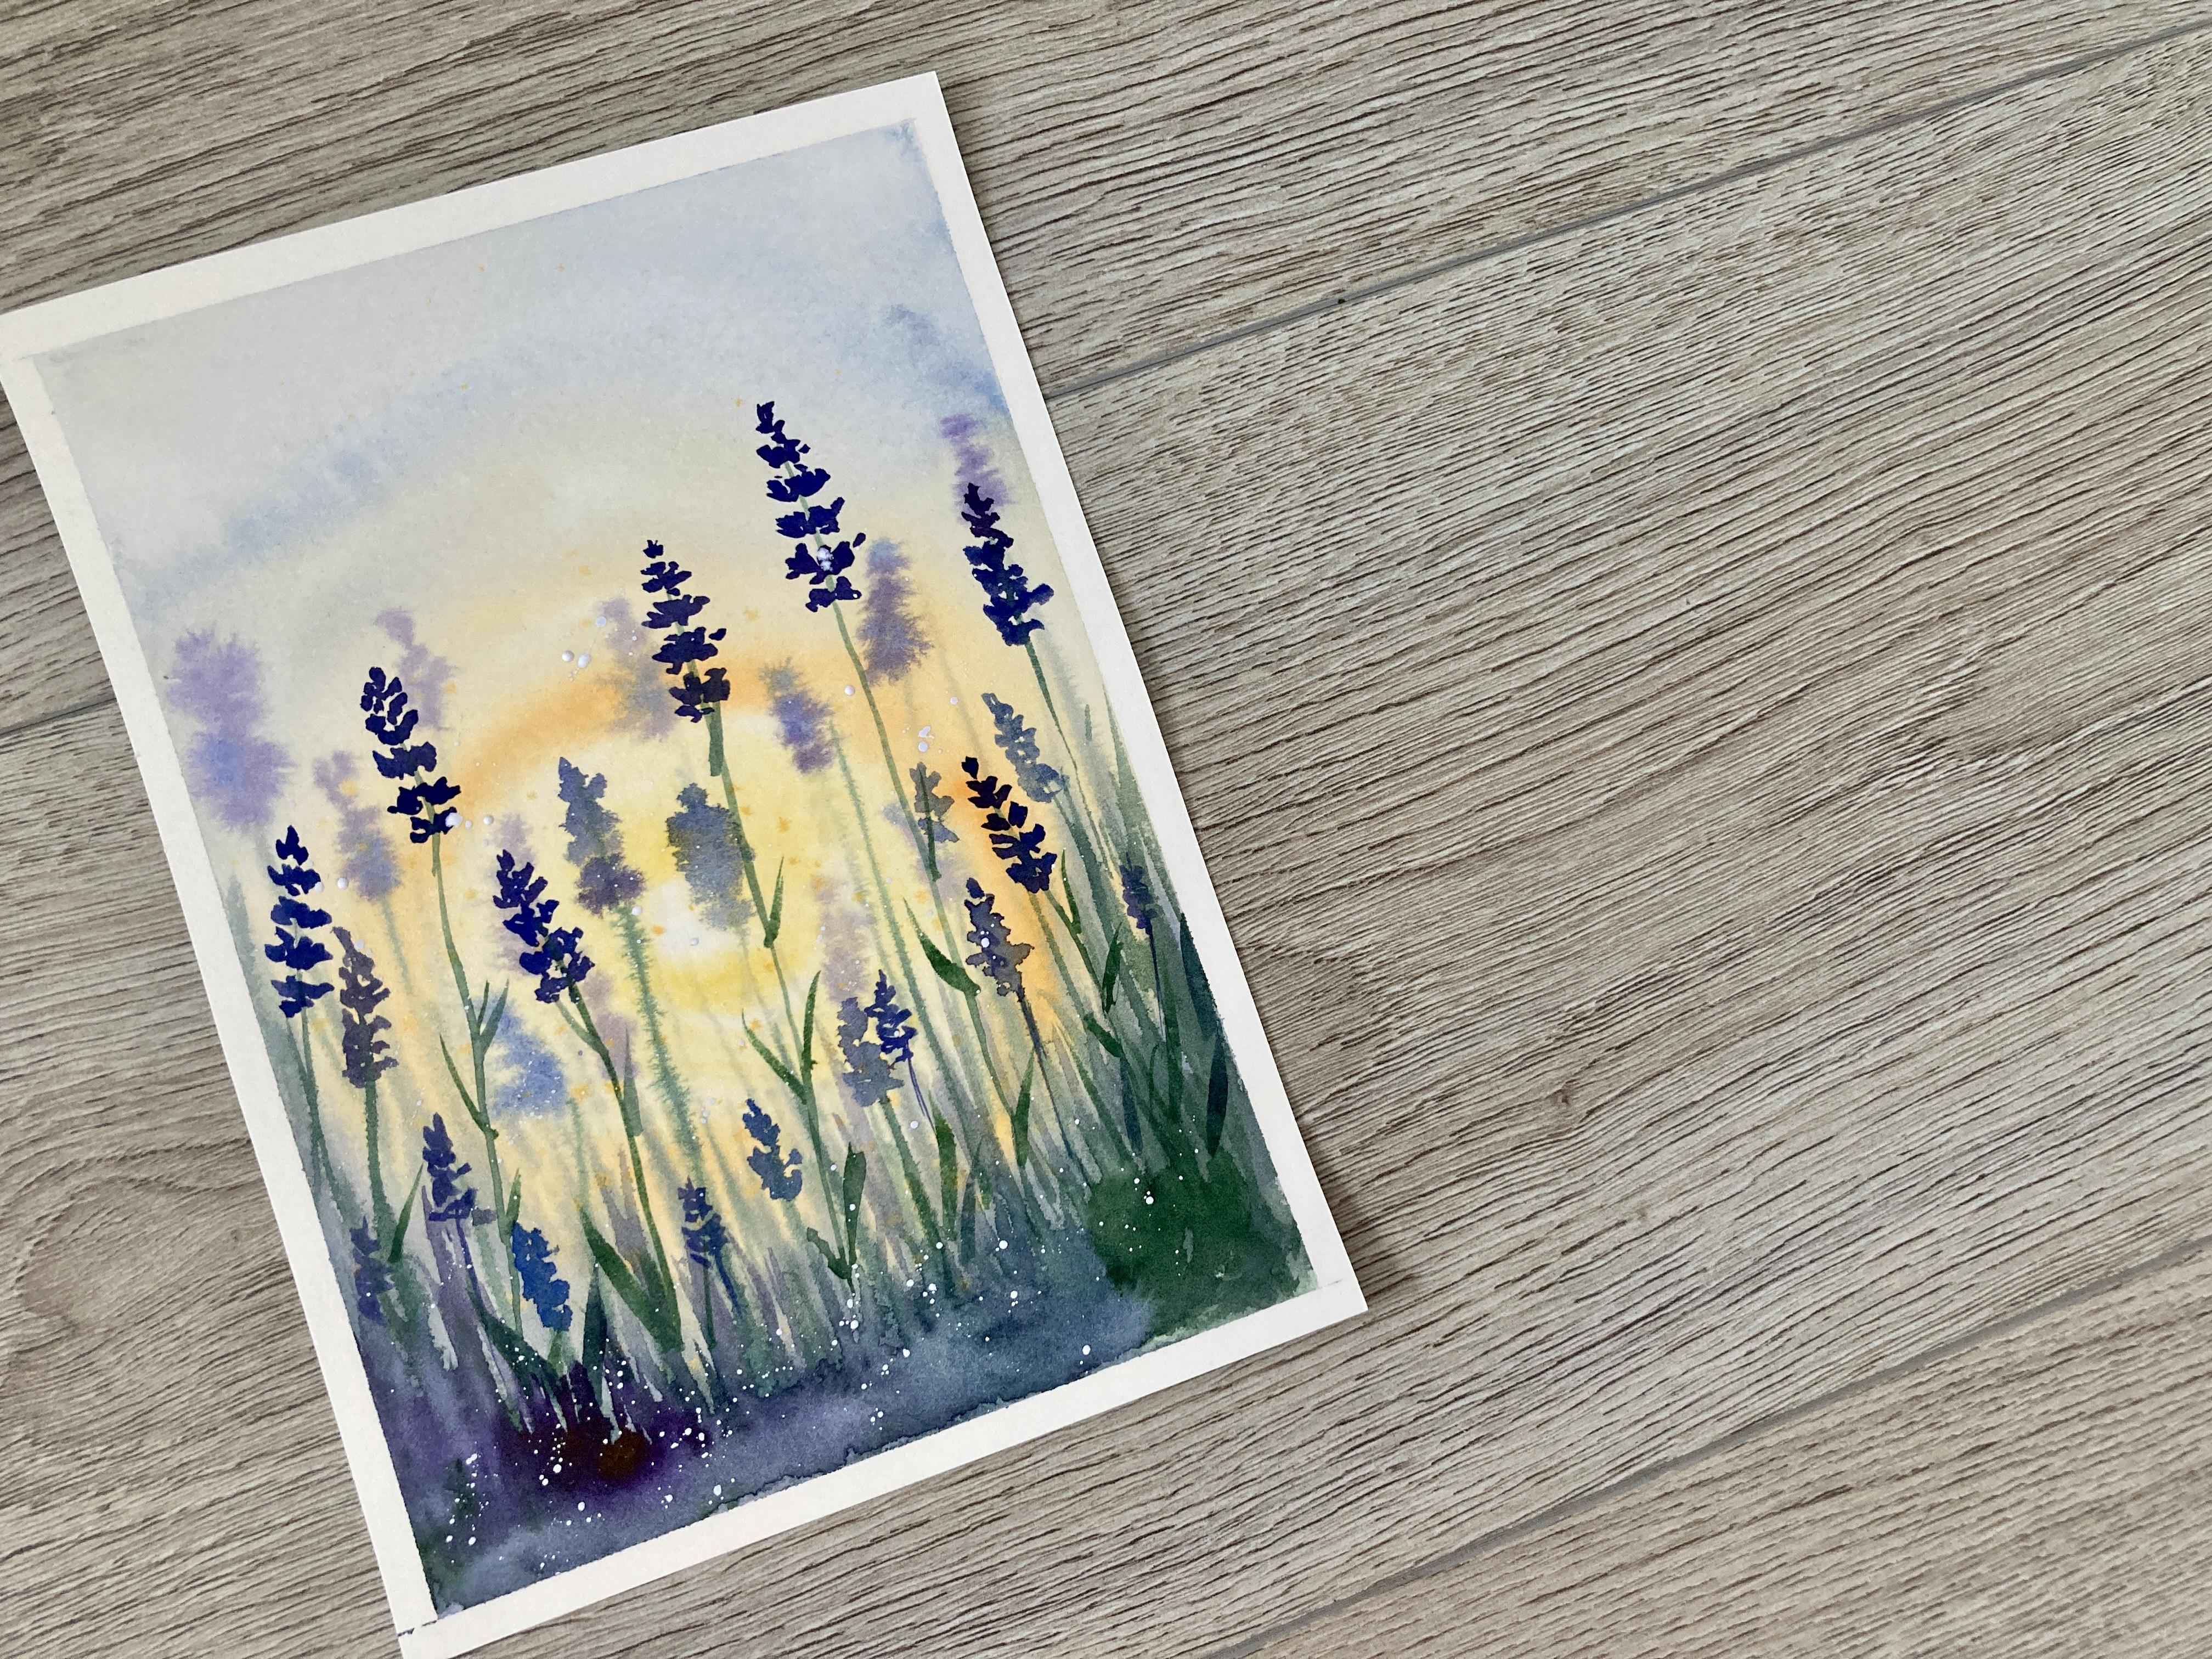
1. Introduction: Hello friends. Long time. No. See, I enjoyed my summer and so did you, I hope. But today I am back with another watercolor class. And this one still has a little bit of summer feeling to it because we are going to paint a lavender flowers. I don't know about you guys, but I love lavender. And like my mom who says Love under stinks. But I guess different people, different opinions. And you don't have to be fun of lavender smell to take this class. All you need to be fond of is dreamy and loose watercolor painting style because we are not going to get too realistic here. That's not really my thing. I like my paintings to be dreamy, loose and seem effortless, and that's what we are going to do today. We are going to talk about the wet-on-wet painting techniques. We are going to learn how to paint simple lavender flower. And then we are going to combine all these things together to paint fresh little piece like this. So loose lavender field with a warm sun shining from behind the flowers and grasses. So if you're already, we can take a look on what materials we are going to need for this class.
2. Materials: Okay, so let's see what do I have here? First of all, I have some watercolor paper. This is Arches watercolor paper, hot press. It is a 100 percent cotton paper, so it's the best paper for watercolor. But it also can be more expensive. And it also is more expensive. But don't worry, use any watercolor paper you have at home. I like using cotton paper because it drives more slowly and gives me more time to work on the painting, especially when it's wet on wet. But many times I used and I'm still using pulp paper. And you can also get nice results on the kind of paper sono stress. Next thing we have here is my watercolor set. This is Russian brands and Petersburg, and I use this set old time. It's very affordable, at least here in Europe. And the colors are of decent quality, but any watercolor said you have is good. And of course some brushes, I have bigger one for the background mainly, and some smaller and thinner ones for details. And as usual, I have some paper towel and jar of clean water when working with big amount of water as we will be today, I like fixing my paper to a piece of cardboard to prevent it from curling and have some masking tape here to do it. As a finishing touch, I'm going to split or some white gouache over the class project painting. So I have some gouache here. This is real tolerance designer gouache and Winsor and Newton gouache. If you don't have white gouache paint, you can also use white acrylic paint. Or you can skip this step completely.
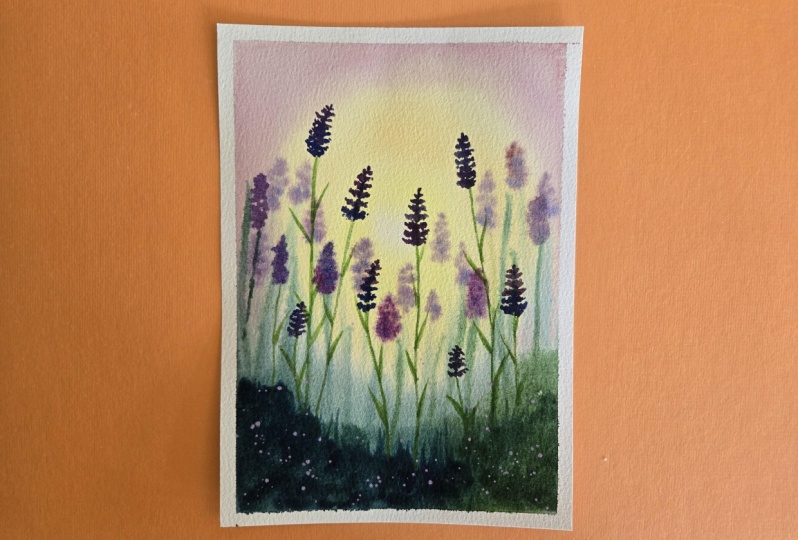
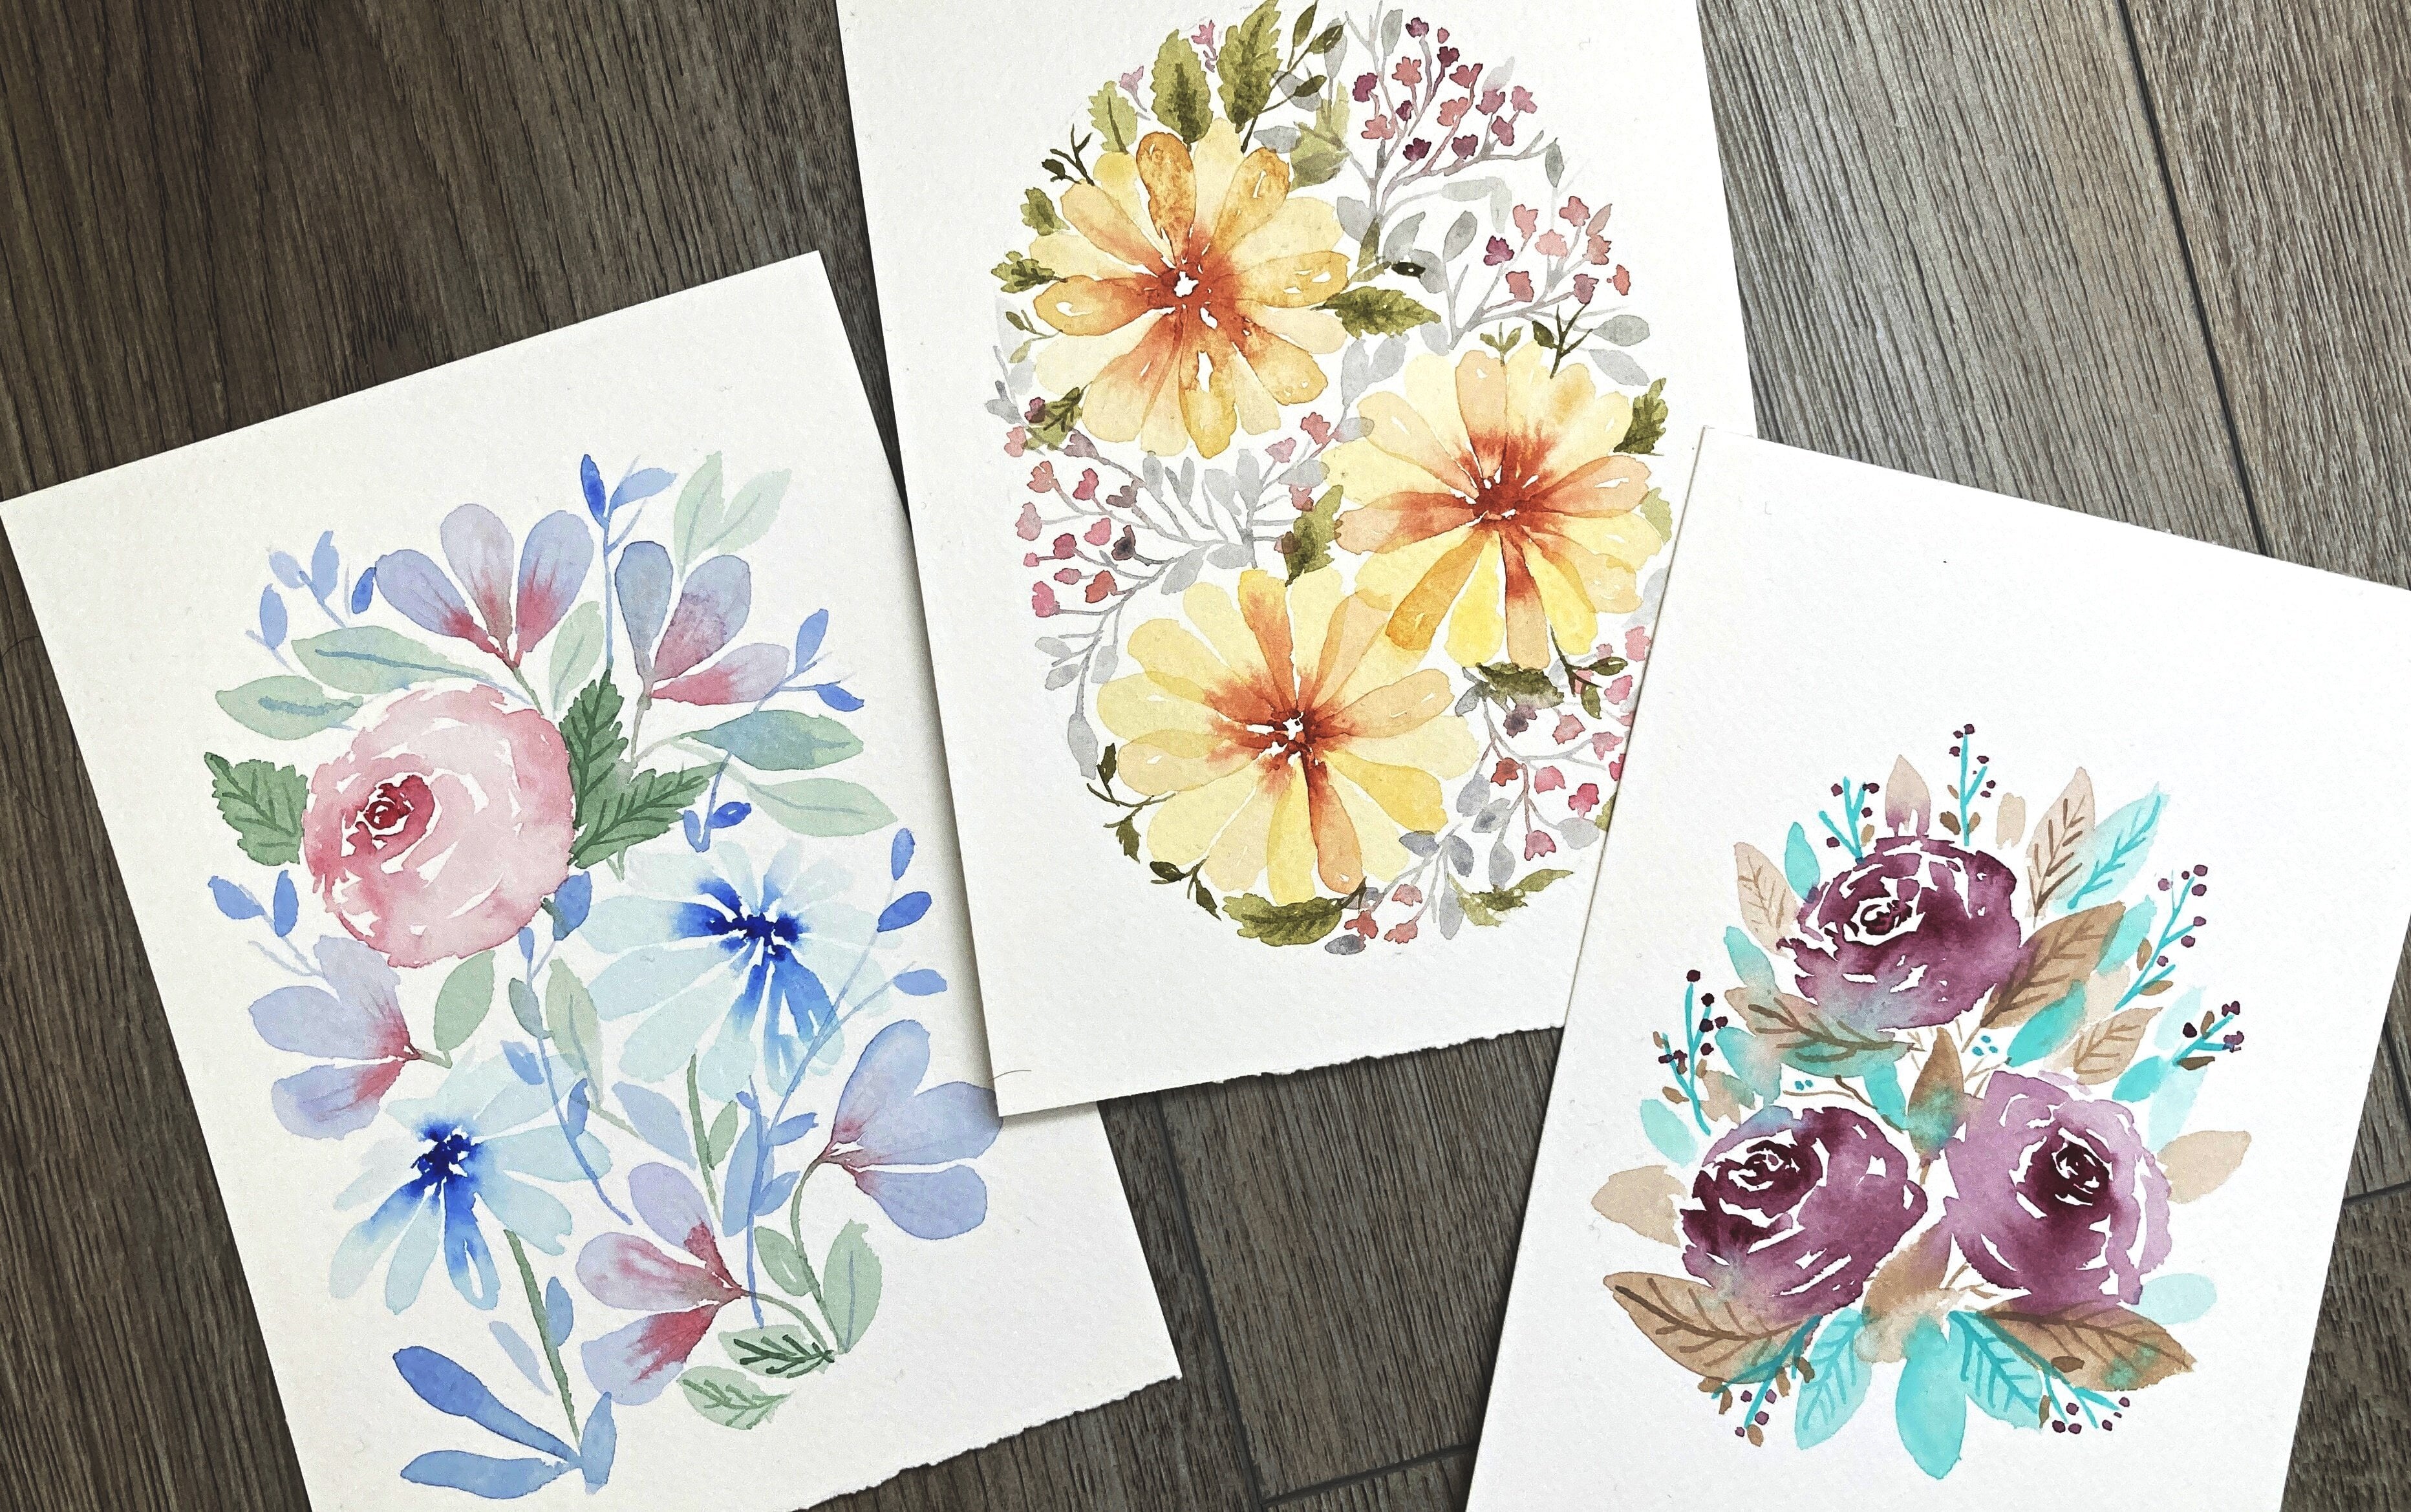
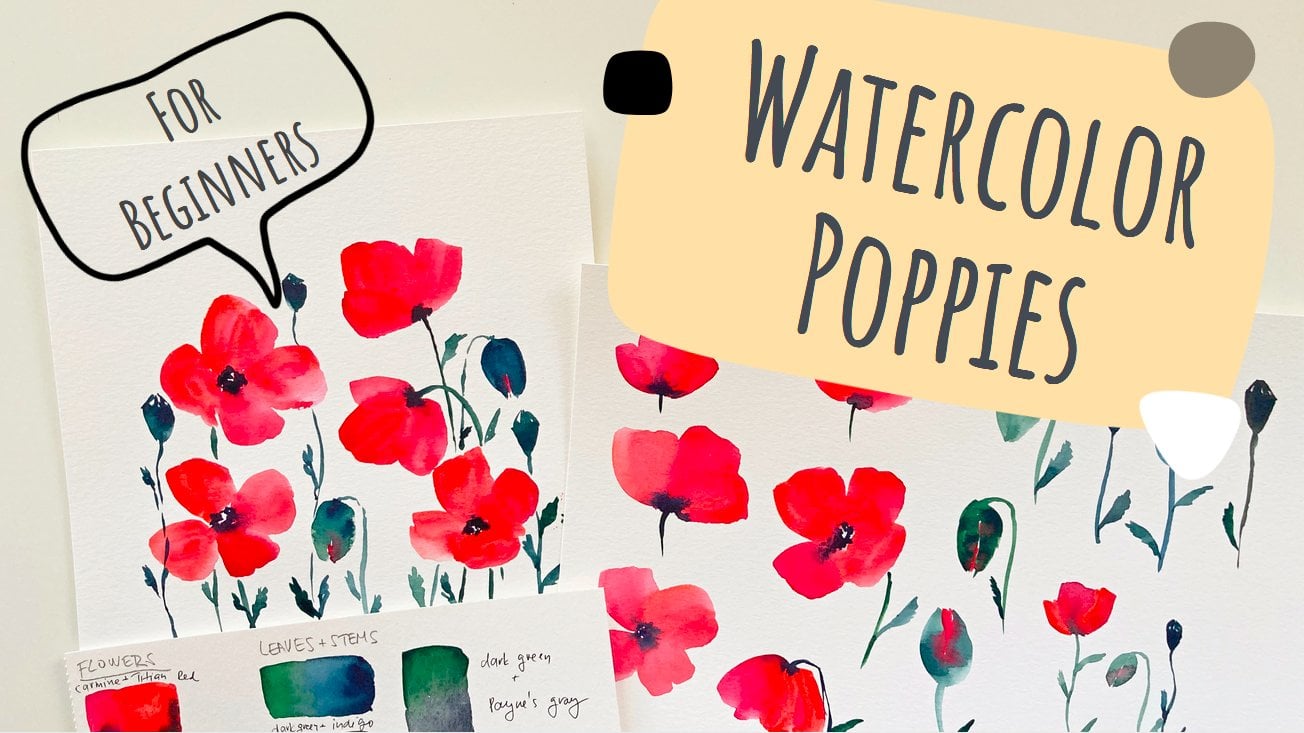
3. Lavender Flowers: Painting a lavender flower is really easy and fun. Looking at the pictures here and there are so much more in the project section for you to check out. You can see that it looks almost like some kind of grass having a long stem and the seeds and flowers at the top. There are also many kinds of lavender out there. Some have direct violet flowers, some more like blue. But I'm not going to go for perfect Dualism here. We are going to have fun today. So the only thing you need to remember is that there is this long stem with very few narrow leaves growing out of it, and a cluster of violet blue flowers at the top. I have some dark green for the stem, and sometimes I like to mix in a little bit of blue to make the color colder. And using my thin brush, I draw a line representing the stem and several other four leaves. Do not overwork it. We want our lavender to feel those and effortless. Here I'm mixing some violet and ultramarine blue because I like these two colors in my lavender flowers. Having it only violet or purple seems a little bit boring to me. So I keep mixing these two colors together as I go. Switch between them randomly. With the lavender flower, I always start at the top of the flower. And I paint just tiny spots representing the tiny flowers. Or you don't need to start with the stem. There is also other way. You can start with the flower itself and add the stimulator, like I'm doing right now. But to be honest, the first way seems easier to me because I already have the axis I need to hold onto when painting the inflorescence. And I'm adding the stem and actually I love and the blue color bleeds into the stem. It makes it more interesting and carefully looking. And again, some loose leaves. And we're done with this one. We can try even less detailed painting. Like for example, you want to paint a lavender flower that is far. You don't see it properly. It is simply out of focus. So let's see how it goes. Now I have really light mix of blue and violet and the stem and leaves are just few quick brushstrokes. We are going to do all of this in our project today, painting 11 there we see clearly and also some that are far from us. So this is just a good practice. And the last one here I use darker towns, but I still don't care much for details. I just have fun. If you're interested in a loose watercolor florals, check out my other classes. There is one on wild puppies you might like.
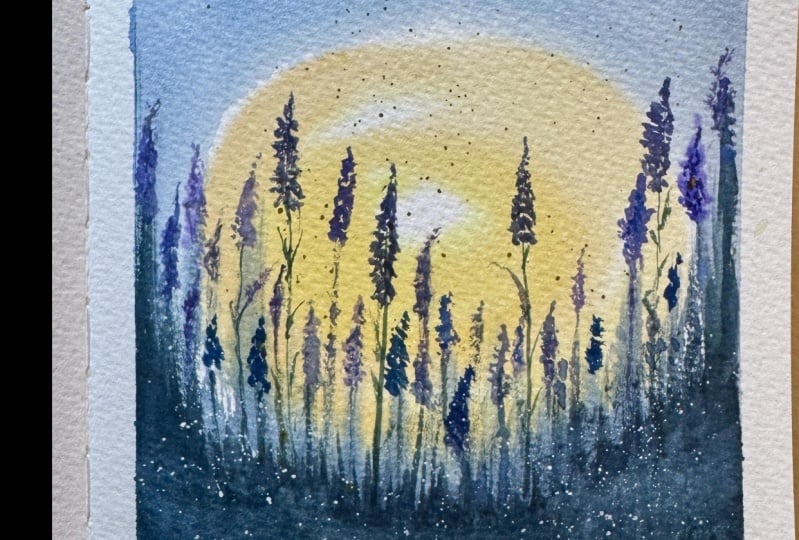
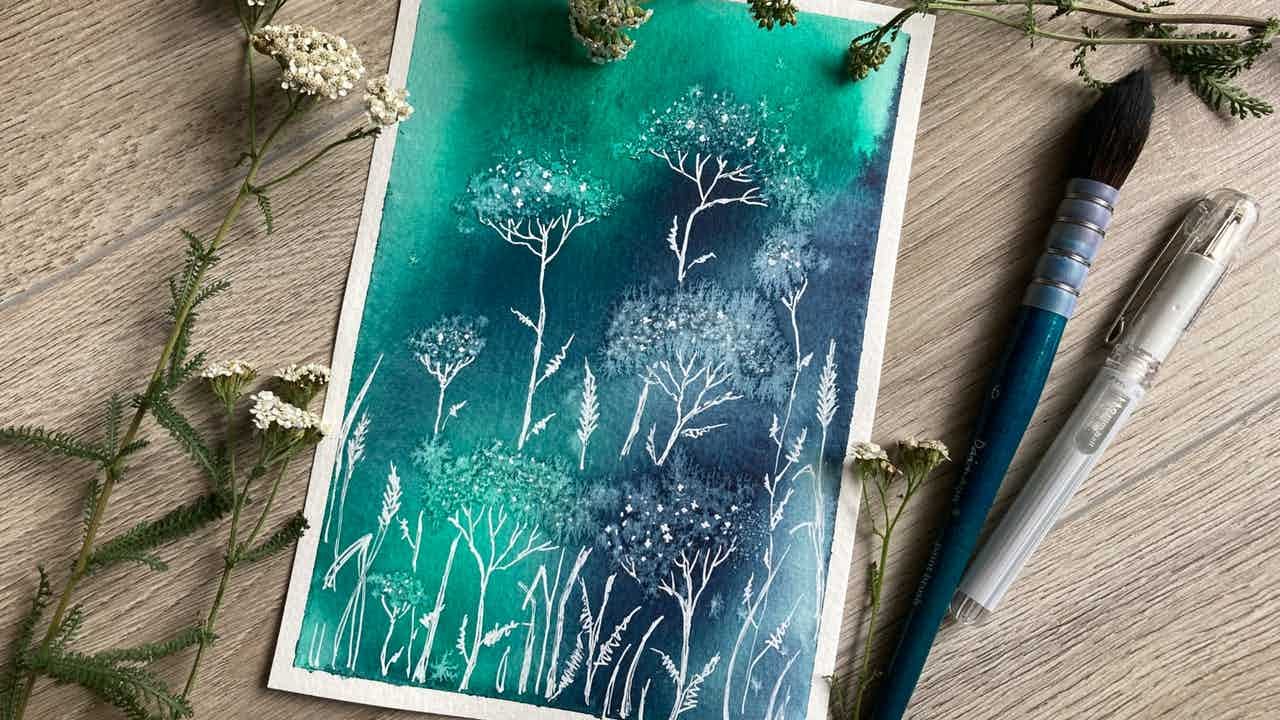
4. Wet-On-Wet Watercolor Technique: Now the wet-on-wet technique is so fun and intimidating at the same time. But no worries, we are only doing the fun part today. But unwed means that you are painting using a lot of water. Your paper is wet and your brush is loaded with water and paint. Painting with watercolors on wet paper means the pen is going to run. The more the paper is wet, the more Dupain's run bleed into one another and objects lose their shape. This is a perfect technique to paint backgrounds, objects that are far in the distance and the fog smoke or just out of focus. Let's start with the background. What do you need to do first is to apply a generous amount of clean water on your paper. When your paper is wet enough, use your bigger brush and apply some paint. This is just an exercise. You can choose any color you want. It is just to give you the idea of how the paints ran and how much lighter they are going to dry. I'm using yellow and orange. These colors will also be used in our project for the evening sun. And a little bit of green just for fun. To create the sun, you can leave out a tiny spot blank. But as the paper is wet and pains run everywhere, you can use your paper towel and dry up that little spot for the sun. The paper towel to absorb the paint and dry up the paper so no further bleeding is happening. You can see how smooth the color transitions are when using the wet on wet technique. No hard edges, very subtle. Now let's try to depict the perspective and distance using the wet-on-wet imagining is an early morning. The garden is covered in soft Hayes. The further in the distance you look, the more the objects are fading, disappearing in the haze. So apply some clean water on your paper and try to paint some lavender is emerging from the morning haze. Now the lavender is you are going to paint on the wet paper are going to run a looser definition, so do not worry about it. Use some light color. Like I'm using real Latin mix of violet here. And draw some lines using gold thin brush and some dots for the flowers. Can you see how the paint runs? This was really easy and all you need to do now is wait a little bit for your paper to get a little bit drier, not completely dry. To paint a second layer or second role of law renders this layer of flowers will be less hidden in the haze or folk. So there will be some running because the paper is still damp, but not as much as before. You can also change the color a bit or use darker mix of the one you used previously. And now before we continue, let your paper dry completely because now we are going to append the final layer of flowers, the one that is the closest to you. And it is not hidden in the myths or we don't want any running happening. I have my paper fully dried now so I can use a really dark mix of biology. For this third layer of lenders. You can see that I mind the details more now because the flowers are close to me and I can feed them properly. I hope this exercise gives you an idea how to use the wet-on-wet technique to play around with perspective and focus in your paintings. I have similar class on Skillshare where we use this technique to bend a misty pine forests. Maybe you want to check it out. Or maybe you want to spend more time here practicing and having fun. But as soon as you're ready, we can use everything we talked about to create a beautiful painting like this one.
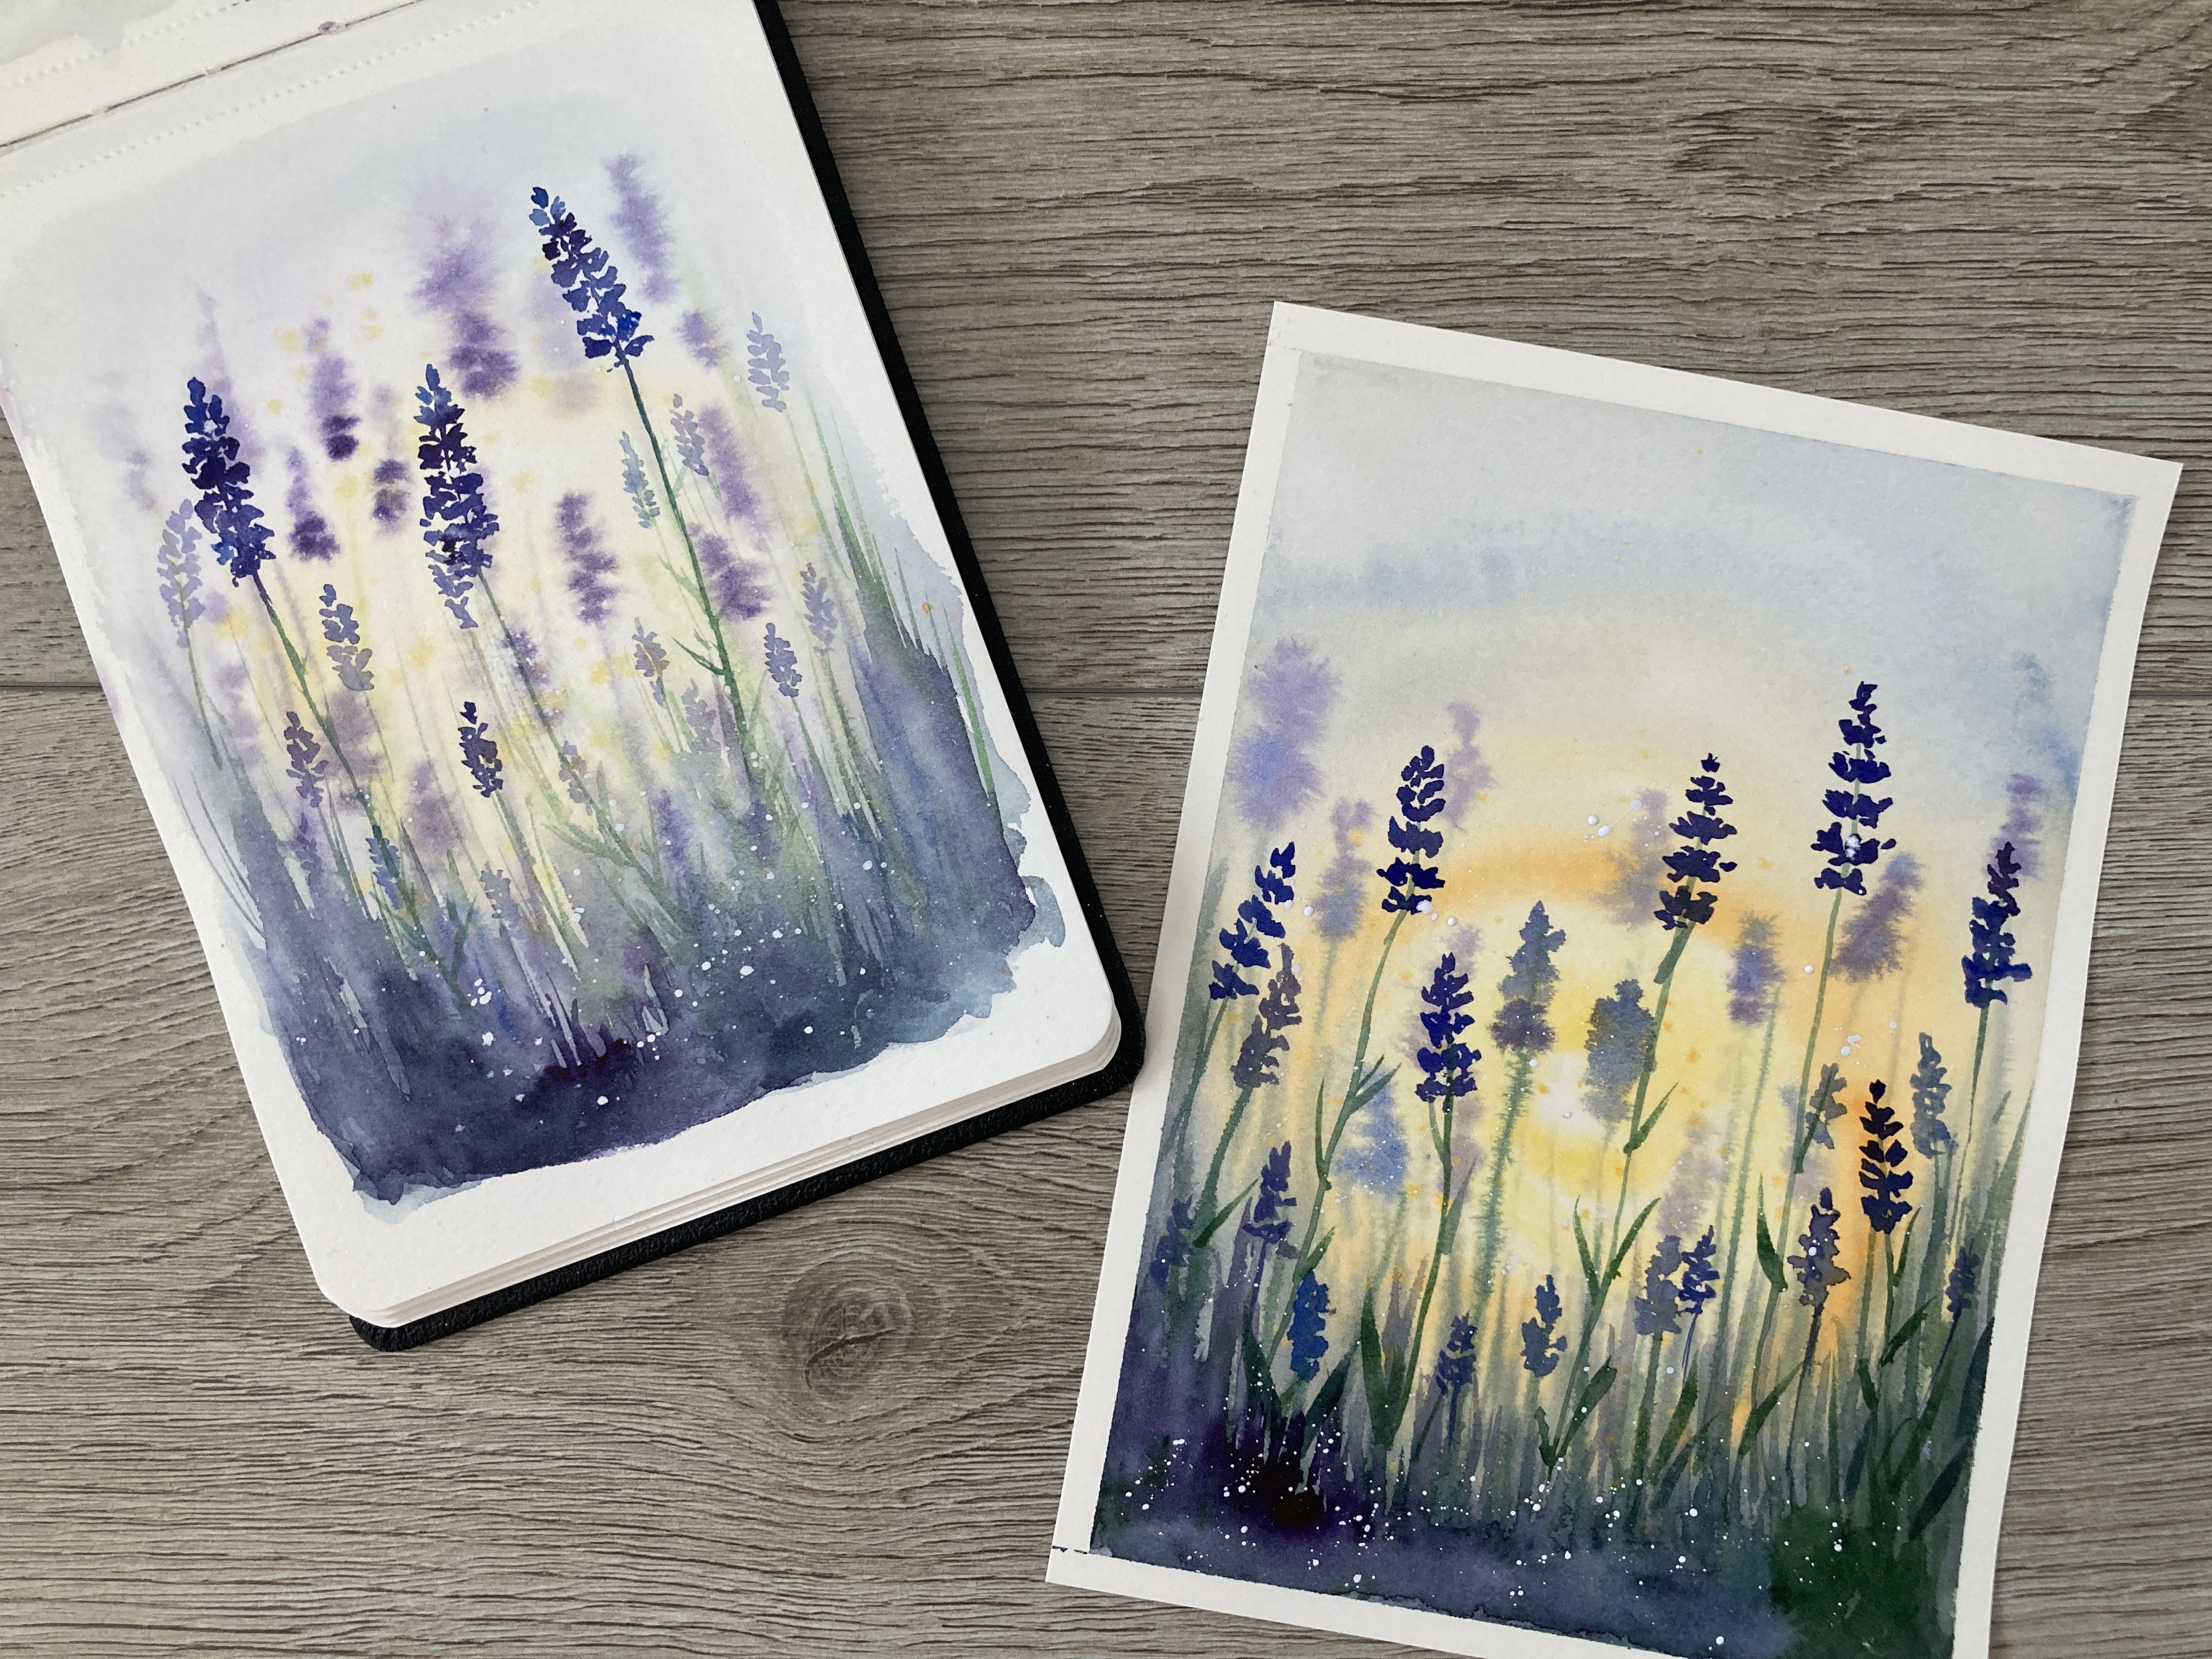
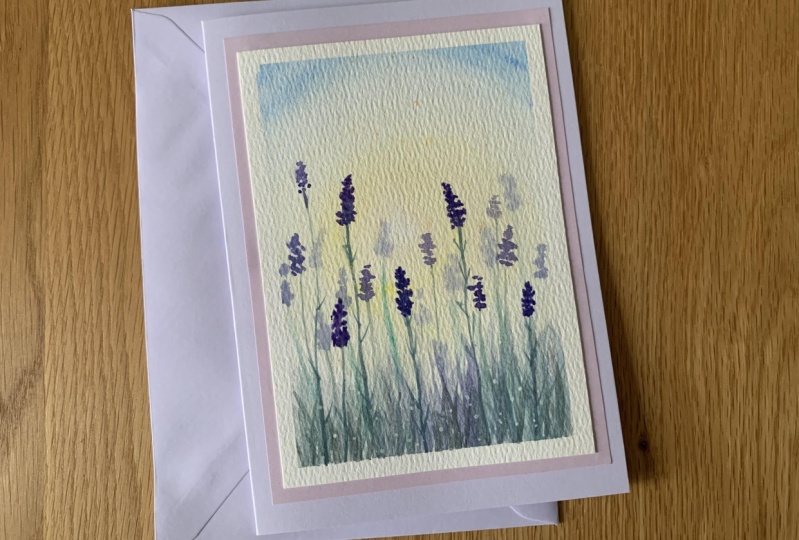
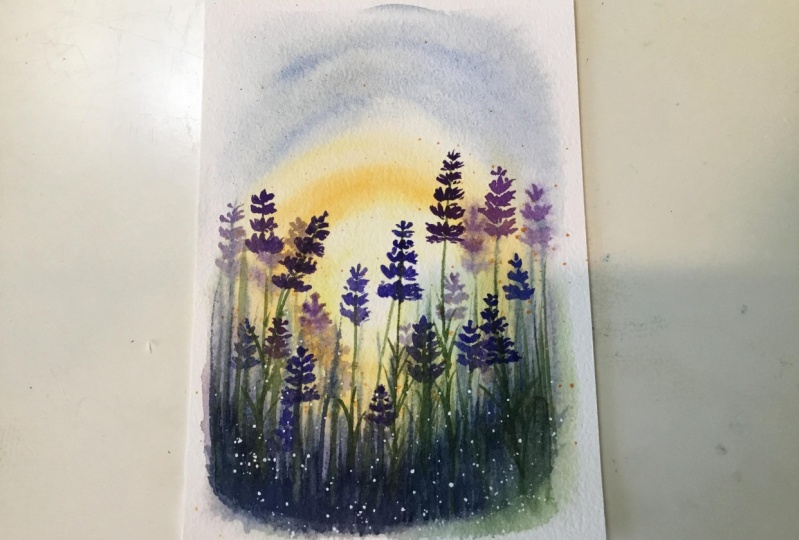
5. Class Project: For the final project, I am using a piece of watercolor paper. This one is 15 by 20 centimeters, and I'm sticking it to a piece of cardboard with a masking tape. I do this to prevent the paper from curling. And also for aesthetic reasons as this table give me nice white frame once it's removed. Okay, paper is ready. I got myself a fresh clean water in my jar and then applying the water on the paper. What I want to paint is a bunch of lavender flowers in the warm evening light. I want the evening sun shining behind the flowers and I want the background or the sky basically to be nice yellow and orange tones. That would be the San going. And I want a little bit of glue at the top for the actual sky. And some violet and indigo for the ground. You can see that I apply the paint in circles. That's to emphasize the round shape of the sun. If you want to, you can use the trick with a paper towel for the Sun. But I think I'm just fine here. As I move to the ground, I draw some vertical lines. These are going to give me the basis for the background, flowers and grasses, those that are in the distance. And while the background is still wet, I'm going to use my small brush and violet color and just draw some dots at the top of the vertical lines. These are the lavender flowers out of focus. You can see the paint runs immediately, therefore, you don't need to care about the details. Just few dots for the lavender flower. Make sure you don't use too dark color at this point, we want this flower seem distant and fading. And now I'm going to do something you don't need to do. But I think it gives a nice texture. So I'm using orange color or golden as it is called. Officially. Load my brush with it and then using another brush, I'm going to speed through this orange color all over the paper. See, I'm tapping with my brush against the other brush, the one with color, to create small drops of color. This is wonderful trick and I use it a lot. We're going to do advance again today actually. Now the paper is getting dry, so we need to act quick. And building up the foreground, starting with the ground, I'm applying darker tones of green and indigo to the bottom part of the paper. I draw some more vertical lines right away. You don't need to think about it too much, just throw some lines so I'm sure through on taller, keep it simple. And just like before, take some violet or blue. And to several of those lines you drew and turn them into loudly lavender color to that. Now, we are going to do one more layer and we want that one to be gray standing out the most. You can see that my paper is still quite wet in some areas, but that's okay. Putting some more pigment to the bottom to make the ground return. And that's it. Before we continue, let the paper dry completely. So if you want a short break, now's the perfect time. Once your paper is dry, you can add the final layer of law vendors. Now we work wet on dry, meaning the paper is dry and that gives us more control over what's happening on the paper and possibility to work in more details. So here I have my small brush and I'm drawing several green stems. Not that many years before. I don't want the painting to be too busy. So let's say five of them would be enough. Okay, this time, I also add some leaves, just very easy. One brush stroke for one leaf to be loose and FR, perfect. Let's mix ourselves some violet color and paint some lavender flowers. You can see that it's not just those right now. They are more detailed and they stay that way because the paper is dry and depends doesn't run. Also see that these flowers appear bigger. That's because they are closer to you. All right. You can add some more flowers anywhere you feel they will look nice. There are no rules. As a finishing touch, I love using the white gouache paint and spit it all over the painting for additional texture. You can do it as well, but you don't need to. It's okay, you can skip this step. And that means that you are painting is finished. Now, if you don't have gouache paint, you can try acrylic instead. I have some rural towns gouache paint and I need to just tiny bit of it. Let's put it on my palette. And now I'm using some clean water to make the paint more liquid. I load my brush with it. And then similar as before, I use another brush to tap against the brush with the paint and actually be the paint out of the brush. Lovely. It looks like tiny insects flying in the evening glide or the evening san is playing some tricks. It just gives it one more dimension and helps the painting look area. Or at least in my opinion, wonderful job guys. Let's remove the masking tape and marvel over the beautiful outward we created together. Shall we be careful when removing the tape? Some tapes can tear the paper and doing so pay attention. So this is it. It looks so good Really. The white frame makes it look very elegant. This is a similar painting I did earlier. You can see that you never get the same result. Our painting has more color, It's more vivid and warm. And the previous one is lighter and tied off. Dreamer Maybe. But both are good and I don't even know which one I like better, good. I don't have to decide. I'm sure your paintings are just as good or even better. Let me see them if you want. I'm always so excited when someone uploads their paintings, I really am.
6. Final Thoughts: Thank you so much guys for being here with me today. I hope you had fun. Let me know what you think about the class down in the comments. Leave the review. And of course, if you feel like it, upload your paintings, your projects in the project section for me and your classmates to see and get inspired. Take care and see you next time. Bye.
 Jana Raninis, watercolorist