Watercolor Flowers: Exploring Wet-on-Wet and Dry-on-Dry Painting Techniques
 Inga Yoon, Digital illustrator and teacher
Watch this class and thousands more
Watch this class and thousands more
Lessons in This Class
-
-
1.
Introduction
1:36
-
2.
Getting Ready
2:17
-
3.
Sketch
0:56
-
4.
Adding First Layer
3:28
-
5.
Adding Second Layer
2:27
-
6.
Final Details
4:05
-
-
- --
- Beginner level
- Intermediate level
- Advanced level
- All levels
Community Generated
The level is determined by a majority opinion of students who have reviewed this class. The teacher's recommendation is shown until at least 5 student responses are collected.
47
Students
4
Projects
About This Class
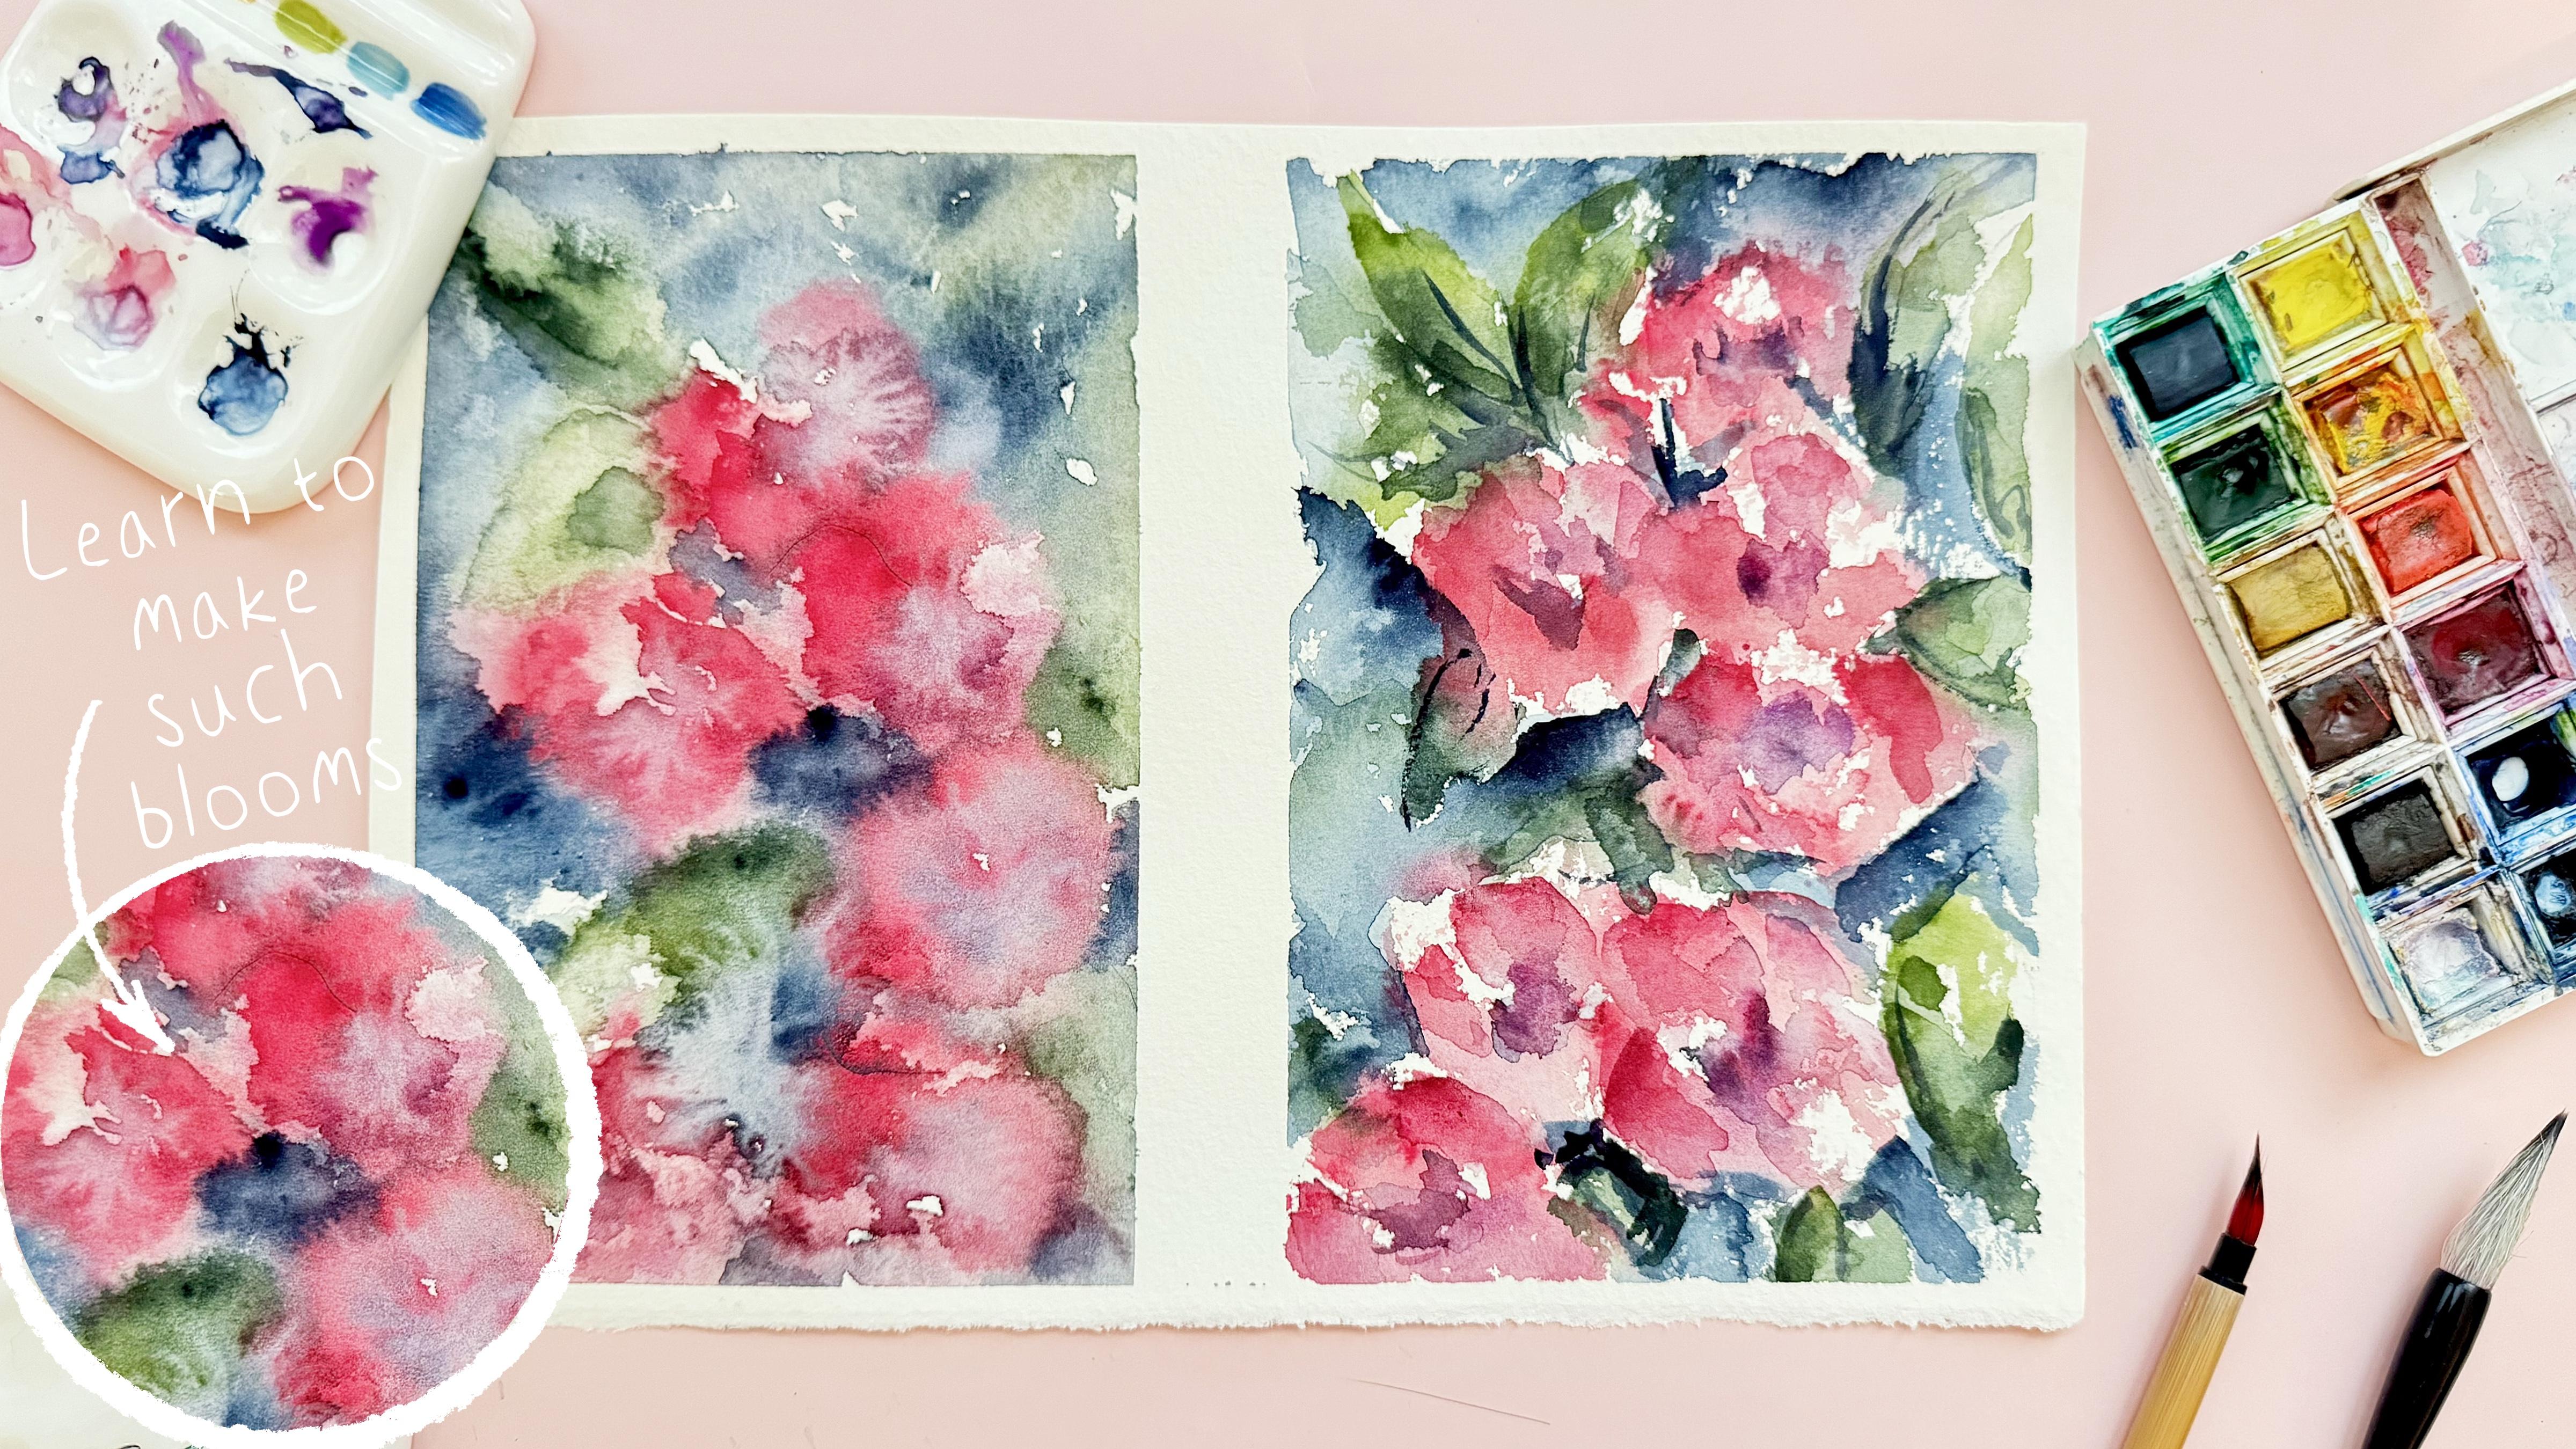
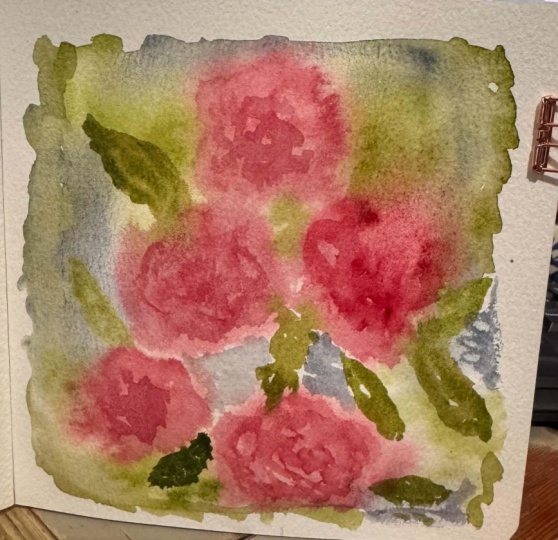
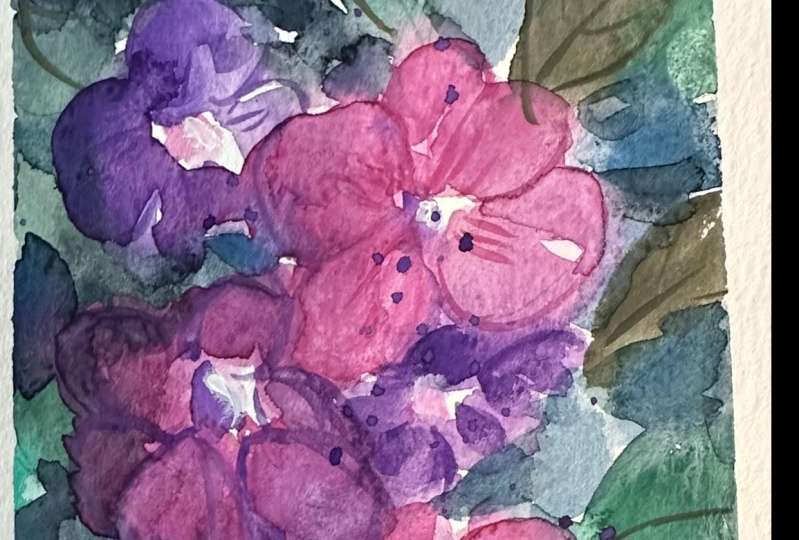
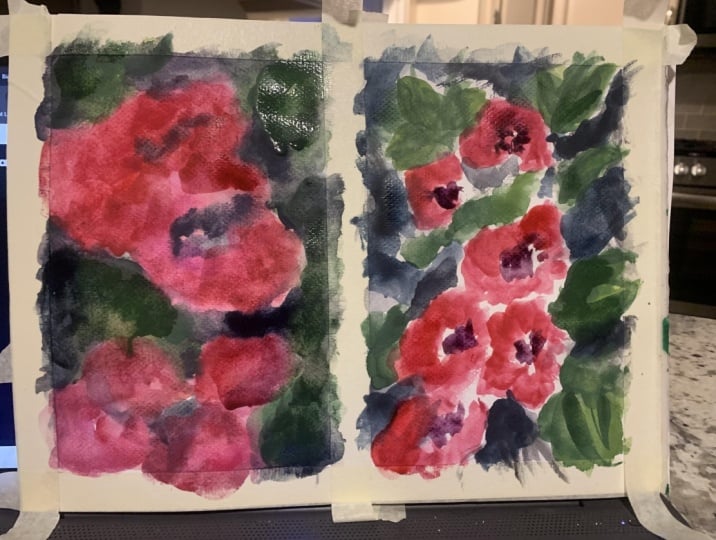
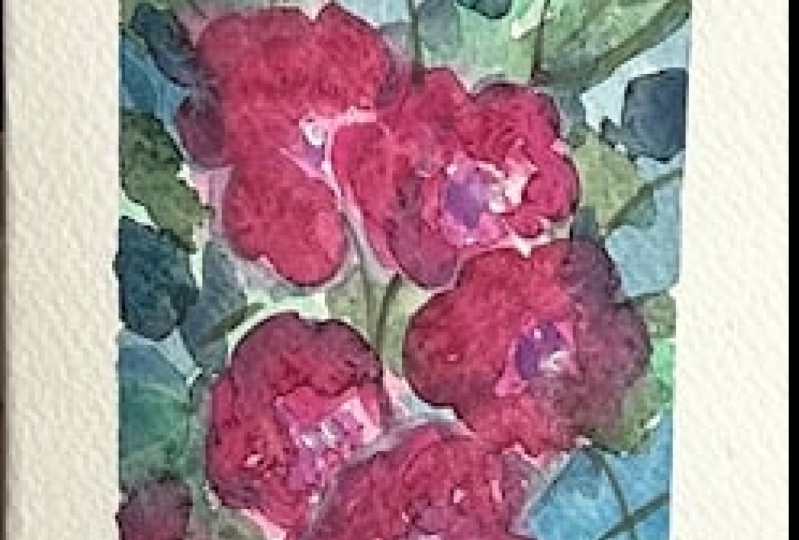
Welcome back to my class and let’s dive into watercolor art and paint altogether flowers in two different techniques: wet-on-wet and dry-on-dry.
At the end of my class you will learn more about traditional watercolor medium, especially how to sketch in a fast way, how to enhance your art by using layers. And most importantly - you will learn how to define for yourself what do you like more: wet-on-wet or dry-on-dry painting technique. It’s a short class, so we will paint in a fun and simple way.
I will show you my whole process from the start till finish.
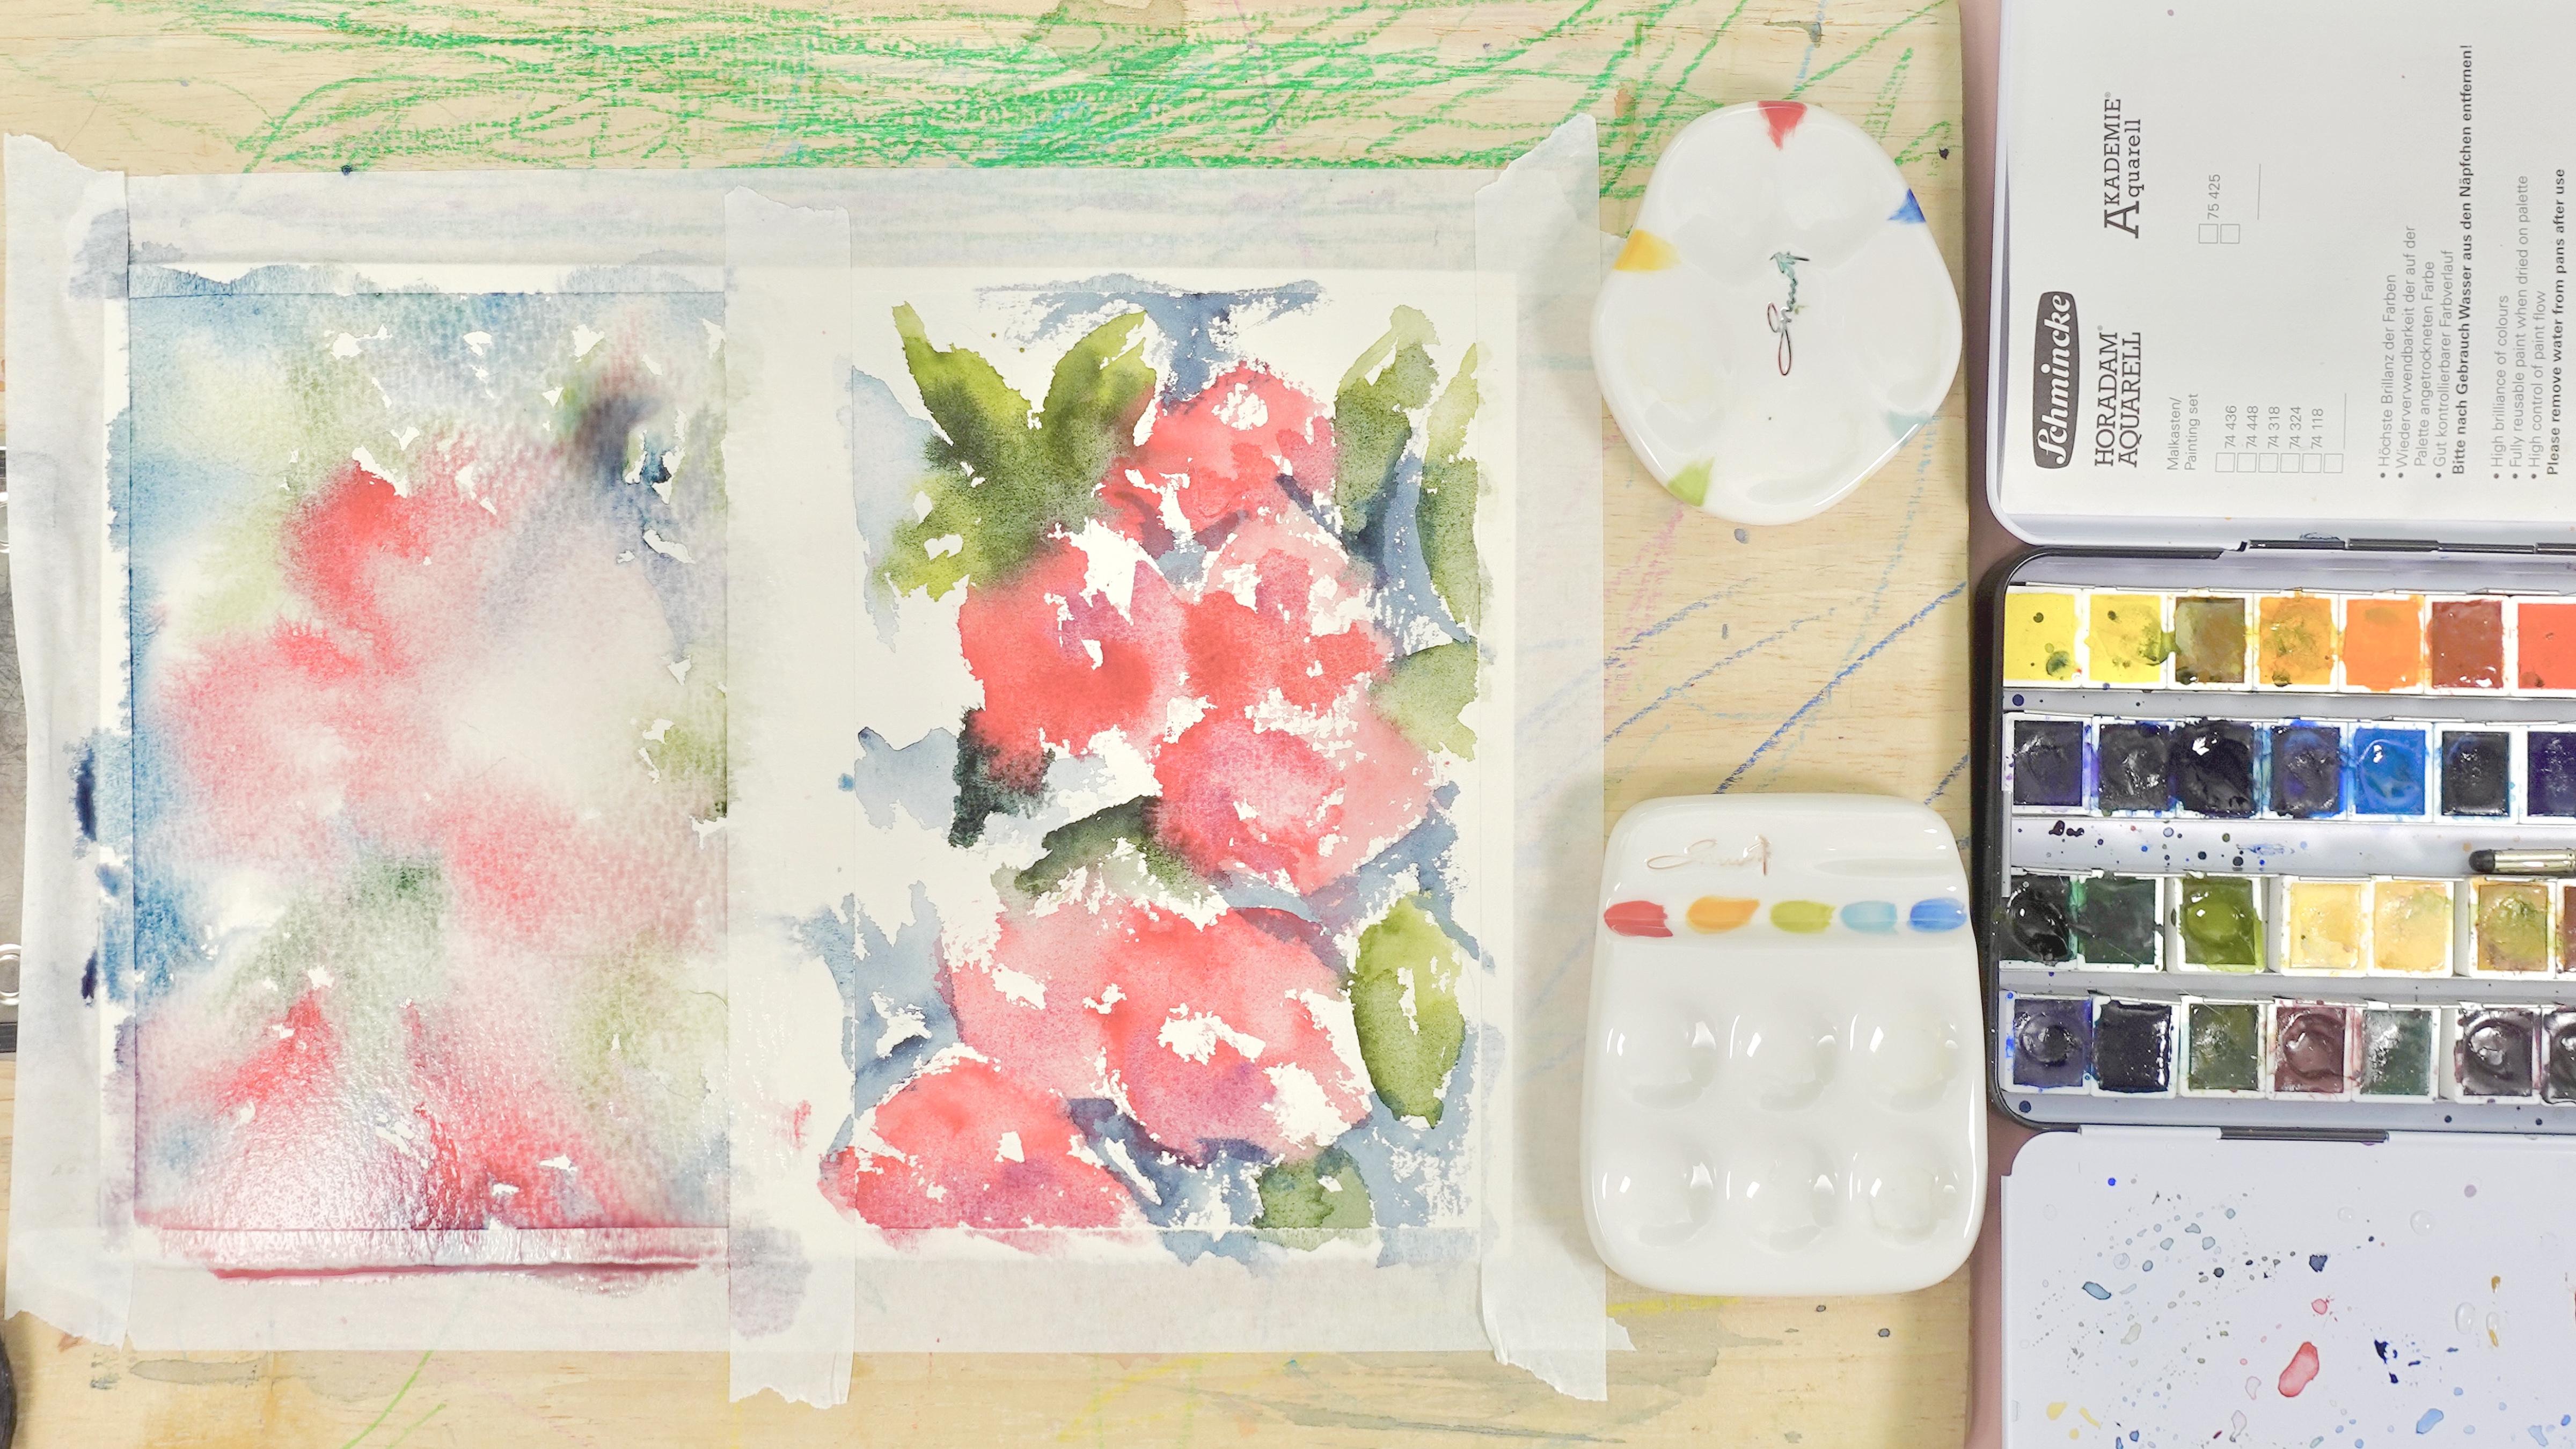
First of all, I will show you how to get ready for the painting session. Our next step will be - creating sketches. After that we will paint beautiful flowers in traditional way in two different techniques. I will show you how to create floral art from the simple shapes and how to add more and more details - so we will make our painting process a little bit more advanced.
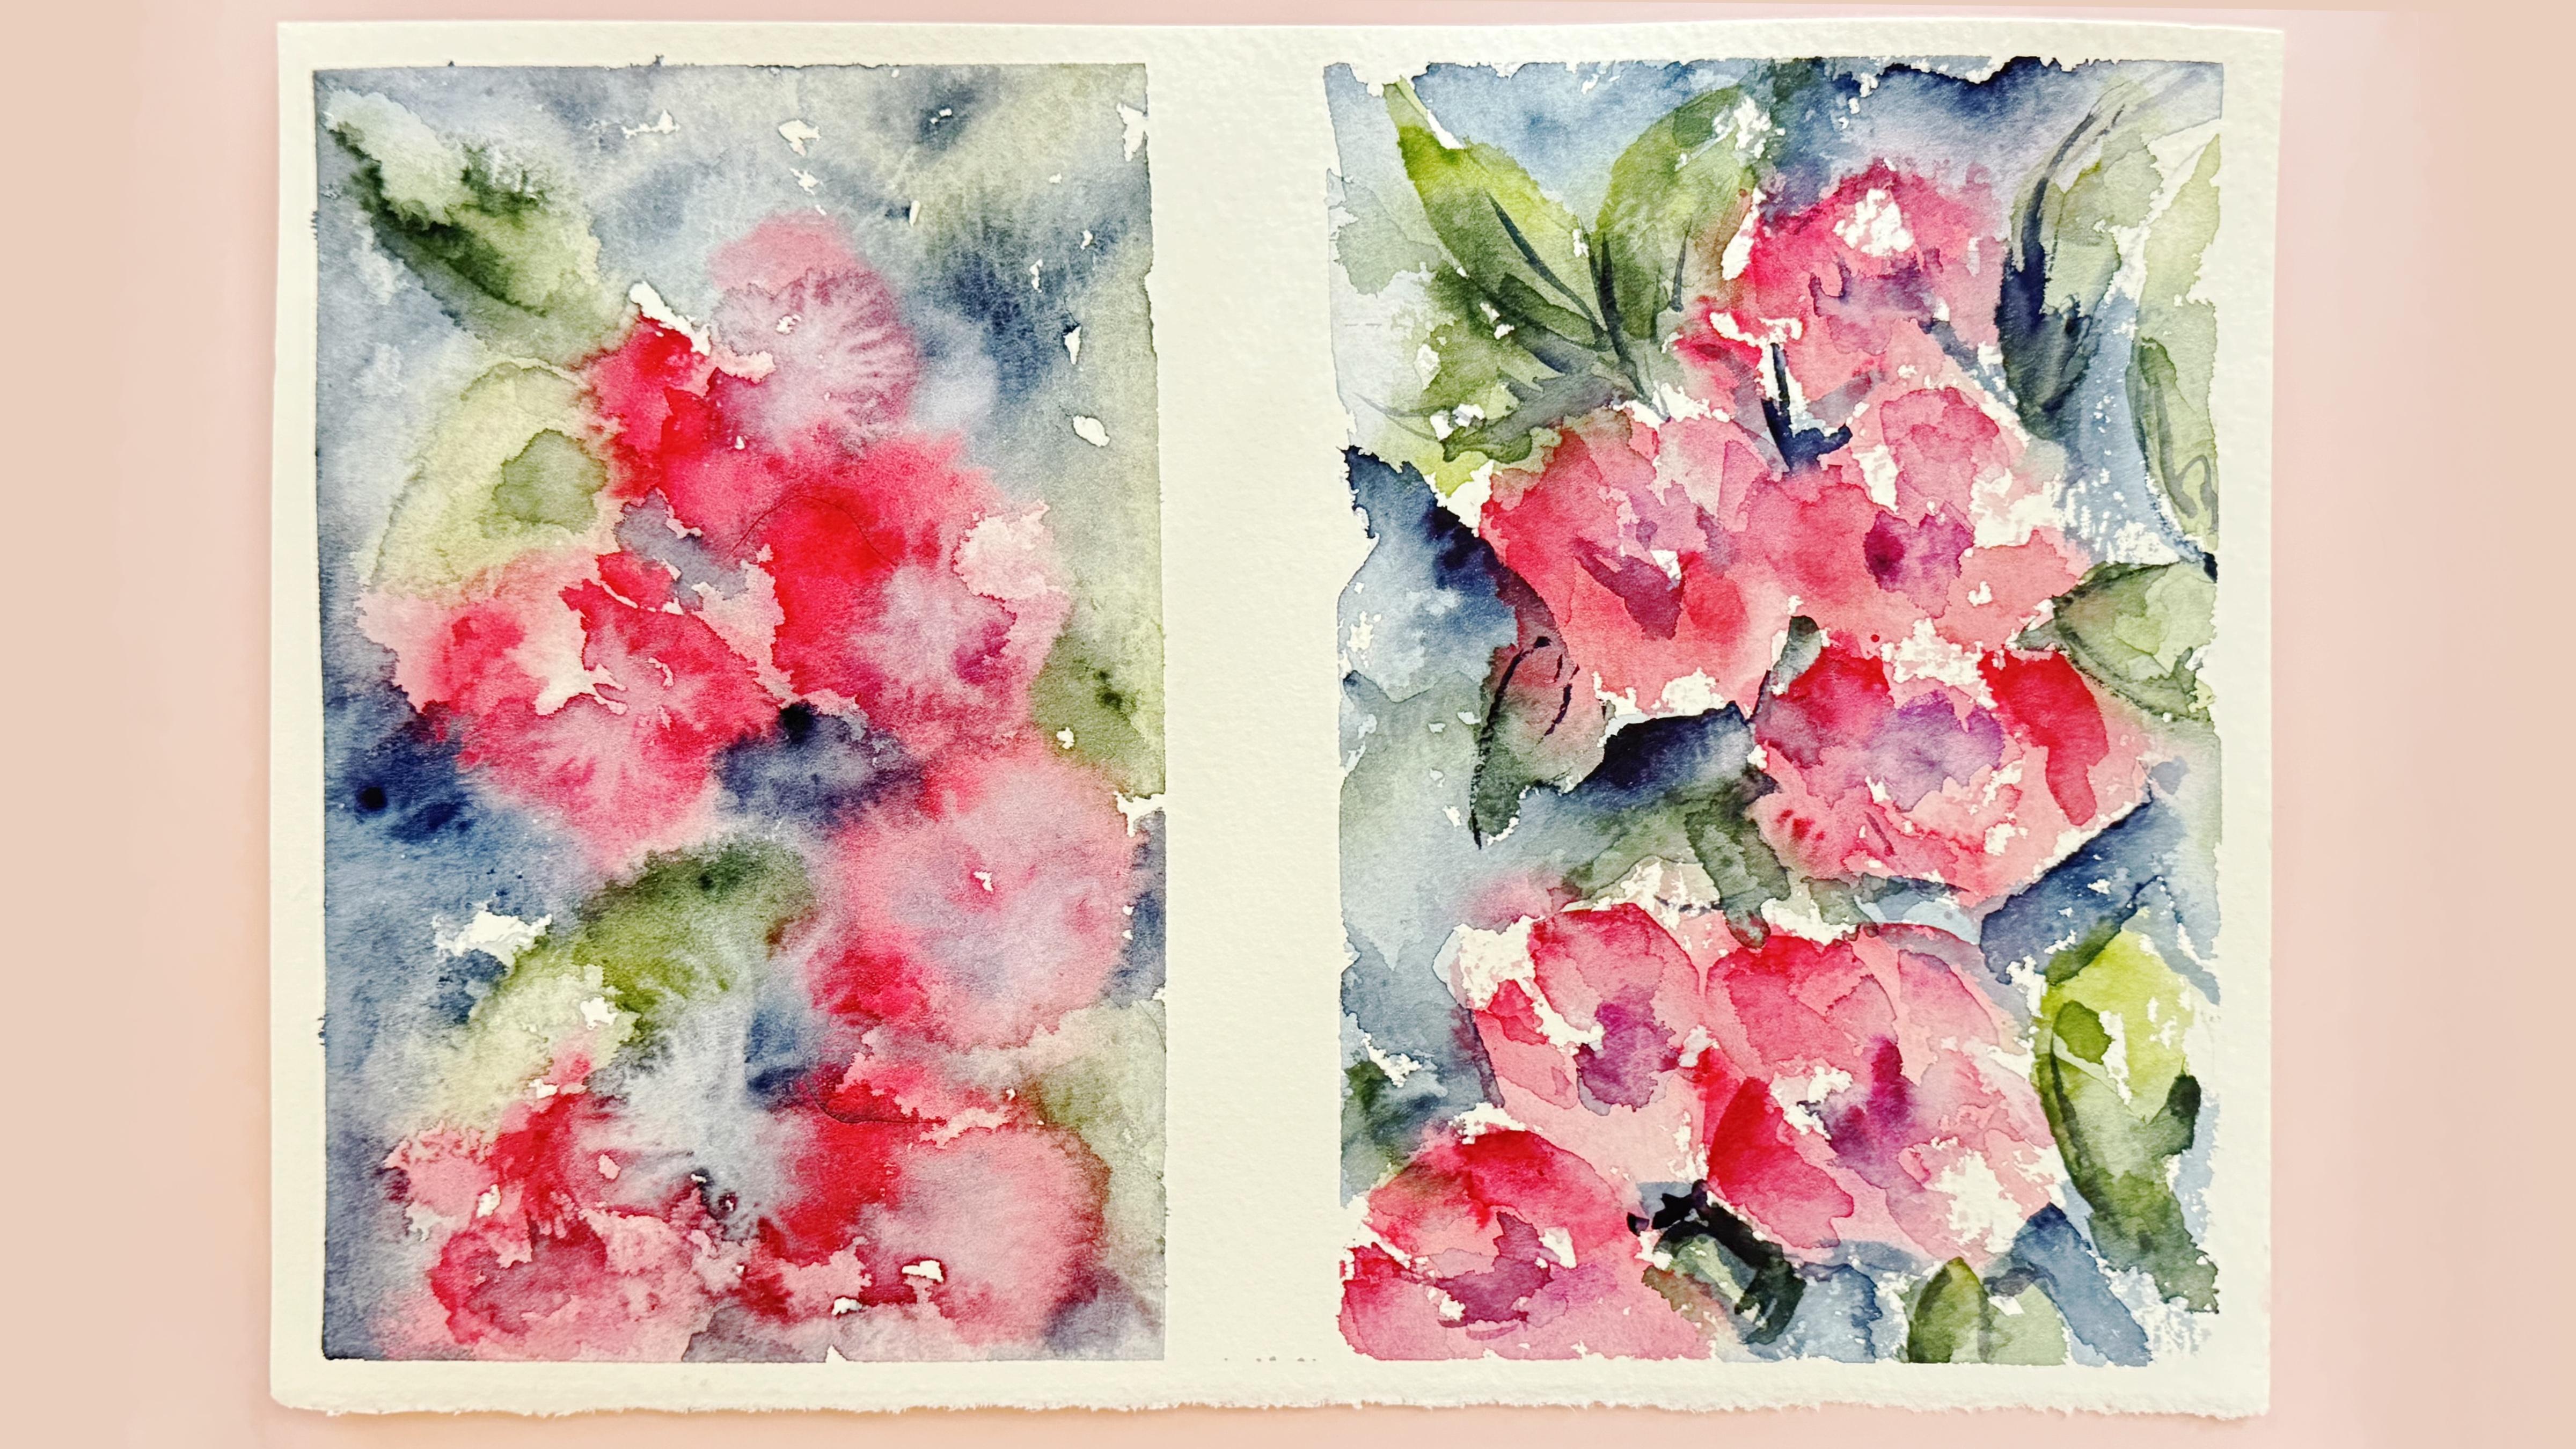
And as a bonus I will share with you reference picture and picture, that I created.
This class is great for intermediate level and for beginners - for everyone, who is interested in traditional watercolor art and floral illustrations.
And one more thing that I want to mention: your opinion and your feedback is very important to me. So feel free to tell me what you think about the class in discussion or review sections. I will be glad to reply to you.
My dear art fellows, I can’t wait to start this class and definitely I can’t wait to see what you upload to project section.
So let’s not wait, grab your paints, paper, iPad with Apple Pencil and let’s paint together.
Meet Your Teacher

Hello, guys!
I am Inga Yoon, artist, digital illustrator and tutor.
Throughout these years I took part in different exhibitions, TV shows on local Ukrainian channels, organized workshops, you name it. I am major is gouache and oil painting, but I am obsessed with watercolor and like to share all the knowledge that I have about the art.
I have been painting for more than 15 years and last 5 years I devoted to digital watercolor and Procreate.
Hop along for the ride.
See full profile
Hands-on Class Project
Assignment:
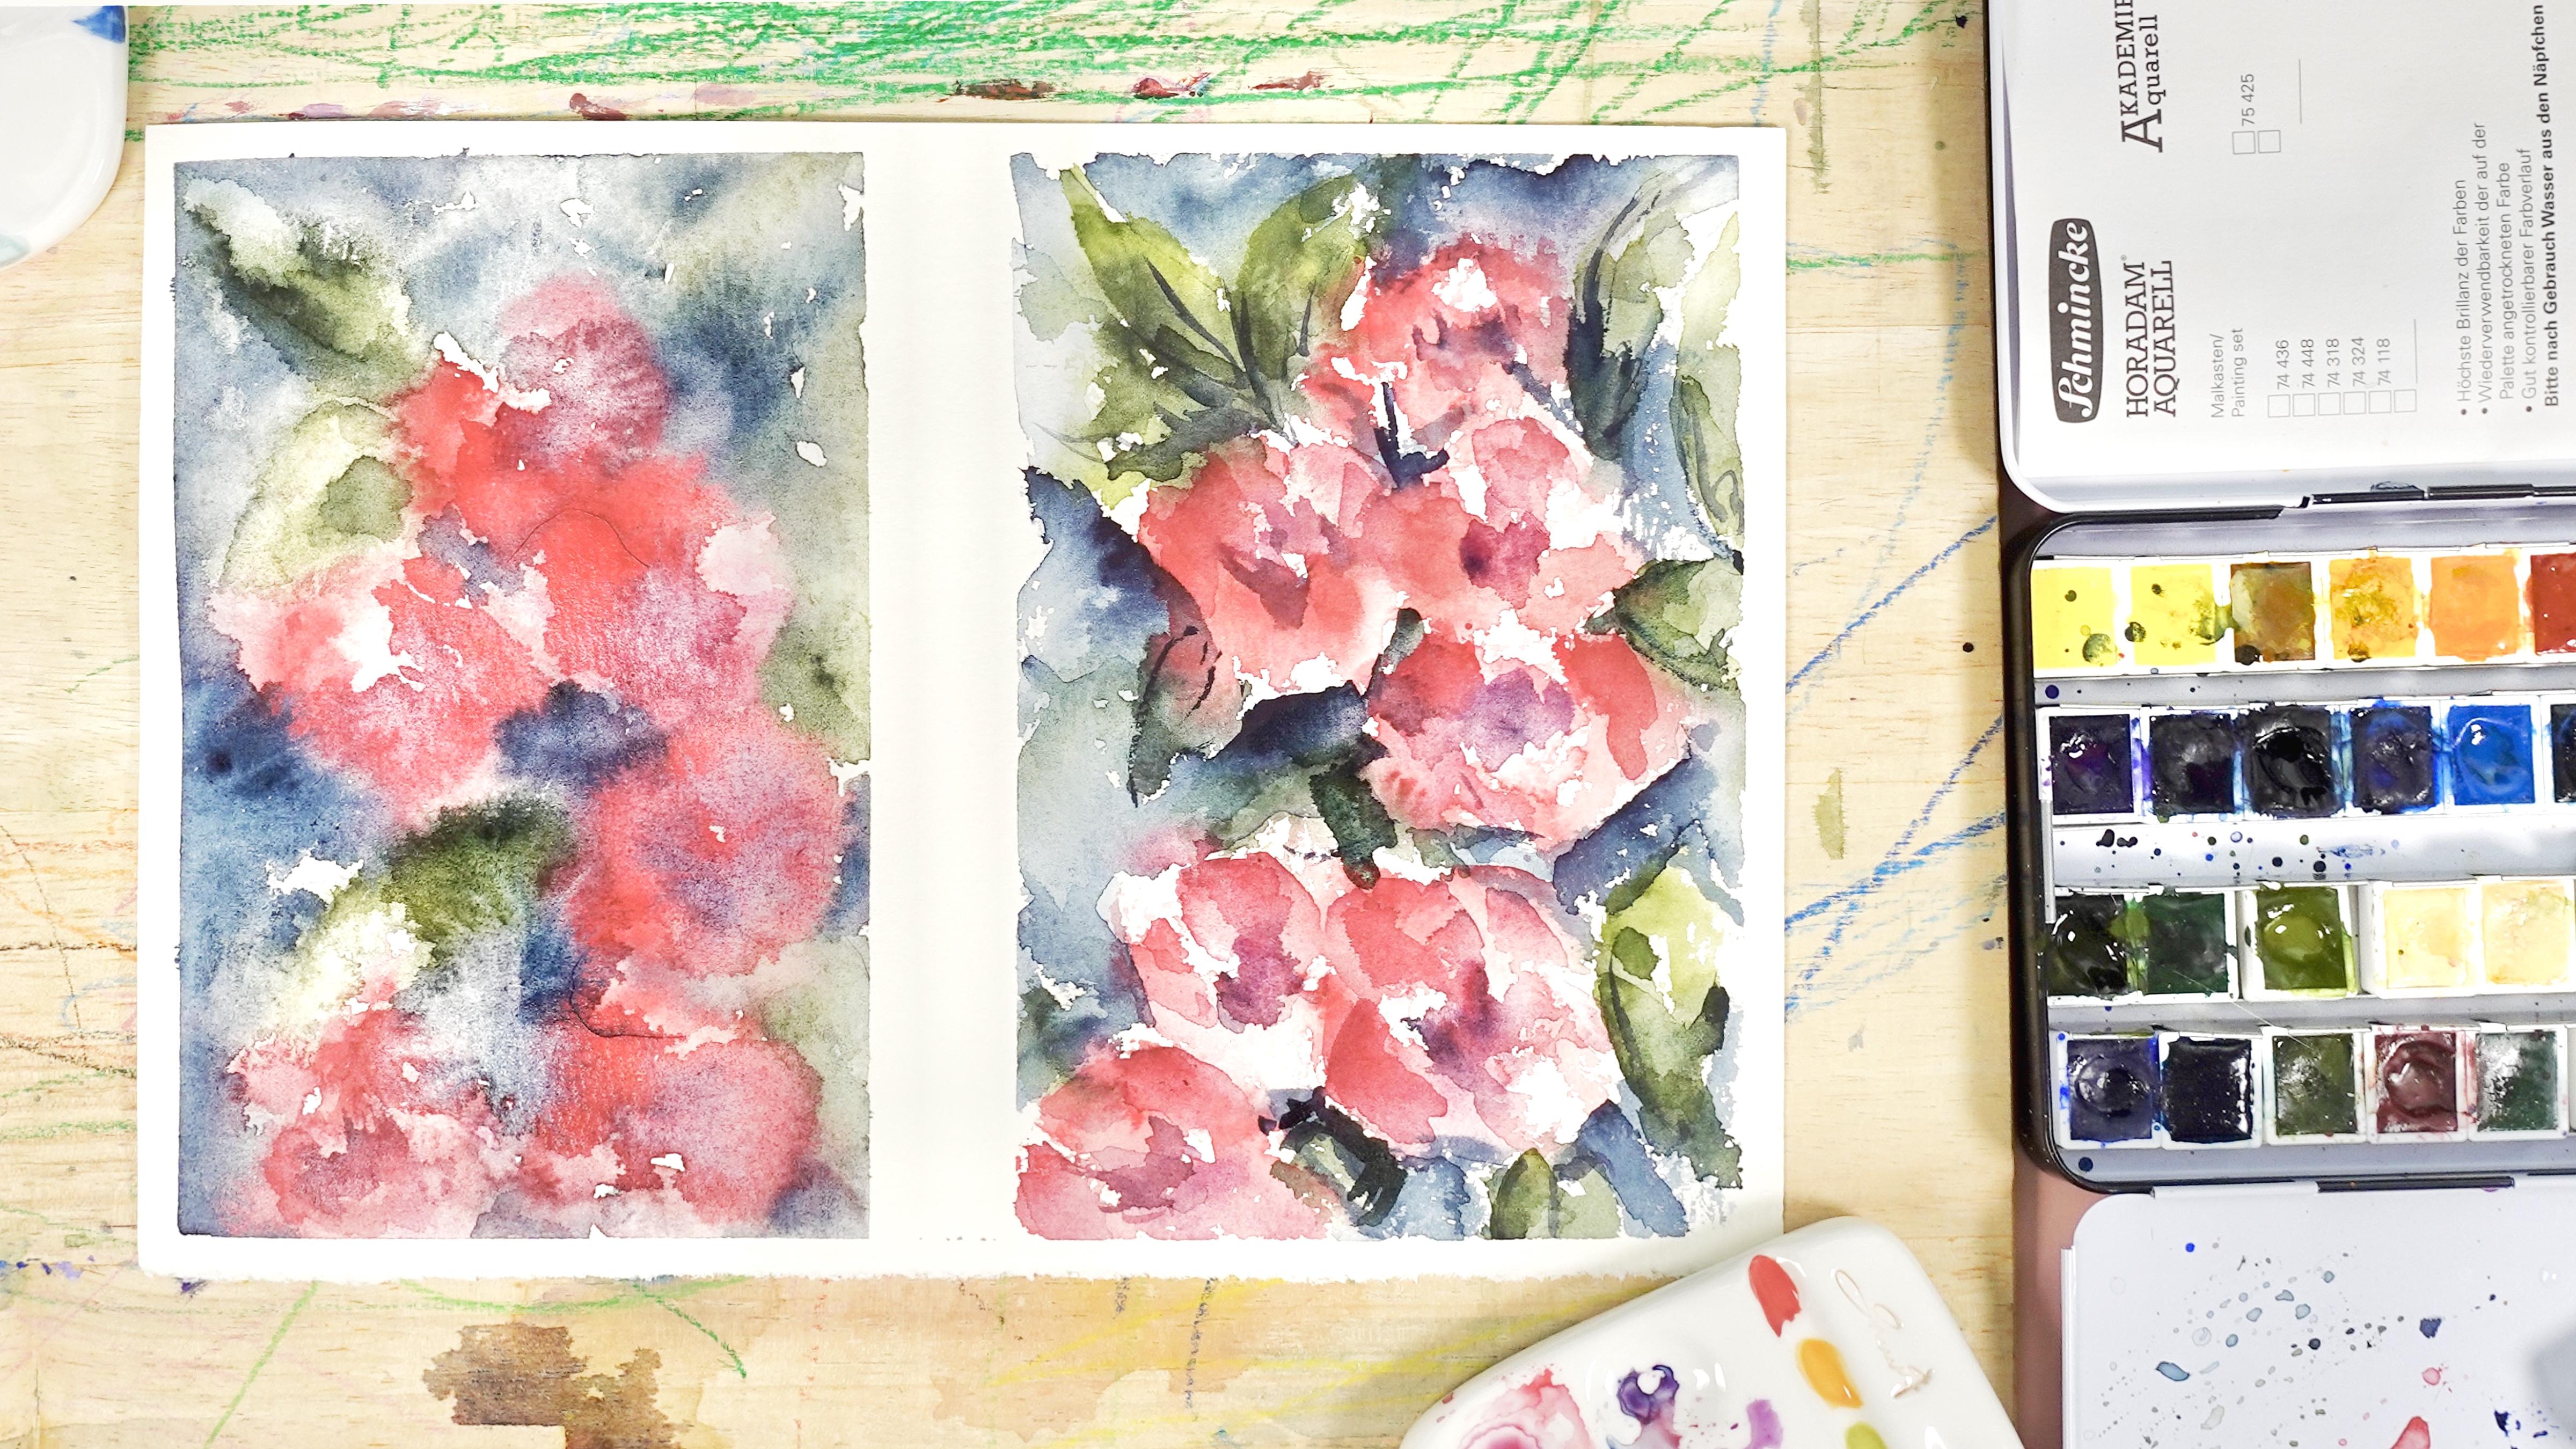
Your class project will be next: to create lovely floral art in two different watercolor styles: wet-on-wet and dry-on-dry. Of course, don’t forget to use the tips that I gave you today.
Materials:
I will use traditional watercolor medium today and we will paint in loose watercolor style. You can also use traditional watercolor paints or Procreate app or some other drawing pads - please join our class and good luck.
Sharing Your Work:
Share your final project and step by step pics with the class by uploading to the "Your Project" section. If you have any questions or need more tips, please let me know! I am here to help you!
Try, experiment and enjoy painting process
Class Ratings
Why Join Skillshare?
Take award-winning Skillshare Original Classes
Each class has short lessons, hands-on projects
Your membership supports Skillshare teachers
Learn From Anywhere
Take classes on the go with the Skillshare app. Stream or download to watch on the plane, the subway, or wherever you learn best.