Transcripts
1. Intro: Hi everybody. My name is Melissa Conde, and today I will go over watercolor on loose flowers. I will explore with you some of my favorite flowers and greenery for the class project we´ll be making a monochromatic bouquet. And I hope that you leave this class with a set of skills that you can take on to future projects. I can't wait to see your work. So let's get started.
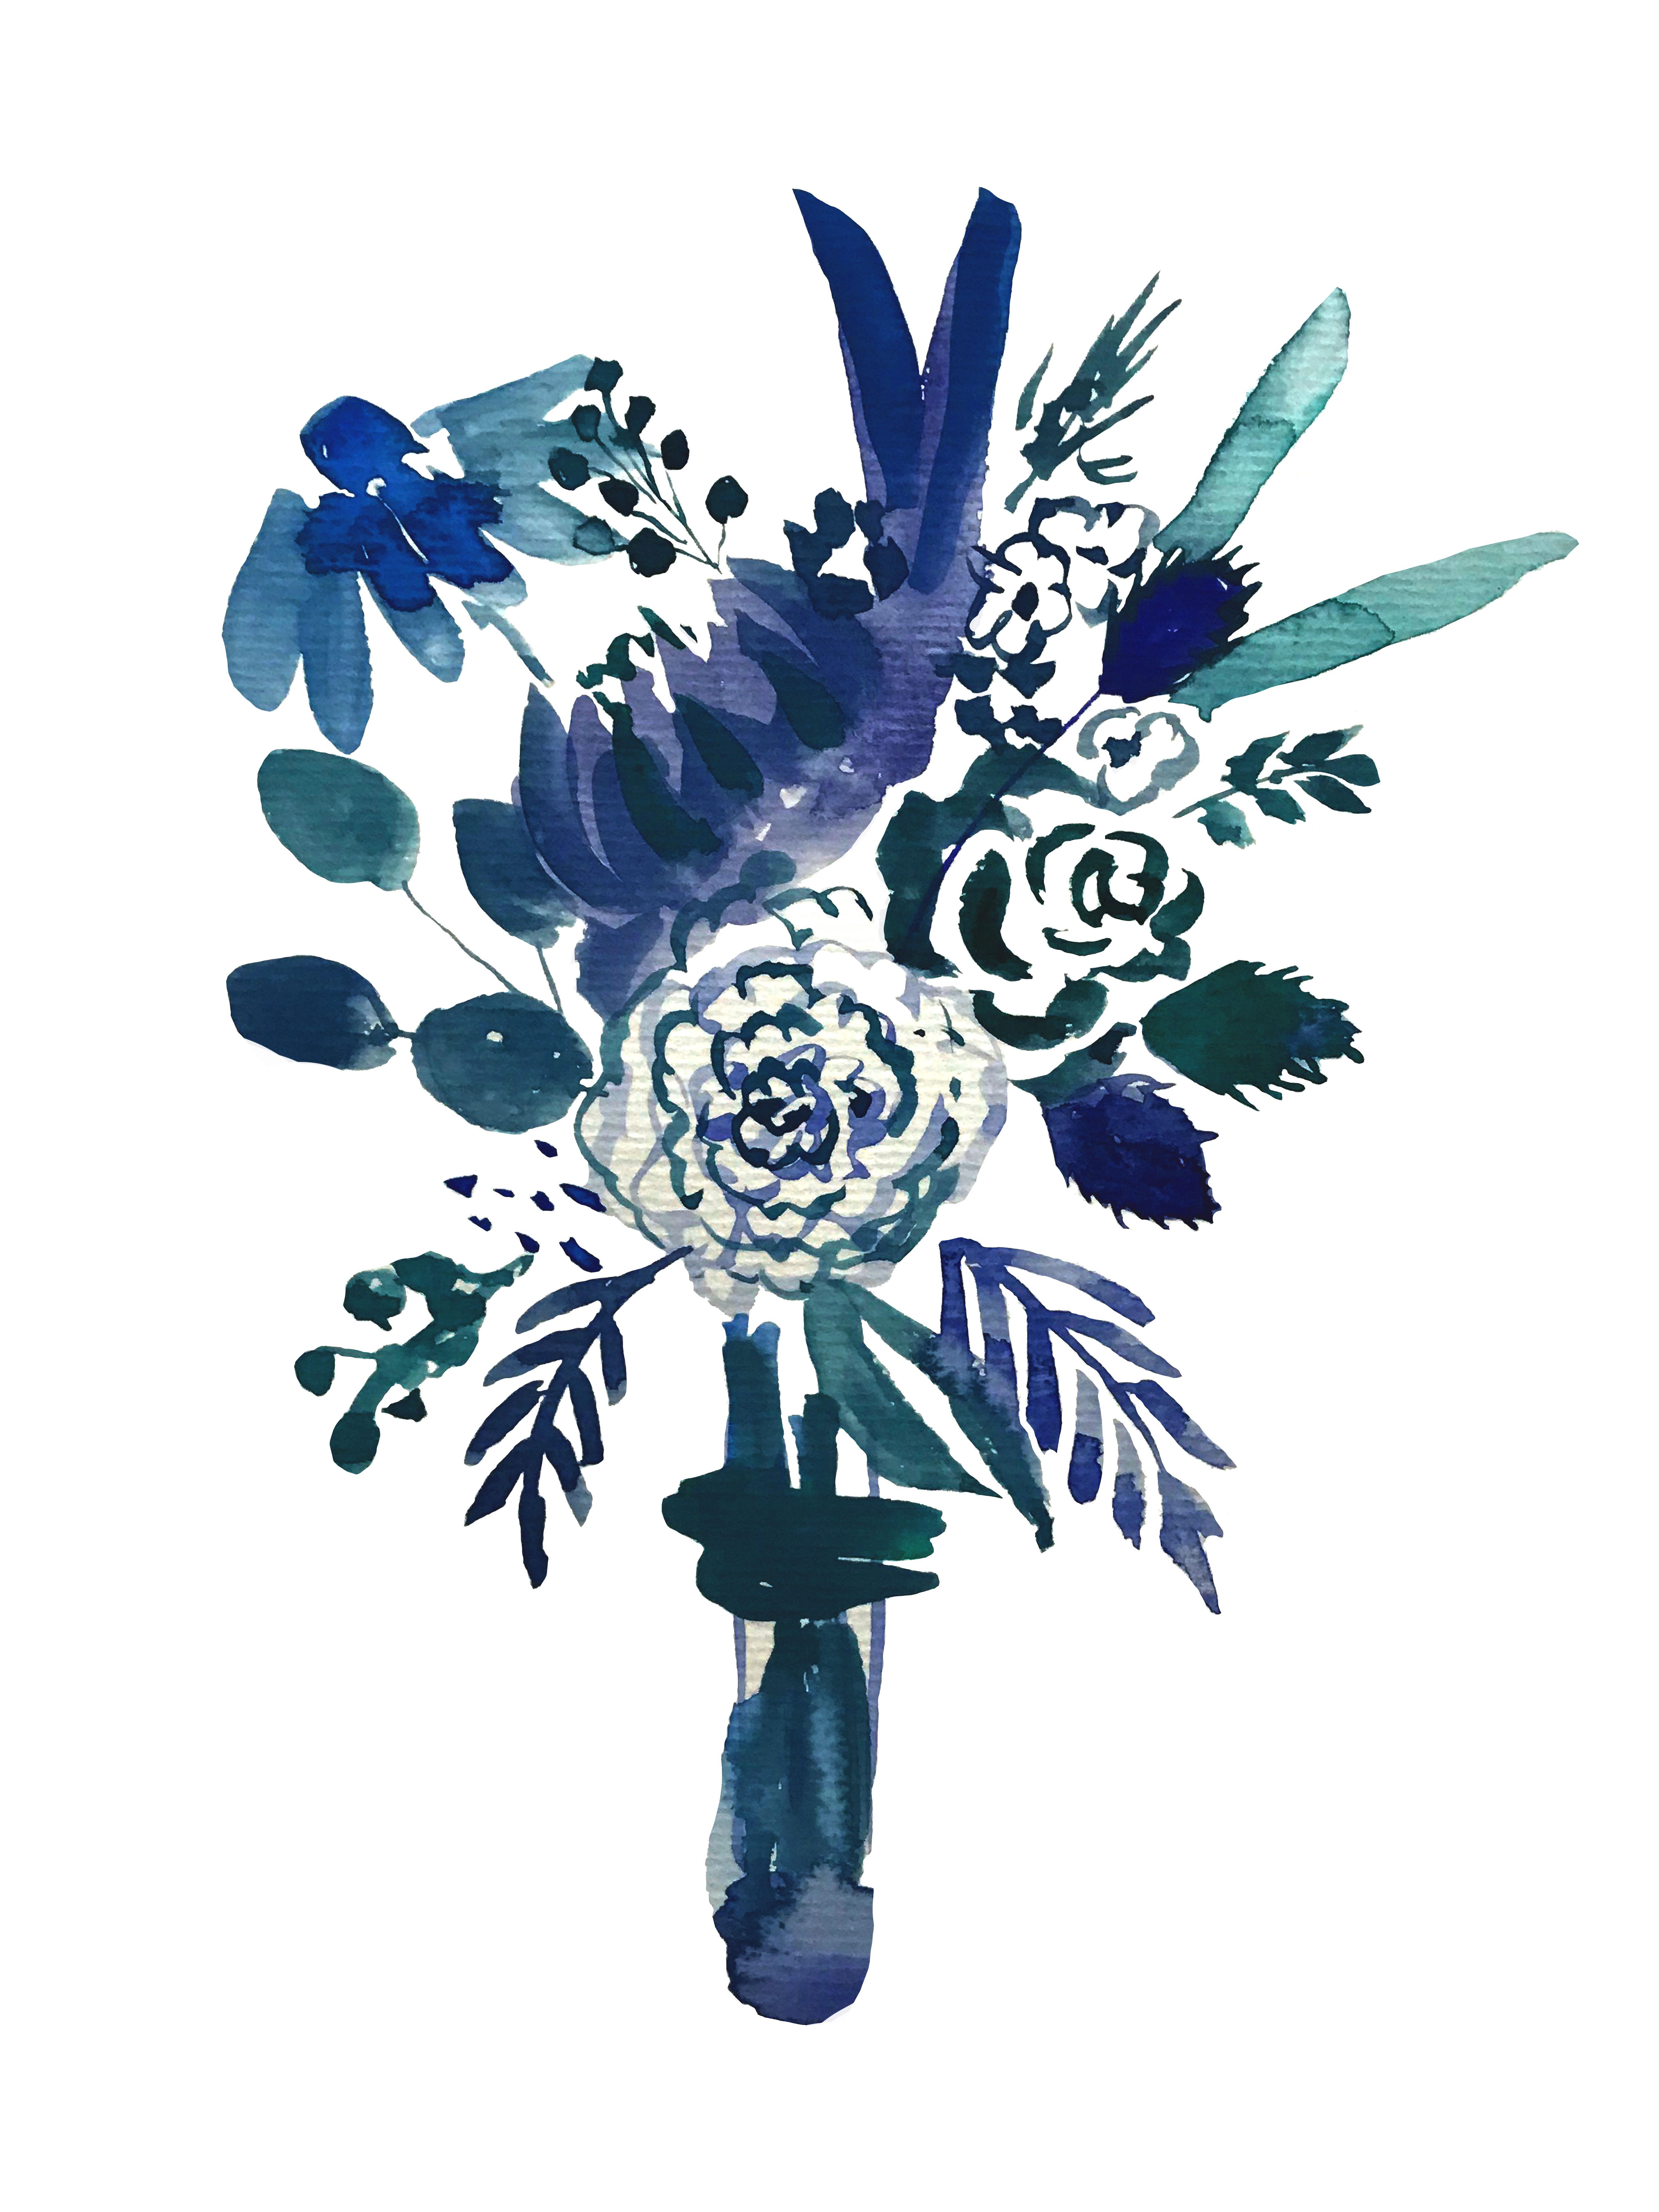
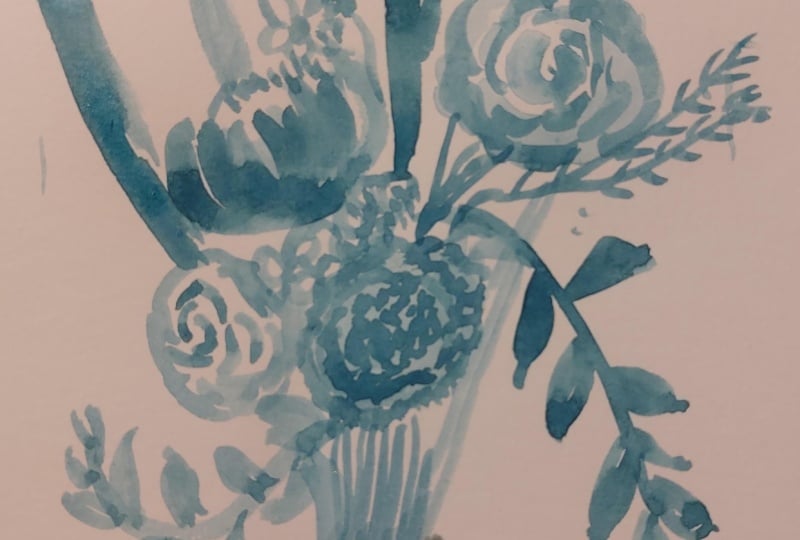
2. Project and materials: So for our class project, we will be making this beautiful monochromatic flower bouquet. This is what I will be using during the class. A few shades of green, a few shades of blue, and a couple of free choice. To make our flowers. We will need a paper towel, a glass of water. And throughout the class I will be using only one brush, which is this one, the number six. You can use whatever you have available to you. And for paper, I will be using 300. Gms. canson paper.
3. Painting Flowers: Let's start by the flowers. Here we have everything
we need, paper, paint. The brush I will be using throughout this
class is number six. In this page, I will make
five types of flowers, starting by the classic rows. If you don't know yet, the rows are usually made
by a bunch of Cs like so. First with the tip of the brush, and then as we get
farther from the center, we press it more. You can also come
back and add details. You just go around making seas, adding water, make it
as big as you like. In this page, we're going to make flowers with
different colors. You can choose
whatever you like. Then from the class project, we'll make a
monochromatic bouquet. Next, we're going to make
the very sort after Pony. I start by the sides again
two big Cs and ones, and then the horizontally. The pony has a bunch of petals, fill it in, do a
squiggly line on top. Then on the bottom,
I usually make three big shapes of
petals. That's it. You don't have to mess
too much with it. Now we can move on
to a daisy profile. The tip of the brush,
you make a big C again. On this petals, you can do
it many different ways. You can draw with the tip of the brush and then fill it in. You can press and lift like
so from bottom to top, from top to bottom.
You can mix it up. This page is for
you to experiment, so don't worry too
much about it. Just try whatever your hand
feels comfortable making. Between the petals, you
can add more if you want a fuller daisy. A little texture. That's it. Now we're going to
make the carnation. The carnation is mostly drawn
with the tip of the brush. You start by making
little buds in the center and then
expand around it. You can go on one
by one, like so. I'd rather do the center like this and then when I expand, I just insinuate
where the buds are and make it fuller
and less busy. You see? Just go around making three or four buds bigger
as you go around it. Okay. And if you want it to be facing
a certain direction, all you have to do is add lines to the
opposite direction. If this one is facing left, I'm adding it to the right. You see? Now the center
is more to the left. Now, we're just going to add some little ones that serve as fillers to any composition
and to our bouquet. I'm going to make two types. This one is where the center is white and
the petals are colored, and this one where the center is color and the petals are white. Just make a few and
get used to them. They're far from perfect. That's the point. We're not making a picture. We're just having
fun and playing it loose experiment with
the tip of the brush, press it around it. Just get used to it. I
think we're done here. We have enough to
start our next video. Let's move on to greenery.
4. Painting Greenery: The greenery. For this, I will be using just
shades of blue and green and mixing them
up as I go along. I will start with the
long calyptus leaves, starting with the tip
of the brush and slowly pressing while I drag it
up and then at the end, lift with the tiny curve. Make a few to practice. If you have taken my
botanical water colors class, you will know how
to do this one. It's very simple.
Tip of the brush, press, drag and lift. Okay. Okay. One more. This one is a little bit dry. I curve the top to the left. You can always come back with
more water and fill it up. Next, I will do a curved line with the very tip of the brush. And then randomly place spots which you can then
attach or not, if you want to the line in the center. Okay. There. This one, I'm going to do just an almond shape with
the line coming out of it. Always curve a little bit. You never want it to be
a stiff straight line. Because like this, you have
more movement and harmony. A around this almond shape, we'll make tips
split ends like so. A You can go mixing it up the blues
and the greens to make different shades because even
though it's monochromatic, we can have variations
of the same color. This one, again, a
line and we just press and pull
just a little bit. Just the shape of the brush, basically, all around the line, and then we'll
attach it Oh, yeah. You can put some more color
at the bottom of the leaves. That makes it more interesting
and gives it some depth. Next, I will do a fern leaf, which is very
similar to this one. You will draw the
line going down. Except for the leaves, we will press and squiggle
it a little bit, like so. You see, press and shake. And it turns out a whole different way
from the previous one. I like this one a lot because
it has movement. You see? Pretty cool. Play
with the colors, add colors if you like. If you think it's too green, you can come back
and add more blue. Now we're going to
make little circles. And we will leave a
tiny spot unpainted. If you feel you put
too much water, all you have to do is touch the to the paper towel and pick up the water
from the paper. Just make a few
circles and leave that white space facing
any random direction. It gives it a little
impression of a shiny thing and a few
lines in between them. Okay. I'm going to make
the rose leaves. A almond shape with the
little jagged edge around it. Yeah. And the rows would go right here. And finally, the peony leaves, which are kind of like this. They're and squiggly. Press, squiggle, drag and lift. Okay. Now you should have a page with flowers, a page with greenery, and we have enough to mix
and match and combine for different compositions
and especially to move on to our class project,
the monochromatic Bouquet. See you in the next video.
5. Monochromatic Bouquet: For this, I will start with mostly just
water on my brush, and I will mark
where things will go before I actually
come in with the paint, a little cheat
sheet, if you will. I start here on the bottom with the stems in the
center of the page. And you see, it's just like
really almost just water. I make two little marks on the
right and the left because I don't want anything
to go over the page. And if you want to
frame it later, you will have this margin. Just really light. I'm marking where
the flowers will be. Maybe here, I will do the peony. Some fillers. The fern. And so on. Maybe I'll
do a rose over here. And the day Now we can work with more confidence and get more paint
into that brush. You see? With less chances
of making mistakes. We can work more freely. Doing exactly what we learned
in our previous lessons. Okay The rose, and mix it up, you know, the shades of blue. If you want, you can add
a little bit of green. So it doesn't all lay flat as
one color. Take your time. Press, squiggle, I'm going for the
calyptus leaves now. Here. I put a little
too much water over there. That's all right. I like the way these
two look up here. That almond shaped fluffy,
dried flower thing. I'll just throw one over here. Those fillers, we did
on the greenery lesson. They co quite well here. I put my hand back on the brush. Further from the actual brush. So my hand doesn't touch the other things I
painted on the paper. Watch out that you don't touch wet paint. It happens though. Now, you see this one here, it's already dry and
it's going to give a nice effect for the carnation. So it's not all white
on the background. I have the sheet of
paper here with me. So I'm looking at them before
I actually paint them. It's nice if you have
them around on the table. So you can take a look at it before you start adding it to your bouquet or composition. Now I'm going for the daisy. I'm going to fit it here. So the petals on the side will be bigger than
the ones in the center. So it looks like it's behind the I'm going to do
that one over here. You see, after you took the lessons on the
flowers and the greenery, all you really have to do is choose where to
put them together. You already know
how to make them. You can make several
compositions, mix and experiment as much as
you like different colors. You can make patterns, cards, wall art, touch
a little bit of there. No. Now I'm going to make the flowers here with
the tip of the brush. Slowly and carefully. You can keep going and
adding as much as you like. Make it fuller or minimal. That's totally up to you. Add some texture here. Now, I'm just going to
add some details where I see fit another leaf here. Yeah. We're done. Can I add some a variety
of different lines, thickness of lines just to
make it more interesting. Here's where the bouquet
is tied and the stems. That's pretty much it. I'm
going to add another one here. We didn't make this
one in the class. It's just a few lines. We're done. O monochromatic bouquet. Okay.
6. Final thoughts: Thank you so much for watching this class. If you haven't yet, I suggest you take my class how to sell your work online. First steps. So you can learn how to clean up your florals on Photoshop and if you like, you can learn how to upload them on red bubble, make patterns with it, and sell them online. Okay. I hope you have a great time and I'm looking forward to seeing your work in the project section of the class. Bye.
 Melissa Conde, Melissa