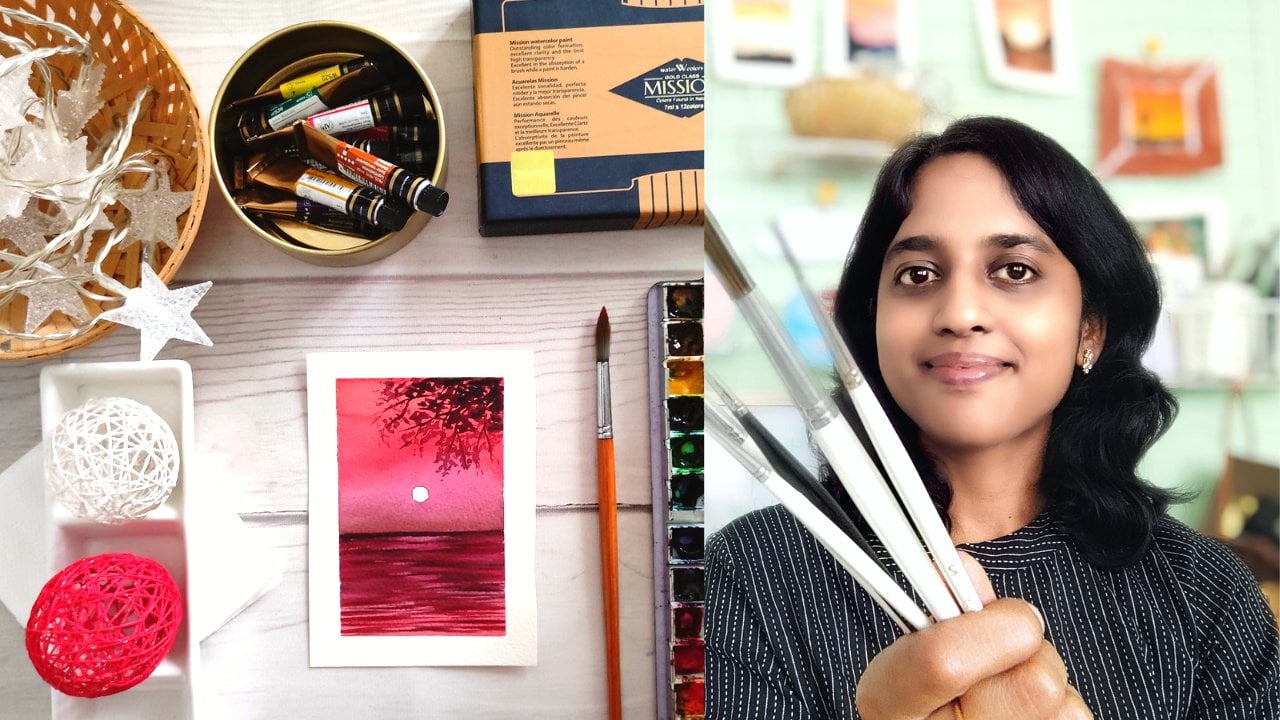
Watercolor Florals for Beginners: Easy and Expressive Loose Flower Painting
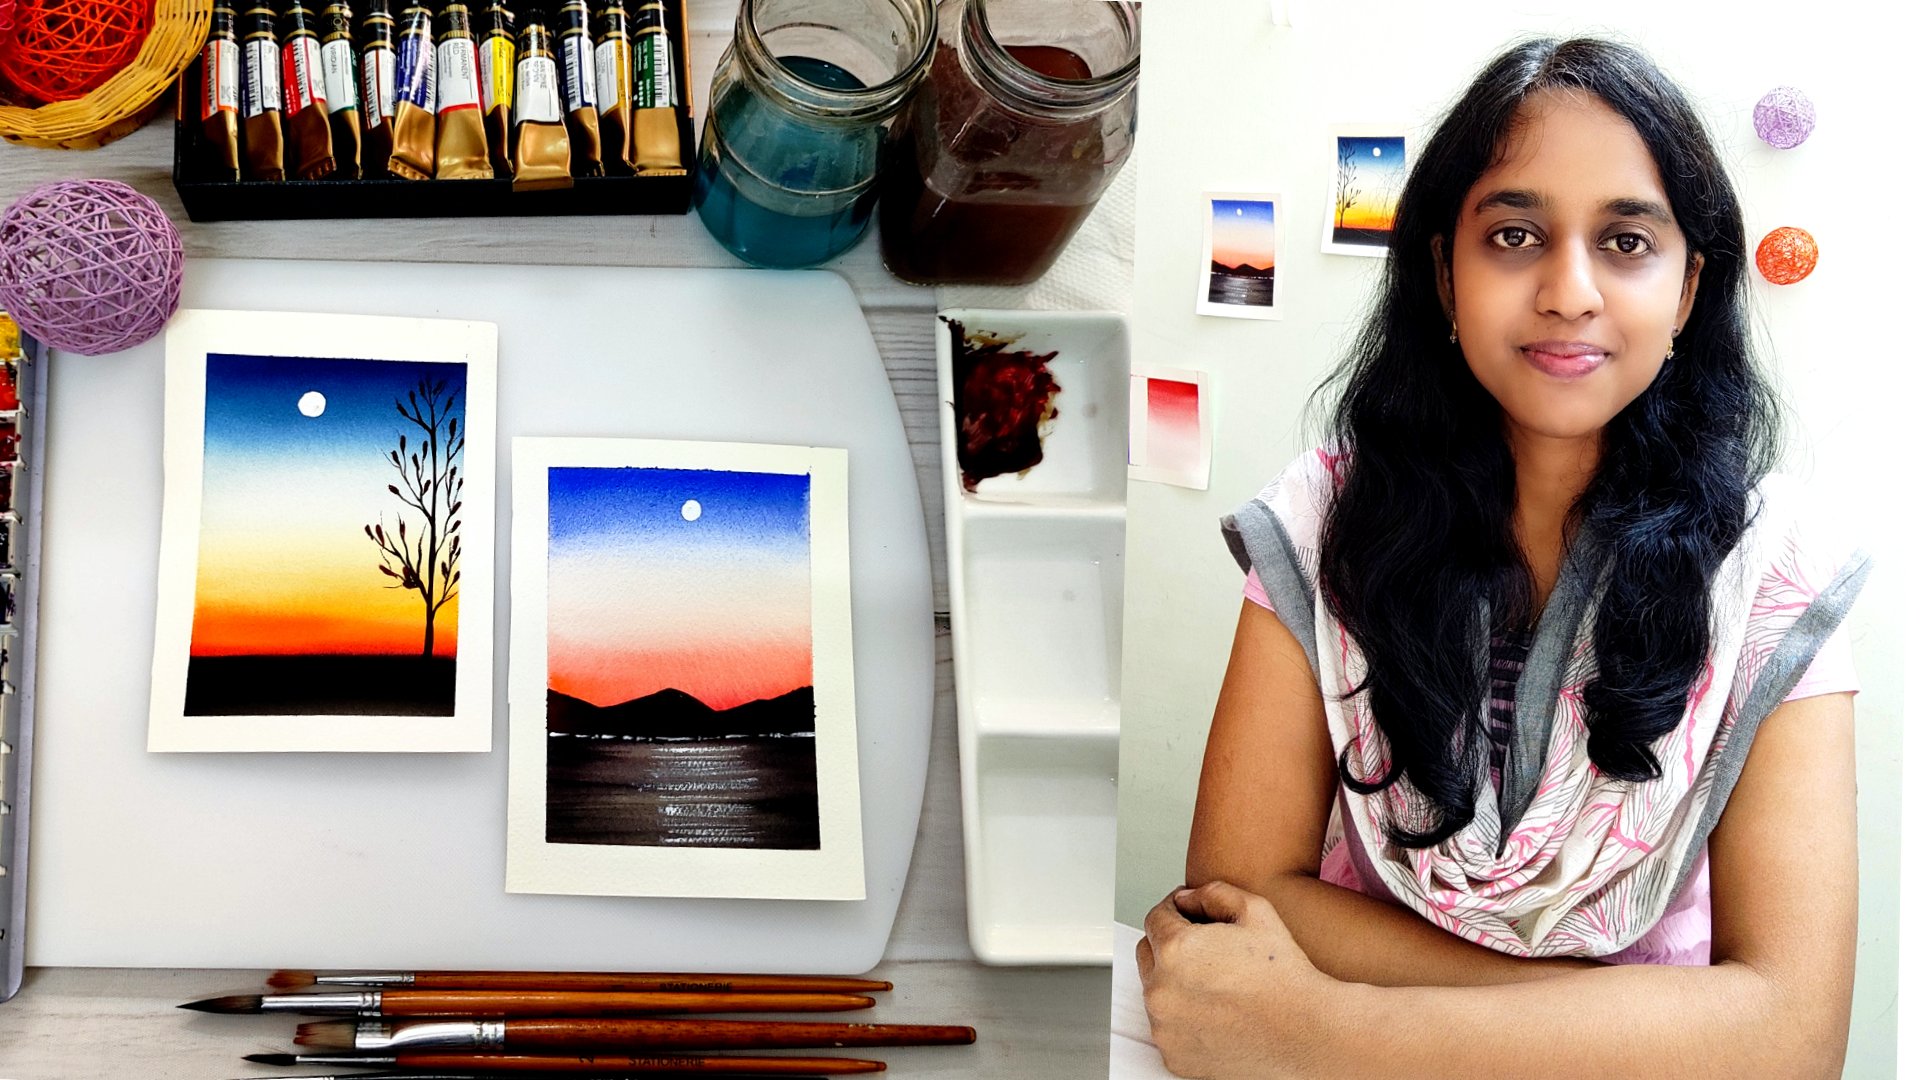
 Jessintha Reena, Artist and Art instructor
Watch this class and thousands more
Watch this class and thousands more
Lessons in This Class
-
-
1.
Introduction
0:49
-
2.
Painting The Flowers
1:56
-
3.
Painting The Leaves And Stem
1:46
-
4.
Painting The Vase
1:22
-
5.
Let's Add The Final Touches
1:23
-
6.
Final Thoughts
0:42
-
-
- --
- Beginner level
- Intermediate level
- Advanced level
- All levels
Community Generated
The level is determined by a majority opinion of students who have reviewed this class. The teacher's recommendation is shown until at least 5 student responses are collected.
28
Students
1
Projects
About This Class
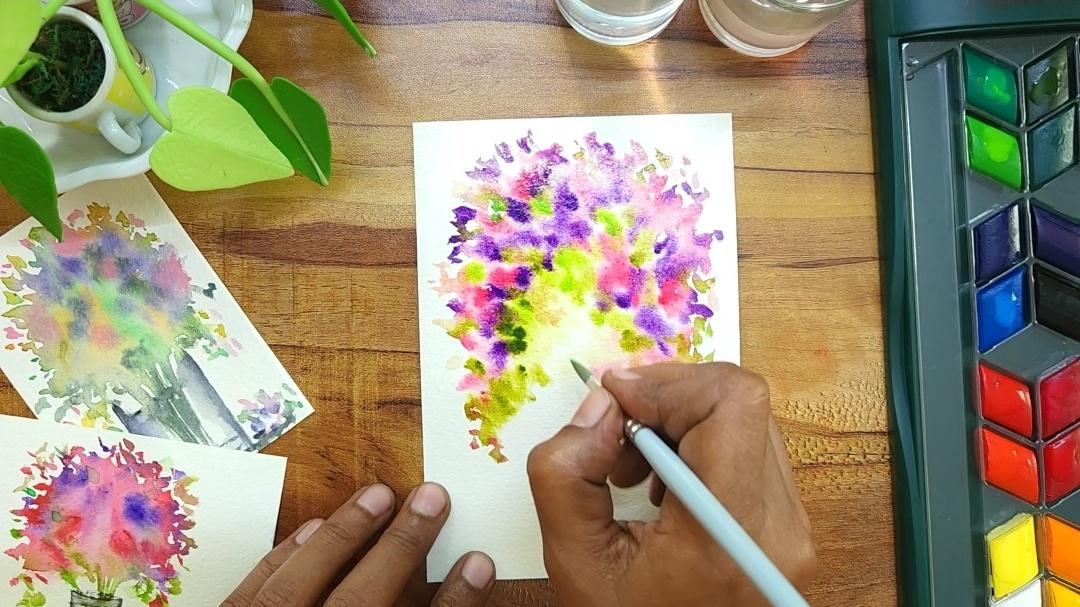
Discover the magic of loose watercolor florals with this beginner-friendly class that’s perfect for anyone looking to explore expressive painting techniques. In this class, we’ll dive into the wet-on-wet technique to create soft, dreamy flowers that are fun and easy to paint, making it ideal for beginners and hobbyists alike.
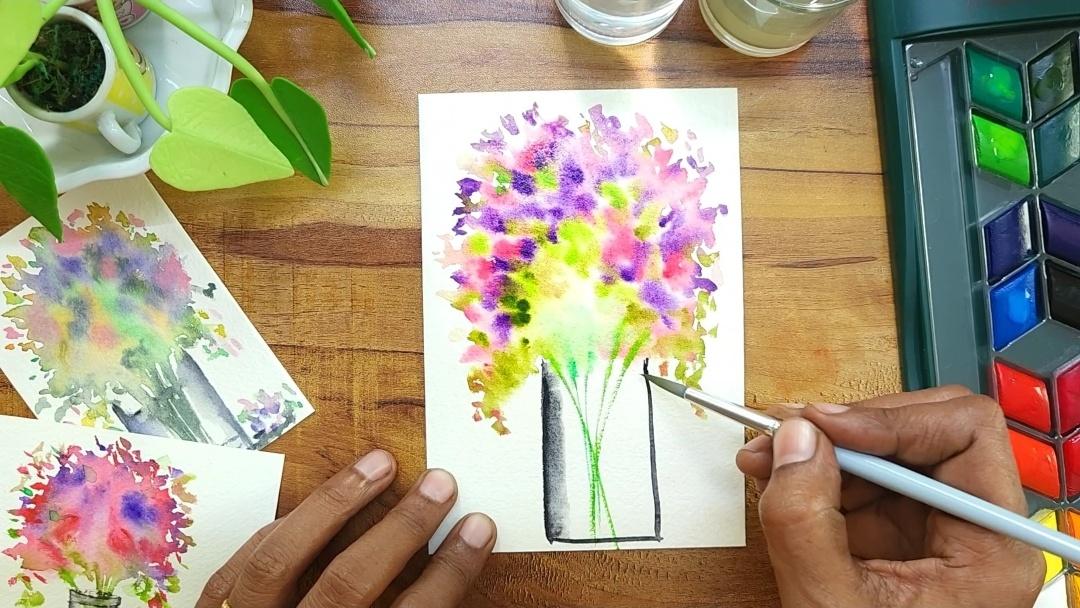
Benefits of the Techniques: The wet-on-wet technique allows for natural color blending, giving your paintings a unique, organic feel without the need for precise details. This approach helps you embrace the unpredictability of watercolors, encouraging a more relaxed and creative process. It’s a fantastic way to loosen up and enjoy the art of painting without the pressure of perfection.
Materials You’ll Need:
▪️Watercolor paper (cold-pressed is ideal)
▪️A set of watercolor paints (with bright colors like pink, purple, and yellow)
▪️Medium round brush
▪️Water jar
▪️Paper towel
Whether you’re a beginner just starting your watercolor journey or a hobbyist looking to try something new, this class is designed for you. Join now and let’s create a beautiful, loose floral composition together! Don’t forget to share your artwork in the project gallery—I’m excited to see your creativity in action!
Meet Your Teacher

Hello, I'm Jessintha.I'm an artist and an art instructor.I have been teaching drawing and painting classes for the past 8+ years and absolutely love my work.Watercolors are a medium that has never ceased to facinate me.My classes will help you paint amazing watercolor paintings.Simple yet fulfilling.
Join me and lets create happy art.
See full profileHands-on Class Project
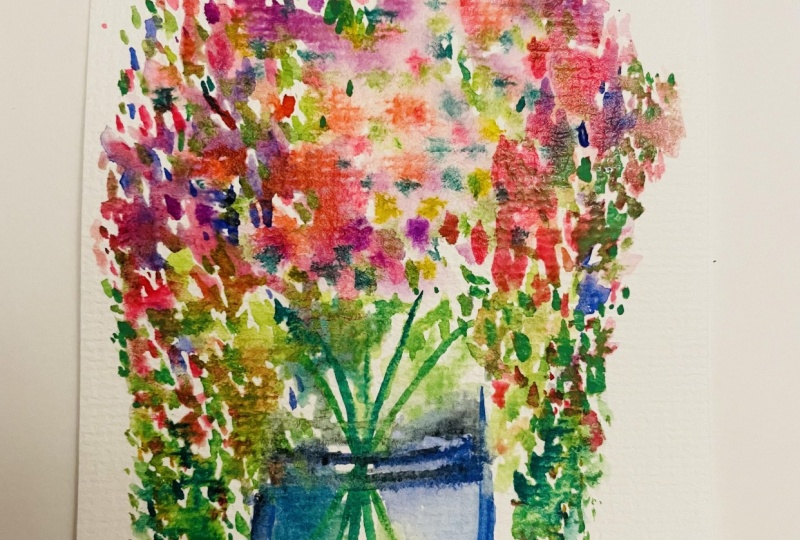
In this project, we explored the wet-on-wet watercolor technique to create a loose floral composition.
This approach allowed us to achieve soft, blended colors with minimal effort.
Step 1: We begin by using a medium round brush, we applied clean water to the areas where we wanted our flowers to appear.
Step 2: We then dropped in vibrant colors like pink and purple letting them naturally blend on the wet paper to form the petals and green for leaves.
Step 3 : After the colors dried a bit, we added subtle details and darker tones to define the vase.
Now that you’ve completed your painting, I’d love to see your unique creation! Please upload your artwork to the project gallery section so we can all admire and be inspired by each other’s work.
I can’t wait to see your beautiful interpretations!
Class Ratings
Why Join Skillshare?
Take award-winning Skillshare Original Classes
Each class has short lessons, hands-on projects
Your membership supports Skillshare teachers
Learn From Anywhere
Take classes on the go with the Skillshare app. Stream or download to watch on the plane, the subway, or wherever you learn best.