Transcripts
1. Class Intoduction: Lakes and sunsets are always a fascinating
subject to study. Hi, I'm just into an artist
and an art instructor. In this class, I
will be teaching you to create a beautiful lake, a beautiful sunset
sky, and silver trees. And the best part,
we just require one single round brush to
do the entire painting. And it's gonna be a big brush, a size eight brush. And that's all you need
to do, the integral. The entire class is bite-size
and easy to follow along. I invite you to join
the class and have fun painting the
sunsets guys with me. Thank you so much for joining. See on the glass.
2. Project Introduction: Welcome back. In this section,
let's take a look at the class project that
we will be creating. Before we start. Let me
tell you that you don't need a lot of supplies for
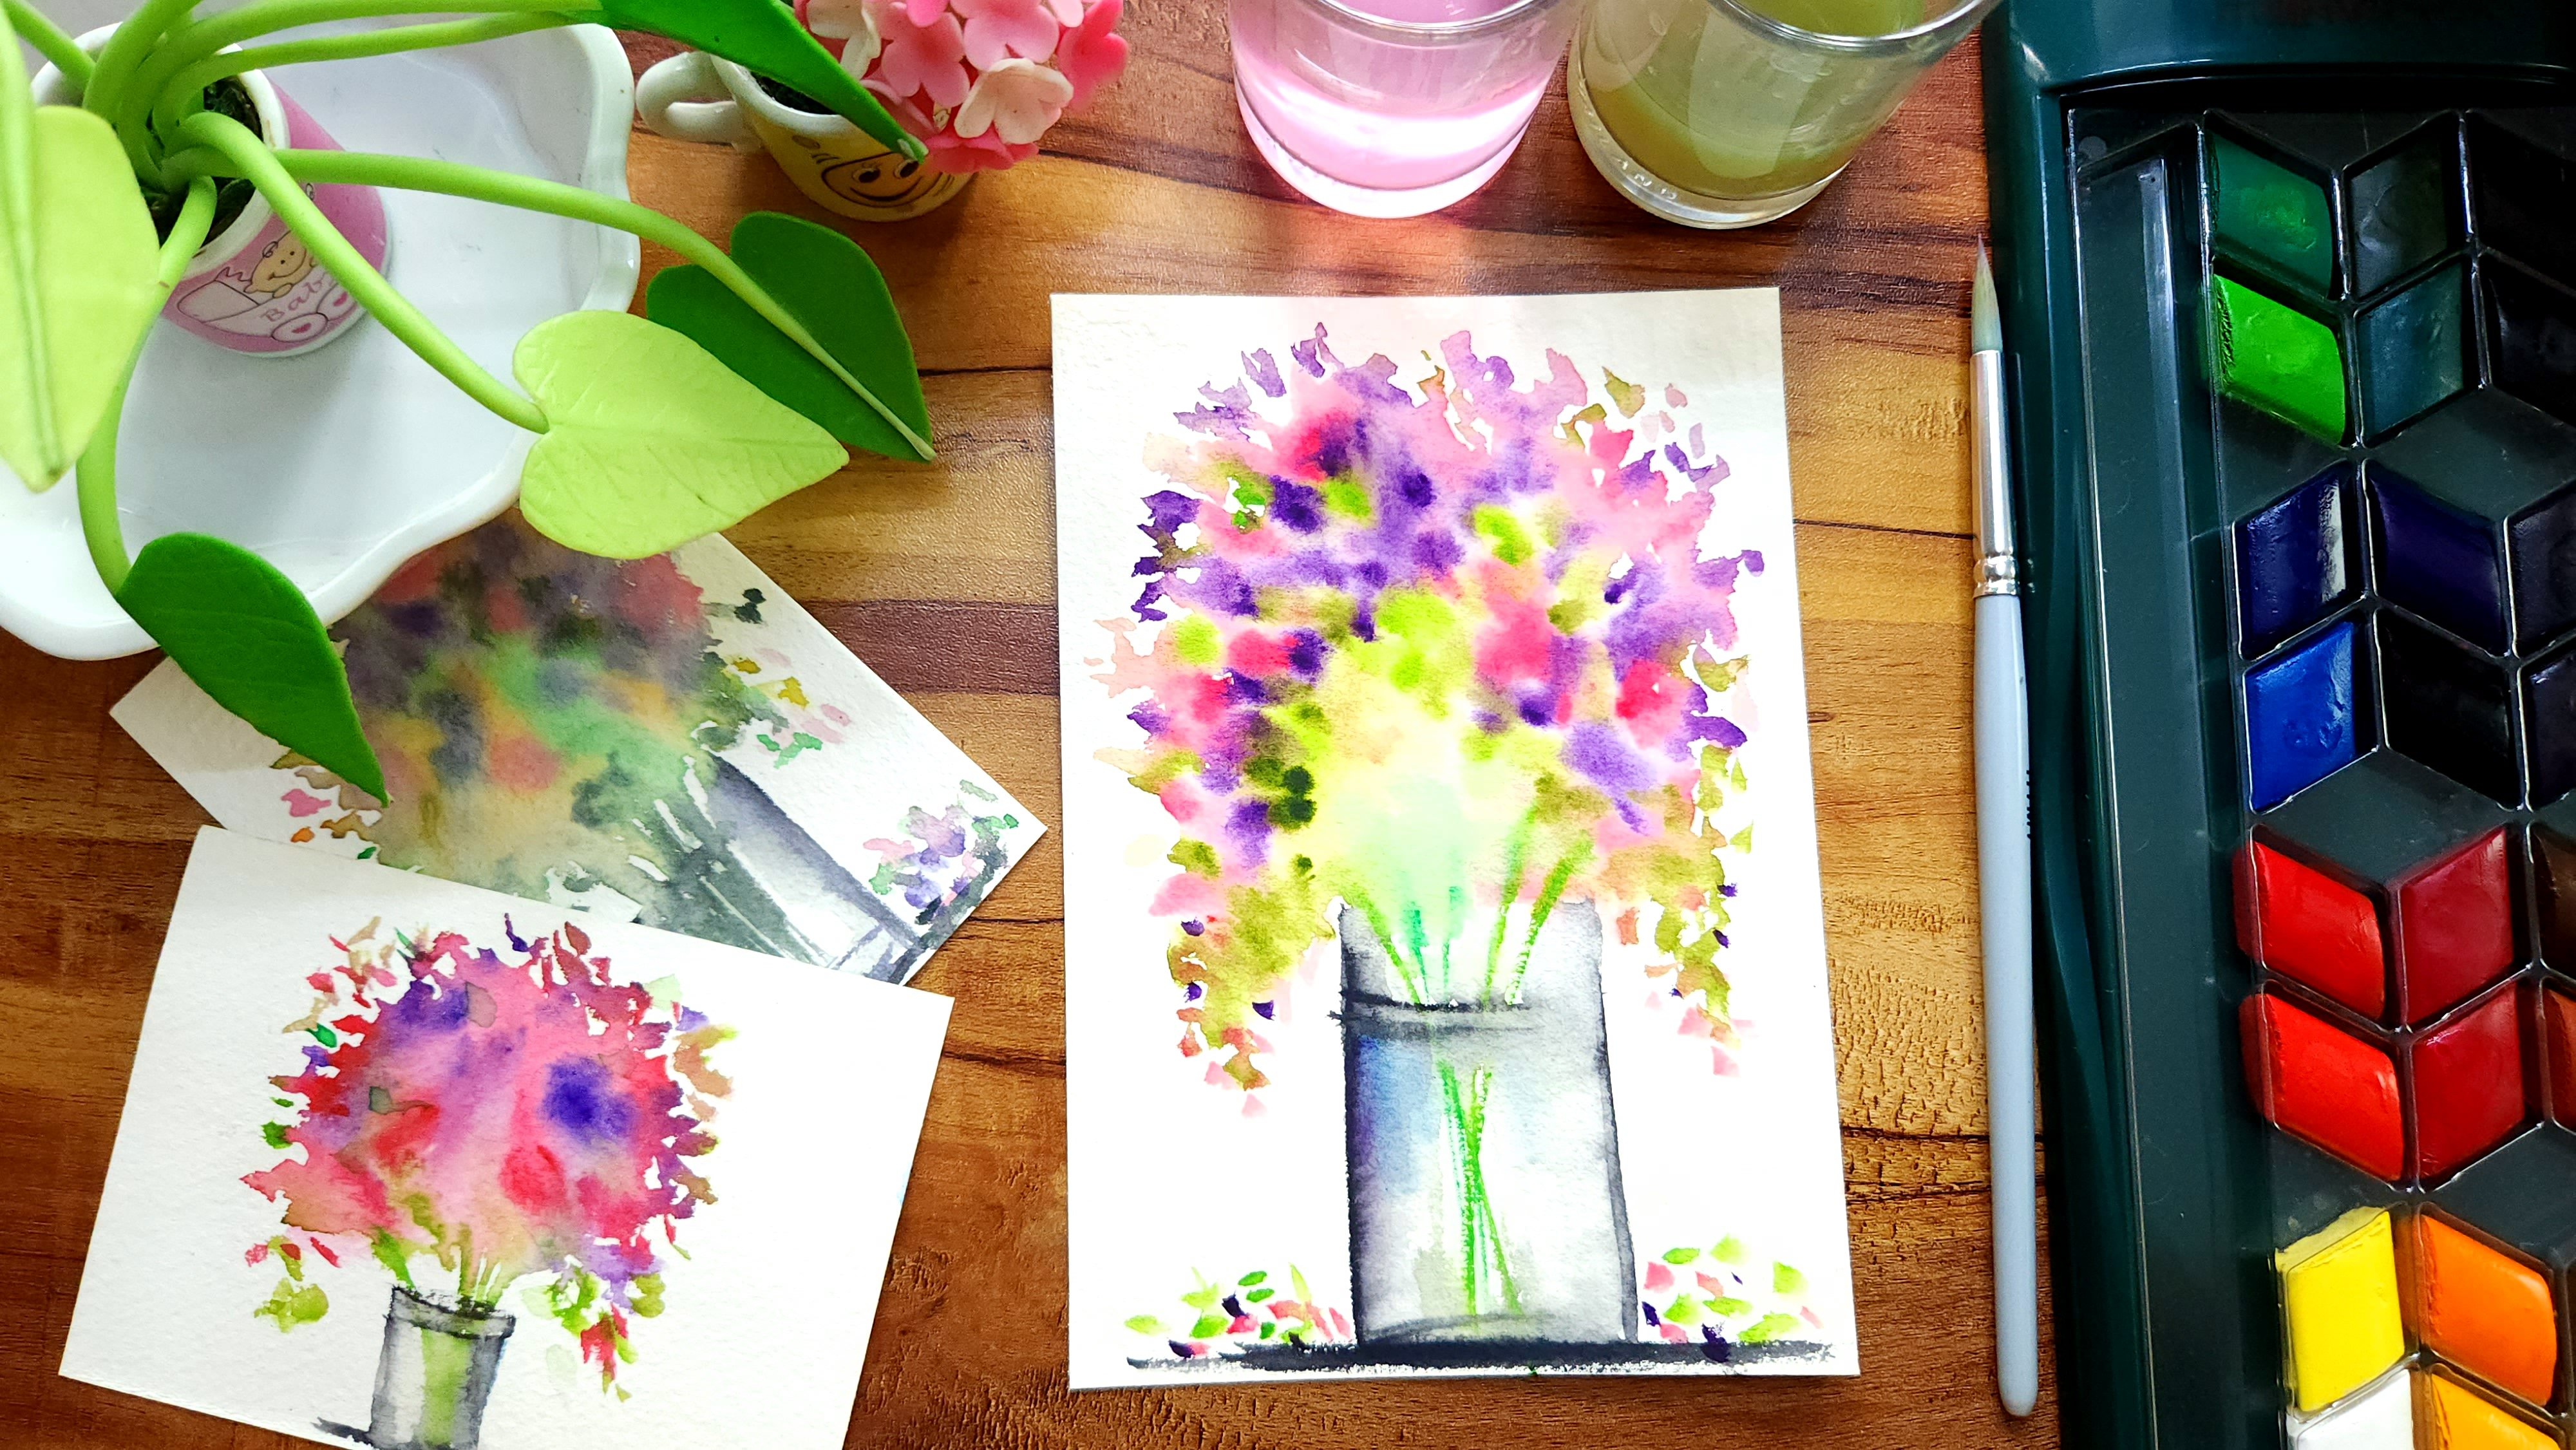
this particular painting. You just need a few basic colors and a single round brush. That's all you will need. We will be painting
this beautiful evening sunset sky
in watercolors. We will be using the wet
on wet technique for the background and the wet-on-dry
technique for the leak. In the next section,
let's take a look at the materials required
for the class project. Thank you so much for joining. See on the next section.
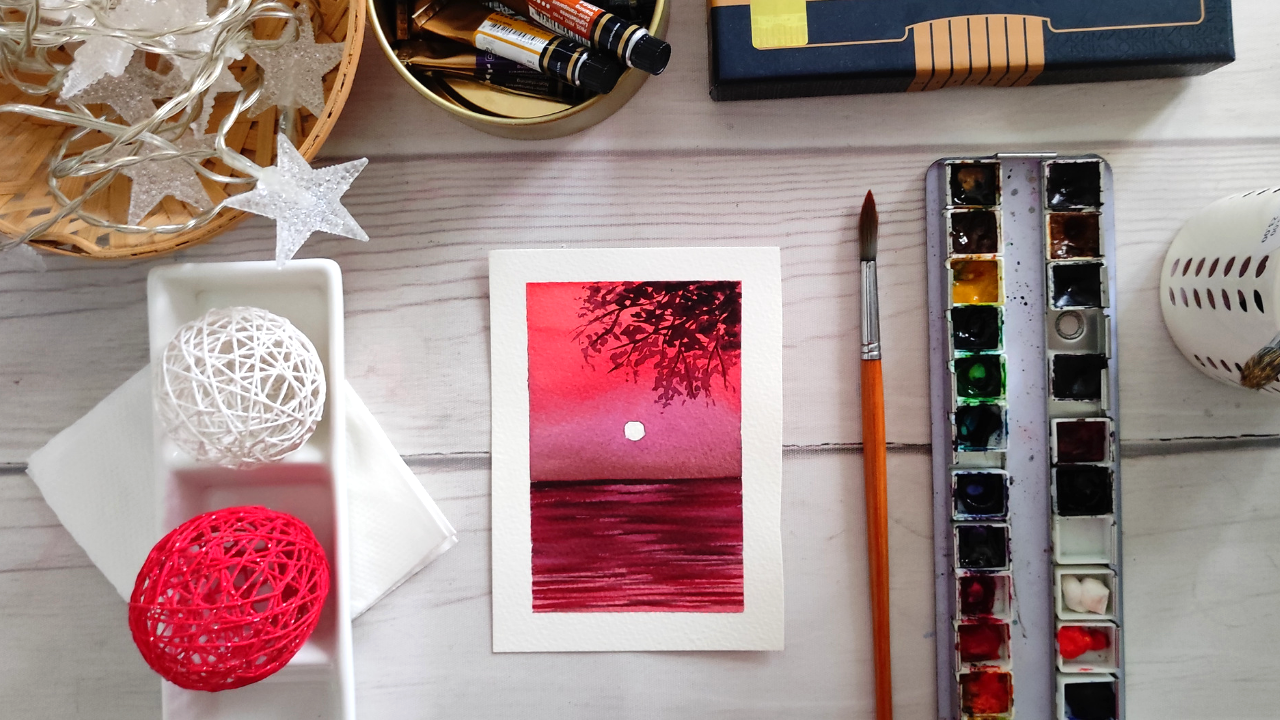
3. Materials Required: Welcome back. In this section, let's take a look at the materials required
for the class project. Watercolor papers. These are 300 GSM, 100% cotton cold press watercolor
papers from Russ true? Brushes. These are round brushes from stationary sizes 8.1. I'll be using only the size eight brush for the
entire project. Watercolors. These are artist
grade watercolors from Mission much yellow. I squeezed amount of bands like this as I prefer
working with bands. The black color alone is
from the White Nights brand. This is a ceramic palette, which I'll be using
as a mixing palette. Two bowls of water for
rinsing the brushes, masking tape to
tape down the edges and tissue paper for tapping
off the excess water. In the next section, Let's
start the class project. Thank you so much for joining. See on the next section.
4. Dramatic skies: I have taped down A6 size
sheet using a masking tape. Let's mark the horizon line, or a little below the center. Draw a horizontal line from
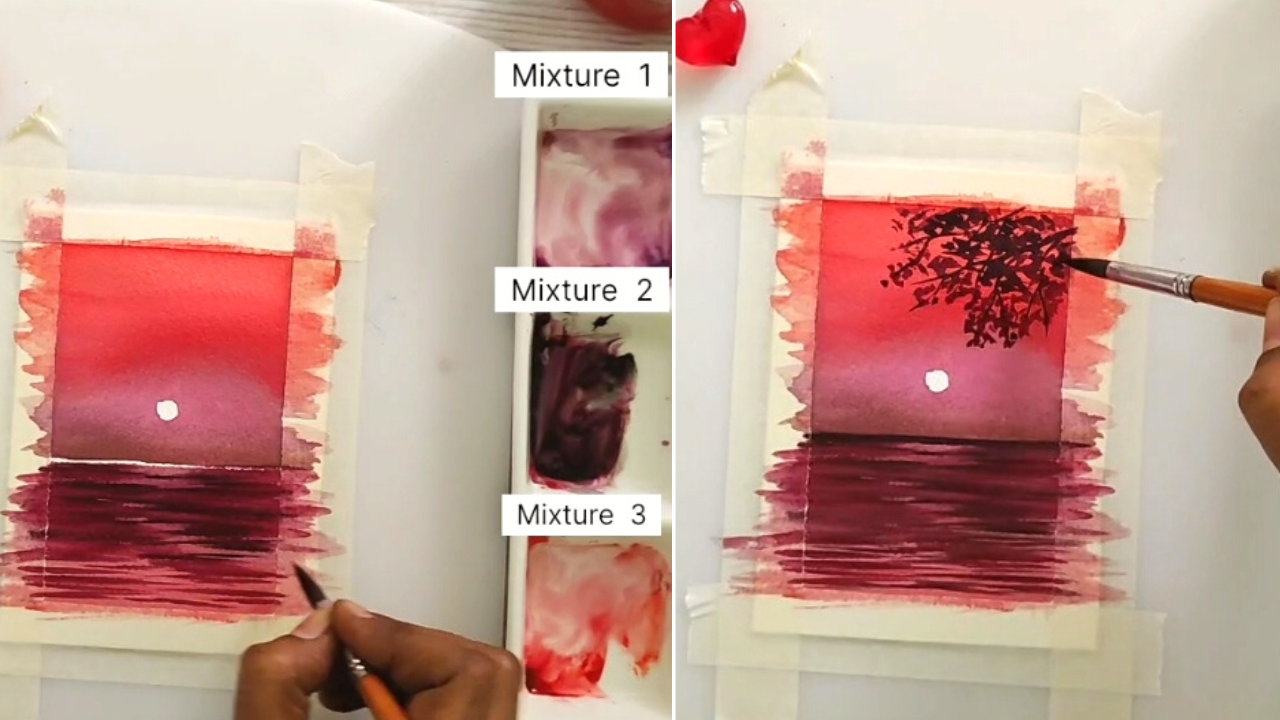
one end to the other end. Draw a little circle. For this one. You can make it as big or as small as you like. Now will be pretty mixing the washes that we'll be
using for the painting. We'll name the mixture, this mixture one mixture
to and mixture three, which I'll be mixing
separately into three separate sections
of my palette. Here I'm mixing
bright clear violet, quinacridone, rose,
and permanent red. This will form the
first mixture. For the second mixture, I'm mixing Van **** brown and a little
bit of mixture one. That will be a
mixture number two, which is a bit darker
than mixture one. Forethought mixture will
create a mix of permanent red, Van **** brown and
quinacridone rose. Let's begin working
with the background. The background will
be done with a wet on wet technique in which the entire background
will be made wet or damp. Make sure that there
are no puddles formed. While doing the step. Next step, we'll be applying the
paint on the background. Let's start painting from the top down towards
the horizon line. I'm creating a mix
of permanent it with a bit of quinacridone rose. And that'll be the first layer followed by mixture
number three. Then both the colors
together where they meet. This will be followed by
a mixture number one. Continue painting from
the lower part of mixture number three and continue downwards
towards the horizon line. Try not to touch
the little circle that we had created for the sun. Even if a little bit gets
inside, nothing to worry about. We can always alter that
with white gouache. Now I'm painting
mixture number two from the horizon upward towards
mixture number one, and lend both the
colors together. Now let's blend the colors
together with a damp brush to get a smooth gradient
wash in the skies. Now, along with
mixture number two, we're creating another
new color with black and mixture
number one and apply to the horizon line to make
it a bit more darker. Let's continue to
make this guy's darker by working with
the same set of colors. Again, I'm continuing
with mixture number one, right above the horizon line, followed by a mixture
number three. Now that our backgrounds
guys are complete, Let's continue working
with the league in the next section.
See you there.
5. Lake with gentle waves: Welcome back. Now that our
beautiful skies are complete, Let's continue
painting the lake. Here we'll be using a wet-on-dry technique for
this part of the painting. Now let's combine mixture
one and mixture to, to paint the upper
part of the lake. Leave a little space right
below the horizon line, which we will be completing towards the end of the painting. Now, as you can see, the paper is dry and
the paint is wet. And we're using the wet
paint on dry paper. That's the reason it's been called or wet on dry technique. Now let's use mixture three to fill the lower
part of the lake. Start blending the mixture
three into the upper part of the lake to give us more
graded look to the lake. Let's continue to paint
the lake will create waves using a mix of black. Quinacridone, rose,
dominant red, and violet will mix
all these colors. But mixture number two, you can either use a thin brush or a thick
brush for this step. If you're using a thin brush, you can use the dip. The tip itself will
be a little thin. If you're using a
bigger brush like me, you can use the tip of
the brush for the step. I'm pulling straight
lines, short, broken straight lines
across the lake. As you can see, the paint is spreading a lot
on the upper side because the upper
side of my painting is still not completely dry. As I'm painting the lowest
side of the painting, the lines are quite sharp because the lower side
is completely dry. Continue pulling lines
across the lake. But making sure though firstly, that we had painted is still
visible through the waves. Now let's create
another layer of waves. Let's make some more black
to mix in number two. And again, use the tip
of the brush to pull shot broken lines
across the lake. Now we'll use the
same mixture to fill the white part right
below the horizon line. As you can see, the lake is beautifully glowing
in the gentle light. Next section, let's create
the silhouette Trees. Thank you so much for joining. See on the next section.
6. Sk2 Silhouette trees: Welcome back. In this section, Let's start painting the
silhouette branches. I'm adding black and a
little bit of violet, and also a bit of quinacridone rose to
make sure number two, to paint the branches. Using this brush,
I'm going to pull out lines from the
top right corner. Make sure the lines
are quite thin and spread them around the
top-right corner completely. Make sure the upper end of the branches are quite
thick and as you move downwards,
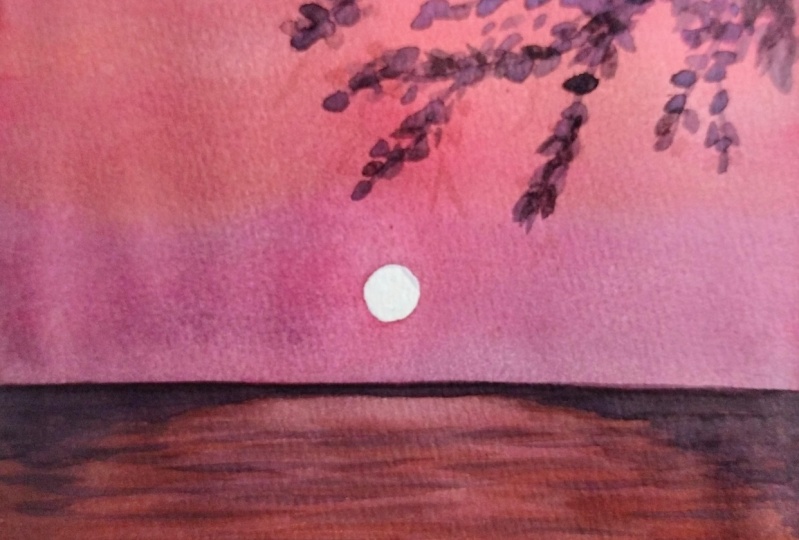
make them thinner. Now to create the leaves, gently press the tip of the
brush over the branches. Now for the lower
end of the branches, dilute mixture number
one with a little bit of water and add a bit of
mixture number two as well. And repeat the same step as
before by pressing the tip of the brush on the branches
to create the leaf shapes. Dilute mixture number
one again and pull down a few lines from the tips
just to create some interest. Add a little bit of black
to mix in number two again, and darken the upper side
of the tree as shown. A beautiful lake
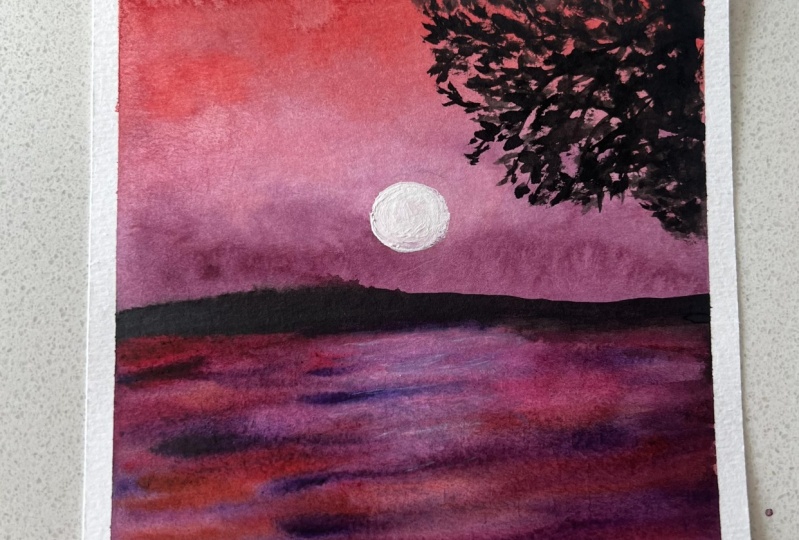
is now complete. Now, let's define the edges of the moon a little
bit better by adding a little bit of white
gouache the corners and define the circle
a little bit better. I'm using a thin round
brush for this step. Are beautiful
paintings almost done. Let's remove the masking
tape in the next step. Thank you so much for joining. See on the next section.
7. Tape peel: Welcome back to painting to dry completely and remove
the masking tape gently from all
the four corners. Here we have our beautiful
sunset in watercolors. Thank you so much for joining.
See on the next section.
8. Final thoughts: Congratulations, you've made
it to the end of the class. In this class, we
learn to create a beautiful sunset
sky in watercolors. Using some basic colors, we created three
different mixtures of watercolors to paint the sky, the lake, and the solute trees. And of course, we just use one round brush to create
the entire painting. I highly encourage you to
give this painting a try. Don't forget to upload your work and leave a
review about the class. This class has helped
you in any way. You can follow me on Instagram for more watercolor paintings. My Instagram handle is
just underscore art. And you can follow me here on Skillshare before
the class updates. A big thanks to all who joined and see you
in the next class.
 Jessintha Reena, Artist and Art instructor