Transcripts
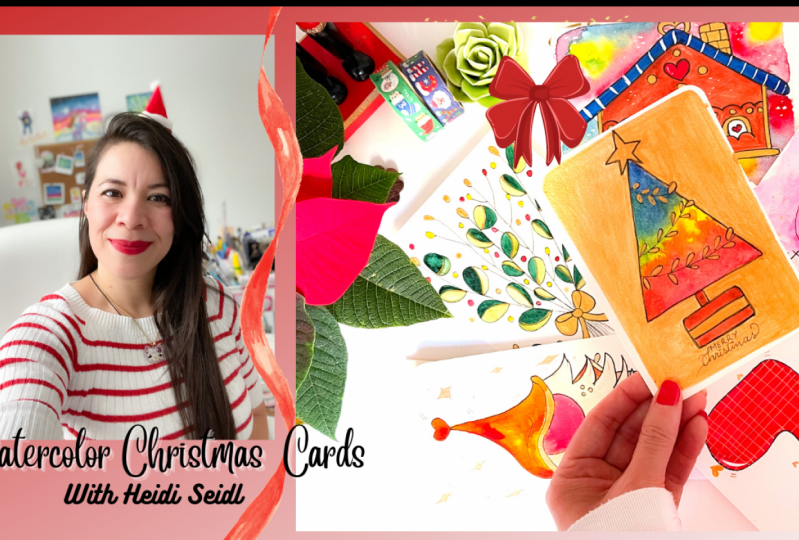
1. Welcome : Hello and welcome to this class. My name is Hy-Vee, and today I will be going guiding you through
the whole process of creating four different
Christmas cards with four different motifs. We are going to be working together from the
beginning to the, to the end, creating
the color charts, chosen the perfect Christmas
colors, doing the sketches, and then inking the pieces
in the final touch, we'll be adding
the water colors. If you already know
Christmas anymore, then join me in this class. Let's start creating
event Callaway. See you in the next video.
2. Resources and Supplies: I am so glad to have
to in this class. Welcome. And you can download all the
sketches we are going to be working on on this glass on the electricity
sources for this class. Check out the resources
for this class. Underneath the BPO. And on every one of the motif we are working on at the beginning
of every class, I am. I will be sharing with
you all the supplies do you need in explaining
you how we proceed? So exciting and I
hope you are too. Lets us create leaving Callaway. See you in the next video.
3. Christmas Bauble Card Supplies: Let's take a look at this. Blessed we are going to
be using in this class. We, I have here two branches
in two different sizes. I have my flat brush and my bamboo stick to
Masons pleasures. I have my Ben to make
the sketches and you can see here the
watercolor chart. But we're going to do
this together, iron. So I'm using watercolor paper in the size of our postcard. I have also my
Neil's watercolors. You can use whatever
watercolor do have. I choose this one because it's
very bright and I went up very sparkly bright pink, neon. Baba. And I have
two different inks, waterproof ink to
make the outlining in a little pond to mix
my gold more ink. In this case, you can use a
watercolor gold or gel pens. Now, let's activate
the watercolor, adding a little bit of water. Remember if you're using
another type of watercolor, then proceed as you wish. We are going to use the
technique, wet on wet. I am wetting the paper to
add the color afterwards. Then at the color, this is the color chart. This is very useful when we want to get used to the watercolor
that we are using. And I recommend to do this before everyone of
your paintings. So you can see the behavior
of your water color in the color that you
want to get on the paper. Or under painting. In here you, we, you are going to be
deciding what color intensity. And if you were more intensity, you add less water. And if you were less intensity, then you are more water. So I will let this
dry and when we, I will see you in
the next video.
4. Christmas Bauble Card: Now it's time to start
sketching or Christmas bubble. And remember, you can
download the free resources I left you in the resources
for this class. So I will be using my pencil
first to sketch the bubble. And we can do this together
or you can do it beforehand. And then we are going
to be outlining it with the water proof ink, pencils, pens that we saw in and the materials or
supplies for this class. I will spit out a little
bit this part of the BGR. So I will see you
in the inking part. Now we can start
inking or escaped. I am using a CDO 0.5 ink, waterproof ink, the membrane, it is very important
as waterproof, so it doesn't mix with your watercolor when
you are painting it is. I will start with the outline. You can do the same as I am doing and you're going
to use a bigger, deep if you prefer, or a smaller one. This process is very easy. If you did the sketch, then to just need to
follow the lines, we are going to outline only
this, the Bible itself. And then we're proceeding
to paint the background. I already started here and we
are using the technique wet on wet again because I want the background to be
very light in pink. Then I will add some shadows, but I will read explained in you when we're, at that point. If you are not familiar with the technique or techniques
of watercolor Zukin, check my other classes where I explain it very step-by-step. So you can be more familiar
with the process and make sure you'd or own uses of this marvelous
technique. Or dangerous. I've been watering watercolor
and are little bit more of pigment on the wet
part of my paper. Make sure you are using
good-quality watercolor paper. I will let you do
all the detail for the splice britain on their
discretion for this class. So don't worry, just read the specifications on and on the discussion
page for this class. And then you will
find everything, even the dimension of the
paper that I am using here that is equal
to a postcard. And saw, which is a very
nice size for a card IN adding zone lethal
doses of being alone. To make a little bit
like a shadow on the size of them, a wobble. So you can decide whichever
side you want to read more darker with some points that
reflects like the shadow. Ion iron deciding to make it more literary
moral splashes of Diver pink on the left side. Okay, let's start painting
or bubble in for this week. First, adding the
darkest pigment on the middle of the bubble using the technique wet on dry paper is
completely dry here, and I am picking the most pigment color of this watercolor
has to consider. I am making this line in
the middle of my bobbin. And then we can start by including this color to
the size of the bubble. We just water. Don't apply more color here. Yours water. Pick up the color, clean your brush if you need it, you've have too much
pigment in your brush, then just clean it up more water and just pull
up the color to the sizes. And as you can see,
or maybe you cannot. But in the sketch you
can see that that is a little space around the space. And this is very important
to keep it in white, no colon on the sides, because this will make the
reflects off the light. Like the Bible is shining because the light is
shining on the barbell. Keep just driving the color
from the middle to the side. Very slowly, very, very slowly. And if you think your knees a little bit more
of pigment and just speak a little bit of pigment
and put it on the spaces. Do think it make the
perfect contrast to see the light shining on the book on more
water, if you prefer. Remember watercolors when dry, the color can be different
and not so bright. So keep your eyes on the end. How do watercolor react? If is a very
high-quality watercolors and the color will
stay almost the same. But if not, then you will need to add more layers or more. You will need to pay did more. Now you need to pick up
a little bit of color and start adding on, on the bottom of the bubble and on the right
side of the bubble. Look what I am doing here. I urge us all with
the tip of the brush. I am adding the lines. We, I am adding a
very gentle caress from the brush on the paper. And when it dries, you will see the nice
effect it causes is like a dislike of
the will relate. Water is a splashes on the, on the bottle and eat. Look very nice. Now it's time to let this dry. Let's talk about gold. We have different type of goal that we can
use on this paint. Don't hesitate to use
whatever you have. I have here watercolor in gold. I have the angle that this is one word
I'm using because this is where the proof I have a metallic gold pen
and a jelly pen. So please, if you don't
have the same ink as I am using in the next class, then use whatever you have
at home or even a jailer. Watercolor is perfect. I will be using my finest brushes from the
two IV for this class. And this is a number
2 round brush. And I will paint the
little top of the bubble. And I want this to be a
little bit thick, so I will, I won't, I won't be
diluting my gold here. And when I am
finished with this, I will just trace the thread. The thread that is a
holding the bobbin. If you have a steady hand and
do it as I am doing here. But if not just a
wait until the top of the bubble is dry in place
a ruler and trace the line. So it's time to let this. This is already
looking fabulous. Now I will add some
splashes to make it pop in. The technique is
very, very easy. I will wet my brush
in clean water, and then I will pick
up gold from my ink. And this will be ready to
splash using the bamboo stick. You can use another technique, but this technique
is perfect for me because it doesn't get so
messy on my workplace. So I love it. And the splashes,
I can control this blushes where I
want to put them. Less. China. This one. When I am finished
with the splashes, then I will let this completely dry because we are
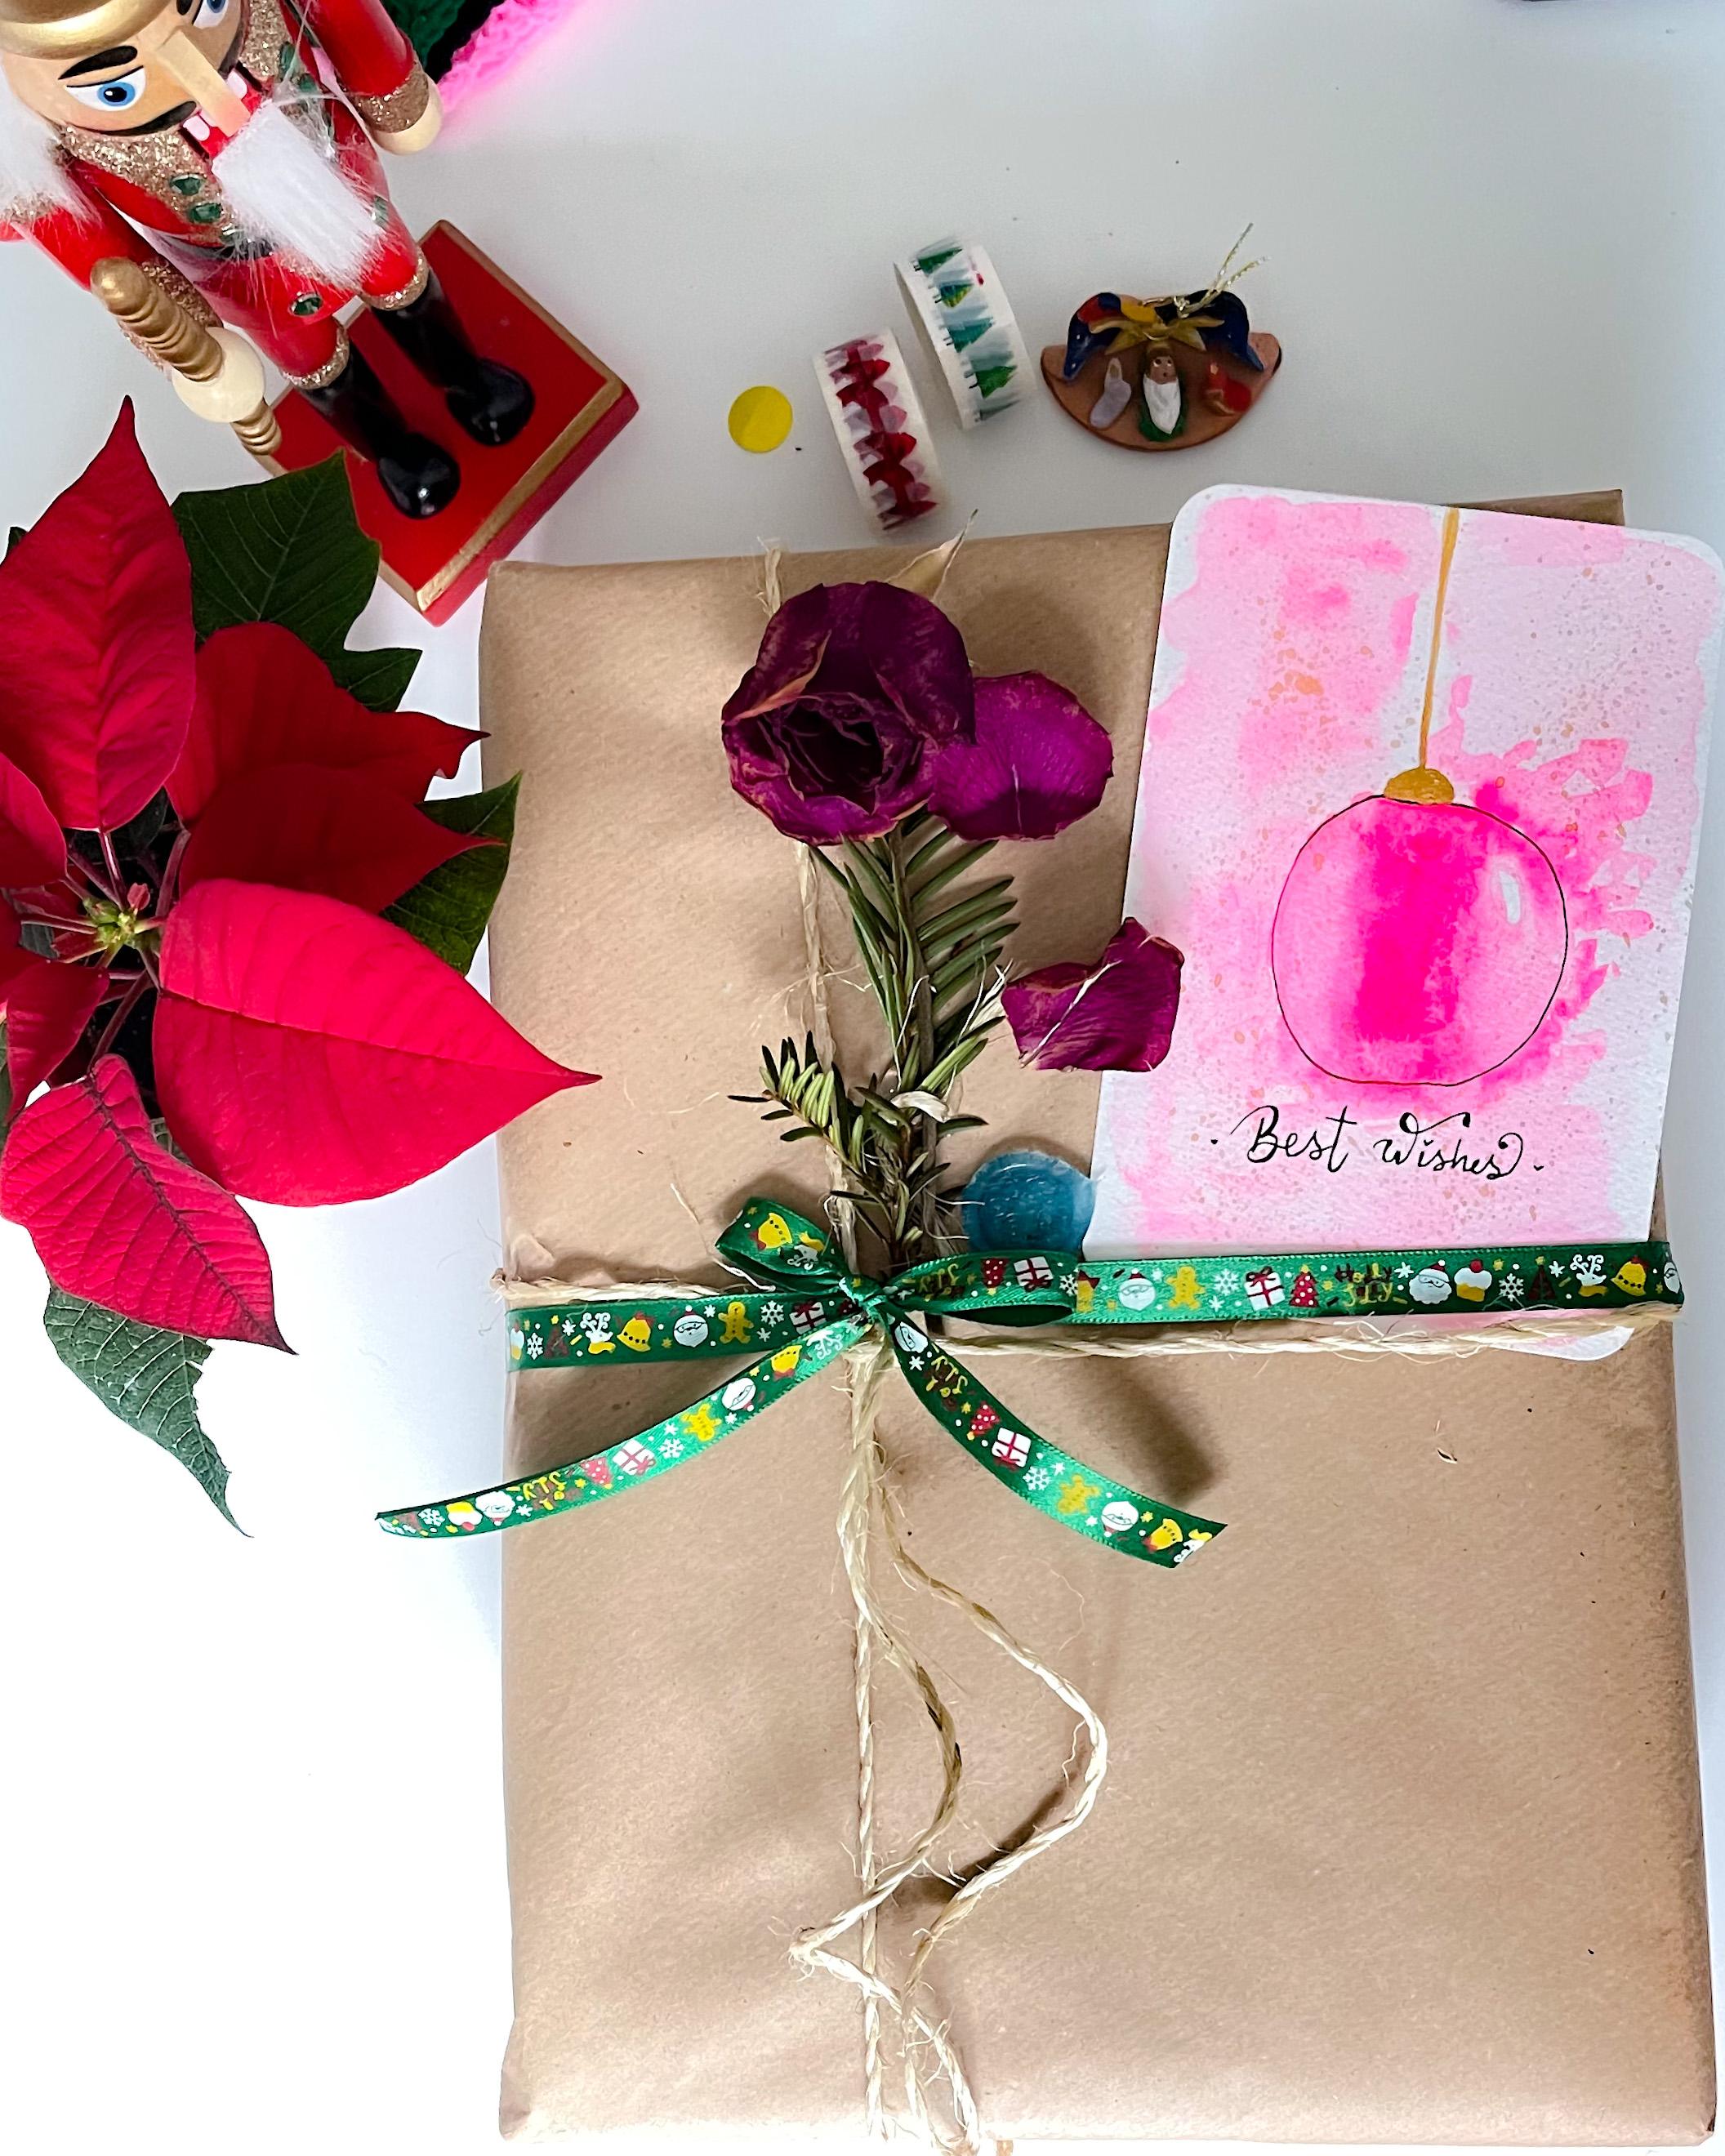
going to bright a little a message
on the bottom of this, a Christmas card. And for that I will reducing
a CDO 0.3 is verifying deep, too bright best wishes. You can use whatever
or the message, or even your gun bright, the name of the person, or Merry Christmas,
happy holidays, ditches wherever Mrs. Duke
want to do right here. The important is to convey best wishes and you're hoping for the person you
are given this character. Or God is looking amazing on the bag that do come
right to home or from is this card and M brighter lethal message
for the person or the family you are
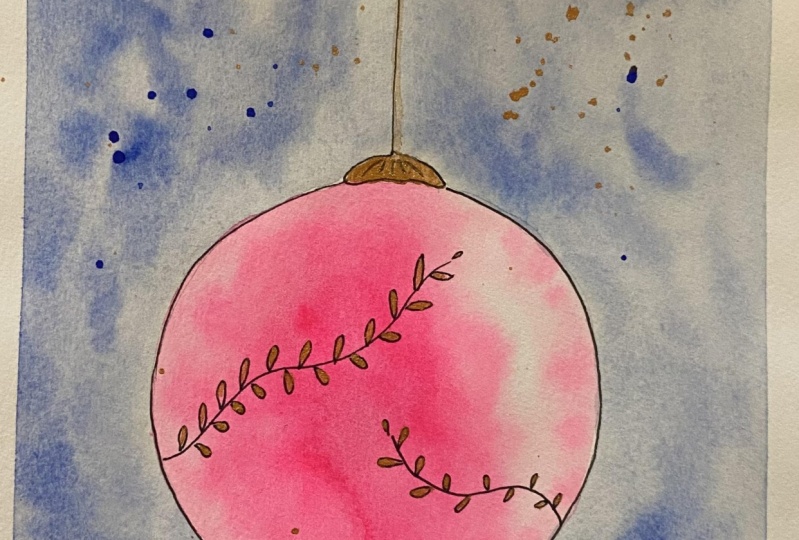
giving a gift card to. I really like how these Vibram Christmas
Bob will look like. And this will be a perfect gift for a color shoes for a person. If you know what color
the person's like, then you can choose
that, that berry color. And I think they will
be very pleased. I love pink. So I choose this pink
because the person I am giving this to
also love pink. I can wait to see what color did you choose
for this Christmas bubbled car when you are ready bread in
the message thing, we can see how we
can use this car. You can place it on the
gift given to the person. But you can also
send it per post and make the envelope
barely beautiful, taking the details
to make it shine. So I hope you liked this class and I will see
you in the next video.
5. Christmas Tree Card Supplies: Let's see all the supplies that we are going
to be using during this class for to create a
during Christmas tree car. First, I have my watercolor
and I didn't radial sketch. Here is the palette that
we are going to be using, painting and the three, and make it like
a mix of colors. I have two different ink pens, what the proof inks pens
into different sizes. And my little bottle with
water to activate the color, we are going to be using gold. You can use gold ink or wherever gold do you have rushes
into different sizes. Have a clean towel and
clean water at high fields we're going to be
making the color chart. Shall we? Let's activate all the
watercolors and I, when we using different
type of color here. As you can see, blue
tail or turquoise, pink or red, jello and brown. And I will be using the
technique wet on dry. Adding more water or less water. If I want to intensify
or dilute the color, I will just be that a
little bit the process. And do gun do it at
your own pace, please. Don't do it so fast. This behavior is doing. That is just the magic of time. I NGOs making the
watercolor chart. Now that my watercolor
Chinese lady, Let's begin with or
grease mastery card. See you in the next video.
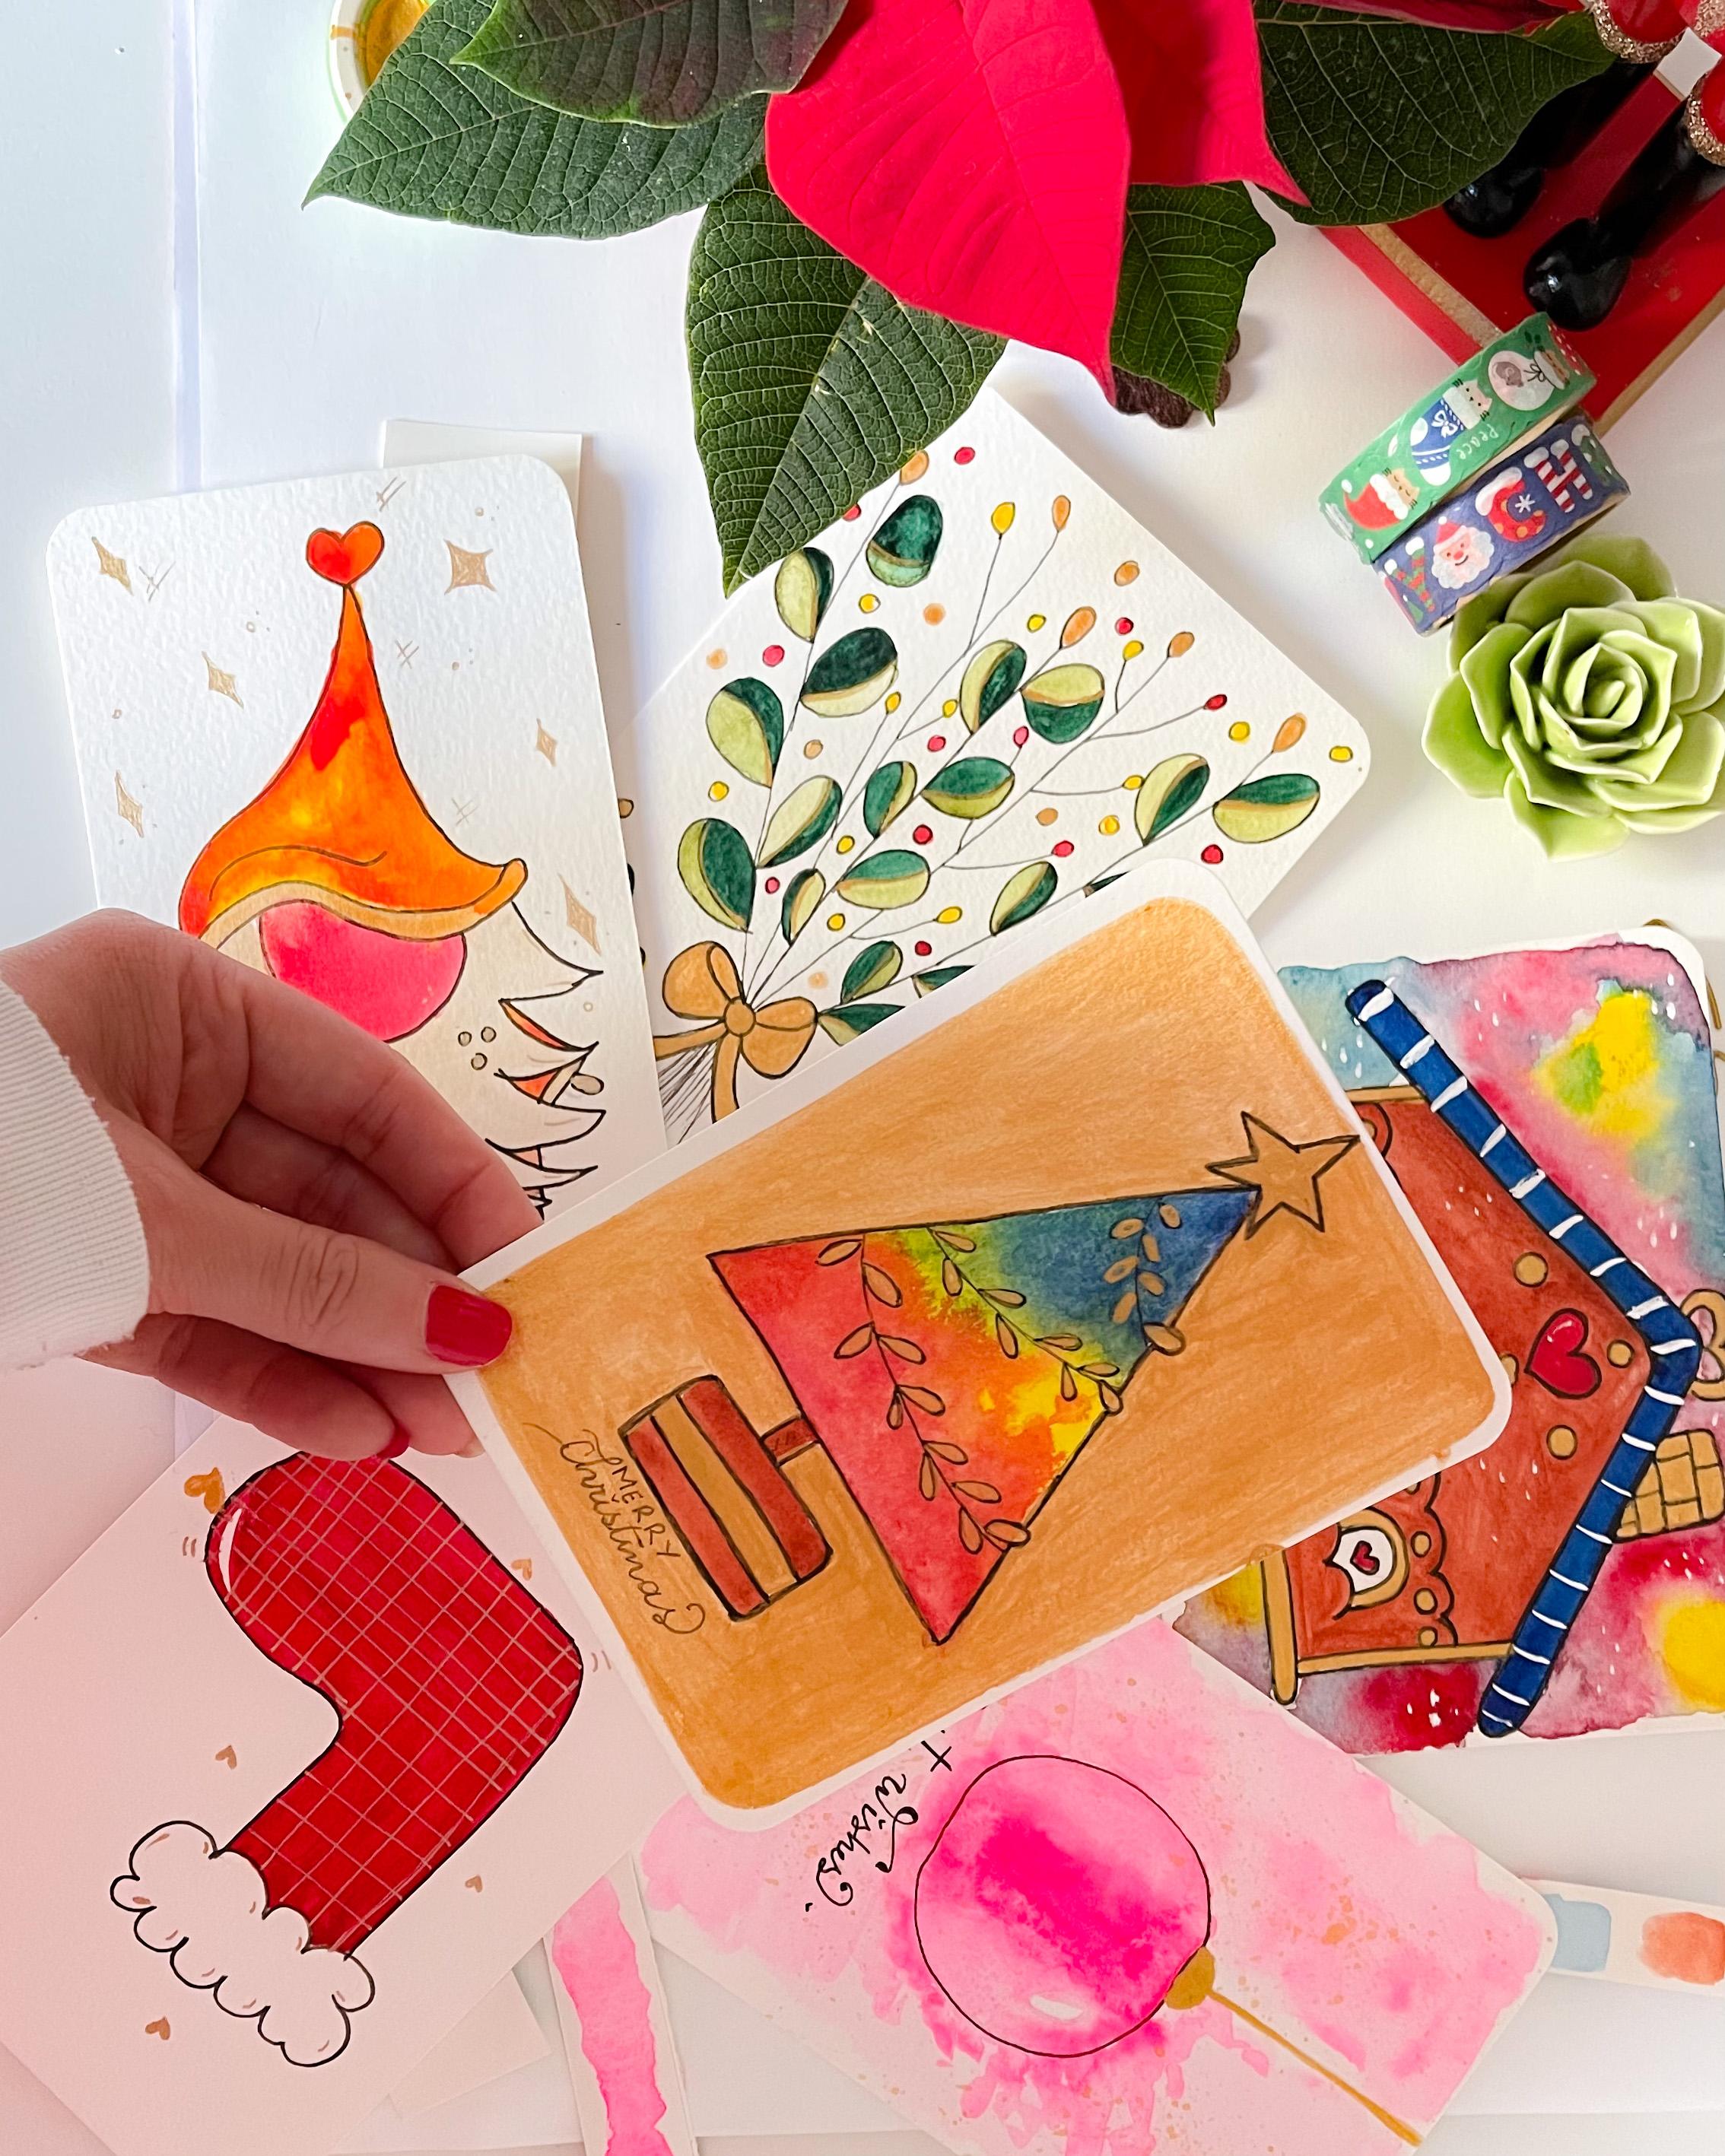
6. Christmas Tree Card Part 1: This is how or Christmas tree he will be looking
like in just a minute. Does remember to
download the sketch. Ns, good, as your
Christmas tree, as I did here already. And now we're going to start painting the outlining
with or waterproof inks. And then when we
add in the colors, as I will be explaining
you a step by step, fears. We are going to be tracing the lines and
then we are going to be deciding how to use all colored palette in
this beautiful tree. Let's begin. I am using my serious 0.05. This is a very fine, fine liner waterproof ink. And I want to do this first and afterwards when
we add the watercolor, we can use another type, another deep of a pink ink to make the Quraysh
the corrections. I may be we'll be
using a bigger deep. I will be sharing
that with you as we go forward on this paint. Just trace the line very slowly. So you aligns, look steady
and bedding cohesive. And you enjoy the
process does is the most important part. I always like to think on the person IN given discard too. So I infuse my doing, my art, my guard in this
case with the bears, by possible, you
can do the same. Think of the person or port
music that inspires you, that makes you think
and start painting or, or just paint in silence. I like to paint inside
the cells as well. Now I will speed up a little
bit the speed the process, but please take your time, do it as conscious and us
and judge LOL asked you, can don't draw, you
don't need to rush. It's just a matter of making
this easier for you to follow the composter
video and then come back if you need some time. I will retained
in my fine liner, I am using a bigger tip to paint the part of the Christmas. As always, I want to remind you that lead to creativity flows. This is just the idea that
I am chatting with you, but you can use another shape, for example, for the pot. Just don't hesitate and don't hold back on your creativity. Now that they are finished
or the outlining, Let's start painting
the Christmas tree. And for this, I will be using
that technique, wet on wet. I am taking water with
my clean brush and adding water on the inside
of my Christmas tree. As you can see, I will
repeat this process on the whole tree and the
inside of the tree. And then we are going to be
adding the color one by one. The idea that I have for this Christmas is
to make it like a galaxy type of a sky Christmas with the palette
that I am sharing with you, starting with the blue, this is say, Prussian blue. I will be adding in letting zone spacing in white to add the
other colored wishes tail. And as you can see, when the paper is wet, the color becomes,
becomes a little diluted. And Estelle, to make
the magic mixing with the other color does
is already on the paper. Play with the intensity
of their water color. Adding more water, or
begin up more color. Adding some point, and then moving in with the
water through the painting. So you get a more
cohesive interaction of these two colors. And keep it off
on the upper side of geometry for this part. Because we need the space
for the other two colors that we will be adding a next. And we want this
dark color to mix Astroworld with the
whole painting as, as we did in the color chart. Next color we are
adding is the jello. And using the
technique wet on wet, but using a pigment that jello try to not deal diluted the yellow because
it becomes very, very light. And the last color that
we went to other to them. Painting is the red. So the more intense, but from this painting will be the bottom of the
Christmas tree. As you can see,
the color is very bright and very pigment
and bedding dense. So you may or may
not use more water to dilute or to get them
to dance on the paper, the jello and the, and the rest, the lab. But you can decide
whatever intensity Do you want to see on your paper. Remember, the lights,
the little lights. We are going to use
gold for those. And we are going to be using also the black inks
to retrace the lines. So don't worry if you
are looking like a mess. Thus is the magic of watercolor. When it dries, boom, the medics reveal itself to you. Play with the intensity. Again. Add more water and more color. Play with the intensity
you want on the paper. And then is time to let
this completely dry before we start doing the
other part of this painting, or for this car. While or Christmas
tree is drying. Let's paint the
stem and the part or part of the part
with the brown first. And then we will, we will be adding a line of gold to make it a more
and more Chinese pot, a more case massive pot. Of course, you can use
another color for the pot. As always, lead to gravity flow. And you can also make some
bottoms of the bond, the bot. But I will let you decide what you want
with this in this form. After all these years. When I finished their
part and the stem, I will be lead in this
completely dry and then proceed to start
painting with my ink. With my ink Girls, Inc. Whoops. Mistake happens. But no problem. We can use it as tin from the subsurface
protection paper that I use Always On that
needs my paintings. So no worries. I will let that
painting this dyad. And then we are
going to be painting the rest of the elements
on this painting. The stars as always, the most emblematic
sign off for Christmas. But you can choose whatever other shape
you want here as well. Either no, men, maybe you
have another idea of what needs to be on the top of the
tree and just put it there. I don't drain to make the
Goldsberry intense here. So it shines. And you will see at the end
how China in this cult is. Now we are going to be
finishing with the bot. And don't be worried. If we need to correct
the lines with a black, we're going do it at the end
to when everything is dry. Now, let's paint
the background we called and we are using
the technique wet on dry, saw or goal becomes
very, very intense. Disability long process. So I will spit out a
little bit the behavior, but keep in mind the lines and the brushes that you gave
to the paper are even. And I also want to remind you of the importance
of taking breaks. When you are painting
something detail in something that is a little bit
time-consuming like this. You can take breaks
and comeback. Look at the wings, look outside the window
and get inspired. Drink water. Take your time. And major war as
comfortable as possible. It doesn't need to be a bargain. It is a practice to be enjoying. And of course, if you are in a good mood and our
goods a place yourself, then you can really
transmit that when you give this guy to the person
that you are given this, to, just keep yourself comfortable and make your
work clearly intelligible. Now that I am finishing
the background, you can see that
we lost the start. But don't worry, we
are going now to raise the lines when the
background becomes dry. Magic of the time. The BPO, it isn't looking shiny. And now with or
waterproof ink pen, we are starting to retrace the black lines around
an all or silhouettes, starting with the stars and then going around the
tree and the lights. And all that needs
to be retrace.
7. Christmas Tree Card Part 2: Remember, if you don't
have a steady hand, you can always use a helper, our ruler to make your
work easier here. But practice makes better. So keep practicing
and you will see that your hand will
become a Stevia. I will be tracing all the
lines very slowly and changing my ink pen if I needed. To make the lines
bigger or smaller. You can do this
same. Barely slowed. This is real time work. This is not a speed-up. Here. They change the ink pen for a bigger deep and you can see that the
lines become bigger. Now we are painting
the bar per side, the light bulbs
with the gold using a very fine brush and using
the technique wet on dry, or painting is completely dry. All the colors that
watercolors are dry. And remember, you
can use another type of gold, a watercolor gold, or a gel pen and metallic
pen or ink if you have it. And it's starting to
look like Christmas. Christmas. I really liked how
this card is turning out. Another nice idea for
a color for this book, ball lives, or for the
background, could be silver. If you have a
Silber, watercolor, or ink, then for
suitably look very nice. So you can try to
make a note that one. Also there are these metallics
and watercolors that have many beautiful colors and you can use form the
front those as well. A, make it your painting
a unique and beautiful. She's in the colors
that you or the person that you are giving
this guy lives in, make them smile when
they receive this car. So we are finishing
the small details. In now it's time
to let this dry. And I will be brightening a little message under
the Christmas tree. It says, Merry Christmas. I am using a blog lead, a style in a more
cursive letter. For Christmas. You can write the name of the person or order message that
you want to convey. The important part is that
you are connected with the message you are transmitting to the other person that
is receiving this car. And we're doing we're finished
with this part of the car. We can break or so on the back from the car
as we did in the other. A more explicit message for the person in combining or
wishes and are hoping sin, all the good things that we wish for that person
or that family. Sunshine in so God
is replace must car. We did three. Italy
like this one as well. Nssa, you can break a
dedication for the person. A complete message in this
is the IV I have for you on how you can use this
car in your GIF. Just place the cap on the
upper side on the button. You have a very
beautiful gift to be. I will see you in
the next video.
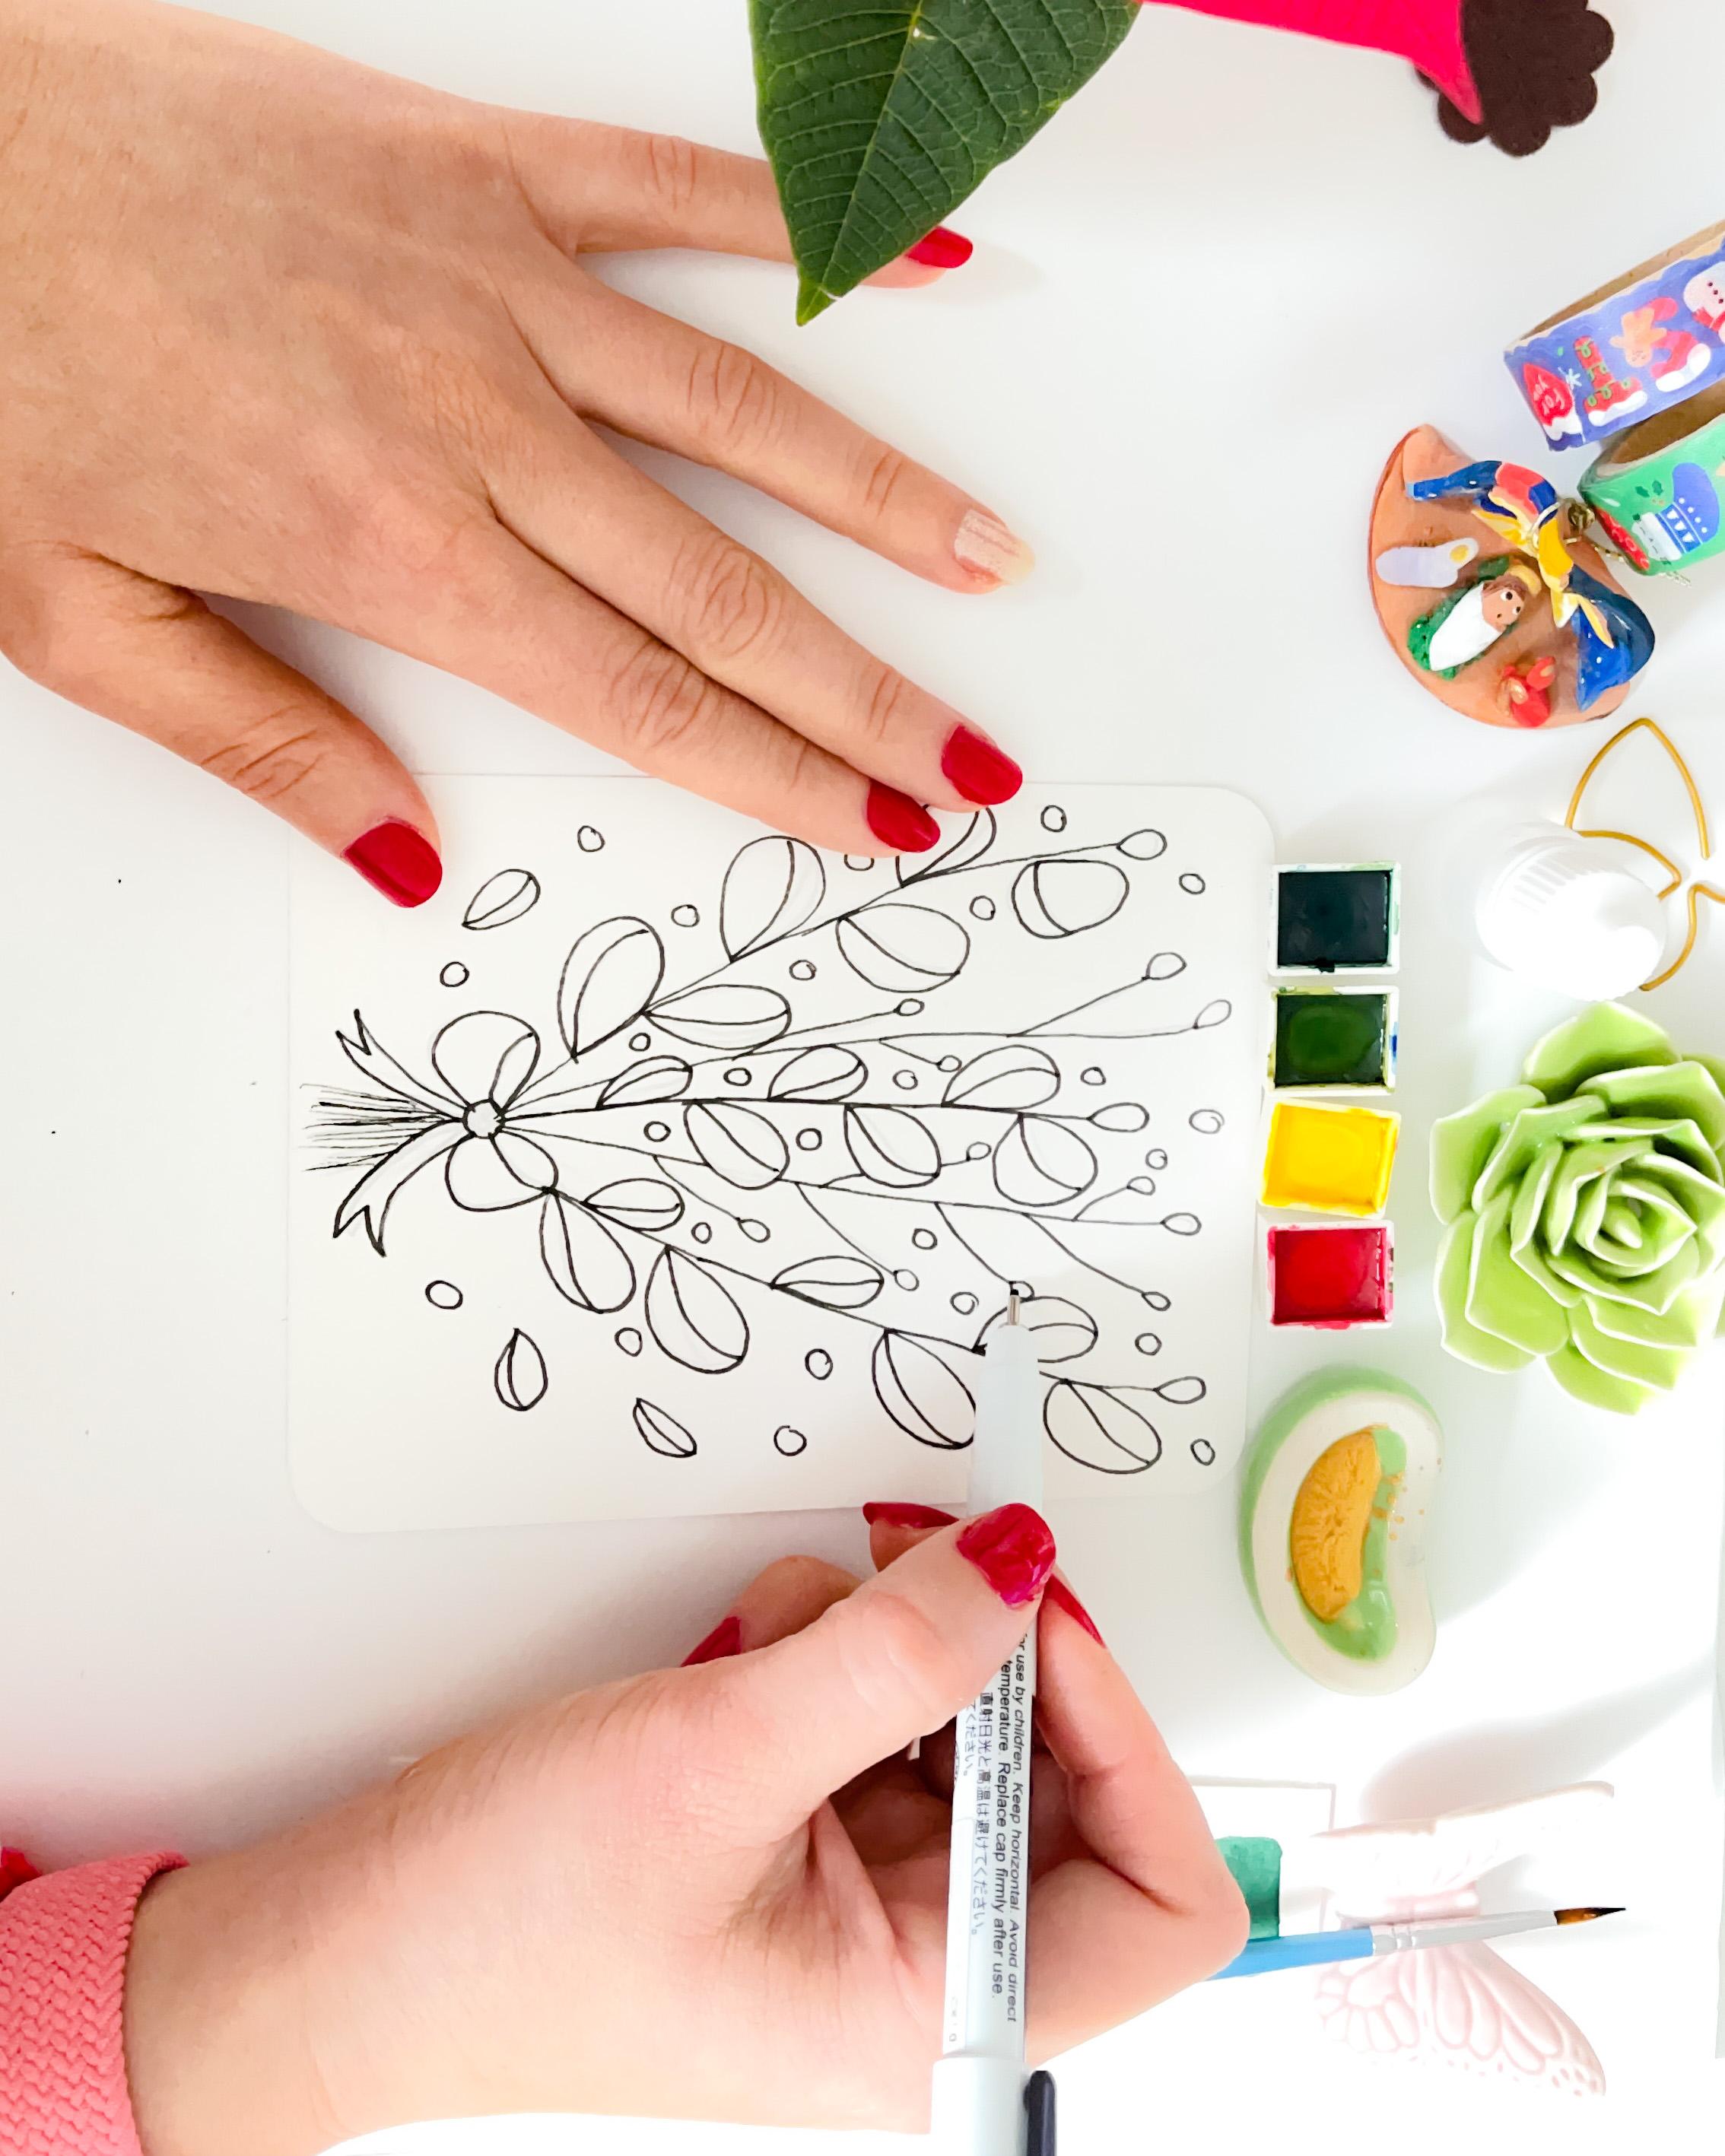
8. Eucalyptus Bouquet Card Supplies: Let's take a look at all the supplies we are going to be using during this class. A ink pen in number one is
a bigger tip during sketch, please remember to download a free resources on the
resources for this class. Do paper to do the color chart, a brush in small size, clean water to Dowell gold. You can use ink or
watercolor or gel pens as we have spoken in the
previous classes. And I have here two
kinds of green, one liner and one darker. And I will be starting by
activating the colors. I also have another color to make some details
on the painting. And I am activating
all of them right now. We are going to proceed
to make a color chart. We are going to be using
the technique wet on dry. This is the market getting
that I will be using. And I want it to be
very beginning that. So remember, just add the less waters if you
one more intensity. And this is the second
green color I choose for this one is a little
bit lighter in color. Now I have jello, and for the details
on the painting, I also have galled to make the stamps and some other
details on the painting. Now that my colors had done, I will be proceeding
to make the outlining for these eucalyptus
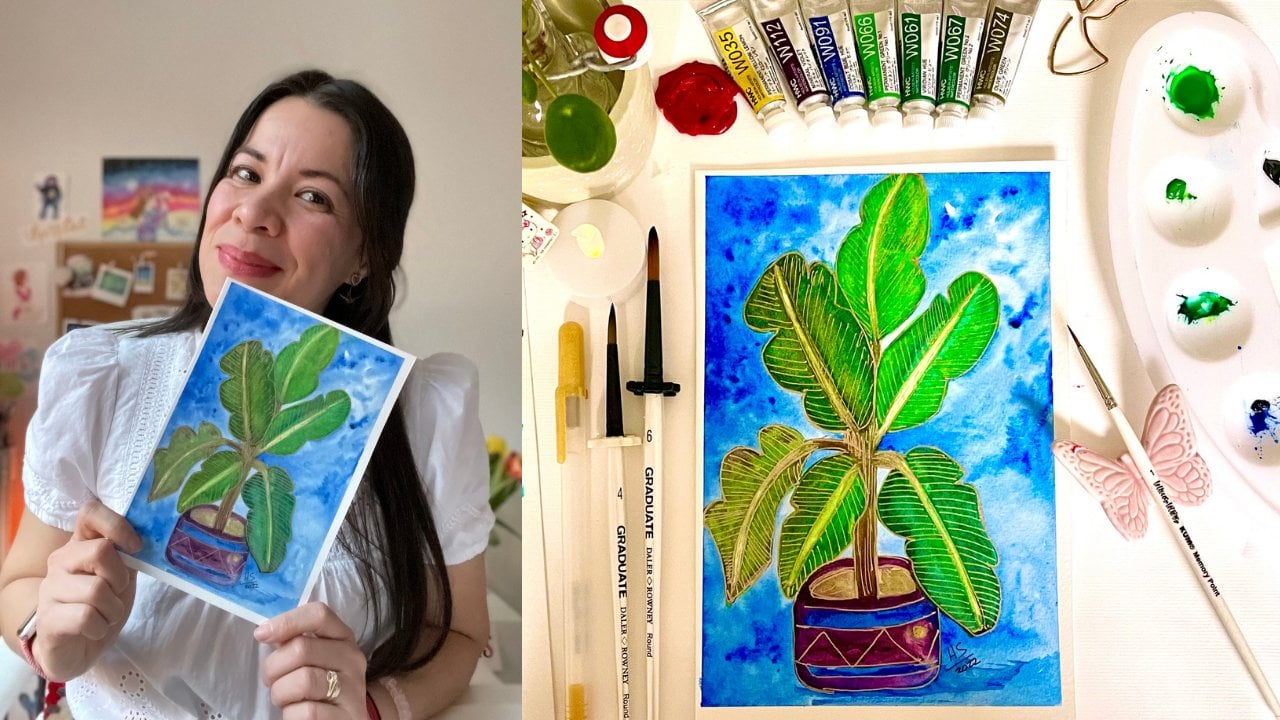
case messy bouquet. See you in the next video.
9. Eucalyptus Christmas Bouquet Card : If you have already downloaded a duty free resources
for the sketch. Now it's time to
make the outlined. And I have here my ink pen
in number 1 is our big deep. I want this to be very bold. And I will start
placing all the lines and the silhouette from my
eucalyptus Christmas bouquet. As you can see, the leaves off the air collectors are
a little bit round and tried to keep this shape
because this is what makes it look so beautiful
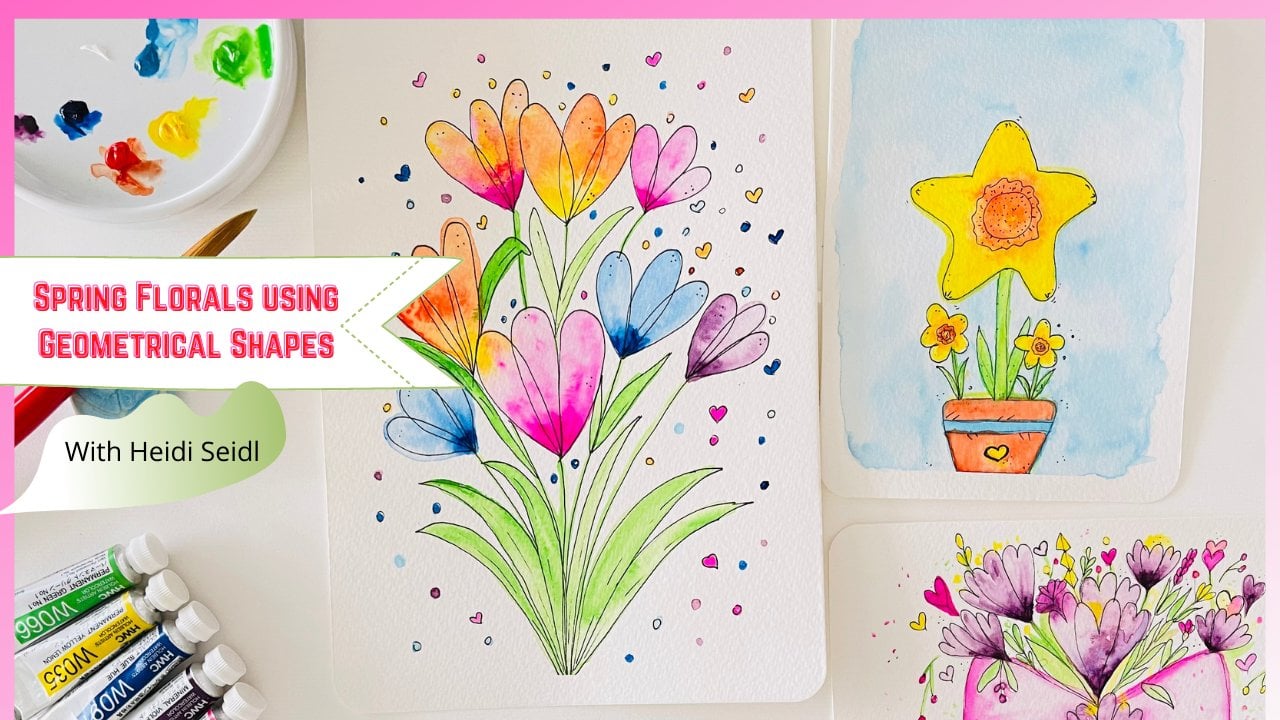
and interesting. If you haven't, you can
take my class using geometrical shapes
to create florals. And you will know how to use different geometrical
shapes to create the most beautiful florals
and leaves and flowers. You can take my other classes on my profile for Skillshare. You will find all of them. As you may notice, this video
is a little bit faster. I have as faster than this a little bit so you
don't get bored. But please remember, take
your time to every line with consciousness
like a meditation and enjoy the process. When we're finished with all
the shapes and all them, silhouette and we
are going to be adding more stamps at the
end and then leave the Bot. So the bouquet
looks really fully. Now I am erasing all the
lines that may be there. And we are going to be starting with the water
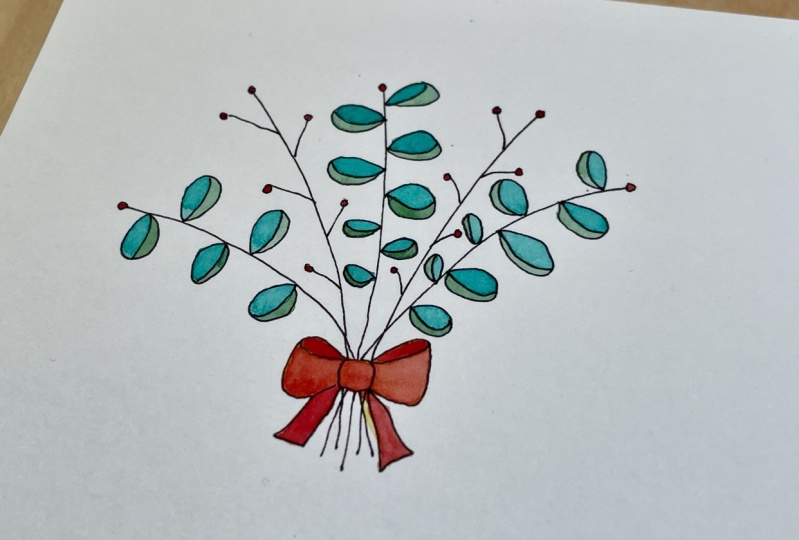
color on the leaves. And this is how we
are going to proceed. Choose, you can
choose the darker or lighter and start painting all the leaves with this color. You can choose on
the upper side or the underside to paint
only this color. Do this with all the leaves. Only with the first color. We can call this the color
a and the other one, the color of v. I would read this and I will
meet due at the end. During also a alternate the size of the color that
you're using first. So it gets the more
harmonica Egypt painting. So we are almost the lady with the fierce layer
of the dark color. And then we will let this
dry completely and then proceed to paint the other
side with the other color, the lighter green in this case. Remember that you can use
whatever color you want, in this case is
recommendable to use two different shades
of the same color. You choose blue, then a darker
blue and a lighter blue. If you choose Jell-O the
same or red the same. Just keep this
because this bibs, the effect of eucalyptus
under leaves. I started to paint with the
second color or colored pea. And I will speed up the video
so it doesn't get too long. Please remember to keep their
base and enjoy the process. When you are finished
with the second color, then let it dry and we can proceed to paint
other elements on the painting that
doesn't require to touch the watercolor
there are still drying. I will start with the bot. So I will paint this bot gold
to make it pop the bouquet. And as you can see, I'm just covering it all, all the bow with the gold mining the lines
here because I will replace this the lines
afterwards when it is dry with my ink, waterproof pen. You can do the same and you can choose another
color for the bot. To ask you prefer and
enjoy the process, I will answer at
some gold details to the painting highlights
on the little Berlin. So my painting start to look
like this must already. And we can see those
sparkling torches of gold when the whole
composition is ready. Now the whole entity. So I will start
painting the berries, the agenda, and alternating and making it a
little bit cohesive. Chose seen the band. The same amount of red and yellow through the
whole composition. So paintings. You can see all those little shining gold details and the bot that is already lead trace
with the ink, with the Black. And I am thinking of
tracing the stems with the goal and the center of the
ways. You can do the same. Now that you've got East, maybe you can easily do
beautiful Christmas Eve. Who gets to make a Judy's beautiful EM bring
a smile to the person, to a, given these gifts to, on the left you can add the name of the person and have
the default message. I can't wait to see
what you create. I will see you in
the next video.
10. Gingerbread House Card Supplies: For our gingerbread house card, I already did the sketch. Please download the resource, fantastic resources
for this class. And the dura sketch. I have my ink pen in number one, and I have my palette here. And we're going to do
together the color chart. I have brown, blue, red, jello, and God. And I will explain you how we are going to proceed
with all these colors. Remember that the engine house is brown because it's cookies. And then we will be
adding some details. And I have my finest
brush, round brush. Let's do the color chart. I will be activating the colors. So or whether color
is ready to use. I'm going to be using the
technique wet on wet. So the colors are
not too bright. And again, doing
the color chart, do the same place. And then we are going to start, and then we're going to proceed
to outline or a sketch. I will see you in
the next video.
11. Gingerbread House Card: Or less get Israeli n.
We're going to start outlining all the
silhouette of this. A gingerbread Christmas card. Made this process
of slowly and we determine consciousness
about every line. And you will see that
you can correct or add or eliminate some
details that you want to add or D21 to eliminate from your painting
and be very creative. And, and so here
your abs control flow and that the thing on the colors that you want to add fairs or seconds or at least. So police the lead at
this process, ps fluid. As it got, the idea is
to enjoy the process. This is a very long they
live gingerbread house. So I will just be that the
process do a police state, take your time and do is
as conscious as you can. So we're finished
with that outline. Let's step, I think that
what they're called. And we ever use a round brush. Number 6. This is a big one. So we are suddenly with the aboveground and
where you want to make these using that
technique, wet on wet, wetting the paper with water, with clean water, and then
adding the water colors. One, Y, Y1. I want to make like a, I want to make a mix. But around with the colors that we chose for this painting. The blue, the red, and the yellow, is
starting with the yellow. We're going to add the
colors on different places of the painting and
then add in the red and then add in the blue, more on there coordinates
of the painting. And then mixing them. As we see. It needs adding
more color to make it intense. Or even picking up the
color with the brush. Or if we noticed that the
colors is too saturated, we can use a clean
towel and pick up those amount of
color that we don't want to let it dry because they can
become moody or darker. So then we will add some
clean collar on those spots. And continual with or painting. When we're ready
with this process, then we can let this
completely dry. So we can proceed
with the follow. For this gingerbread
Christmas card. They watercolor this dry. So it's time to start painting the walls of the
gingerbread house. And for that we are going to
be using the brown color. Using that technique,
wet on dry. So the brown becomes very dark. Because as you may know, the gingerbread
cookies dark brown. And thus is what we
want to create here. The secret here is to try to emulate the realness
of the cookies. So try to use a brown color or brown watercolor in
differentiates very slightly led some that gives a
parse in or the more light in brown and add color
or pick up color there. Where do you need where do you
think you need to do that? And there we see that the
div will have this effect of having a real Gingerbread. When you are finished with the painting the walls
of the gingerbread, then we're going to add the gold highlights there
with we needed to have them. You can see where I
am adding those on their sides of the
home and on the bottom of the harm and on the door and the windows and the
ceiling on the chimney. Now, let's paint with the red, very bright. The Hertz. So it make a very beautiful
Christmas contrast, as you can see now, I will paint the ceiling of the gingerbread
house with the blue. Starting with that dark shade, then I will add water to spread the color
through the whole ceiling. You can also let this wide MDT, so we'll look like slow. But I think the blue will be more interesting in
this, in this one. So I will be make
a little bit of contrast between the
colors that I am using. If you let at this part
of the ceiling in white, then I will recommend you, you trace the outline again
with a bigger ink pen. So make this a little
bit more bold. Now, let this dry
and when it is dry, we are going to paint
some highlights in white. This is a white paint and the ECS to use this because
this had this brush. It is very fine. So I wanted to Mason
little lines that resembles as no and some
highlights on the sky. If you are painting
as I am doing, then take their time
to make this line. By the consciousness,
they be, they speedup. So that is why it looks so fast. But I am really doing
these very slowly. Now when we add in some
little touches of white there where I think I will
highlight the painting. You can also do
splashes if you prefer. And thus it's totally fine. Now. Or gingerbread card is, look how pretty and cute
this look like maybe for a child gift over r cubed
person that don't know. Let's see how we can use
these brushes car on a gift to place it on the upper side
and give it to the person. I am sure she or he will smile. I can't wait to see
what you create. Please upload your class project to the glass plate
for this class. And I will see you
in the next video.
12. Your Class Project: At the legends do
the whole class. And now for your class project
is very easy and simple. You just need to upload
a picture with one of their Marty's we did
together or all the four, if you prefer, in a game
with to see what you create, seen you in the next video.
13. Thank You So much! : Thank you so much for sharing some great deal of time with me. I answer lead to
who are here in. I can't wait to see
what you create. I hope to see you
in my next classes. And if you have any
recommendations that you went to tell me Please doing the
common section for this class, you can also check out my other classes
here on Skillshare. Just clicking on the
About page for this class or on my profile
teacher for a honest, good tip, I relink all those details on the
description for this class. Thank you so much and I
hope you have pretty much been doing these beautiful
Christmas if gas. See you in the next class. Bye bye.
 Artjourneywithme Heidi, ARTIST AND FACILITATOR