Transcripts
1. Animate a Walk Cycle!: Walk cycles are one of the most fundamental
skills in animation, and they're also a lot of fun. Mastering a simple
walk will open the door to endless
creative possibilities, whether you're just starting out or looking to
sharpen your skills. I'm Julia Martinelli,
an animation director, and in this class
designed for beginners, I'm breaking down the process into easy step by step lessons. You can follow along
using animation software like Broker Dreams
or Adobe Animate, or simply grab a
pencil and paper. I've got you covered
with templates and printable worksheets
for every approach. With this class, you'll get a Pintrebard packed
with references, plus templates and worksheets to make learning as
smooth as possible. My goal is to give you instant results that will
motivate you to keep animating. Let's get started. Mm.
2. Set Up Your Project: Before we jump into animating, let's get everything set up. I've prepared some
handy templates to help you get started, whether you're working
digitally or on paper. I'll walk you through how to use them and set
up your project. I made this template for you with the key poses
of a walk cycle. If you work with pen and paper, you can simply print
and use this page. Otherwise, I prepare two
animation projects for you. One for Procreate Dreams
and one for Adobe Animate. When you open the
animation project, you will find a
reference layer with our guide key poses already in position and one layer
with the ground guide. For this lesson, we're focusing
on a basic walk cycle. But remember, there isn't
just one way to walk. Every character has a
unique rhythm and style. Today, we're learning
the ground rules, which you can later bend, break, and experiment with to create all sorts of fun and
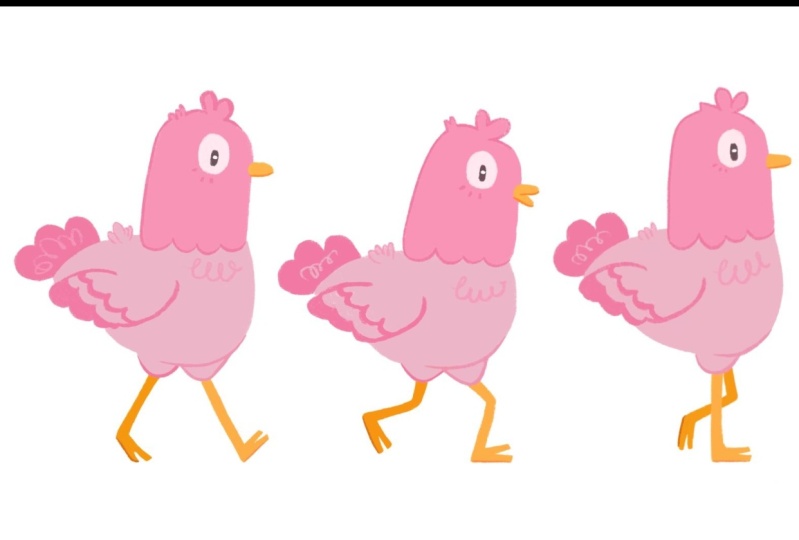
quirky and silly walks. For some inspiration, I made this Pinter sport in which I collected some amazing
walking animated loops. Find the link in the resources. To keep things simple and
focus purely on movement, our character design
will be minimal. No swinging arms to worry about. Maybe they're holding a box, gripping backpack straps
or just no arms at all. You can use the
circle based template I've provided or
design your own. This is the design I chose
for my own walk in character. By the end of this class, please upload on
the project section your process and
your final walk. Now, let's get set up and start bringing our
character to life.
3. Checklist: Things To Keep in Mind: Before we move forward, let's go over a quick
checklist to make sure your walk cycle is
clean and consistent. These are my top tips to check every time I
animate a walk cycle. First, check the ground line. If your characters fit
don't land properly, they will look like
they're floating. I've added a blue guideline
in the templates. Use it to keep each
step grounded. Two, keep your
volumes consistent. Make sure the size
and proportions of your character stay the
same throughout the cycle. This keeps the animation
smooth and believable. Once you design your
character in the first pose, you can use it as a reference
for the following ones. To make this task easier, keep the design simpler. Three, differentiate
the back leg. A simple trick is to color
the back leg slightly darker. This helps you avoid
confusion while animating and makes the
motion clearer to the viewer. Four, rough and clean. Do first a rough pass and
later you can clean it up. Maybe you could design
your character already in a clean version for your first key pose and
then go on with rough, quick poses and give yourself the time to refine them
and clean them later. With this in mind, let's go
through the four key poses.
4. Building the Basics: Et's go step by step and
bring our walk to life. Would you believe me
if I told you that a walk cycle only
needs four drawings, AKA key poses, that's it. Once you understand those, you are well on your way to animating a smooth,
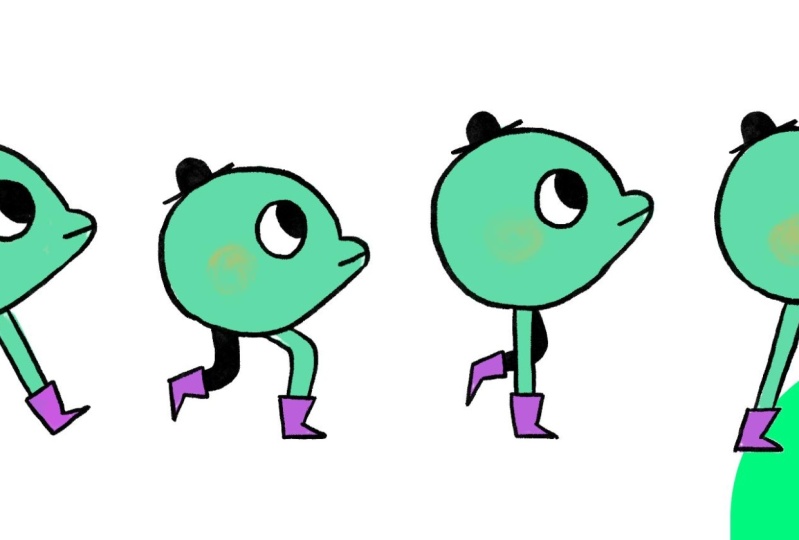
natural walk. Let's break them down. The first key pose
is called contact. It's the pose in which the
front foot touches the ground. Be sure the heel of the leg in front is
touching the blue line. Both legs are straight
in this pose. In my case, for now, I'm duplicating the drawing. This is called ints
for a better rhythm. I'm activating the onion skin, which allows me to see the
previous and following frame, so I can move to
the next keypose. The second keypose is down. The body lowers and
the knee bends. This is the lowest
pose of the cycle. I take my character again, I reference the
previous keypose, and I redraw it in
the new position. Third pose is passing pose. The back leg swings forward while the
body starts lifting. The head in this pose is
higher than in the contact pose and the leg on the
ground is fully stretched. Up is the fourth and final
key pose of our walk cycle, the highest point of the cycle, just before the next step, it's the moment in which we lose balance pushing
ourselves forward. Now we have these four poses. You can see it's already a walk. All we need is to repeat the same four poses for
the other leg and boom, we have a looping walk cycle. Simple. To do so, I grouped my key poses, duplicated them, and
swapped the legs. In this way, I'm animating also the step with
the other leg. To have a hand drawn
feeling, in this case, I redraw all my
poses. Here we go. These are four
drawings, duplicated. Let's say eight
drawings in twos, and here we have a
first walk cycle. Next, I move to the
cleanup phase where I refine all my poses with a
smooth, clean brush stroke. Now our character is alive. But let's go on.
It's not over yet.
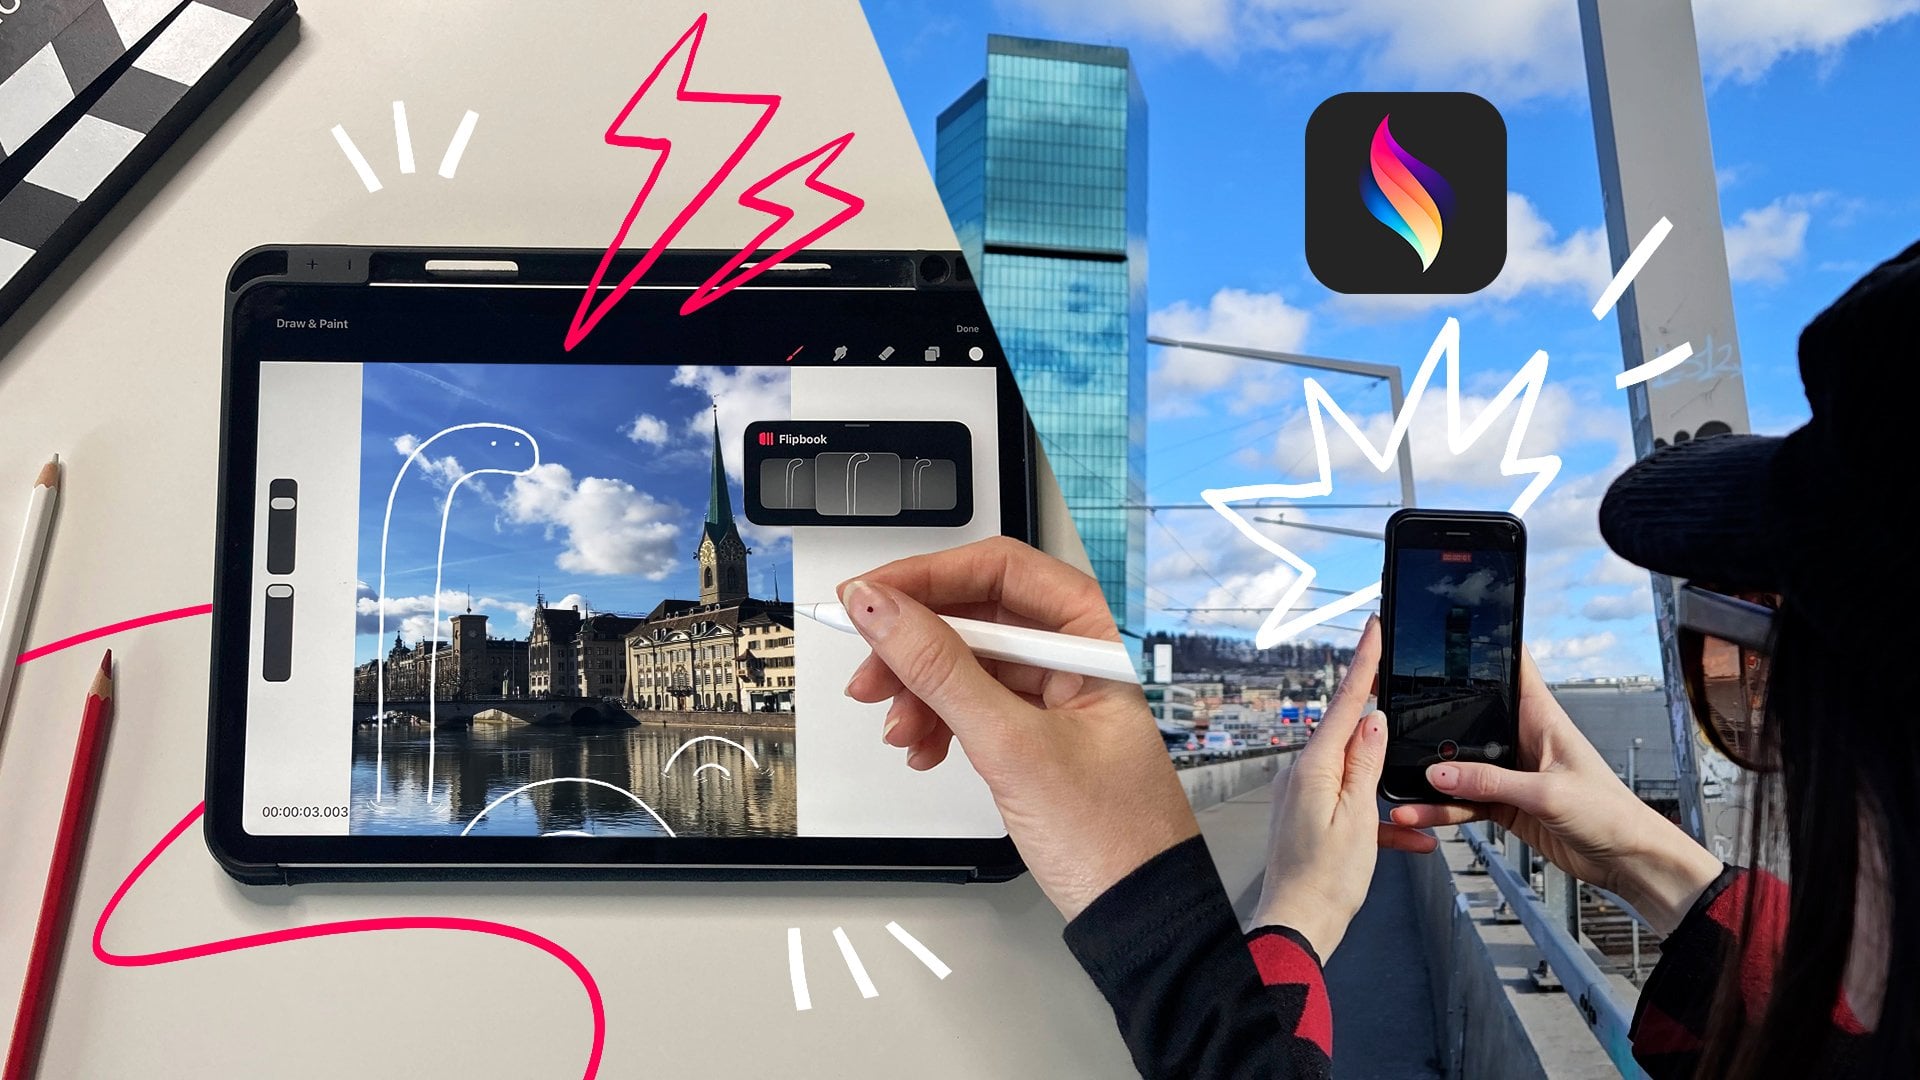
5. Bringing Paper to Life: If you've been working on
paper using my template, this lesson is for you. To see your animation
come to life, we need to sequence the
drawings into a video. A super easy and free way to do this is by using
Stop Motion Studio. Here is how download
the free app, Stop Motion studio, and
create a new project. Set the frame rate to 12 frames per second
for a smooth animation. Take a picture of
your first drawing. Better if you use a
tripod, but not necessary, then turn on onion
skin mode so you can align each new frame
with the previous one. Continue capturing each drawing, making sure everything
stays aligned. Then loop it, select
all the frames, copy and paste them to
extend the animation. Finally, you can export
your animation as a video. Your hand drawn work
cycle is ready. This is a fun, simple way to animate without digital tools. But now let's push our
animation forward.
6. Adding In-Betweens: At this stage, your work
cycle already works. But if you want to
push it further, especially if you're
working digitally, you can add in betweens to
make the motion smoother. In betweens are the drawings
that go between key poses, helping to refine the movement. Here is how to do it. First, create a new frame
between two key poses. Because earlier I
duplicated my frame, I'm simply going to
delete the second one. Then turn on the
onion skin mode to see both the previous
and next frames and then draw an intermediate pose carefully placing the legs and body in a natural transition. Then repeat this for all key poses to
smooth out the motion. Here I'm going to
put a time lapse of my process of in between
the full animation cycle. This step isn't essential, but it makes a big difference. Your character will work
more fluidly and naturally. Try it out and see how
your animation levels up. This is how my
character ended up looking after the
in between process. Now let's go to coloring
and finishing up.
7. Finishing Up: Lastly, I have added
color to my work cycle by simply creating a new track and coloring frame by frame. Look at this lovely
fella strolling around. A quick note on software. If you use Animate, you might be able to color much faster
with the bucket tool. So now your loop
is done, now what? Let's explore some
creative ways to use it. You could export it as a transparent Jif
and use it as it is, or you could integrate it
into a scene by adding a moving background or shifting the character
across the screen. For moving the background, since the character is
animated on the spot, we can create the illusion of movement by animating
the background instead. Just keep in mind
the frame rate. If your animation was made in twos and you didn't
draw in betweens, the background should
follow that rhythm as well unless you like
the skating effect. After drawing or
importing our background, I simply set two keyframes, one in the beginning,
one at the end, and a linear easing. Another option is to add key frames this time
not to the background, but to the walk cycle itself. I grouped my walk cycle and
applied two linear keyframes. Just like that, Tada for
an extra level of polish, try adding a blink to bring
your character to life. A simple trick is to extend
your walk cycle loop three or four times and animate the
blink on just one repetition. This way, your character blinks naturally every
couple of seconds. Finally, you can push
your animation even further by playing with
squash and stretch. If you check the
template and reference, you will notice
how the round body stretches and squashes, adding a bouncy lively effect. Try following this
movement, exaggerating it, and experimenting to take your animation to
the next level. I'm looking forward to see how your work looks and how
you're going to use it. Be sure to post your process and progress in the project section.
8. Conclusion: Good job. Now you've got
the basics of a walk cycle, but this is just the beginning. Every walk is unique and
playing with timing, style and personality is
where the real fun begins. Try recording yourself or observing others to
analyze different walks. Maybe your character
a tiny quick steps or maybe they bounce
dramatically with each stride. With this class, I
wanted to give you a solid starting point
and spark your curiosity. If you'd like to go deeper,
maybe animating arms, adding personality or tackling more complex wok. Let me know. I'd love to create
a follow up class. Until then, have fun
animating and don't forget to share your work in the
project section and follow me. See you there.
 Giulia Martinelli, Animation Director / Illustrator