Transcripts
1. Introduction: Hello, A, A Illustrator
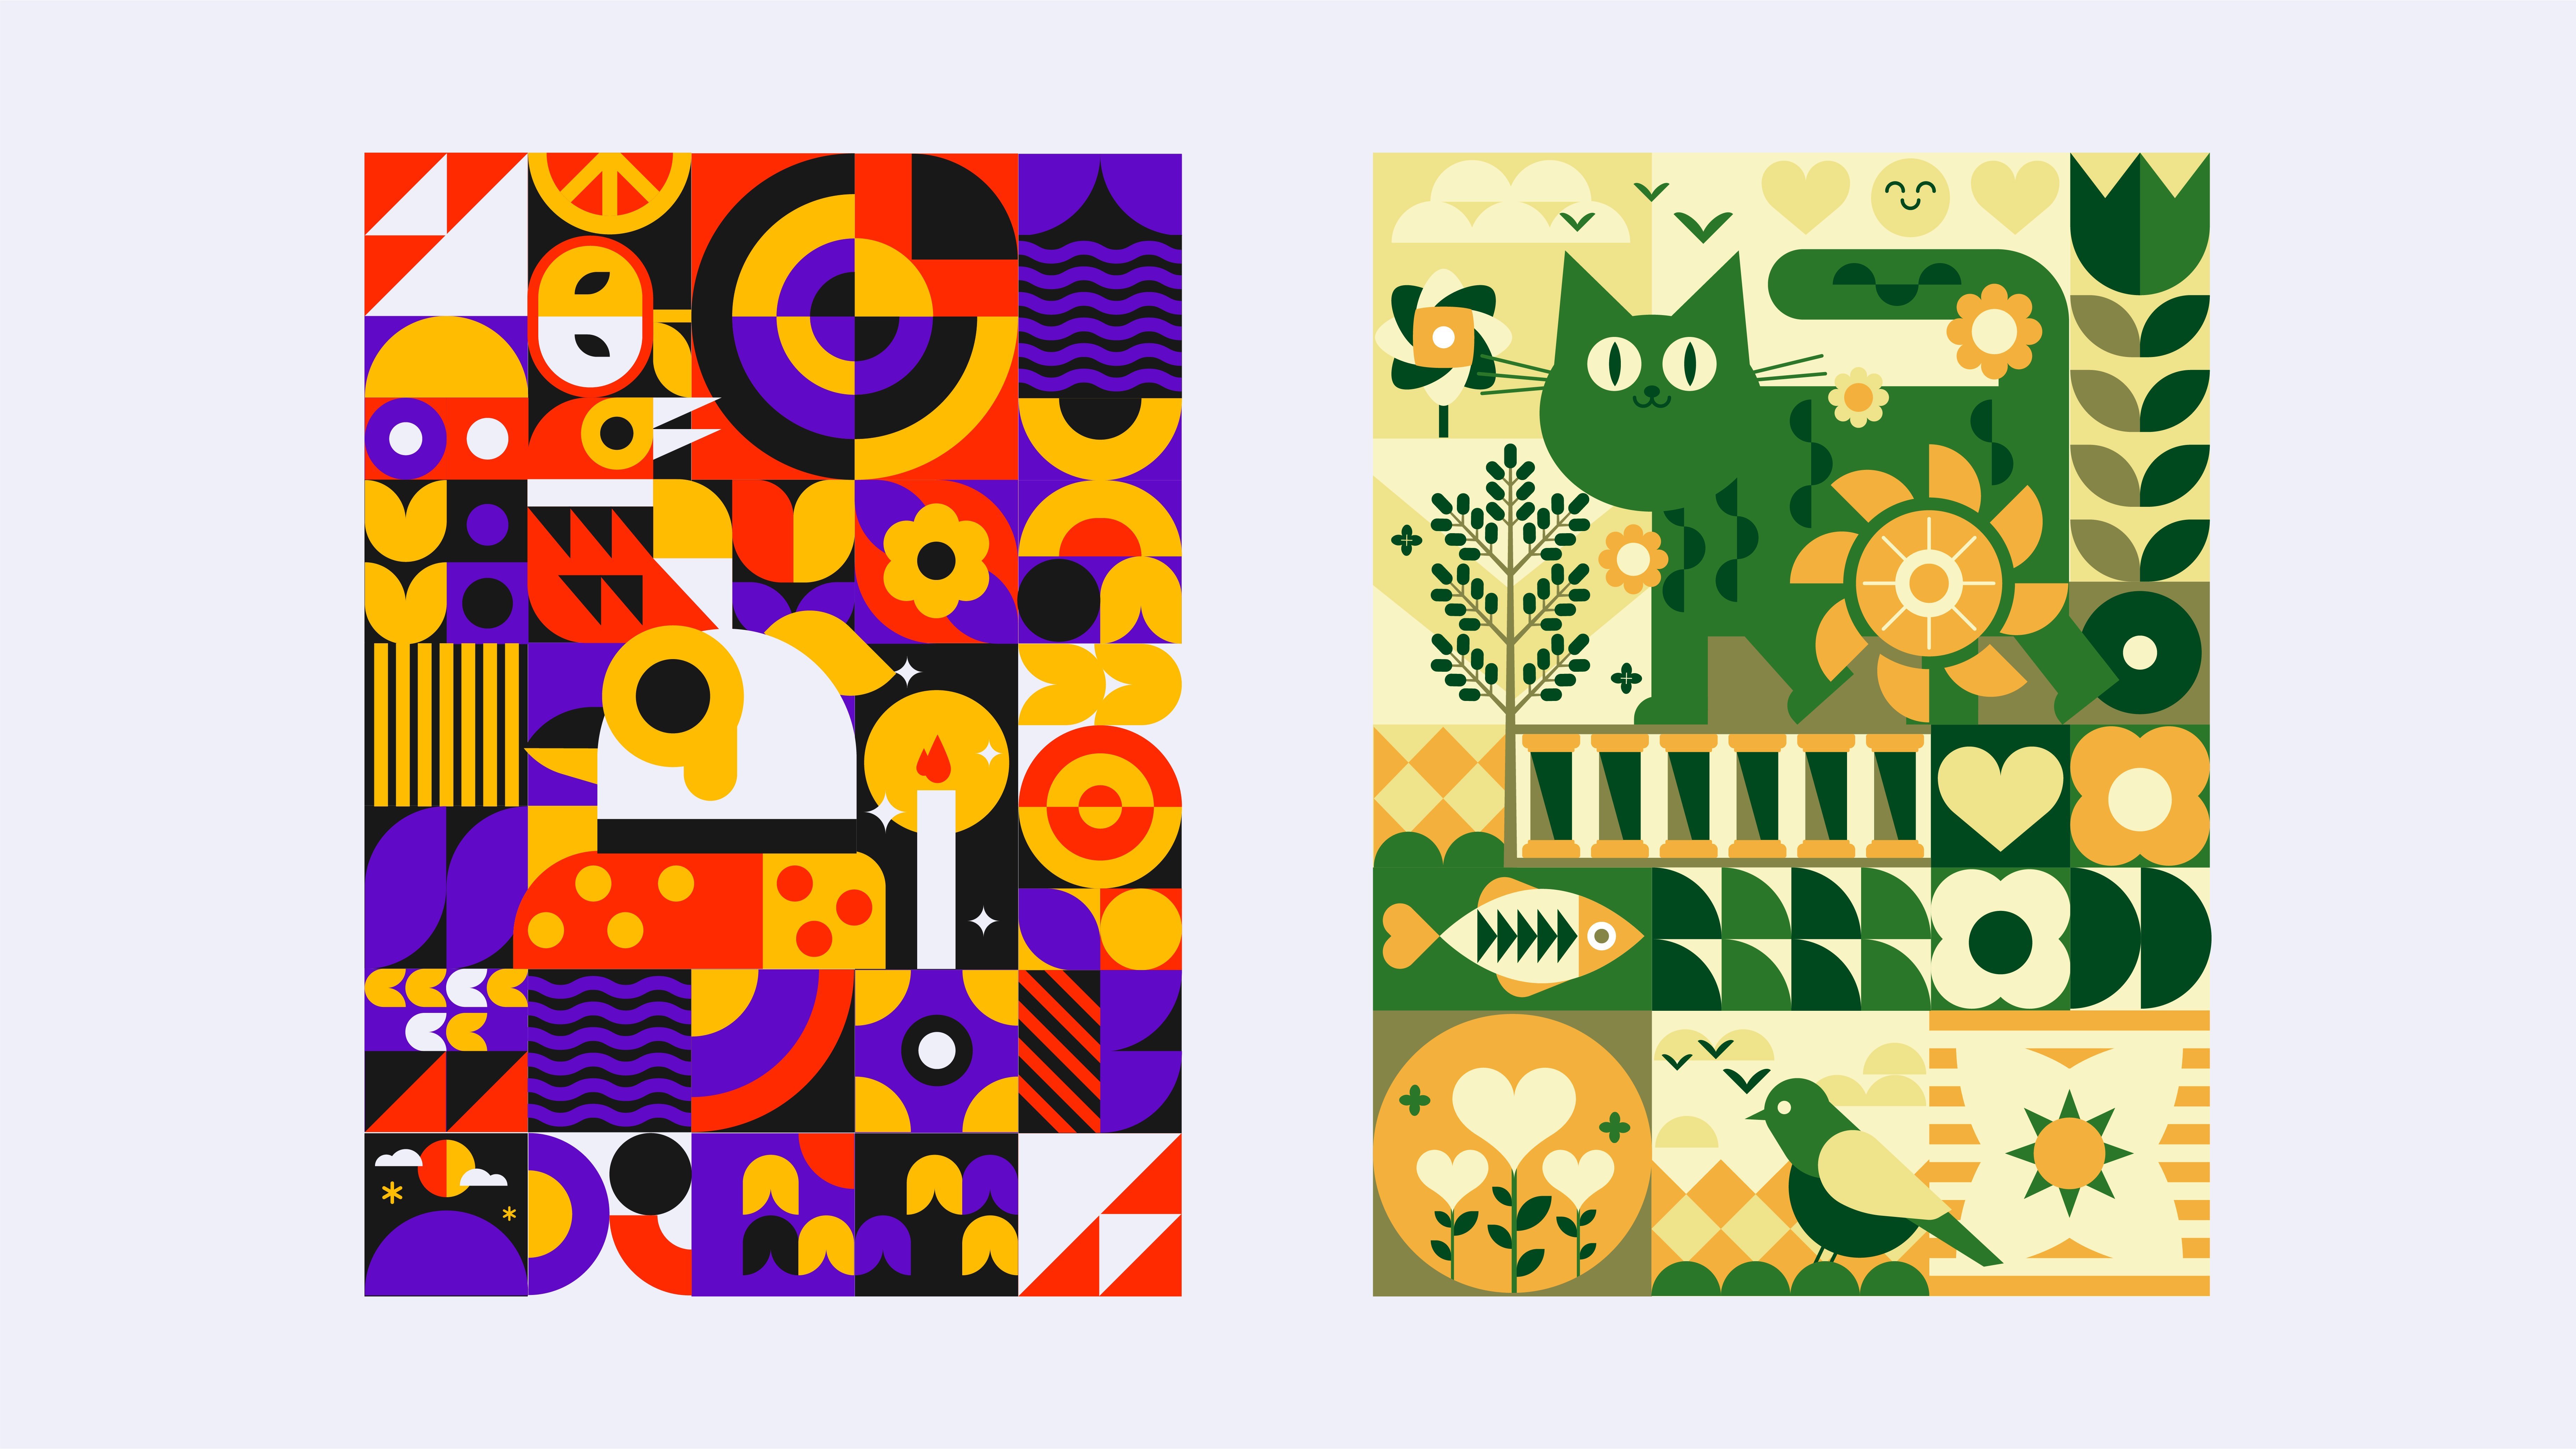
and graphic designer. Welcome to my new class. Creating colorful illustrations
with adobe illustrator. In this class, I will show
you the complete process of vector illustration drawing according to different topics. Includes sketching
with procreate, in drawing and coloring
with adobe illustrator. By the end of the course, you will have a clear
understanding of the vector illustration process and some new
illustration skills. I also sincerely
hope that you can continue to expand and
grow with these skills. Okay, so let's get started.
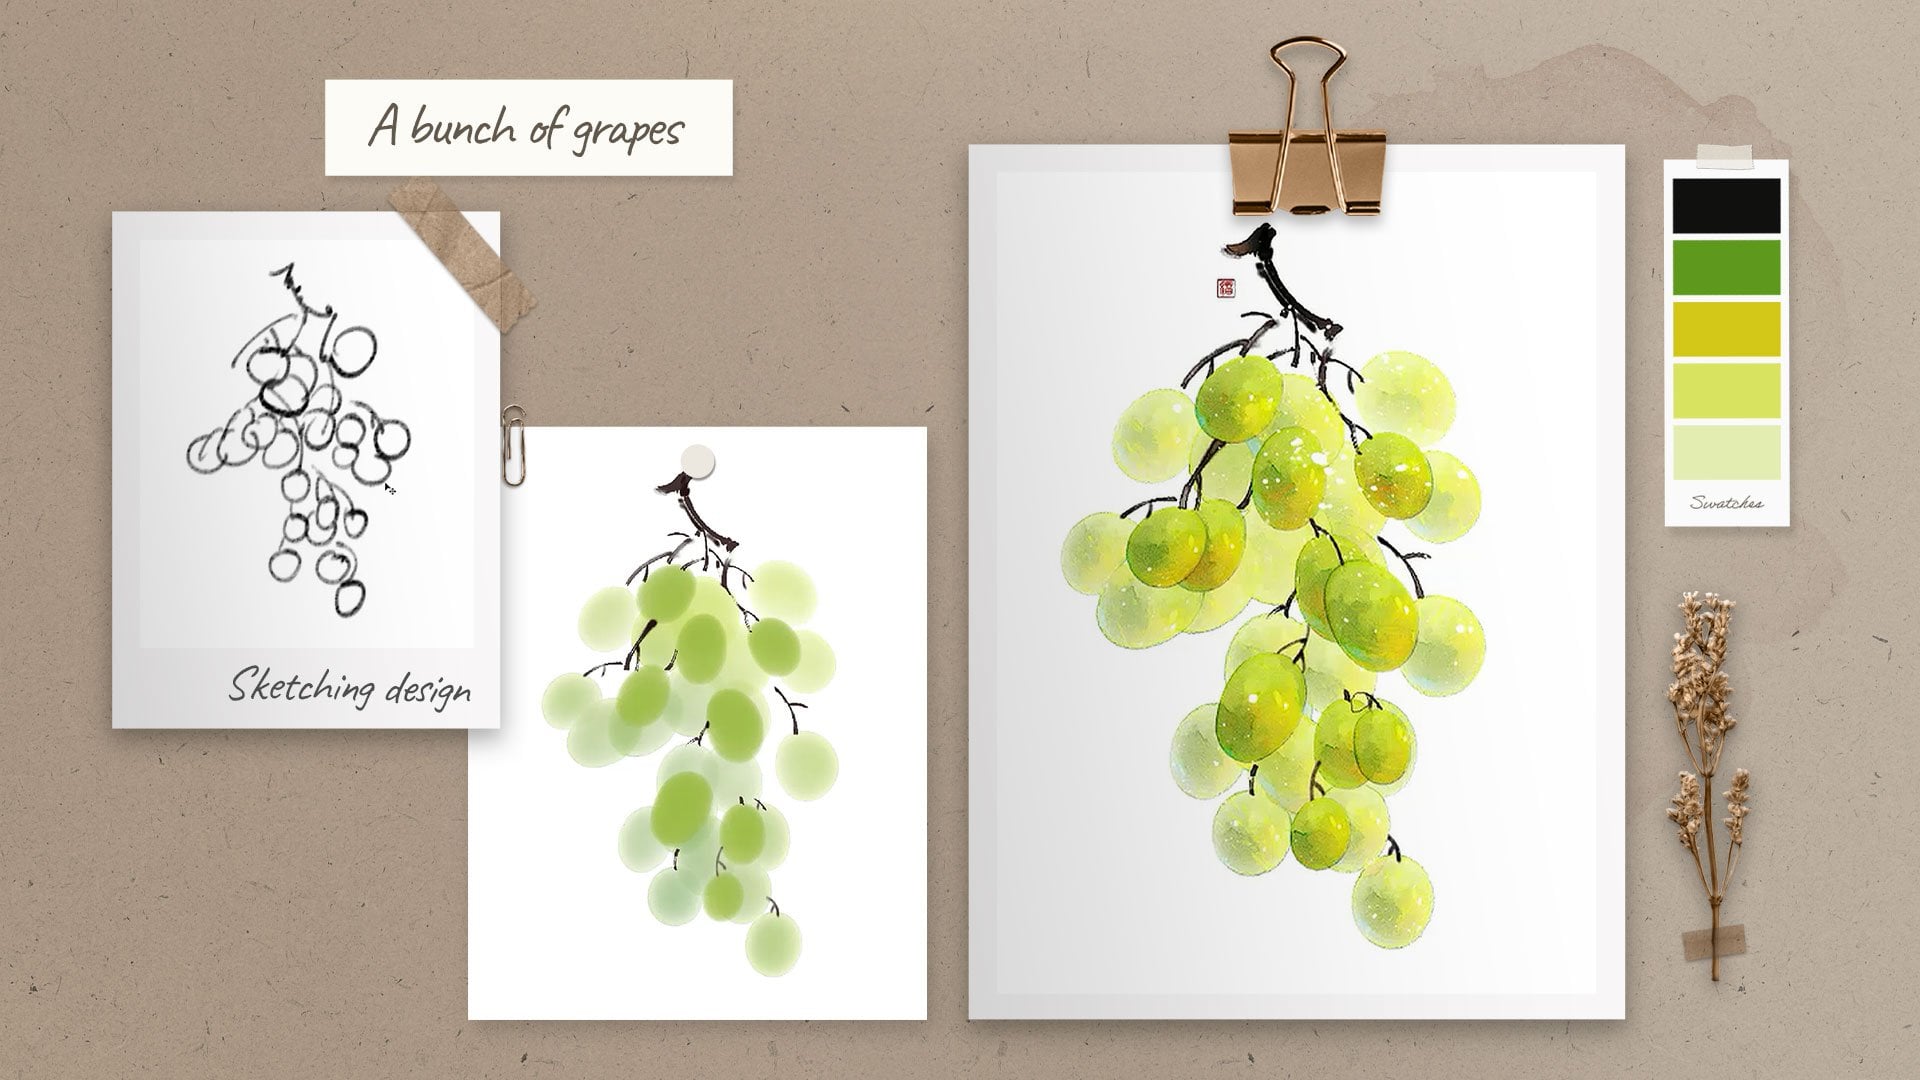
2. Sketch: Draw your ideas based on the theme: Hello. Welcome to my class. Today, we're going to sketch. Before we start, we need to
make a simple composition. Composition is
actually the stage where we place the
shapes and guys. This will be the
basis for sketching. This time, I want to
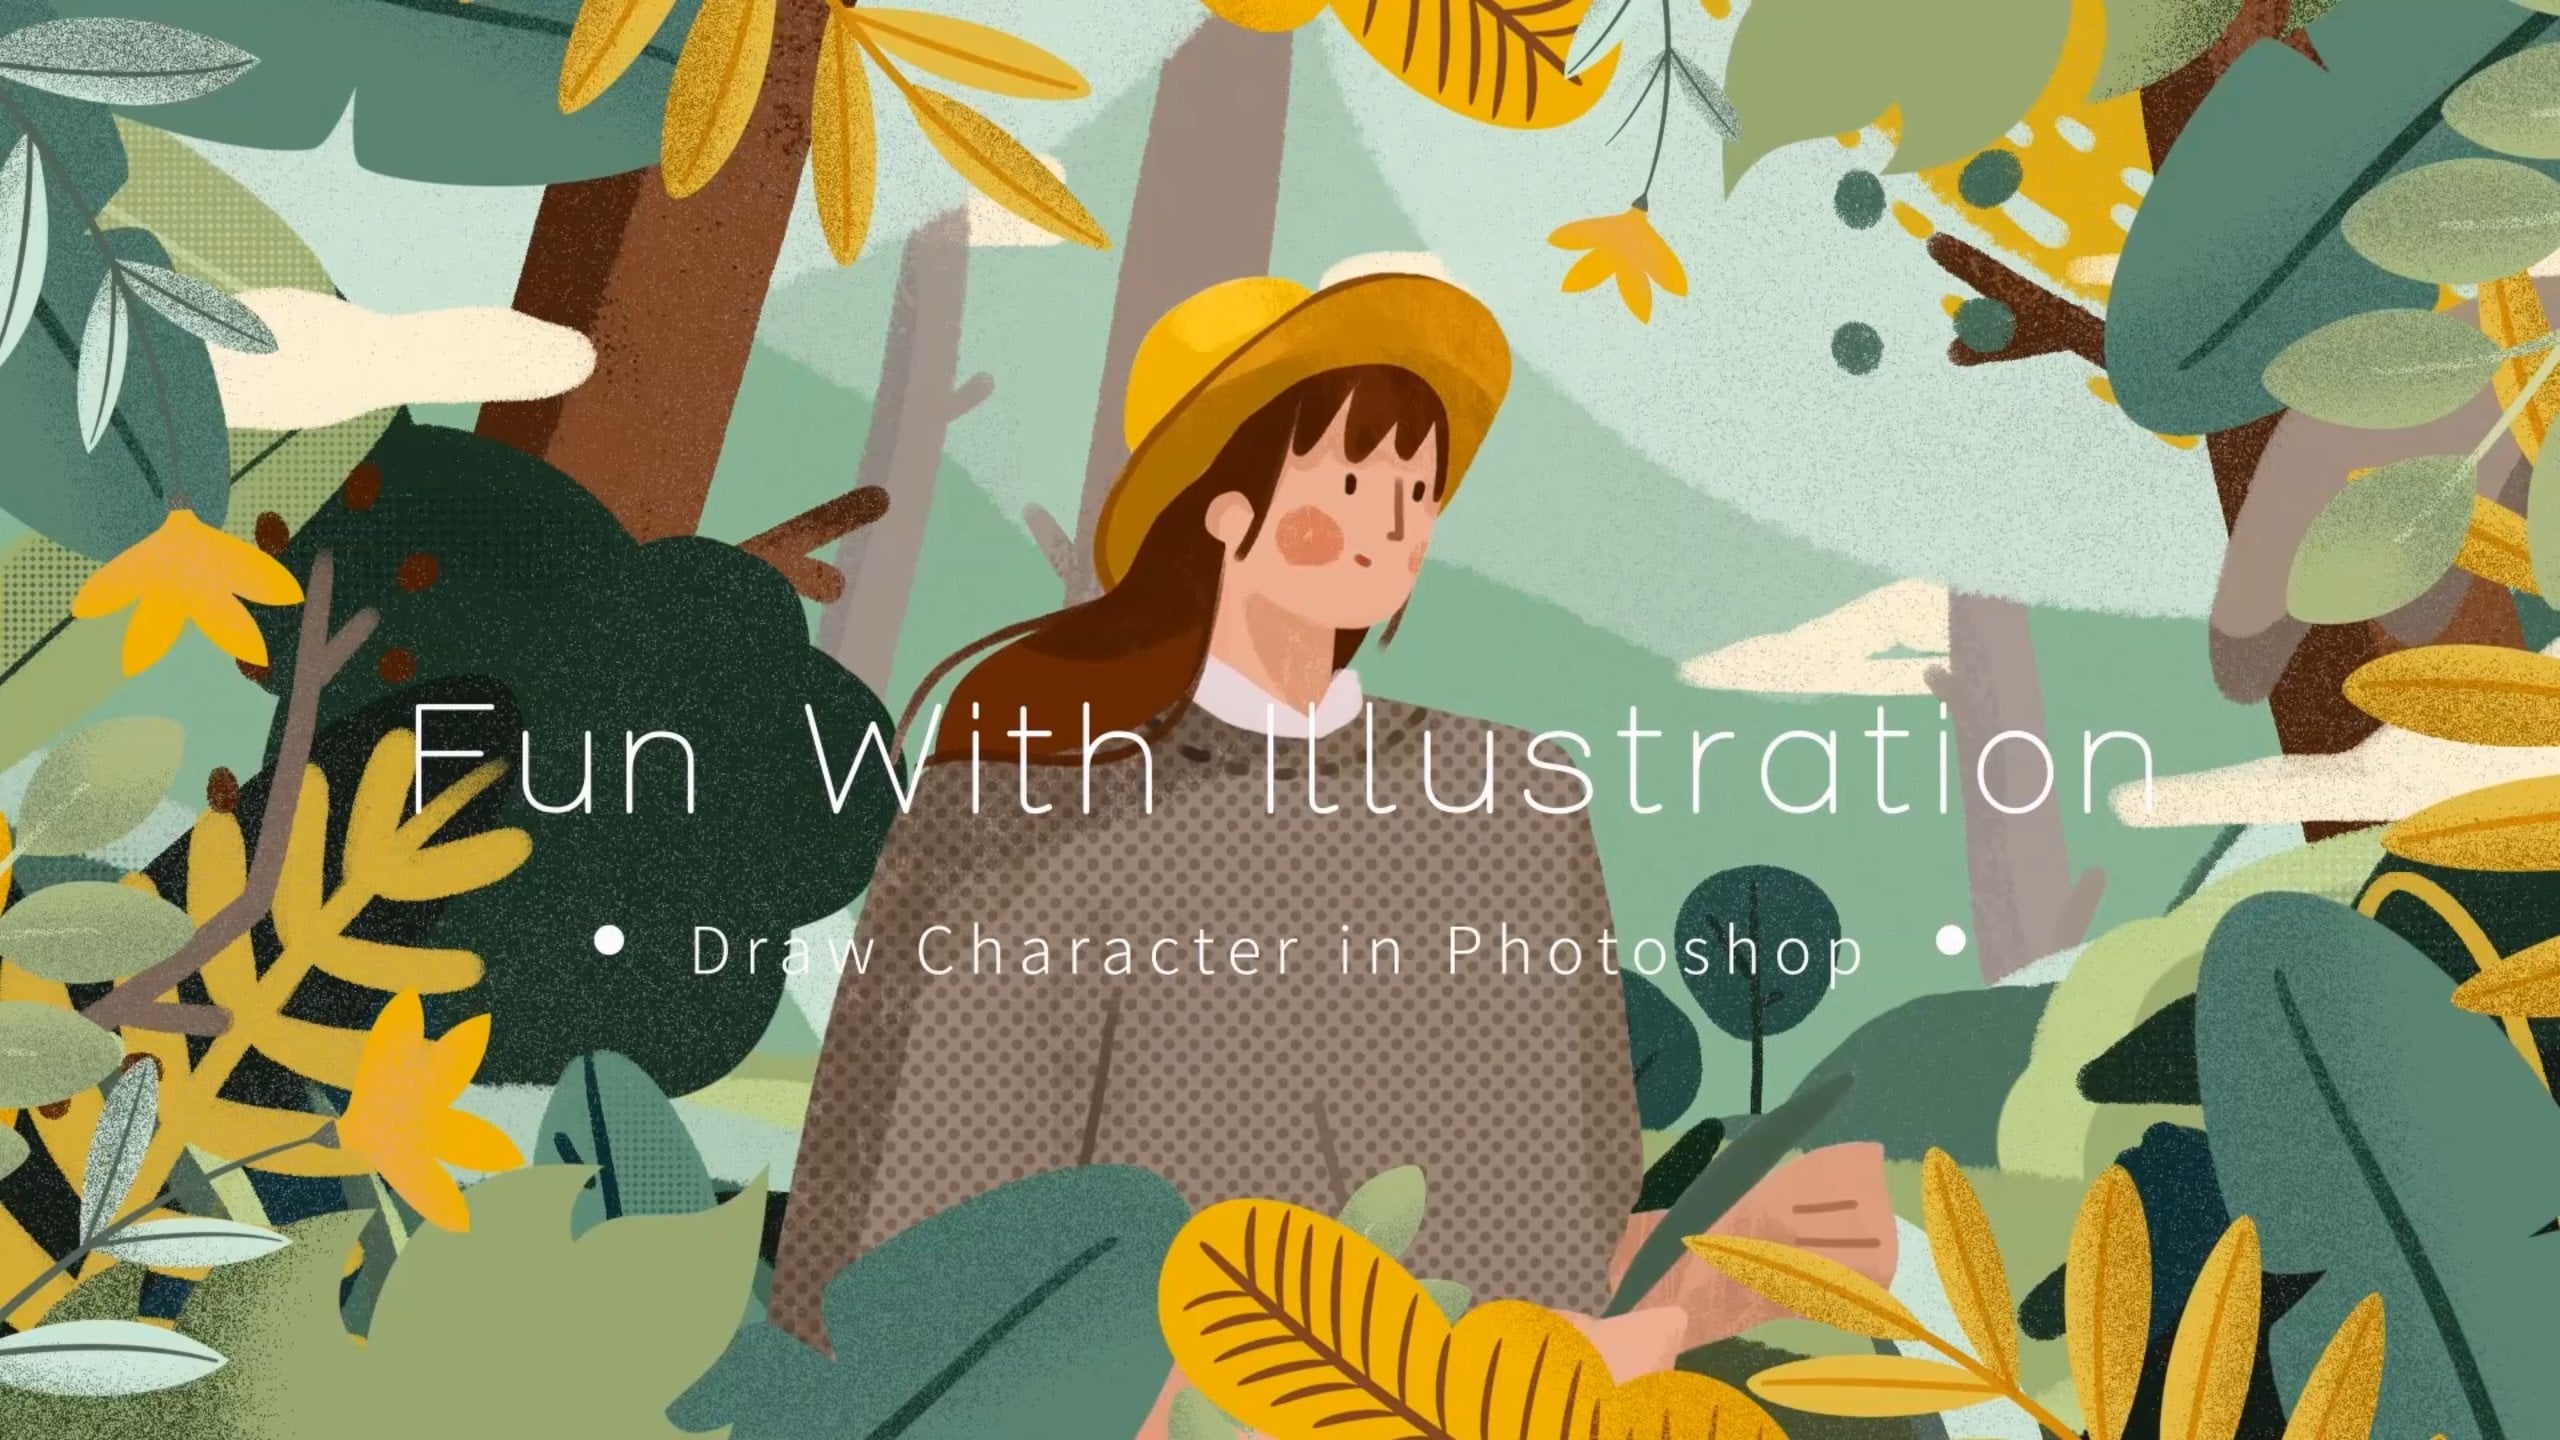
work on the Sam of T T. The main
character is a woman. For the woman's look, I referenced this photo. In order to make the edges of the outline more interesting. I'm going to choose the
size for the outline. At this stage, we are not really thinking
about the details. It's just laying out all
the shapes and bases. Okay, the composition will
all stretch around the woman. She may be surrounded
by tea pots, tea cups, desserts, plans, or other elements related
to afternoon tea, and you can use geometric shapes of varying sizes instead. When drawing, the
shapes should be large and small to
give it more rhythm. Where shapes are superimposed. You can make the
picture more layered by cycle erasing lines to emphasize the back
force between them. Our composition is ready, which means it's time
to start our sketch, reduce the opacity
of the composition. This is a key step. We need to include more S in it. The more we sketch now, the easier it will be for
us to draw the lines later. It doesn't need to be
perfect when you draw it. Because this time, the same
is afternoon t. Naturally, the essential is the t cup. We can draw the outline of
a t cup sight in our hair. Draw it concisely. Here you can draw ripple
line to segment the key cup. Then draw star in it. The front of the hair can be
divided to create a circle. Then here I also
need to draw t part, and then the t will be pulled slowly from inside downwards. The teapot, I refer to
the shape in this photo. The overall shape
is more rounded. Of course, the inside of the teapot also
needs to be divided, so it can be casual
and geometric. Our t part is finished. I wanted to use multiple curves to express the smoothness
of the t pouring down. Multiple curves interlock
with each other. To express the flow
and beauty of the t, which looks more vd
around the t cups. I would choose plant elements and combine them with
the circles here. I want to add more
plant elements to enhance the layering
of the picture. In addition, a simple flower
can be drawn at the neck. To connect with the
plant next to it. The lines can be
extended here as leaves, and then a flower can
be drawn next to it. Okay, that's enough
plant elements. Good times go with good weather. I want to draw some in the picture to
indicate a sunny day. So I would split the hair and overlap it
with the sun rays. Then I'll draw cloud and
some glitter to accent it. There are still some
gaps around the face. So I'm going to go ahead and fill in some plant elements with some geometric elements to make the picture rich
and interesting. Okay, the plans
are already there. You can draw bird here
to add some life. Okay, let's hide the composition to get a better
view of the hole. Let's erase the lines
that are superimposed on each other to bring out
the layers of the picture. During the racial process, I will be careful to keep the lines that are
reasonably present. For example, the half circle and the leaf at the shoulder
do not need to be erased, and the line where the cop meets the hair can be retained, and the others are
done in the same way. A wavy line could be
added to the inside of this circle with
a small circle. Okay, check it out. It looks good so far. So the first sketch is done. Then we'll make
the second sketch. For the first sketch, I mainly used the outline
of the female figure. This time, I'm going to use
a cleaner outline a window. The thing is set with the girl, working with her
back to the window. Start by drawing the
girl in the center. To make it look like
she has se curly hair. Draw a few big waves. Then draw the upper
body as well. The girl is working on a
computer. Then the desk. Then let's add details to the
window in the background. Outside the window
is a city scape. Since style is simple. We don't need to draw
it too complicated. Different rectangles intersect
each other to represent the buildings and then draw more rectangle to
represent the window. Then the skyscraper. Okay, then draw some plans
on each side of the window. Plans of different heights can give a better
sense of space. The plans can share a line with the windows so that the
lines don't look messy. It would be more beautiful
to change the leaves here. The sky part can add some
claws and time to fill it. Clows beyond the window
will be more interesting. Then we come to add
details to the work area. The table could do with
a simple grid division. I want to here to create a
work at home environment, and it will look more cozy. The cat was playing around
and then I'm at work. Okay, the basic joining
is almost done. Then come and erase the part
where the lines intersect. Play in front of the window, cat playing in front
of the workbench. The girl was working hard
behind the computer. The c is a background
element here, so it is placed at the bottom. Then add a hot icon
to the computer. Okay, check it out. I wanted to add a little coquettisns to the
lines here. Just like this. Okay, it looks good so far. All sketch is done, and we'll draw lines for
it in the next lesson.
3. Linework: Vectorize your sketch 1: Hello. Welcome back to my class. Our sketch is ready. Now, let's draw the lines. Select the sketch and
reduce its opacity to 30%. Then press control and two
keys to lock the sketch. This way we don't move
to it when we draw it. I use the rectangle tool and the ellipse tool more
often when drawing lines. Let's start by drawing
the outline of the woman. Like use the rectangle
tool partitions to enclose her outline. Adjust the rounded
corners by dragging the dots here to
piece out the hair. Select them and merge them so that the outline
of the hair is drawn. The face is drawn
in the same way. For this part, you can just move the anchor point inwards, and the outline of
the nose is drawn. Merge them, just the anchor points to make the
line smoother. Then the draw circle. Then draw rectangle
to cut the circle. Remove the horizontal
line at the top. Then the e comes out. Let's resize it. The mouse is the same. We can just duplicate it. Okay, the mouse is done. Then use the pen tool
to draw her neck. Okay, for the shoulders, we can use the ellipse
tool to draw circle. And then cut off the access. Here is also a semicircle. You can just copy it
here and shrink it. Again, drop off the access. Then we'll draw the larger
outline of the picture first. Then draw the sun here. Then draw some arrays for the sun in the
edges of the hair. Okay, you can use the rotate
to here in the center. Hold down the art key and click on the
center of the circle. The rotation window will pop up. Let's adjust the parameters. Click on the preview to
see if it makes sense. After adjusting the
parameters, click copy, keep pressing control and
d to make multiple copies. The glowing sun will come out. I want the sun's rays
to split the hair. That's the diagonal line. It just meets up with the
end point here like this. Then use in the pen to. I'm going to draw straight line that follows the light here. Then select the line
and the hair at the same time and use the shape builder
to split the hair. Delete the excess line. Here the hair I also
want to make a split. Duplicate the hair and
select the circle, press control and f to
paste it in front of you. Then select the
intersection here. Here the hair is split. Then draw the cloud here. The clouds can be drawn in
two circles. Merge them. Then use the rectangle
to crop out the excess. Adjust it to make it
look more rounded. Continue to use the pin tool to draw out the inner vision. To make it look as
smooth as possible. To extend it to the outside like this, duplicate the cloud. Select the two shapes and
then select intersection. This cloud is drawn. Then we will draw
the flowers here. Since we need to do
some split here, I'll draw another circle. Again, duplicate it, select
them and choose intersect. Then press control and
be and paste it below. Then I'll select the top
semicircle and shrink it. And you'll get the
part that's cut here. Duplicate it here. Select the intersection. The leaf is no divided. Then draw the flower here. We can use the rectangle
tool to draw the packos Adjust their rounded corners. Duplicate the circle
and move it up. Enlarge it a little. Here, we do the same scene. This leaf is also draw
with the rectangle tool. Also adjust the rounded corners. Now, the lines are
not smooth enough. I'm going to use the
pin tool to draw it. Join straight lines for
curve lines like this you can draw con. Okay. Adjust their rounded corners
so that the leaves look amo. Continue to adjust it again. Okay, now it looks much better. Then is the little ball here. You can use the circle to
draw it. Make it bigger. Then use the ss to to cut it. Delete the excess and
then draw the small ball. A You can use the pin tool
for the wavy lines inside. Adjust it to make
it look smoother. Okay, here's the flower. Use the ellipse tool to joy it. Then draw the leaves. The method of joining the leaves is
similar to the previous method. So I want to explain more. Okay, the leaf is done, duplicate it, to
transform, reflex copy. There are still
some leaves above. We can use the pen
tool to draw them. For curves like this one, we the sharp corners. Like this and then adjust
the rounded corners. This leaf shape will come out. Here is the same way. The inner lines can
be drawn like this. Copy paste, then
select subtract. Then you can get the pattern of the lines and the leaves here, let's start with
the simple part. This t part is a
bit more difficult. I'll leave it for.
Use the ellipse to draw the leaves here. Adjust it a little bit. Okay, select them and then select the intersection. Okay, here's the leaf. Using the same operation
to draw another leaf. This curve is drawn
with the pen tool. Then draw circle, and here
is the T. The t c is simple. You can use the rectangle
tool to draw it. Adjust the two anchor
points underneath. Here you need to draw the curve, and adjust it as you go. Make a division for the circle. And here is the star. The star is a bit simpler. We'll just draw square. Then choose the direct
selection tool. Hold down key and drag it in, and then the star is done. Copy it here. The
the curve here, you can use the ellipse
tool to draw circle. Here's another small circle. Then use the Cesar
tool to cut it. Delete the extra lines. Then use the pen tool to
draw the texture. Same here. And then the bot here, I replace the body of the
bold with the rectangle. Adjust the rounded corners here. For the wings, I
use the pen tool. It creates a feeling
of flying forward. Adjust the rounded corners. Then we come to the beak. And the tail. Okay, the bot is done. Now we'll draw the t part,
draw rectangle outside. Adjust the rounded
corners on the bottom. Then adjust the top corner. The top corner can be bigger. This will make the top
narrow and the bottom wide. Then use the ellipse
to to draw the lead. Then duplicate it, select
them, and choose intersection. Then draw the inner
part of the split. Use the pen tool to
draw the lines inside. Draw around the circle. Okay. Just like that, adjust it a little bit. Then we'll draw the handle. You can draw two circles
to represent it. Again, duplicate it, select them and choose
the intersection. The lead is drawn with a circle. For the spot, use the pen, draw straight line like this. Okay, then adjustment
of rounded corners. The moles of the
pot is now ready. Again, feel it with pattern
repeat the previous steps. Okay, the spot is done. Let's drag it over, adjust the angle and size. Then we use the pen tool
to draw the water p here. Try to make the curves flowing. Like this, Okay, after drawing the
outline of the water, continue to divide inside, raw some curves in there. The curves should
be differentiated. Okay, that's it. Then let's check water we haven't finished. Add the circular waves here. And the wide the circle here. Repeat the previous steps. And the last star. Uplicate it. Let's check again. Okay, its good. So we're done with
the first line work. Next lesson we'll continue
with the second one.
4. Linework: Vectorize your sketch 2: Hello. Welcome back to my class. In this lesson, we're
going to draw line work. First, use the rectangle to to draw the outline
of the window. Note the alignment of
the center section. Slight adjustment. Here it stroke sickness
is set to 100%. Adjust the rounded corners. Draw straight line
in the center. Draw the part of the window. Select them, choose the
opposite extension. This turns them into shapes. Then merge them together. The outline of the
window has been drawn. Delete the excess. After the window is drawn, let's draw the part
of the girl here. First, use the rectangle
tool to draw the phase. Adjust it again with the pen to. You can add anchor
points for adjustment. The part of the bends
is already drawn. It needs to be extended
and rounded here. I obtain the phase of the character by adjusting
the rounded corners. Next, let's draw the
part of the neck here. You can draw line. Similarly, draw in
rounded corners by adding right angles. The neck part is complete. Next, let's draw the
part of the clothes. Use the pen tool to
outline the clothes. Adjusting it, add the required anchor points
in the available space. Also draw the rounded part here by adding rounded corners. The same operation
applies here as well. Pay attention to adding stroke lines to the
closing section. The sleeves are drawn
in the same way. And then hears the m section. The m is also drawn using
the pin tool as well. This kind of curved area is also drawn by Addie
right angles. Make it close the loop. Adjust the rounded corners here. The right arm is already drawn. Then let's draw the
part of the hair. We should try to reflect the lines of the hair
as much as possible. You can hold down the
shift key like me. Then make adjustments to it. You can get a head
of flowing hair. We have finished drawing
the character part. Next, let's draw
the computer here. Draw rectangle using
the rectangle tool. Those direct selection tool. Select the line below and drag it to the right and
drag to the right. The computer screen is complete. Use the pen tool to
connect here again. Next, let's draw the
part of the table. Select the window outline
below and paste it. Then intersects with
this rectangle. You can get the part here. Okay, the computer has
completed the drawing. Next, let's draw the
intersection here. First, let's choose
the rectangle. Draw rectangle below. Select the equidistant
parts of these two places. Select the rectangle and
select the division here. Delete the access. This is already divided. After the segmentation
is completed, we will continue to adjust here, delete one of the anchors. Then use the pen tool
again to connect, can reduce some anchor points. This way it looks smoother. Okay, that's probably it. Slightly adjust it. The intersection here
is already drawn. Then we will draw
the table section. Continue drawing using
the rectangle tool. Same here. Then segment it. To maintain consistency,
we can directly copy it. Then press Control D again. Make multiple copies
and select them. Hold down Control
energy to group. Double click to
enter editing mode. Choose the shape generator here. Connect the parts that
need to be divided. Delete some unnecessary lines. Double click to it. Select the graphic below again. Continue to double
click to Enter. Intersect the shape at the outer edge with
the shape below. This way, the graphics can
be limited to the contours. Next, we will draw the architectural elements
of the background. The architectural elements
will be relatively simple. Many use rectangle
tools to draw. Probably like this,
that's about it. This building is
already painted. After the architecture
is finished, let's draw the plant
elements in front of it. Use the pin tool to draw the
branches of the flowers. The same goes for this side. Try to intersect with these buildings as
much as possible. Next, we will continue
to draw the petals. Petals can also be drawn
using the rectangular tool. Because it is a
symmetrical shape, one side can be drawn first. Then transform mirror copy. The other half is already drawn. Draw this circle again. Okay, there's also
a circle here. Leaves like this also require
joining with the pain tour. Joy sharp corners
in curved areas, the same goes for sunken ones. This individual leaves
will be drawn well. The same operation
applies here as well. Adjust their rounded corners. The leaves here are
relatively simple. The same operation
applies here as well. A. The plant elements have
already been drawn. Next, draw the cloud section. Clouds mainly use
elliptical tools. First, draw the sun here. You can draw circle to
get close to its edge. Then merge the circular parts. Continue to use
the rectangle tool to draw rectangle below. Select them and cut
off the top layer. You can get a cloud like shape. The same raw method
is used here as well. I won't give too
much explanation. The clouds here are
directly copied over. You can get the class
here by shrinking them. The part here is down
with the pen tool. Connect to the outside
to make it shape. Copy the clows below and
paste them to the front. Intersect with the graph above. You can get the shaded part. The same operation
applies here as well. The lines of solar radiation
can be left blank for now. First, let's draw the
heart shaped part here. The heart shaped part can
first draw two circles. Let them fit together. Draw an end point below
to connect it together. Select them and select
the shape generator. This way, we can get the
other half of the polygon. Adjust the angle. Then transform mirror copy
and you get the other half. Merge them to obtain
a heart shape. Right click and select the transformation
to tell it slightly. Next, let's draw the cat here. The cast tail is
drawn by stroke. First, draw the curve
of the cast tail. Go ahead and stroke to by. Select Object extension. The castle is no complete. The rest is still drawn
with the pen tool. To make the outline
look more pronounced. I'll give it a little tweak. The cat cloth so be drawn
outside of the outline. Oh. The outline is almost done. We merge it with the tile. Let's go ahead and draw
the ball off here. The texture of the ball of wall is also relatively simple. Start by drawing a
curve like this. Make three equal copies of it. Copy the following
circle like this. Group these three lines. Then double click
to enter the group. We select the shape
generator here. And then delete the excess. Then it's done
joining its interior. Directly copy and select
transform mirror. Here, we rotate it a little
bit more, and by the way, we'll delete the extra
circle underneath, and that's it for the ball of y. Let's check if we
missed anything. For example, the hair
here could be cut out. Selecting the outer contra here. Double click to select
the outer contra here. Control and F selects the hair. Select the intersection here. The outline of the
hair is no complete. Let's hide the composition
and look at the result. Look. The line drawings for the second
illustration are done. Next we color them.
5. Final: Matching colors to the graphic: Hello. Welcome back to my class. Today, we will add color
to the line works. I have already prepared the
colors in advance here. Of course, you can also choose
the color scheme you like. Place it on top like this
ready to use at any time. Okay, let's get started. First, let's choose
direct selection tool. Then select the dropper to tool. Press the control key to
switch between the two toes. Very convenient. Okay,
let color the background, based on the same, I
chose a red color. To set the warm tone for
the whole illustration, I would like to choose a more rosy color for
the character skin. Then there is a
part of the hair. Since this setting is the sky. I chose a light blue color. For the sun, obviously, I go with yellow. Because of the split here, I need to pick another color. There are many plant
elements here. I will to screen to fill in. It's a lighter color here. So I'd like to stay with yellow. Then the sun here needs
a different color. Red would be perfect. Clothes can be chosen
in a whitish color. Black is optional
for the shadows. Then there is the
plant part here. Let first color, the areas
that are easy to color. For plans, we can choose to
link towards green or blue. Select one of the
leaves in color green. Leaves on a green background
can't use the same color. Otherwise, the leaves
are inconspicuous. You can use this
light blue color. Then let's use dark
blue over here. It looks good. Then
the part of the cup. T in a cup can be yellow. Then the stars here
can be chosen in blue. Then there's the tea
that pulls down here because it is divided
into multiple portions, different colors can be used. It's like yellow and blue, but the blue color here is best distinguished from the sky, so you can choose a
darker blue color. Then pickle whitish color is a buffer color. Keep coloring. Un selected adjust coloring
until you satisfied. Okay, let's move on to coloring the tea pot to give the
t cop a ceramic fill. We can choose blue. The pattern on the tea pot is
available in other colors. The colors can be matched at. The shadows are still to
be filled with black. You can keep trying
until you are satisfied. The blue color here doesn't seem strong enough to
look at right now. Let's change the color. Continue to color
the plans here, try a light pink color
pink and blue matching. Then choose of white
as a transition color. Add some darker colors
to balance out the mix. Then come and color the
plans in the middle. Since green has already
been used here, so you need to choose
another color. There's too much yellow. Let's switch to blue. And with a darker color. Let's move on to color in
the rest of the plans. Okay, then we'll
color this side. There are more
black spaces here. You can use more dark colors. Okay, fill this
section with green. The plans are steel
colored the same way. Finally, color the excent
shapes in the picture. Usually, I use more
prominent colors. Okay, we're done coloring
our first illustration. Now, let's color the
second line drawing. Since the coloring method is pretty much the
same as the first one. I won't go into detailed
coloring instructions, but I will speed up the
whole coloring process. Okay, let's start. Oh. Ah. Okay, so far, our two illustrations
are finished. I hope this course will
be helpful to you. Thank you for watching.
See you next time.
 Xue Huajie