Transcripts
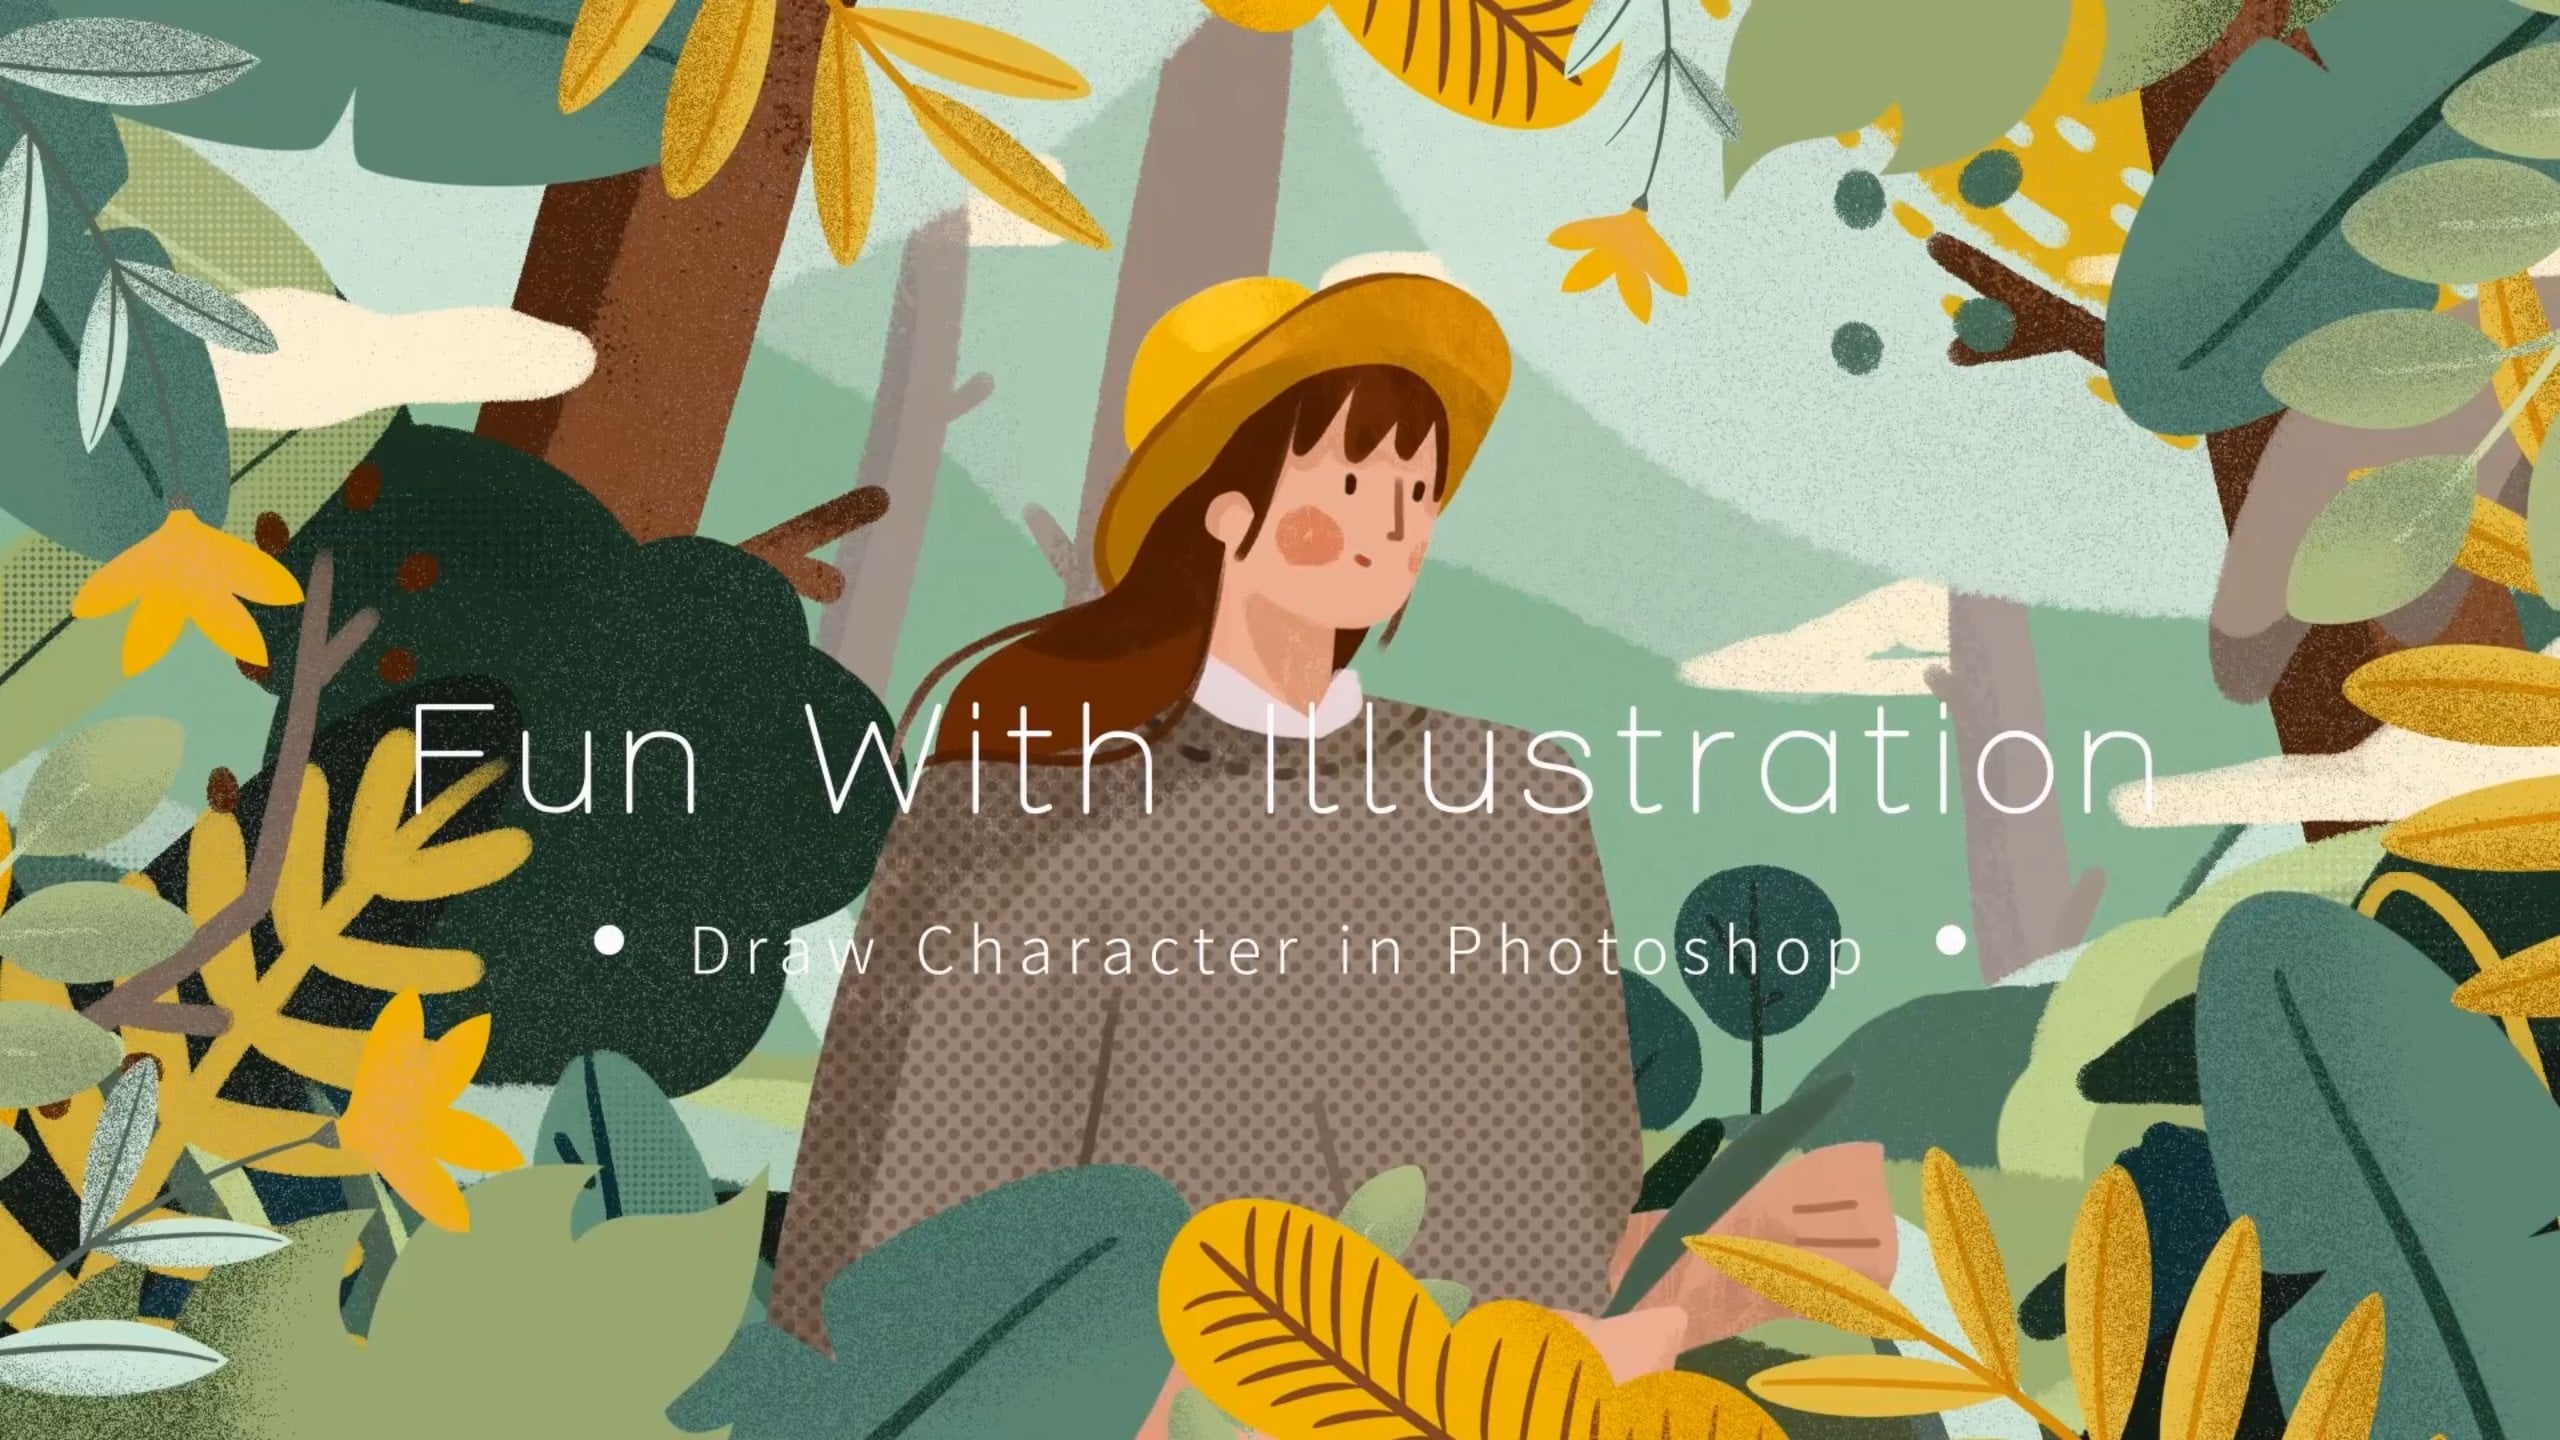
1. Introduction: If you're looking to get started with digital painting
as your new hobby, then you'll come to
the right place. In this class, I will show you how to apply
watercolor texture to complete watercolor
grape projects through my extensive experience, which will be perfect for daily hobby practice and introduction to
digital painting. In addition, we'll go through
some efficient techniques. Our work quickly and help us cut down on a lot
of repetitive work. To successfully
complete this course, you will need a computer with a Photoshop
application installed and a pain tablet to
use with the computer. If you're ready to
save on art supplies and paint the word in
more vibrant colors, start making your own
beautiful word colors with Photoshop and a Pin tablet. I'll see you in the next video.
2. Sketches: Hello, welcome to my class. Today I'm going to share how
to draw a bunch of grapes. Grapes are very easy to
learn for beginners. You don't even need to
make complex sketches. When we start doing first, let's choose a pencil
textured brush. Then we draw the gross direction of the grape branches like this. This step is to determine the approximate
position of the grapes. Not much detail to focus on. Branches extend from top to bottom and then add more branches on both
sides like this. Once the branches are draw
grip on top like this. Note the shading relationship
between the grapes. If you don't understand
grape growth patterns, it's impossible to draw the structure of the
grapes directly. Like I did, you can use a photo of a grape
as your reference. It can help you to understand
the structure of grapes. The morphology of grapes varies from one
variety to another. You can find references
according to your needs. The distribution of grapes is
regular when we draw them. We have to draw them in
groups at the same time. The grapes are of
different sizes, so we can't draw
them too evenly. Once the Skat is done, we can lower the
opacity of the layer. This is to make it easier
for us to draw in the next. This is because the grapes
are shaded and layered. My experience is to draw
the back grapes first, and then the front
ones after that. This way, the layers of
grapes are emphasized. First, we choose a clear
white color brush, choose a lighter green color. Then rotate the brush like this to draw the outline
of the grapes. Because we are now joining
the grapes in the back, they are going to
end up being shaded. So we can't use
highlighted colors. And it doesn't need to be
painted in great detail. Just use a light color
like this when joining. We don't need to follow
the sketch exactly, just jozy, approximate position. Because sometimes you need
to make adjustments to your sketches to make
it look more natural. So you can try again
and again when you're joining until you're satisfied. Okay, once the back
grapes are done, let's move onto the front. Once note that you need to
create a new layer here, then select a darker
green color because of the perspective principle
of big near and small far. So the grapes in front
of us need to be bigger. The grapes in front of
us can be made bigger. Here you can steer draw
with only one color. Just focus on the shape. Don't worry about the color. Later, we will adjust
the color of the grapes. Specifically, the grapes should not be too uniform in size. Grapes of different sizes look more natural
and comfortable. Completely repetitive
shapes can be boring. We can add some very
small grapes like this. Okay, to add more grape layers, we need to create another layer. Then when joining, we can layer the two grapes
together like this. And then when you
draw the grapes, you can stack them on top
of each other like this. There's no detail yet though, but the distinction between before and after is very clear. Okay, our first draft is done. Take a look at the
overall effect. The overall effect is not bad. Okay, that's the
end of the lesson. I'll continue to
share the drawing of the grape one branch
in the next lesson. I'll see you in the next class.
3. Fill Base Colour: Welcome back to my classroom. Now, let's go ahead and
finish the next drawing. Let's choose a brush brush. Draw the branches of the grapes
according to the sketch. This dry brush is perfect
for depicting the branches. When painting, you need to add heavy strokes at the
nose of the branches. Also note that the
strokes should be thicker on both sides and
thinner in the center. The connection can be
broken slightly like this. If you want a better result, you can try more and more
until you are satisfied. Then at the ends of
the draw branches, gently sweep them to create
the feeling of ink fantine. According to this operation, let's go ahead and draw
the rest of the branches. When doing, we need to emphasize the shading and thickness
of the branches. Like this, the branch is
blocked by this grape. If you want to show the
extension of the branch, you can continue to draw
the branch below the grape. This treatment will make
the grapes more natural. Overall, there are more grapes on the top than on the bottom, and some are hidden from view. You can only see some of
them through the gaps. You can let the branches through to give the
branch a better shape. Please make a
distinction between branches that are
arranged together. The branches can get
thinner and thinner. Note the adjustment of
the branch selection. Also note the change
in direction. Make similar but different
directional alignments. This unnoticeable place
can't be missed either. The bottom branch needs
to be made visible. I want the branches to be everywhere, yet
different everywhere. Next, let's connect the branch
to the grapes behind it. The top could be a bit denser. The bottom is the opposite. One trick when drawing is to always keep an eye on
the overall pattern. Each addition must not destroy the hole while you are drawing. You also need to stop and
look at the hole at any time. Although the structure of the
grapes is not complicated, it does test our
patients for beginners, Completing a piece
like this can be a foundation for joining
more complex pieces. Slightly thicker at the head of the branch where it
connects to the grape. You can also add some
fading out on the paper. Do the same for the
rest of the branches. Once we've completed this step, we'll also maintain the oval
observation habit of seeing if the foreground and the background are
harmonized in the image. You can also turn off the sketch layer to see
the oval all effect. Okay, our grape base
has been sketched. Next we add details to it. Let's turn off the front layer
and start with the grapes. The back select a
yellow green color, then increase the
size of your brush, and the opacity needs
to be reduced as well. Or we add some blue green color, lightly and generously
layered on top of the grapes. Because the grapes
are unevenly laid, the top and bottom will
have different colors. This color is a bit too light. Let's make a duplicate layer to make the color
contrast more intense. Zoom in to see the details. Now this clear state
is what I want. So I'll keep this layer and then we'll take care of the
grapes in the front. The grapes here need more detail added to make them
more appealing to the. We can express the details
with more brush strokes. Here I chose a hard
edge watercolor brush. Create a clipping mask
on top of the grapes, and add some yellow color. We can try this on a grape. First, use the brush to gently paint over the
surface of the grape, then switch to another
watercolor brush to draw some irregular
shapes on the grapes. Here I used the light
green color again and slowly attached it to the
upper part of the grape. You need to keep switching
between different colors to get the details on the
surface of the grapes. Don't worry about the
sharp edges of the brush. I'm going to make them
blend in more later on. A little bit of reflection. Now use the Marge brush to get the colors to
blend in better. Zooming in on the canvas
to see the effect. The colors are still a bit dull. So we need to keep
adjusting them, make a duplicate of the previous
grape base and merge it. Then continue to
edge the details on the clipping mask to make
the effect even better. Let's open up the chroma two and slide adjustments like this, to make the colors
darker and brighter. You can try it a
little more and adjust it until you are satisfied
with the result. This way, the grapes will
look more translucent. Now let's move on
to the details. Select a light
green color to etch the edges of the grapes so
that they look clearer. During the painting process, we need to keep switching brushes to enrich the
details of the grapes. This will require
some patients after a few strokes smart it with the Smart tool and repeat
this for perfect result. When the details
are almost done, you can use bright
colors to highlight the grapes to show the
crystal clear effect. Try not to choose white
for the highlights, but choose a lighter color with reference to the
surrounding colors. You can adjust the area of the highlights according to
the reflection you want. Reduce the canvas to
see the overall effect. Not bad at all. Well, that's the
end of this lesson. We'll continue to
carve the rest of it in the next lesson.
See you later.
4. Adding Details: Welcome back to our class. Today we continue to carve out
the details of the grapes. Well, here's a quick trick
to cover grape first. Duplicate the edged
detail layer, then move the duplicated
detail to another grape. And continue to use
the clipping mask, make it fit on the new grape. By resizing it, it takes
a lot of experimentation to make it look right and different from the
rest of the grapes. Of course, this is
just an initial tweak and we'll do additional
detail later on. Once the adjustments
have been made, continue using the same method
for the remaining grapes. This quick method is great for
joining smaller things and can greatly reduce
our time costs to make them look different. In addition to resizing them, you can also adjust
their angle and position so that they match
perfectly to the new grapes. This requires you to be more
flexible with this method. Note that the
highlights should be oriented as consistently
as possible, as they are all illuminated by the same light source
in the same direction. Using this method, it will be easier to complete the
drawing of the grapes. It's not necessary to draw it too perfectly at the moment, as we'll need to make additional adjustments
to each grip later on. Now you can see that I've duplicated a lot of
the detail layers, but I can't merge them now
because later we need to make adjustments and enrich
the details one by one. Continuing with our copying
and adjusting operations, I think that's the beauty
of digital painting. It helps us to do
repetitive work quickly. It also unders the
mistakes we make during the drawing process and gives us the opportunity
to keep trying. And in the process of
continuous experimentation, we gradually improve
our joint skills. So when you are practicing, don't be afraid to draw badly
because you've got a lot of trial and error and all you need to do is just get
your hands dirty. Okay, the details of the grapes have been
added in front of us. Let's shrink the canvas to see the overall effect looking good. Let's move onto the
top layer of grapes. We find the top layer of grapes and go back to
the join detail layer. We do the same thing, duplicate the jon
detail layer and move it to the position
of the new grapes. Adjust the detail to the
direction of the grapes. Continuing to adjust the rest of the grapes using
the same method. Note that the position of the light source needs
to be consistent. Keep adjusting until
you get a good fit. Well, don't forget
this little grape too. Okay. The details of the grapes in the
front have been added. Take a look at the
overall effect. It looks pretty good. Okay, the front grapes
have been adjusted. Let's move onto
the bottom grapes. Again, Duplicate the
John detail layers and move them in front
of the bottom grapes. Still using the clipping mask, you can see that the details
have become lighter. Since the grape layer
below is less transparent, the details will be less
transparent as well. Same duplication and
adjustment operations since the grapes at the back
don't need much detail. They don't need to be perfect in the adjustment because people will focus on the front grapes. This is more efficient
than drawing details directly
on the grapes in the back and has a more
uniform effect because it is difficult for a beginner
to grasp the depth of detail. Rejoin may result in an
inconsistent effect. And this method only
needs to draw the details of one grape and can be
applied to all of them. Very easy to follow method for beginners afterwards and
different details to the same ones so
that each grape will look different but the
effect is uniform. This is an easy way to do it and the work will
be very well done. Although duplicating and
adjusting will require patients, it will not be easy. But it's more efficient than
drawing them one by one. If you think the
details of each grape now look exactly
the same and fake. Then when you initially
draw the details, you can draw two
or three details and copy them to
different grapes. This way, the overall look
will be more realistic and will reduce our subsequent
work of enriching the details. I suggest you all do this since I'm just showing
you how to do it. It needs to be done quickly, but you can be flexible
when you do it. Now that we've duplicated
the detail layer quite a bit because the layers
themselves are translucent. When the grapes are stacked
on top of each other, the details will appear
to be stacked as well. This way they look different from the rest of the details, so don't worry about the
details being exactly the same. Okay, so it's all
been tweaked so far. Let's take a look at
the overall result. It looks pretty good, so we can just merge all the detail layers of
the underlying grips. Since they are located behind, there is no need to draw
more details separately. Next, we double click
on the merged layer. I want to add a gradient
effect to them. Select the appropriate
gradient style. Here in the gradient overlay, I want the grape detail on the back to be a warm
yellowish green color. This required me to keep trying different gradient effects
until I found the right one. This is not a bad color. We can go ahead and
adjust its opacity. Let's see if it comes out right. This doesn't look very good. I need to keep picking
other gradient styles. This will take some patience until we find the
right gradient. After choosing a gradient style, we have to keep
adjusting its angle or direction to see if it suits
our grapes. This looks good. Click Ok, Compare the effect before and after
adding the gradient. I think we need to keep picking this pinkish
purple gradient. Looks good too. Adjusting
its parameter settings looks good so far. Let's compare the before and after results.
It's looking good. Next lesson I'll
continue to flesh out the details of
the previous grips. I'll see you in the next lesson.
5. Overlaying Textures: Welcome back to my class Today, we're going to continue with
the richness of detail. First, hold down the CT, L key and then use
the move tool to directly select the grapes
that need to be drawn. Then select the smudge. Brush and blend the colors
on the surface by smudging. This requires patients. The purpose of this is to make every grape look different. Make variations according to the shape and orientation
of the grapes. Some grapes will have a
larger bright surface area. This grape is smaller, it should be a bit more green. Try to make each
grape look different. Joining food is
always a blessing. That's why I don't get tired, even if it's a repetitive
and tedious job. When you can also choose a person who will
make you feel happy, this will give you
more motivation to continue the joining process. Grapes stacked on top of
each other like this can be distinguished by adding shadows
to the grapes below them. It to make the grapes behind
it a bit darker in color. Then the grapes in the
front can increase their reflective area so that the front and back are
contrasting light and dark. The grapes will also be more
crystal clear in the join. Try to smooth out some of the harder edges of the color to make the details on the surface of the grapes
look more natural. Observe if there are still
grapes with similar details, continue to paint and adjust their details to make
them look different. Okay, let's shrink the canvas and look at the overall effect. That's not bad. Now let's
organize our layers. Let's group the layers so we
can see and categorize them. We can also duplicate this group as a back up and merge
the layers within it. Don't worry about the difficulty of making changes
after the merge. We can copy the merged
layers again as a back up. This way we can continue with the rest of the
operation with no fear, make a copy of this group
as well as the back up and then merge the layers
of one of the groups. Okay, moving on to
selecting our smart brush. Now we'll start working on the branching part of the grape. First, copy the layer of
the branches and turn down the transparent background
of the original layer below it to give it a more
pronounced watercolor effect. Then make a copy of
this layer as well, and adjust the opacity again. Then by erasing some of the
color of the copied layer, this will give the branches the effect of changing shades. We can select an
irregularly shaped brush and make a few quick
swaps like this, add a little bit of black to it. Also to add depth variations, repeat the previous operation
in different positions. Add light curry color to some of the branches
as appropriate. This requires patience
and experimentation. Merge the layers for the
small grape locations together and look at the
before and after comparisons. If the effect is not obvious, you can use the
color gradient tool to adjust the light and
darkness like this. Now we can add texture to the
branch, create a new layer, double click to check
pattern overlay, and select a suitable
texture pattern. Then change the blending mode
of the layer to overlay, adjust its opacity so that the texture doesn't
look too strong. Otherwise, the gray texture will darken the
color of the grapes. It's the color
gradient tool, again, to adjust the light and
dark effects appropriately. Okay, reduce the canvas to
see the overall effect. It's looking good. Well,
that's it for this lesson. We'll see you next time.
6. Watercolour Texture: Welcome back to my class. We'll continue to refine our texture effect
Next, once again, we'll create a new layer, double click on
the layer and pick the appropriate texture pattern
in the pattern overlay. Once picked, you can zoom
in to see the details. This texture is a very standard
watercolor paper texture. If you are not satisfied, you can continue to
change the texture. Okay, let's adjust
the slider again, using the color gradient tool to make this texture a
little more gray. Go ahead and select overlay
for the blend mode, and then look at the effect. Turn off the two texture layers again and compare the results. Obviously, the first texture
overlay was too bright, so I wanted to make
it a bit darker. The texture now looks more
like a sketch paper texture, but I want them to look
more like watercolor paper. So I need to open up
this texture layer. Continuing to
adjust the darkness and lightness of the image. Take a look at the
overall effect. If you are not satisfied, you can continue to adjust. Okay, let's refine the grapes. The outline of the grapes in this position is
not clear enough. You can use a fine
line brush to slightly enhance the edges here
to make the outline of the grapes more obvious and it will look more like
the effect of watermarks. Find the grapes with
less pronounced edges and continue to refine
their outlines. I realized that there is a
branch of grapes missing here, so I need to create a new
layer to complete eight. Looking at the picture, I see that there is something
that needs to be changed. Like here, the branch is
not connected to the grape. So I need to adjust it a bit, a little more brush work to make it blend in more naturally. By filing in the details, you can make the grapes
connected to the branches. Then we'll adjust the
details of the grapes. It's like making the highlights
a little more visible. Make the same adjustments
to the previous grapes. During the modification process, we can turn off
the texture layer so that we can focus
more on the grapes. This requires us
to be patient and paint the surface of the
grapes in small amounts. And many times you can zoom in a little so that you can see the
details more clearly. We can use the piped
tool to pick up nearby colors to make the
transition more natural. I want to add more
variation around the white high lights to make them look like water droplets. So color white eye went
for a light yellow. The embellishment is very
random and not too regular. To make the grapes more varied. Go ahead and choose the
irregularly shaped brush. Brush lightly on the
surface of the grapes, like this to give them more
variety. In the layers, the heuer to move the
slider to the left to give this layer a more
inge, reddish color. Let's take a look at the effect before and
after the modification. If you are not satisfied, you can continue to tweak it over and over
again like this. Do the same for
the other grapes. This stroke will give
more variation to the surface of the grapes and make them look
more finished. The same operation is done
for the grapes at the back. You can choose a
lighter yellow color to contrast the front
and back grapes. After the irregular
shapes are added, you can erase some of them to make the
effect more natural. During the modification process, we can zoom in on the
canvas to see the details, then we can adjust to
the unreasonable places. Okay, so far so good. Finally, I'll share another
tip to improve completeness. Selecting an in splat brush, choose white for the color, and dab it on the
surface of the grapes. Like this, be careful not to overdance or
over even the dots. Use the irregular shape brush to slightly erase some
of the effect again. Finally, the soft edges of
the grapes are softened with the soft brush zooming in to see if the details
need further work. Okay, let's merge
the modified layers, zooming out of the canvas
to see the overall effect. There are a few things
that need to be changed, continuing to shrink the canvas to see the oval all effect. It's looking good. Okay, so we're done with this
grep illustration. I hope you'll be able to do
the same after reading this. Looking forward to
seeing your work. So that's the end of this
lesson. See you soon.
 Xue Huajie