Transcripts
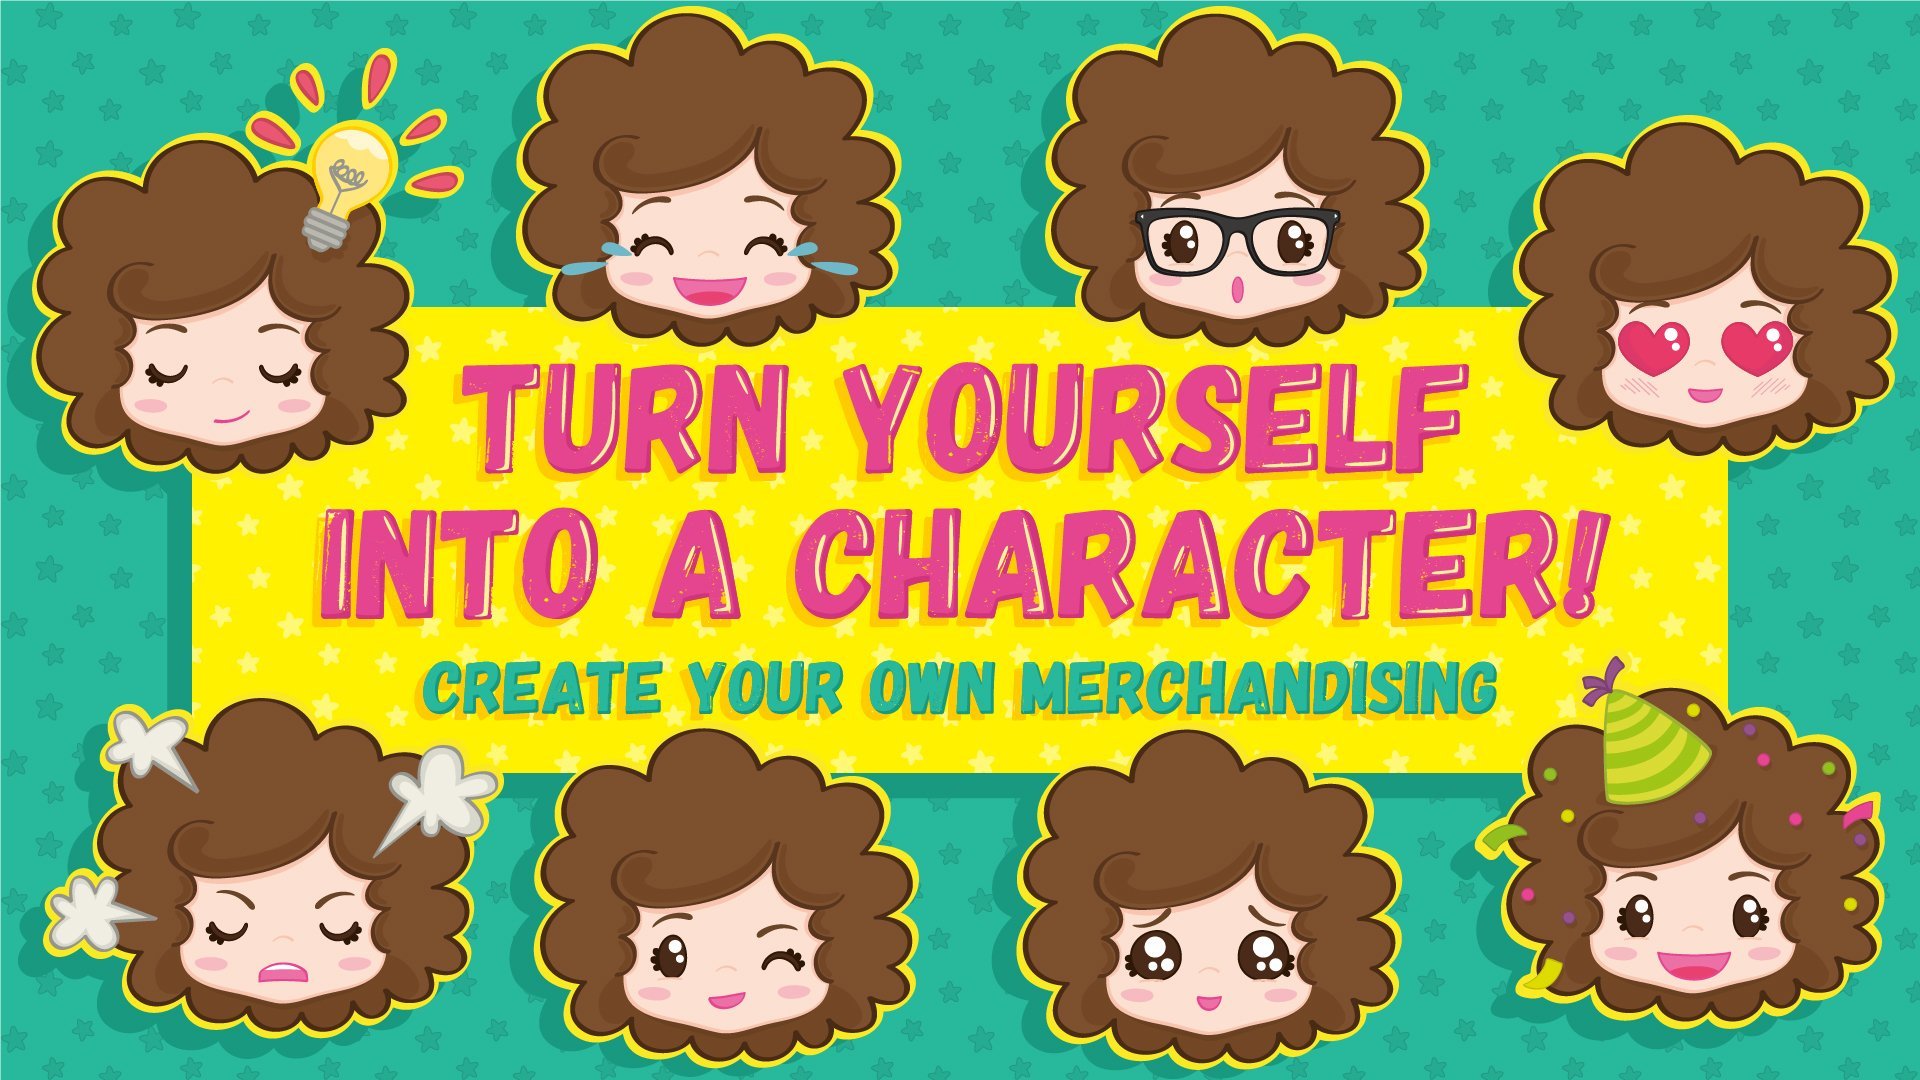
1. Class Intro: Hi, my name is Carmina Soler, and I’m an illustrator and animator. In this class, you would take your stickers from Illustrator to WhatsApp. It's an easy process to follow along and anyone can do it. So by the end of this class, you will be able to chat using your own stickers. This is the second part of the “Turn Yourself into a Character” class. So if you don’t have your sticker design yet, you can check out my previous class where I explain how to illustrate them. I hope you’ll join me! See you in class.
2. Step 1 - Create the Stickers Background: Okay, the first thing I want to talk about is the sticker features that need to be for WhatsApp, especially if you want to sell them. If not, it's not so important, but we’ll try to stay with their request. So the size for the stickers should be 512 pixels for 512 pixels. They must have a transparent background. So you should save them as PNG 8. They need to have a 16-pixel margin, so the sticker has to be within it. And the sticker they recommend to have a stroke, 8 pixels thick, so it stands out from the background. And the stickers must be less than 100 kb. So, as an example, those are WhatsApp wallpapers, And as you can see if we remove the background, they don't stand out that much, so it helps. So that's what I'm gonna show you to do now, the white background. This is an example of the sticker that we're gonna make. Here I have the full body and want to cut it, around here. So the first thing will duplicate and this is gonna be the background, and we’ll hide this for a moment, we’ll select the layer and we’ll create a mask. Let’s change the fill color. And now this is too straight, I want it to be a little bit rounded. So with the Pen Tool, I’ll add a point here, and with the Direct tool, I’ll reposition the points. And again with the Pen tool and Option key, I'll drag to reveal the handles. So now this is a little bit rounded. Now, this is the mask. We’ll select the mask, it must be on top, and we’ll select the sticker, and we’ll do a Clipping Mask, Make, Or you can do it with the shortcut, Command 7. Okay, so next thing we'll hide this layer, this is the sticker, and we’ll reveal the background, What we want to do now, is remove everything that is not the main shape. We need the silhouette. So we’ll remove all the elements of the face, all the shadows, because they might cause problems. We can remove the shoes and the legs because it won’t show. and the arms shadows, the neck, and the hair shadows. So these are the basic elements to create the silhouette. Now what we want to do is to make one shape of all of them. So we'll go here to Pathfinder. If you don't see this icon, just go to Window and here you can find it. and we’ll Unite. Okay, so now we have one shape. Now as you can see, this shape is not within the mask like the sticker. So let's copy the clipping mask. Select Command C. Copy outside, Command F, to place it in the same place. In this case, with the background, we don’t want to do a clipping mask, because what we want to do is to cut this shape. Okay? We don't want to hide this part, we want to cut it. So select both, the mask and background shape, And let's go back to Pathfinder and Intersect. So now we have the shape, and it's cut to where we want. So you see, we have the same right now. So what we want is to add a stroke and to make it thick. We want it to be an 8-pixel. That's the recommendation. And in the default position of the stroke, it's center to the line, So let's change that to make the stoke to be outside, that way this is 8 pixels. So that's it, That's how you make it. So if for some reason you want to have just one shape, because now what you have is a compound with fill color and stroke, you could go to the object and expand and then go to Pathfinder, and Unite. and now you have a bigger shape, which is one shape. If you resize the sticker, it won’t change the size of the stroke.
3. Step 2 - Export from Illustrator: Ok, so now we are gonna export all the stickers, to make it quicker, I just create more boards and place the sticker on each board so we can export them at once. I'm gonna create a guide with a margin using these backgrounds that I already have. If you don't have it, just create it with the rectangle tool. Drag, and make sure that is 512 pixels per 512 pixels. And we're gonna change the color, we just want the stroke, we don't want the fill color. So since we need a margin of 16 pixels, we'll go here to the shape size, with the rectangle selected, and type minus 32 and 32. Okay, so that's gonna be our guide. We have 16 pixels here, 16 pixels here, 16 pixels here. Then, we are gonna go to the Artboards icon or window Artboards, and we’ll add as many artboards as stickers you have. I think I have nine, so nine artboards. And now I'm gonna copy the guide, Comand +, and I'm gonna select each board and I'm gonna paste them in the same place using Comand + F. Just keep selecting each artboard Let's lock the guide layer, let’s rename that as a guide. I'm gonna start moving the stickers. Now we're gonna go sticker by sticker to make sure, that they are within the guide. Okay so now let's hide the guides and let's go to File, Export, Export for screens, here we can change the name of the artboards, So it's gonna export with that name. Make sure that you select the folder here. Here we want to change that to PNG-8. And that’s it, Export. Okay, so here I have my stickers You can see they have a transparent background. Next thing, we’ll import them to WhatsApp.
4. Step 3 - Import to WhatsApp: So the last step is to import stickers into WhatsApp the first thing you will need to do is to transfer the images to your smartphone. I'm gonna do it using Dropbox, but you could use Onedrive, connect the phone to your computer or even email them to yourself. Okay, so now I'm with my phone and I have the Dropbox app open, I'm going image by image to export them to my camera roll. Now go App Store or Google Store, depending on whether you use an iOS or Android device. Download this app called Sticker Maker. Open it and tap to start. Tap the Create icon. Add a name for your sticker pack. Tap on each icon and add one sticker at a time, tap to the gallery, select the stickers, and tap the right arrow to the next screen and then the Tick icon. In case you see ads, just close the by the cross icon. I usually see them, but in this case, for some reason, I didn’t. Keep doing the same for all the stickers. As you can see, you can add a lot to each pack. When you have all your stickers uploaded, tap to Add to WhatsApp. The app is gonna import the stickers and open the WhatsApp app, and basically, that’s it. Now you have your sticker’s pack in WhatsApp. and you can use it as you would use any other sticker. If you want to save any sticker as a favorite, just tap and hold on the one you want to save and it will show up the option, to add a Favorite you will find your favorite stickers in the Star icon.
5. Step 4 - Project Deliverables: And that’s it! I hope you have enjoyed the class. Please share your stickers in the class project section and a screenshot of a WhatsApp conversation. if you wish to show how to use them. Thank you for taking the time to watch the class and I'll see you around.
 Carmina Soler, Artista visual y bordadora abstracta.