Transcripts
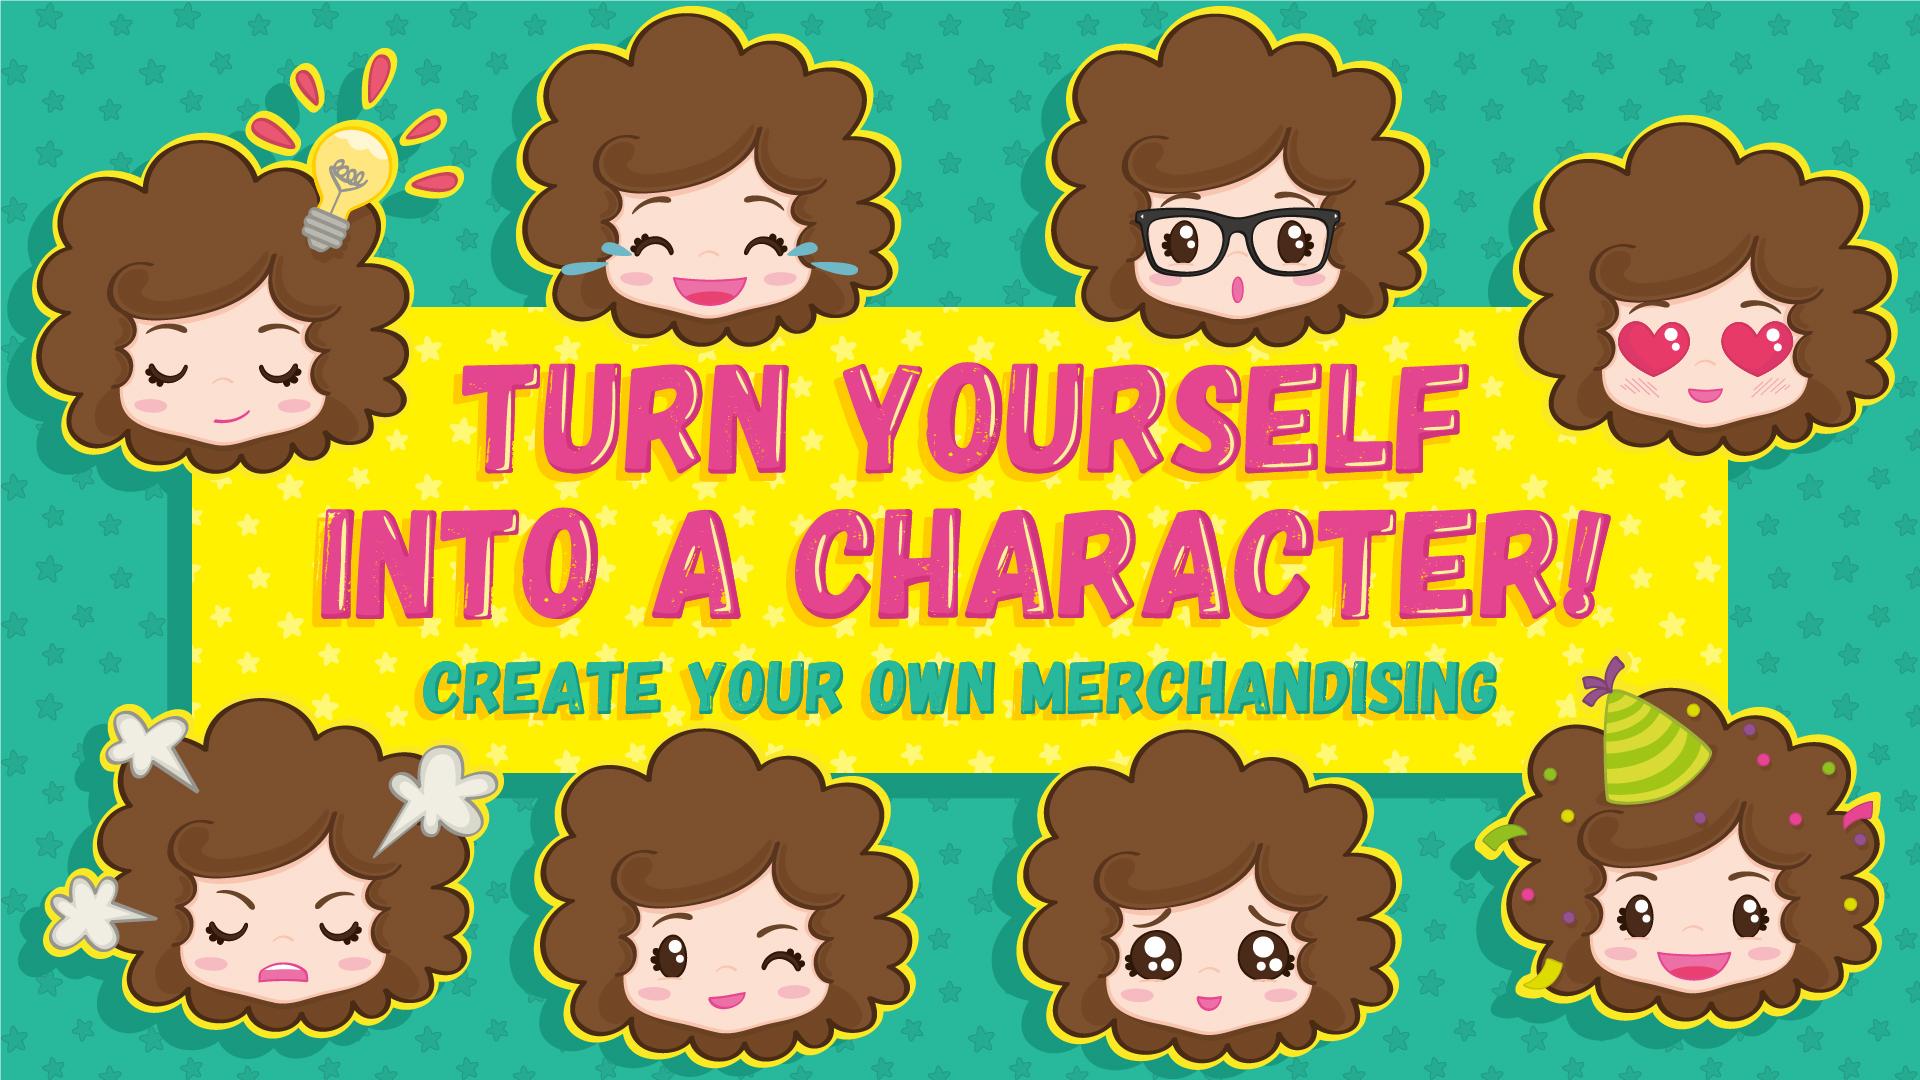
1. Class Intro: Hi, My name is Carmina Soler. I'm an illustrator and animator. In this class, you will turn yourself into a character. You will create a lot of expressions and elements, that will help you to communicate specific emotions and messages to others. We will sketch, digitalize, and organize all the elements in a table to keep track of all of them easily. Once your character is ready, you will be able to sell it as chat stickers or create your own merchandising online. It's going to be a fun class, I hope you'll join me. See you in the next video.
2. Step 1 - Character expressions: Let's start the class by learning a little bit about the facial expressions. The best tool when you have to learn about expressions, is to have a mirror next to you to make the faces yourself and analyze them. We all know how to make a happy, sad or angry face, but sometimes, if we don't see it, may not be that obvious how to draw the mouth, the eyes and the eyebrows. So just look at yourself in the mirror and make the expression that you want to draw to copy them. Here you can see a table with different combinations of eyes and mouths. We're playing with basic emotions such a laugh, smile and sad. The eyes and mouth are the most expressive features. Eyebrows always help to give more details to the expression. When we add the eyebrows, depending on how we position them, it changes a little bit the emotion Now we will analyze the emojis, which cover a wide range of expressions. Let's focus first on the eyes. I have grouped the icons by eye type. so you can see with the same eyes how many different expressions you can create, by just changing the mouth and the eyebrows. Now let's focus on the mouth how just changing the eyes, the expression can change quite a lot To see how this can be applied to a character, I have selected some stickers online and grouped them by emotions, messages or a status moment. Here you can see the basic characteristics of each one and which expressions would be more likely to be used. Keep in mind that the same message with different expressions can have a different meaning. For instance, if you're saying that it's raining with a happy face, means that you're excited about it, for some reason, it's good news. But if you have a sad face, it's obvious that it's not good. The rain and umbrella are the same for both images, but the expression changes the meaning of the message. Here you can see a list of basic emotions, messages and status moments. My place to go for references is Pinterest. I have created a board with chat sticker sets to get some inspiration. Spend some time looking at sticker sets, Either in Pinterest, Google, Viber, Line... On the Mojilala website, you can find a longer list with more ideas for your stickers. On the Emoji Tracker site, you can see in a real-time, which are the emojis that are used the most on Twitter. So you may want to start illustrating the most popular ones. I left some links in the class project section for you to check them out.
3. Step 2 - Get inspired by yourself: If I would just ask you to create a character, it could be difficult for you to decide which type of character to create. So that's why I suggest to turn yourself into a character It's a way to narrow your options and make it easier to focus and define. Think about a particularity of your physics or personality and use it to play with your character and exaggerate your most singular trait. Think about your hairstyle, if you wear glasses, anything that when people who know you see the character they would relate to you. For instance, I have a curly hair. I would draw a big curly hair, and I will make it change according to the character's emotions, to have more fun with it.
4. Step 3.1 - Start sketching: Now that you have an idea of which treats needs to have your character, let's start sketching. Before to start drawing exactly how your character will look like, warm up with a few sketches. Take the list of emotions from the first video, and the treats you decided your character would have from the second one. and work on some sketches. Try to figure out how your character would act for each emotion and message, that would help you to understand how your character would be. These are some of my sketches before defining in more detail my character.
5. Step 3.2 - Keep sketching: Now you can start defining more how exactly your character will look like. Make sure to keep it simple with basic shapes, that would make it easier to keep adding more elements later on, like different mouths, eyes, or hands. So as an example, here you can see my final sketch for the face. Very simple shapes with a Kawaii style. Once you have defined the basic elements for the face, start sketching some emotions. Put together five or six emotions like a smile, laugh, sad, mad, hope, love... In these six different emotions, you will be using different eyes, mouths, eyebrows... The good thing about it is that once you have everything traced, you will be able to combine them in so many different ways to create new expressions. Now let's draw the body with simple shapes as well. For this class, just the front view will be enough, but you can always add different views of the characters, such as the left and right sides. When drawing the body, think about the hands. Hands are very important because they will help to emphasize. the emotions of the messages you are trying to communicate. If you make the body proportionally smaller than the head, it will make the character look more cute. These are some basic hands that will help a lot to communicate. Drawing hands usually can be tricky. Look for references and try to start with basic shapes like these and then finish with round edges. Start drawing these with your character style, and you can add more later on. To help emphasize the emotions and messages, we can also use the elements such as smoke for when the character is mad, Lines for excitement, hearts, diamonds… Finally, sketch a couple of extra elements such as glasses, a birthday hat, a scarf, an umbrella… that will help to communicate the specific messages. Once you have digitalized your character, you can create a template to print out with a light gray color. Use it the sketch it, to make the process of sketching much faster. Once you have your sketches ready, Let's move into the computer.
6. Step 4.1 - Digitalize: Outline: Now we will open the sketch in Illustrator. Double-click the layer and select the template option. Let's create a new layer for the guide, which we will use to copy and reflect some elements. Hit “CMD + R” to show the rules. Drag and drop from the side ruler to the center of the image. Rename the layer as a “Guide” and lock it. Create a new layer to start illustrating the outline. If you want the circle to be proportional, hit “Shift” while dragging. Hit “CMD + C” and “CMD + F” to paste in front. I will use the pen tool to create the eyelashes. The fewer points you create, the better, because it's going to be easier to modify the shape. Rename the layer as “Eye” and create a new layer for the cheeks. Create another layer for the eyebrows. Double-click on the layer to change the color of the selection to see it better. Keep adding new layers for each part of the face. Select everything, hit “CMD + C” and “CMD + F”, hit “O” or go to the reflect tool icon here, Position the pointer on the guide, Hit the “Shift” key and drag. So now we have the outline of the face. Now I'm grouping and moving each element to its layer. Now we need to join both sides because we want to have them together. With the direct selection tool, select both anchor points and hit “CMD + J”. Keep joining the rest of the elements. Now, let's reflect the sparkle in the eye. Go to object, transfer, reflect, and you want to reflect it vertically. I'm going to draw the hair with the pen tool. Now that we have the outline of our character, next step would be to put some color.
7. Step 4.2 - Digitalize: Color: Okay, so let’s add some color. I will use flat colors with outlines, And then I will add some shadows. Let’s hide the sketch and guidelines. I have already saved some colors in my swatch panel. Now keep toggling between the “color swatch” and “Stroke” panels. To switch between Fill and Outline colors just hit the “X” key. By hitting “CMD + H” you can hide the selection lines, so you can see better the modifications. To cover the part of the hair we don't want to see. Let’s duplicate the front hair and add fill color. With the pen tool close the shape. Now I will add some shadows under the hair. We need to place the shadows within the face shape, duplicate the face layer and place it above the shadows layer, select both of them and hit “CMD + 7” Now the shadow is inside the face shape. But we can still modify it if we need to.
8. Step 5 - Organize elements in a table: I just finished tracing the body and added different eyes, mouth, and eyebrows. To keep track of all of the elements, we will create a table and organize them in it to have like and inventory. So this is my master layer with everything organized in sublayers, the elements, the props, the hands, the body, the arms… and inside each layer, I have different versions. For instance, here you can see the hand. Create a new layer and name it “Table”. Create a new artboard by clicking on this artboard. Click and drag a pretty big table. We will start doing one column with the rectangle and with the text tool add the title. Now, next to the column a line of text to put the layer's name. Copy the layer name and paste it into the text box. Select in the layers panel the “eyes”, hit command + C and Command + V, and place them in the column. Select the textbox and hit command + C and Command + F, move it down a little bit in just one move, and then keep hitting command + C, Command + F and Command + D, to keep duplicating and placing within the same distance. Keep doing that for all the elements you have. So that's how it should look organized with the layer names. Now, it seems easy because we have few elements, but you can keep adding more eyes, mouth, hands… so it can be convenient when you have a lot of elements. Make sure that any new element you draw is added to the table and the master layer. Now here comes the fun part, which is to start making combinations to create different expressions. Duplicate the master layer by dragging it to the “Create layer” icon. Now hide or show the elements you want, rotate or modify them if necessary. Once you have the expression ready, you can remove all the hidden layers. Remember, if you add a new element copy it to the master layer and the table. That way you will always have your master layer with everything. Here you can see different combinations that I have done with my character. In the next video, we will start talking about how to merchandise your character.
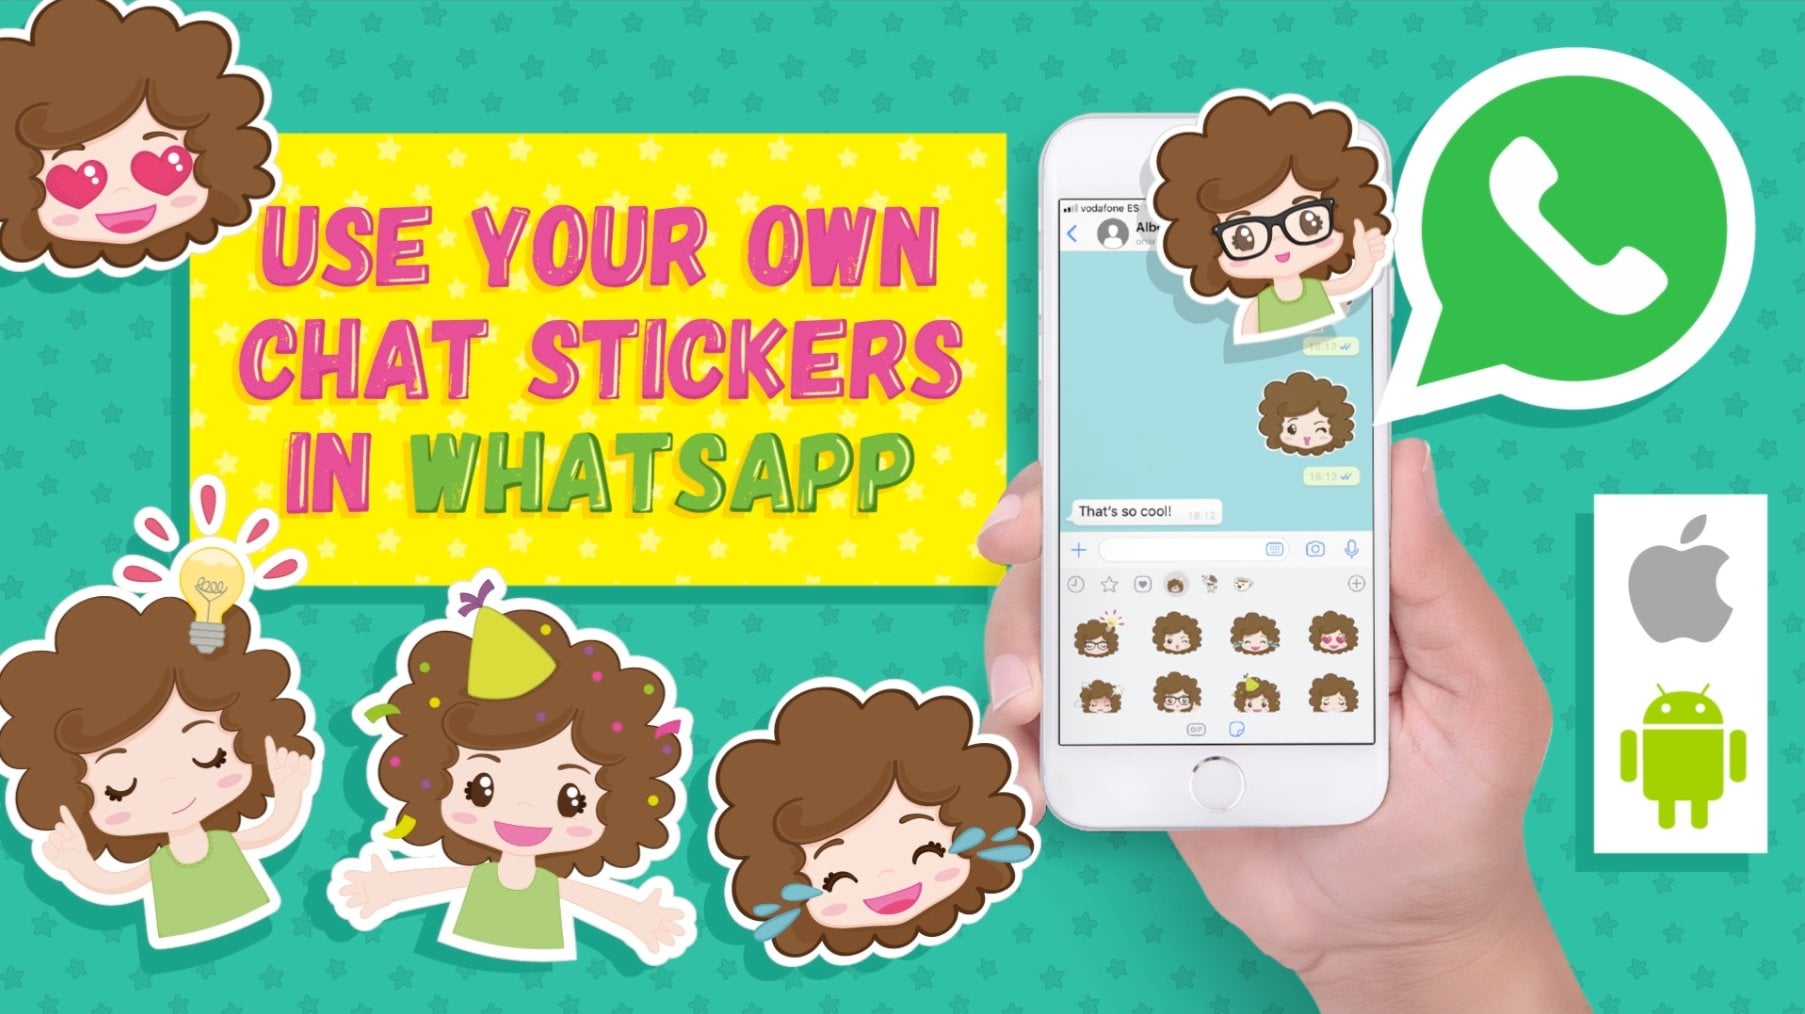
9. Step 6.1 - Sell your chat stickers: One option to merchandise your character, is to sell a set of stickers through websites like these. Check this website and go through their guidelines to understand with each company requires for the sticker submission. For some companies, you need to have a minimum of 40 stickers while for others it's just ten. Most of them require each sticker to be a square size. Usually, you will get 50% of the benefits for each sticker set. Notice that on some of those websites once you upload your stickers, they will have the right to use and modify them. Make sure to read the terms and understand them before you upload your stickers. “Line Store” is a big platform very popular in Asia, and you can find a lot of stickers there for some inspiration. To upload the stickers in “Path”, you need to contact them first. “Viber” doesn’t have the option to upload your images, but you can email them with some of your stickers, and if they like them, they might want to work with you. “Viber” is another good website to find inspiration. If you don't want to sell your stickers but still use them with your friends, you can always save the images as PNGs on your cell phone and send them as images. It’s not as quick as using emojis or chat stickers, but it's still an option if you don't want to upload them to any website.
10. Step 6.2 - Create your designs and mockups: Once you have your character with different expressions, you can just add some more elements to create designs that you can sell as a product online. I created this design for a mug, and now I'm gonna place it in a mockup. Select everything and make sure you don't have any layers locked. Open up Photoshop and the mockup file. Usually, when you download a mockup, it comes with the “Read Me” file where they explain how to modify it. In this case, I just have to paste the design, adjust the size and move it to the folder. Hide the template design layer. You can change your design layer to multiply mode to make it look more integrated. Here you can see another example of a notebook. In this case, you have to double-click on the layer that says “Edit Me”, and it will open up a new file. Hide the actual design and paste your illustration. Adjust the dimensions and save it, so it modifies the original file. Go back to the original file, and it will replace the image with your illustration. It's very cool to be able to see how your design will look when printed in a product. I will leave the link to some websites where you can download free mockups to play with.
11. Step 6.3 - Sell your designs online: What else can you do with your character? You can also sell your designs printed into products through these websites. All of them are free and very easy to use. Once you sell a product, you will get a percentage of the selling price. The cool thing about this site is that you don't have to deal with the printing or selling process. As you can see, there are tons of products where you can print your designs. Check them out and see which one you like the most. I have left all the links in the class project section.
12. Step 7 - Project deliverables: Ok, so that's it, now it's time to work on your project. Start by creating it in the “Project gallery”. Upload the result of each step of the class. Share some of your sketches, also images of the character digitalized. You can upload an image of your table organization and also some mockup images. I can't wait to see your character and some different expressions. Let me know if you have any questions. I hope you have enjoyed that class. I'll see you around.
 Carmina Soler, Artista visual y bordadora abstracta.