Transcripts
1. Upcycle Intro: Hi, I'm emitting from salt threads and welcome to upcycling with him poetry. In this comprehensive class, you'll learn the techniques to take your embroider eat out of the loop and into wardrobe. Throughout this class, we'll cover five different stitches that are perfect for embroidery, long clothes, and a special knotting technique that will make your pieces sturdy enough to go through a washing machine. Once we have a solid base and that switches are covered, the different methods for solving what stretchy fabrics like t-shirts and non-strict fabrics like blouses and dress shirts as always. And we'll go through all the materials you'll need to get started, as well as some tips and tricks for choosing implodes, using water-soluble stabilizer and carrying clear embroidered clothes to make them last folder. This class is recommended for intermediate stitches and ambitious beginners. If this is your first time stitching, all you'll need to do is take a bit of time to practice the stitches before you jump in with stitching. By the end of this class, you'll learn the techniques to confidently upcycled a shirt from your wardrobe and bringing new life to all your clothes. Well, we've got heats the cover, so let's get stitching.
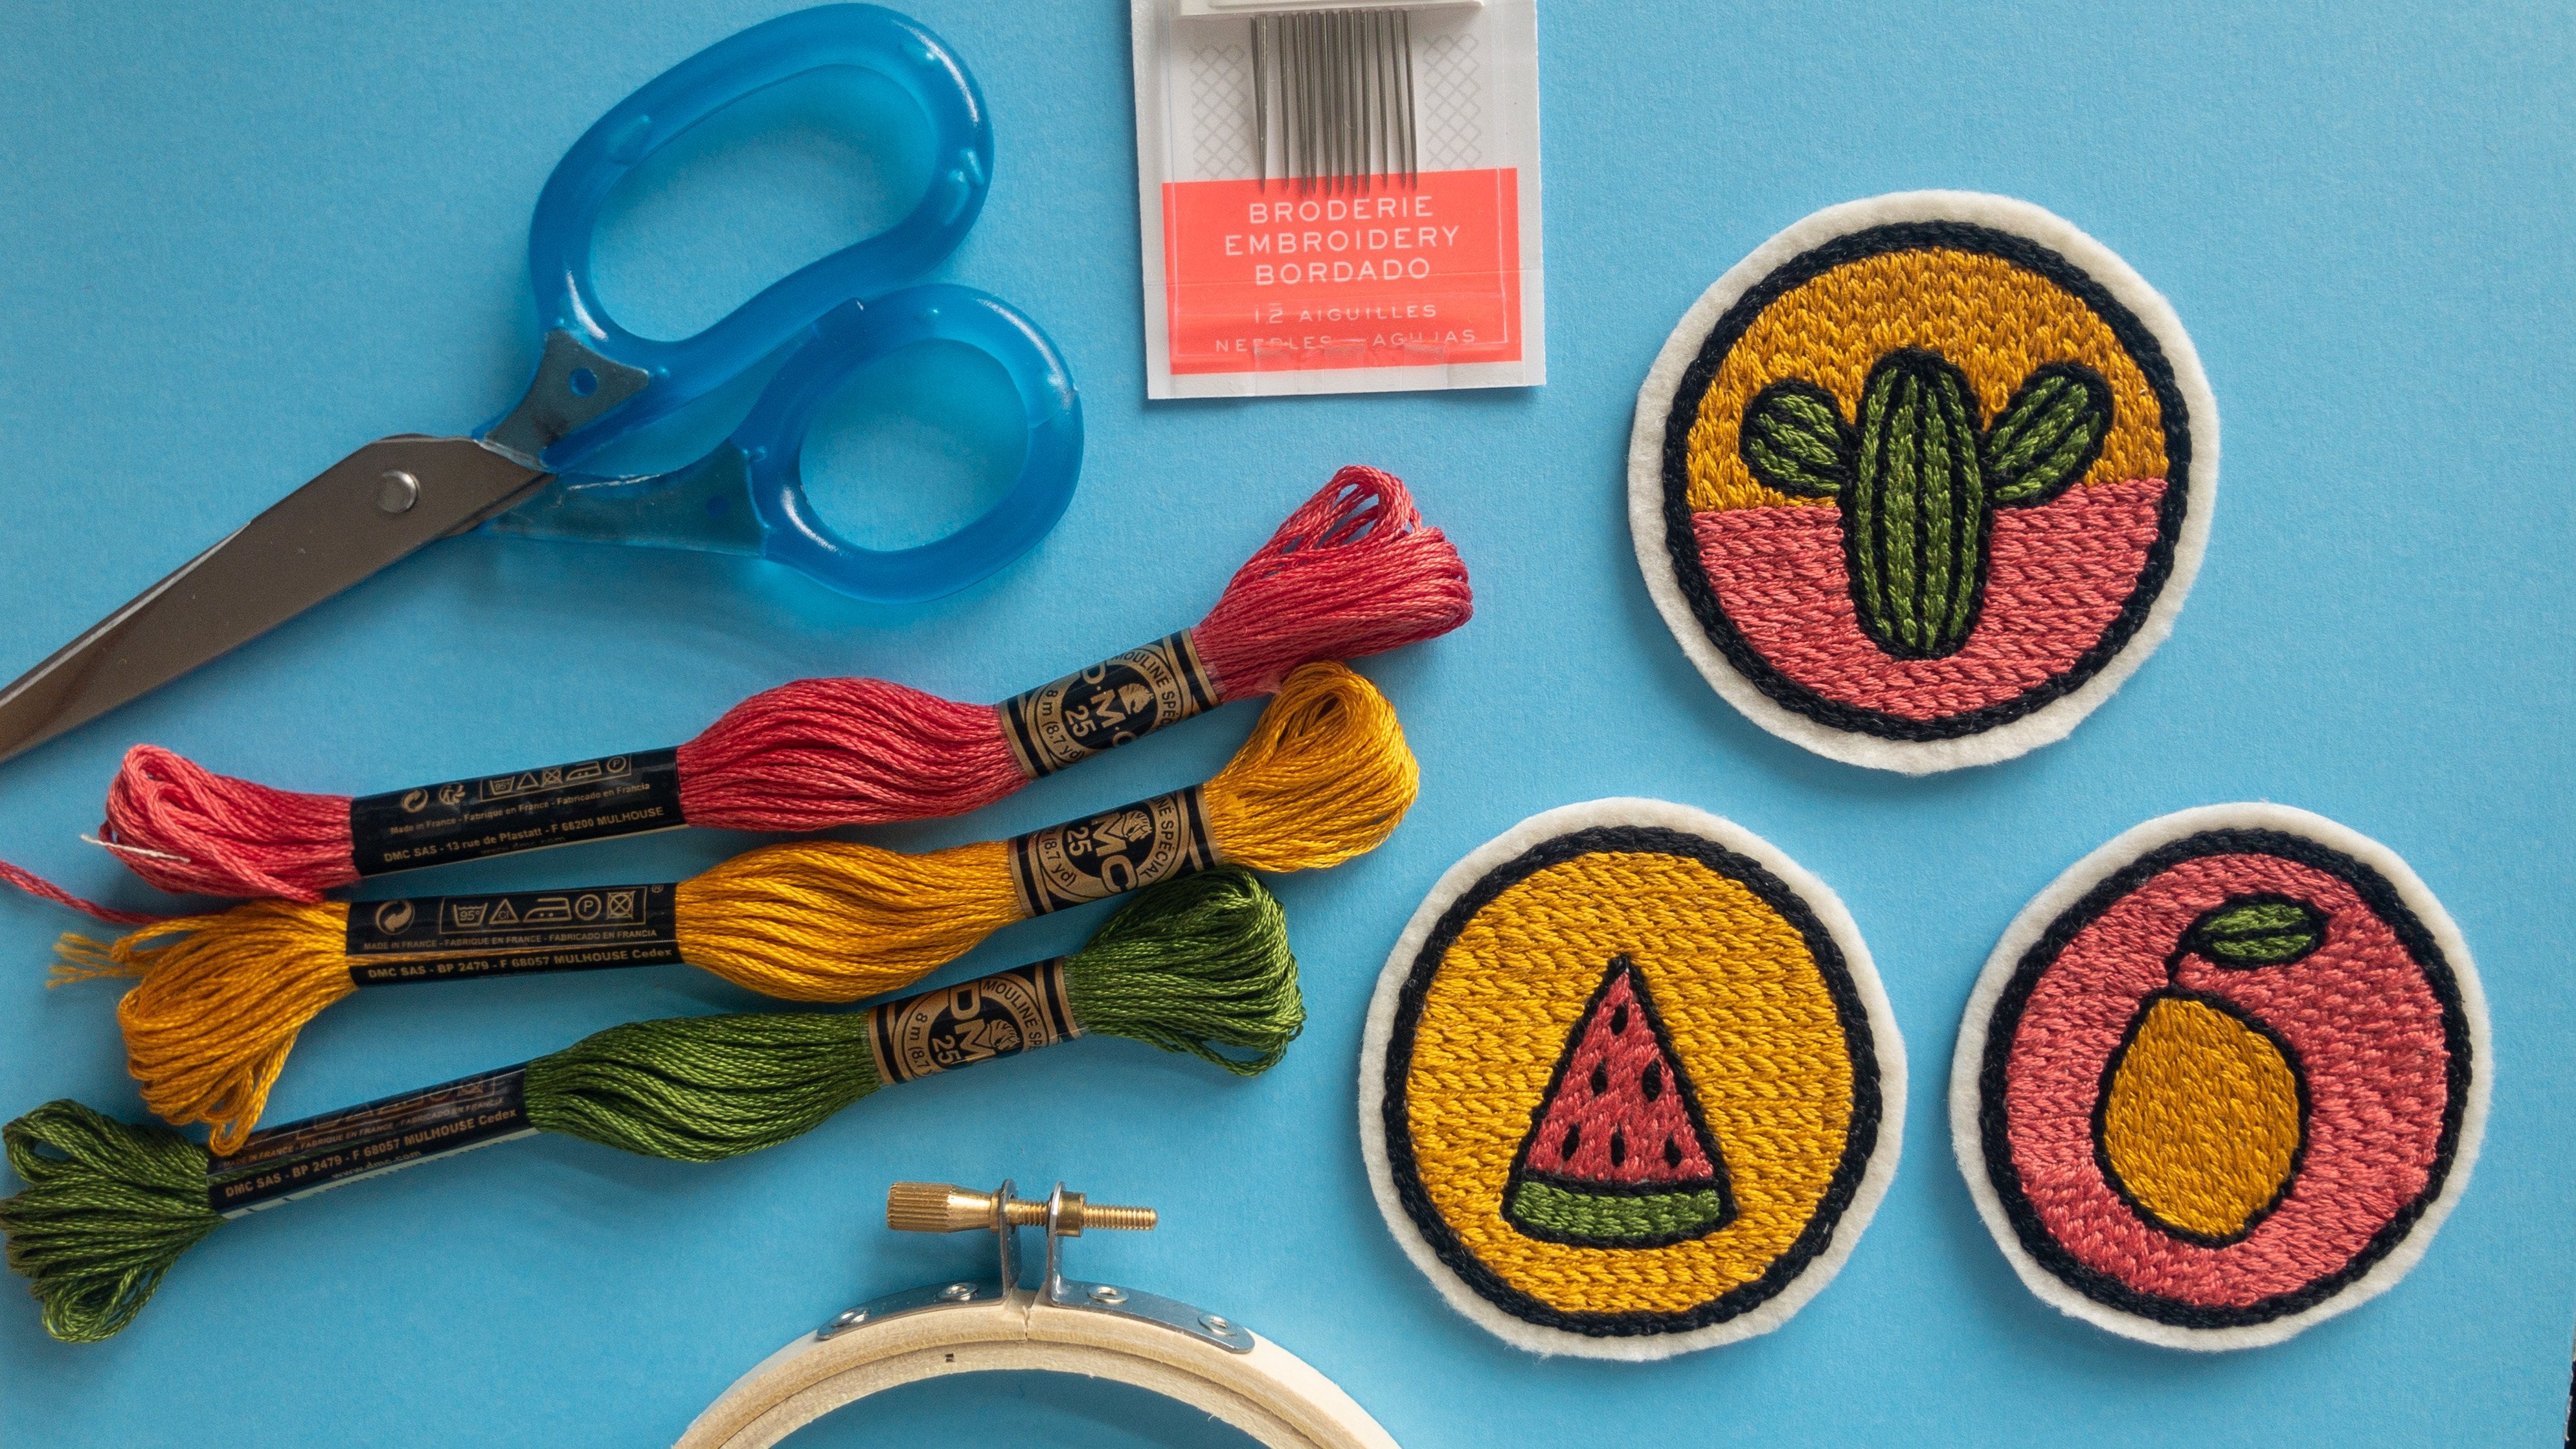
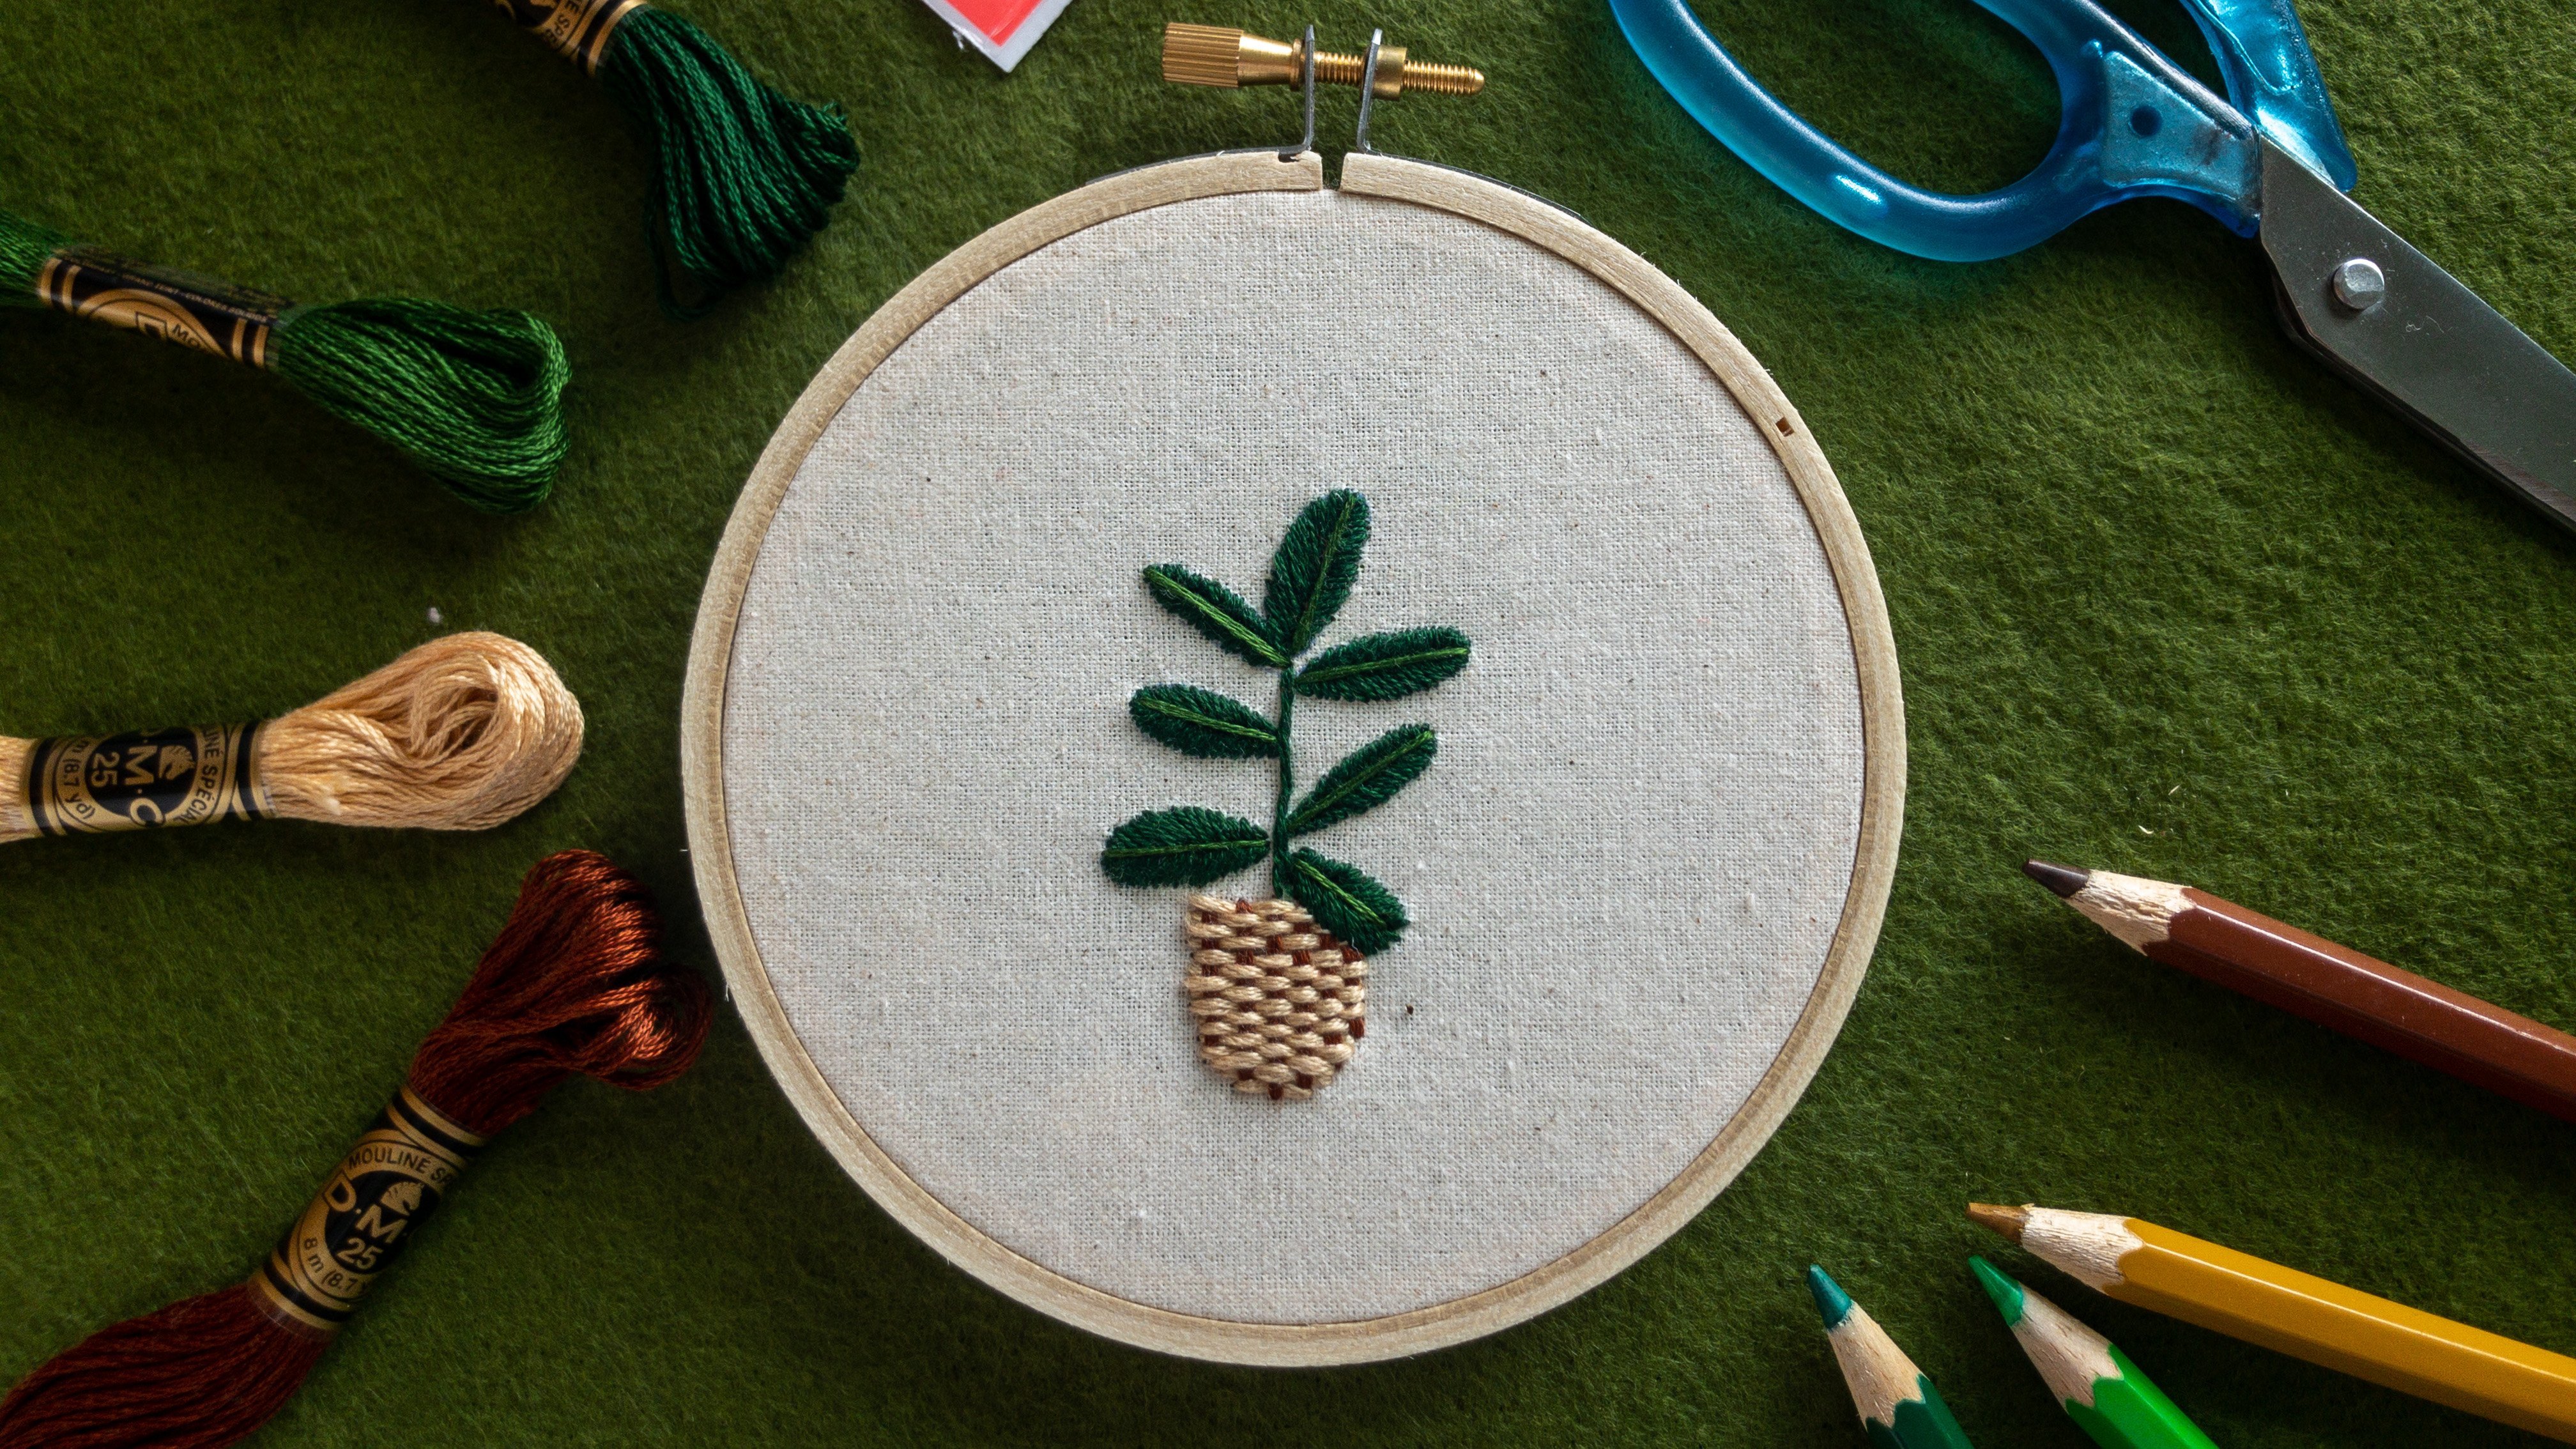
2. Materials Overview: To embroider on clothes, you need many of the same materials you would use as if you were just embroidering a hoop. For this project, I'm gonna use a four-inch wooden hoop and DMC threads obviously we'll be using the yellow and the green for the lemon. Now for embroidering on clothes, I really recommend buying high-quality threads like DMC or other brands like Anchor or Cosmo, because they're going to be colour fast and you can be assured that they're not going to fade this project. We're going to use some embroidery needles. I recommend size five. And of course you need citizens and the tissue that you want to embroider. Now, more specifically to sorry, on clothes, you're going to need some water soluble, stablizer. And the brand that I recommend is so key because it's also adhesive. So that means we're going to trace the pattern with either a black fine liner and a pencil. Then we can cut it out and stick it onto our shirt. And it's super easy. You can also print the pattern onto it, which I think is really, really handy. Cool. So that's all the materials that we need for the project.
3. How To Use Water Soluble Stabiliser: So the next thing you need to do is to prepare your water soluble stabilizer. So I recommend using soggy, the sticky February Soviet stabilizer. The great thing about this is that you can draw on to it and you can also print onto it. So you have a lot of really easy options. So basically to draw onto the stabilizer, you want to use either a pencil or a black fine line up. If you use any other colours, there is a chance that it might bleed onto the fabric and into the thread. So I recommend always going with the black fine liner. Then all you need to do is print out the pattern. Like you can say I've done here, all traces of the screen and just trace over the edges of your pattern and testing. Then when you're all done, grab a pair of scissors and just leave maybe two centimetres or an int around the edge of your pattern. And then you're ready to go. If you can't find the brand of water-soluble stabilizer that I recommended. There is no need to worry. You just need to use a different method when you're stitching on your shirt. So my recommendation is still to find any other brand of water-soluble stabilizer rather than any other kind of stabilizer. The first thing you need to do is cut a piece of stable as a that is larger than your hoop, then you should be able to trace the pattern on as normal with either a pencil or a black fine liner. When you get to the last stage of putting it in the hoop, makes sure it sits nice and tightly in the hoop. And you should be able to stitch as normal. If it's still moving around a little bit, you can add a line of running stitch around the edge of the pattern before you stitch, which should hold it down. Obviously, then when you're finished embroidering on your pattern, you'll be able to remove the running stitches and wash away the stabilizer as normal. The last thing we need to do is wash away the Sylvie. So once you've cut away the excess around the edge of your shape, you can pop it in a bucket to leave it to soak up. I've put it in a bowl just so it look nice for the camera, but I definitely recommend leaving it in a bucket to soak for overnight. If you've used a light colored thread, it may look like the ink is starting to seep into the thread and staining in a darker color. Well, don't panic. It definitely will dissolve as long as you leave it overnight. And by that I mean, at least ten hours. And as long as you use either a black fine liner or a pencil.
4. Choosing your Clothes: Before we get started, let's talk about choosing your clothes. The best piece of advice I can give about choosing your clothes to embroider on is the same. Less stretch means less stress. So that means if you're choosing natural fabrics like linen or cotton, which are non stretch, they're going to be a lot easier to embroider than anything that stretching like a jazzy T-Shirt. These three shirts are examples of my recommended type of fabric to so on. So the first shirt is a men's dress, and this is a linen cotton blend. So this is going to be fantastic when we go to embroider on it because it doesn't have very much stretch at all. The next shot I've got there as well is the red blouse. And that's actually pure linen to this is going to be absolutely beautiful to so on. And as you can see, it also doesn't have much stretch. The last class I have there is a linen cotton blend. And as you can see, I've already gone ahead and embroidered something on there. And even when we pull it, you can see that it doesn't affect the embroidery on there. So definitely, I would recommend linen or linen cotton blends to get started with. As for tee-shirts, the really important thing is to look for a higher quality t-shirt. And even if it is a stretchy t-shirts, to look for a shirt with the least stretch possible. So as you can see here, I can stretch it and it does stretch. But it is a higher-quality T-Shirt. So for this, I'd really recommend you try and avoid fast fashion and go for something a bit better quality. So as you can see, when I pull the embroidered Lemon, it does pull a tiny bit, but it doesn't pull the embroidery out of shape. So make sure you're looking for that higher quality in mutations. Now these three shirts are a collection of shirts that I don't recommend that you try and embroidered on the shoe. While it's very concrete aware, it's far too stretching and that's going to be difficult to so on. And it will be difficult to maintain the shape. This is meant to be super, super stretchy and that's just going to be super difficult to embroider on. And the same with this one again, very comfortable, very soft but far to strategy. And as you can see, I've already pulled the stretches on there, one out sewing and they pull, when you pull it, the fabric itself again. So that's my advice for choosing a klutz. And now we're ready for the next section.
5. T Shirt & Chain Stitch Part 1: Before we get started with that TCGA, The first thing we need to do is place a Soviet onto the T-Shirt. So all you need to do is peel off your trace patent of the backing and place it onto your T-shirt. Wear heavy lack. So like I said at the beginning, so v is adhesive so you can put a buy every alike and if you're not happy with it, you can just put it in another place. So a great idea is to put the Soviets and then put your T-shirt or just to have a look at how it's going to look once you've finished the embroidery. So for this one, I've decided that I actually want the lemon to be a little bit further down. So all I've done is pulled up this 0V, and now I'm going to press it back down onto the T-Shirt, ready for us to embroider. Great. So the first thing we're going to do is to put our wooden hoop onto the T-Shirts. So there is a chance if you're using a plastic cup or the flexi hoop that it will pull the material to tide. So I definitely recommend using a wooden hoop when you stitching on stretchy fabrics. So I'll just pop the outer ring on top and then we're going to pull it tight. But you'll notice that it's not as tight as we normally would have it if we were embroidering just with some Calico or linen just in a normal hoop. And the reason for that is that we don't want to cause any hoop. And that's when we have the fabric too tight in the hoop and it leaves some marks. At the end of the day, we should be able to get those marks out in the wash. But it is a good idea to make sure you're not pulling that fabric too tightly. So now we're ready to get started with my favorite ever embroidery stage, which is changed it. So first things first, I'm using three strands are satisfied needle, and I've already gone ahead and tied our normal double knot in the end of the thread. Will first use the changed it to stitch the outline of the lemon, then the guidelines, and then we'll fill in all the sections. So we're bringing on needle up and then holding it over to the side with our left them. After that, we'll put the needle in, either in the same hole will just next to it. And remember on that first it to make sure that you don't stop the not at the back. So now we're pulling that thread to make a loop and bringing the needle up on the inside of that loop and on the lemon line to continue the chain. We're holding that thread over to the left, then my putting the needle back in pretty much anywhere in that loop. And then once again, we're bringing the needle up in the middle of the loop, but still on the line. And that's how we'll continue all the rest of our chain. Okay. What it is.
6. Special Knotting Technique: So now we're ready to go through the most important technique of all, the special knotting technique. So what we would normally do in embroidery, right? It's just make that loop to the left and then bring the thread up through the last stitch and up through the middle of that loop. But what we wanna do, well, my sign on clothes is something a bit more in depth. So what you do is thread the needle back through the last two stitches. And then we'll do our normal knotting technique of looked to the left and up until that last stitch. And I recommend doing that twice. So pulling that not tight. And then we'll go ahead and do it again. And then once you finished during knots, I recommend threading the last bit if you thread back through another two stitches so that it's really nicely incorporated into your stitching. And then again, you can just snip the edge will drop.
7. T Shirt & Chain Stitch Part 2 : As you can see, I've already gone ahead and finished all the outlines and leave. And now what I'm actually going to do is take off the 2p. So it's up to you if you'd like to stitch with the hoop on the whole time or if you'd like to take it off and stitched by hand. So when you're using the stretchy materials, you can go by hand or with hoop. So as you can see here, I may have pulled the fabric a little bit too tight because we've got a couple of those marks which are called 2p. And so what we can do is kind of just rub those marks away. But at the end of the day, they will hopefully come out in the wash. So there's no need to stress too much about the hoop Ben. Great. So now we're going to jump ahead and fill in the lemon in Andrei sections. So once again, I've already tied that double naught at beginning. And we're going to fill in the shapes by going side to side. So first of all, we're going to start in the center part with that chain stitch. And we'll start by filling in one line on the left of that section. So you can see here that I'm using my thumb and my pointer finger, as well as the two other fingers on the back to kind of support the embroidery as we go along. So now you don't have to be pulling it tight. The stabilizer is already doing that job for you and making sure that the fabric doesn't move. But it is good to have a bit of extra support with the fingers. Then another good thing to remember is to make sure you're stretching is Shouldice every now and then, as it's really easy to let a lot of tension building up when you asked it in by hand. And now that we finished the first line on the left, let's jump ahead and finish the next line on the right side. And that's how we're going to continue to fill in the whole lemon in, changed it, doing one line on the left and continuing on the right. So when we use this method with the three sections and going left to right, that means that we create the idea of curve, even though a stitching that flat kind of area. And if we do it. Come on with I think. So there we are. We've bought finished with a chain stitch lemon, and this one took me about 1.5 hours to complete. The last step you wanna do is just to peel up the edges of the savy and cutaway any excess Before you leave it overnight to soak.
8. Split Stitch : So let's jump straight in with splits ditch. So I'm using three strands again and we're going to start with the leaf and the stem. So split stitch is also sometimes called split backstage because basically, instead of putting our nato back in the same hole, we're actually going to stop the middle of the stitch before. So we're bringing on needle up just like we normally do with backstage. But then with stabbing the middle of the night, if you don't feel like doing changed it, you can sometimes get away with just doing splitted as they do resemble each other from a distance. It's also a nice way to fill things in and it gives you a really full coverage and a really nice texture. Now the way finish the guidelines, we're going to fill in the leaf shape by going line by line and side to side. So we'll start by making a line on the left side using a split stitch on the right and will continue until we filled in the whole league. Fantastic. We finished the lakes. But so now after we are doing, and not, so obviously I'm doing a very simple idea. Remember if you're doing it on his shirt to first wind it through the threads, then make the knot, and then wind it through again. So you can see a nice bit of texture at the edge of a leaf. And now we're ready to get cracking on element. So the first thing that we're going to do is to outline all of the lemon, including the guidelines in split stitch. And then we'll use the same technique that we used on the leaf to fill in the sections of the lemon will go left to right in lines until we fill the novel shape. The reason we do that is it's kind of a technique for any irregular or round kind of shape. As long as we're doing those lines were still following the curves of the lemon. Okay. Good. Okay. Ok. A fast track. And we are all finished with ask, let's ditch. So this lemon took me about 45 minutes to finish. So about half the time of changed it. So if you're looking for something a bit faster than changed, it may be split stitch is the one view.
9. Brick Stitch: Now the next it's that we're going to tackle is bricks it. So once again, using three strands of threat, the way that we make bricks did is actually by stacking rows of backstage, one on top of the other. So the first step that we're going to do is outline the whole lemon shape in a backstage. So now that we've finished our guidelines, we're going to start filling in the shapes in the same way that we've done the upper lemons by filling in the three sections. And as you can see, I'm putting my needle back down in the middle of one of my other facts stitches. So now we're going to continue with the backstage, making sure that we're bringing up as stitches in the middle of the stage before. And there we have it finished bricks that sullivan. So this piece took me about 1.5 hours. And as you can see, there's a lot of thread on the back, just like some of the other stitches. But it does give a really interesting texture to your shapes. So that's one to consider.
10. Blouse & Long And Short Stitch Part 1: So now we're ready to get started with unknown stretch shed his blouse with longs and shorts, did. So before we get started, here's a quick note on stabilizer. So when it's a non-straight garment, you don't actually need to use stabilizer, the fabric going stretch so it will hold the stitches in place. That being said, you'll never go wrong using stabilizer, it makes it easier to transfer the pattern, especially on dark fabrics, and gives you that little bit of extra support. In any case, what you'll definitely need is the wooden hoop. So let's go ahead and pop that on the back. Fantastic. So now that we've got that hoop on, you wanna pull it nice and tight. So if all non stretch fabrics, it's just like if we were doing embroidery in a normal hope, we want that pulled us in time. So now we're gonna go ahead and start with our longs and shorts did. So for this one we'll be using three strands and the size five nato. So the first thing that we're going to do is outline the leaf shape in his footage where embroidering on fluids, we want to use short enclosed stitches. So that's why in places where we want to cover large areas and we would normally use certain stage. We use low in shorts did as an alternative. So long and short stitch is made in a very similar way to sentence did. What we'll do is start with making stitches long and short, right next to each other. Then we'll fill in the whole shape in parallel and going and long and short stitches. Two. Ok. Hi. To finish off the leaf, I've decided to one the threatened a couple of more times just to make it a bit more durable. And after that, we are all finished with our leaf. So in the next video, I'll go through how to fill in the lemon and how to fill in more round shapes.
11. Blouse & Long and Short Stitch Part 2: Let's get ready to sew our lemon. So the first thing I'm doing here is conditioning the thread by pulling it back and forth through the nato. The last thing you want when you're sitting on clothes is to get enough. So it's a good idea to do that before you stitch every time. So the first thing we're going to do just like last time, is to outline the top part of the lemon in splitted. So this time we won't be outlining those guidelines. In fact, we don't need the guidelines at all for this one. So we'll just start out with that slits did outline with longs and shorts did, instead of filling in the lemon in the three sections like we've done with all the other stitches, we're going to fill in the shape in parallel lines just like we did with leaf. But this time we're still going to pay attention to the curves of the lemon. The best way to visualize long and short stitch is to imagine that you're coloring in the lemon with tiny brush strokes that will eventually blend into each other. The great thing about this stitch is they really aren't any rules. You can choose the length of the stitches and you can choose how you blend them into each other. Ok. Good. Yeah. So just like that with the magic of cinema, we all finished through extension. So this lemon took me about one hour to finish. And you can see how it really nicely catches the left-hand seat in the end, it's really up to you, which did she use to say women? Some people prefer long, short, and that gives you a bit more freedom. But I personally prefer something like changed it because I really liked the lines it gives to the pace. The last thing I normally do is just cut away the excess. So V, if you leave it on the, it will still dissolve overnight. But I prefer just to take off those little excess bits. After that, all you need to do is soak that overnight and new t-shirt will be good to go.
12. French Knots : And now it's time for French nodes. Now, this switch is actually the absolute perfect stage for sewing on clothes because you're literally adding more not on top of the fabric, so there's no way that they're coming up. So to make a French Now, we're going to pull a needle up through the fabric and then hold the thread to the left with your left thumb. Then we'll wrap the thread around the needle twice and pop the needle back down in the same hole or just next to it when you're popping that in. So at the same time as I'm putting my needle in and holding the tension in that thread with my left hand while and pulling that through. And voila, that's a French naught. So let's go through the process again. Bring the Thread Up and then hold it over to the left with their left down. We'll wrap it twice around the needle and then bring it down in the same hole or next to it. So as you can see in this video, I'm actually having a little bit of trouble making the knots. And that's because I'm holding the hoop at an odd angle so that I can get it on camera. For the most comfortable way to make French naughts, I'd recommend resting hoop against your chest or your summing, or even putting it in a hoop stand to make sure that you've got a bit more support when you're doing French notes. So I know that French knots can be pretty daunting for beginners. And even I avoided them for a good ten years when I started to LA and embroidery. But in the end, it creates a really funky effect, like you can see. Now this actually took me about three hours. So it's not for the faint hearted, but it is quite a fun effect when you're doing embroidery on clothes.
13. Upcycle Project Overview: The project for this class is to record it your very own viewshed. If you'd like to use the lemon pattern that I've used in this class. You'll find the pdf in the project Resources tab. And if you'd like more inspiration, feel free to look through my other classes on scholarship for more free. When you're finished, remember to upload a picture of your project into the project gallery so we can all celebrate your progress.
14. Caring for clothes & Recap: There's a couple of things to remember when caring for your embroidered clothes. First of all, always put your clothes to dry in the shade and away from the sun, which might fade the thread. And it's important to remember to never put your embroidered shirts in a tumble dryer. If you need to iron your shirt ion on the backside. And it's even better to place a layer of material between the ion and the embroidery. And now, for the $1 million question, can you machine wash your embroidered shirts? Well, what I always say, if you wanted to be a family and handed down through the generations, then in each hand wash it. But if you just want every day these, you can put it in the machine and it'll last for a good few years. Embroidery thread is actually a lot stronger than we think. I know we've gone through a lot of information in this class. So let's go through the five key steps for signing on clothes. First, always pre wash your clothes and when choosing which cleanses did turn, remember, less stretch equals less stress. You short closed stitches and make sure you're not your threads properly using good special knotting technique. You stabilizer for stretchy shirts, but the non stretch material like dress shirts and blouses, it's up to you. At the end of the day, I still highly recommended if in doubt, you stabilizer. And last of all, watch the shirt, how ever you prefer but never put it in a tumble dry, instead, dry it in the shade and ion on the wrong side of the embroidery. Thanks so much for following along in this class and I hope you feel super competent to get started on your upcycling journey. Well, it's been so much fun to teach this class and I hope you've had a great time as well. That's it for today, and I'll see you in the next class.
 Imogen White, Stress less, Embroider more