Transcripts
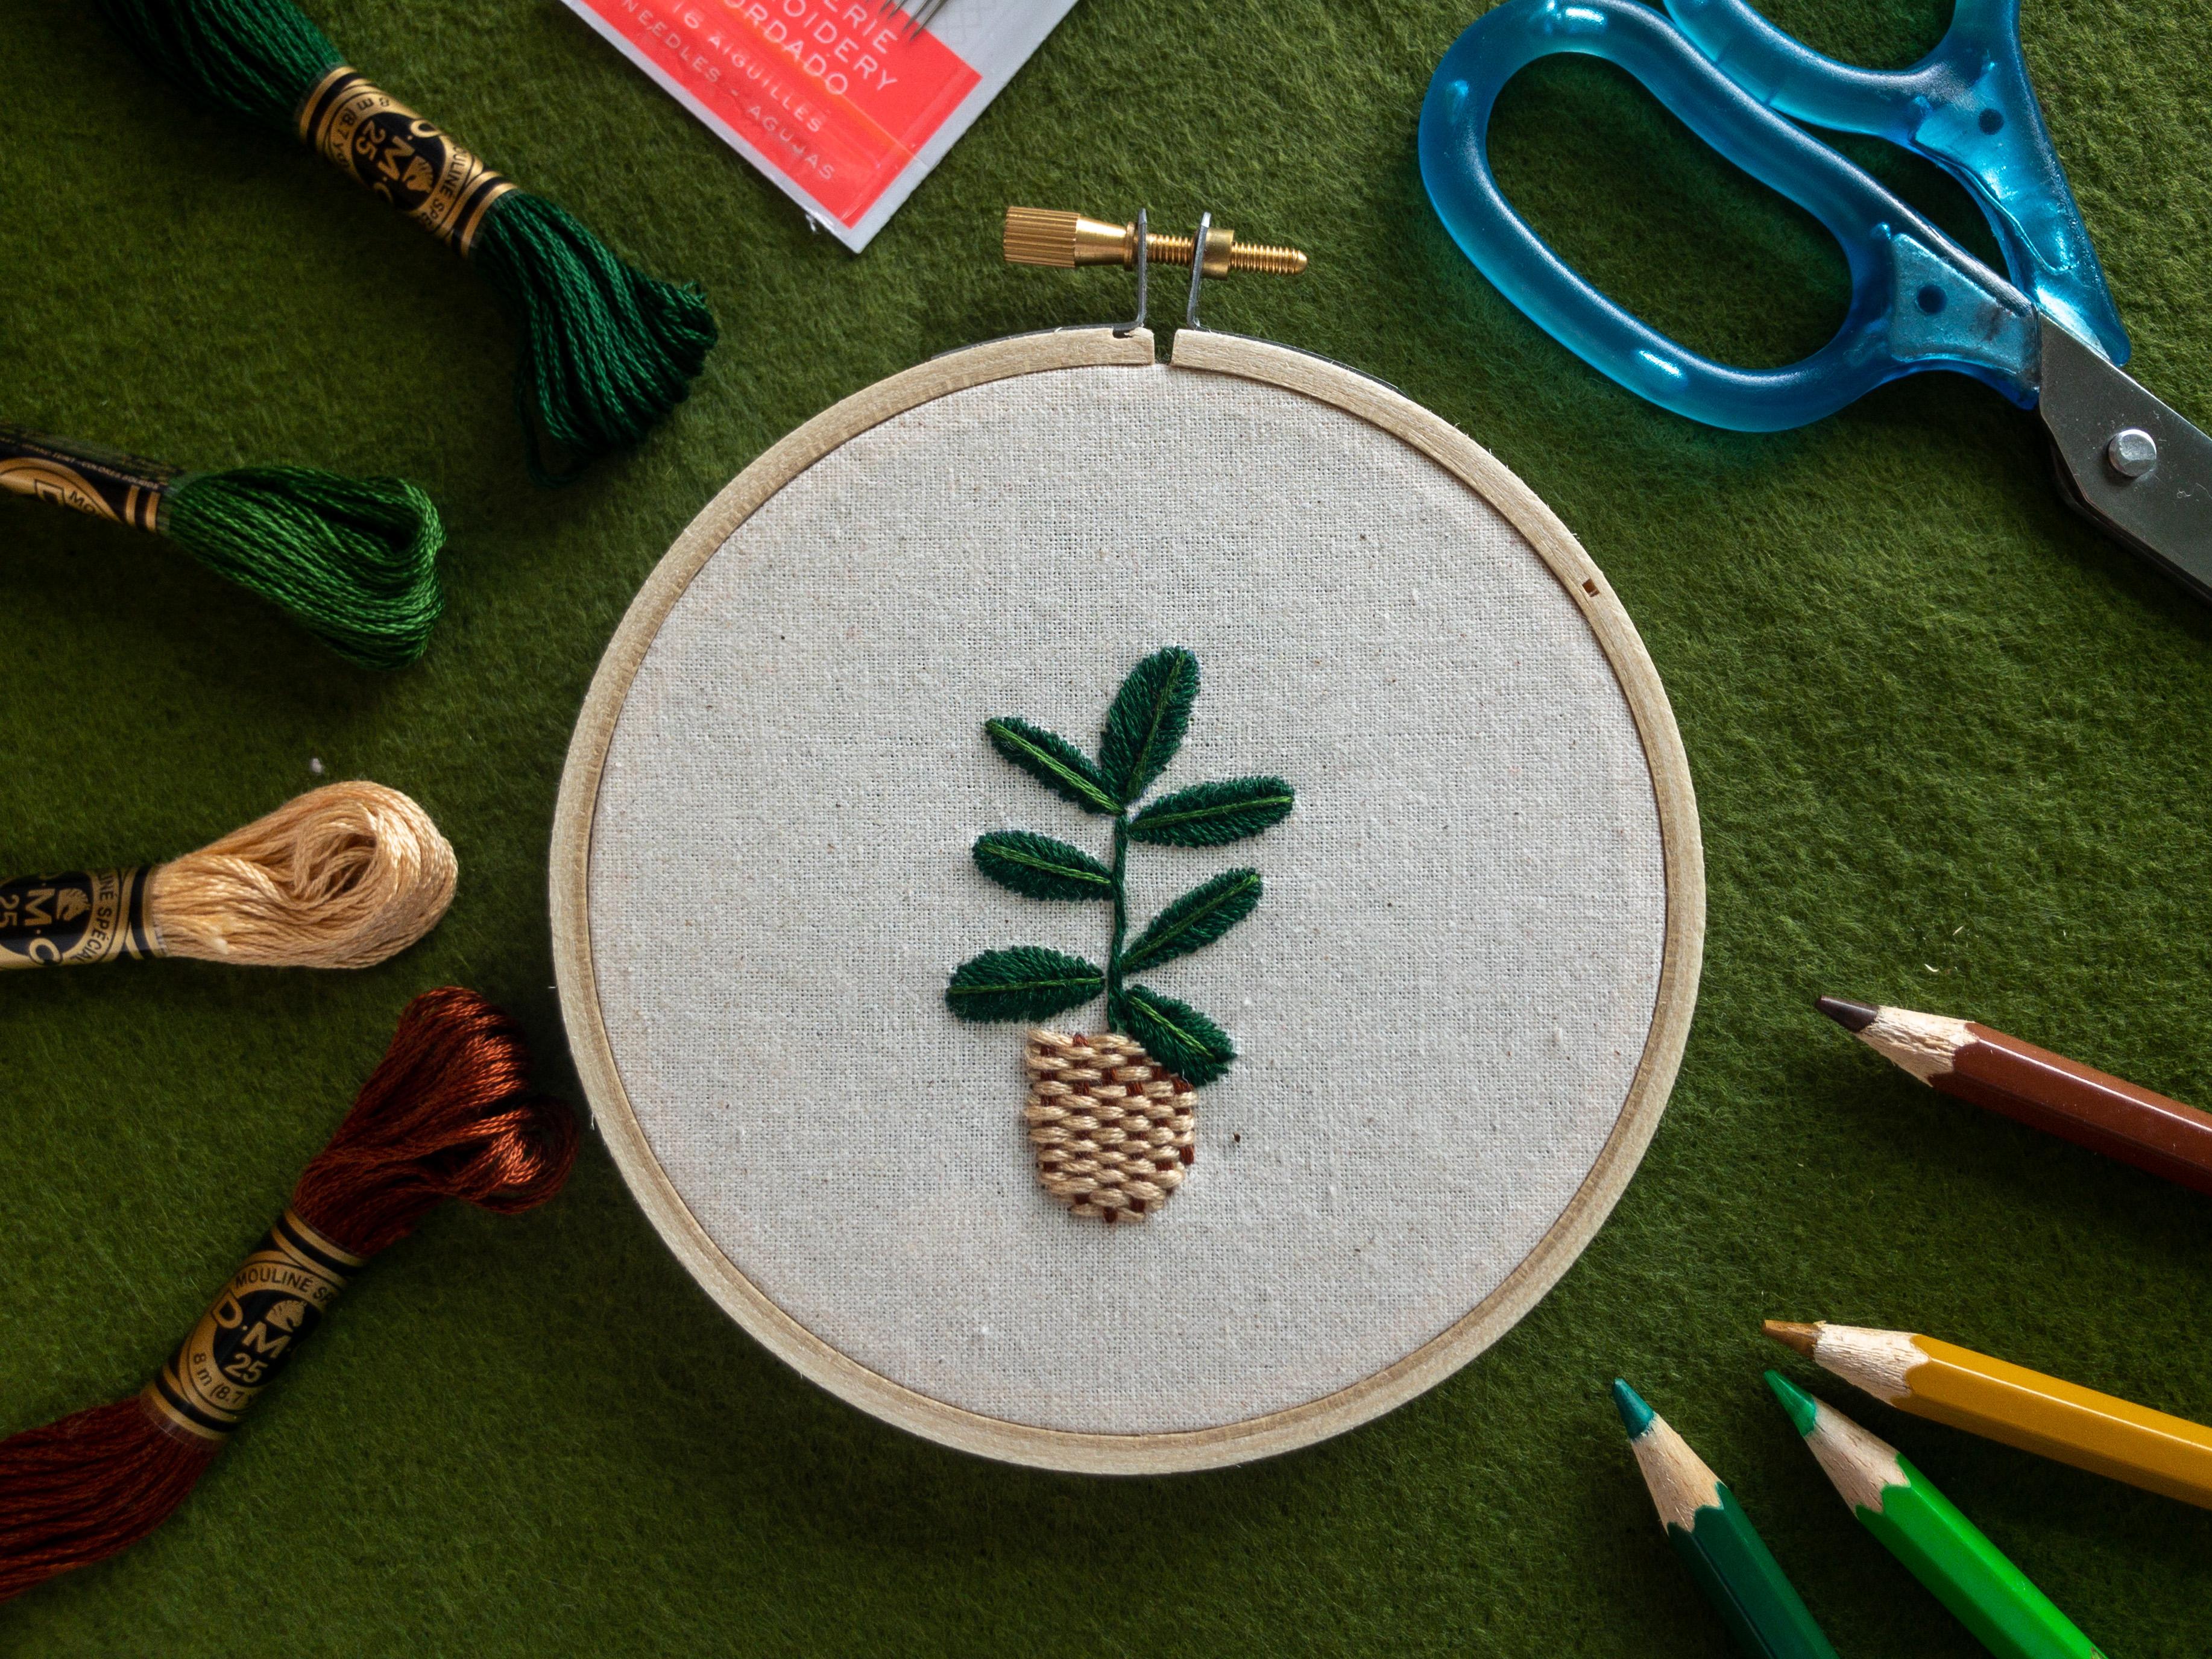
1. Intro to Woven Baskets and the Rubber Plant: Hi, I'm images from Australia and I'm the maker behind sold threats. Welcome to the first class in the in voided botanical Siri's by Tichy beginning friendly stitches to bring the outdoors indoors. In this class, you love technique to create a realistic looking word in Boston, then will illustrate a rubber plant using to begin in stitches to finish up. I'll show you a quick and easy way to finish the back of thanks for joining and let's get started.
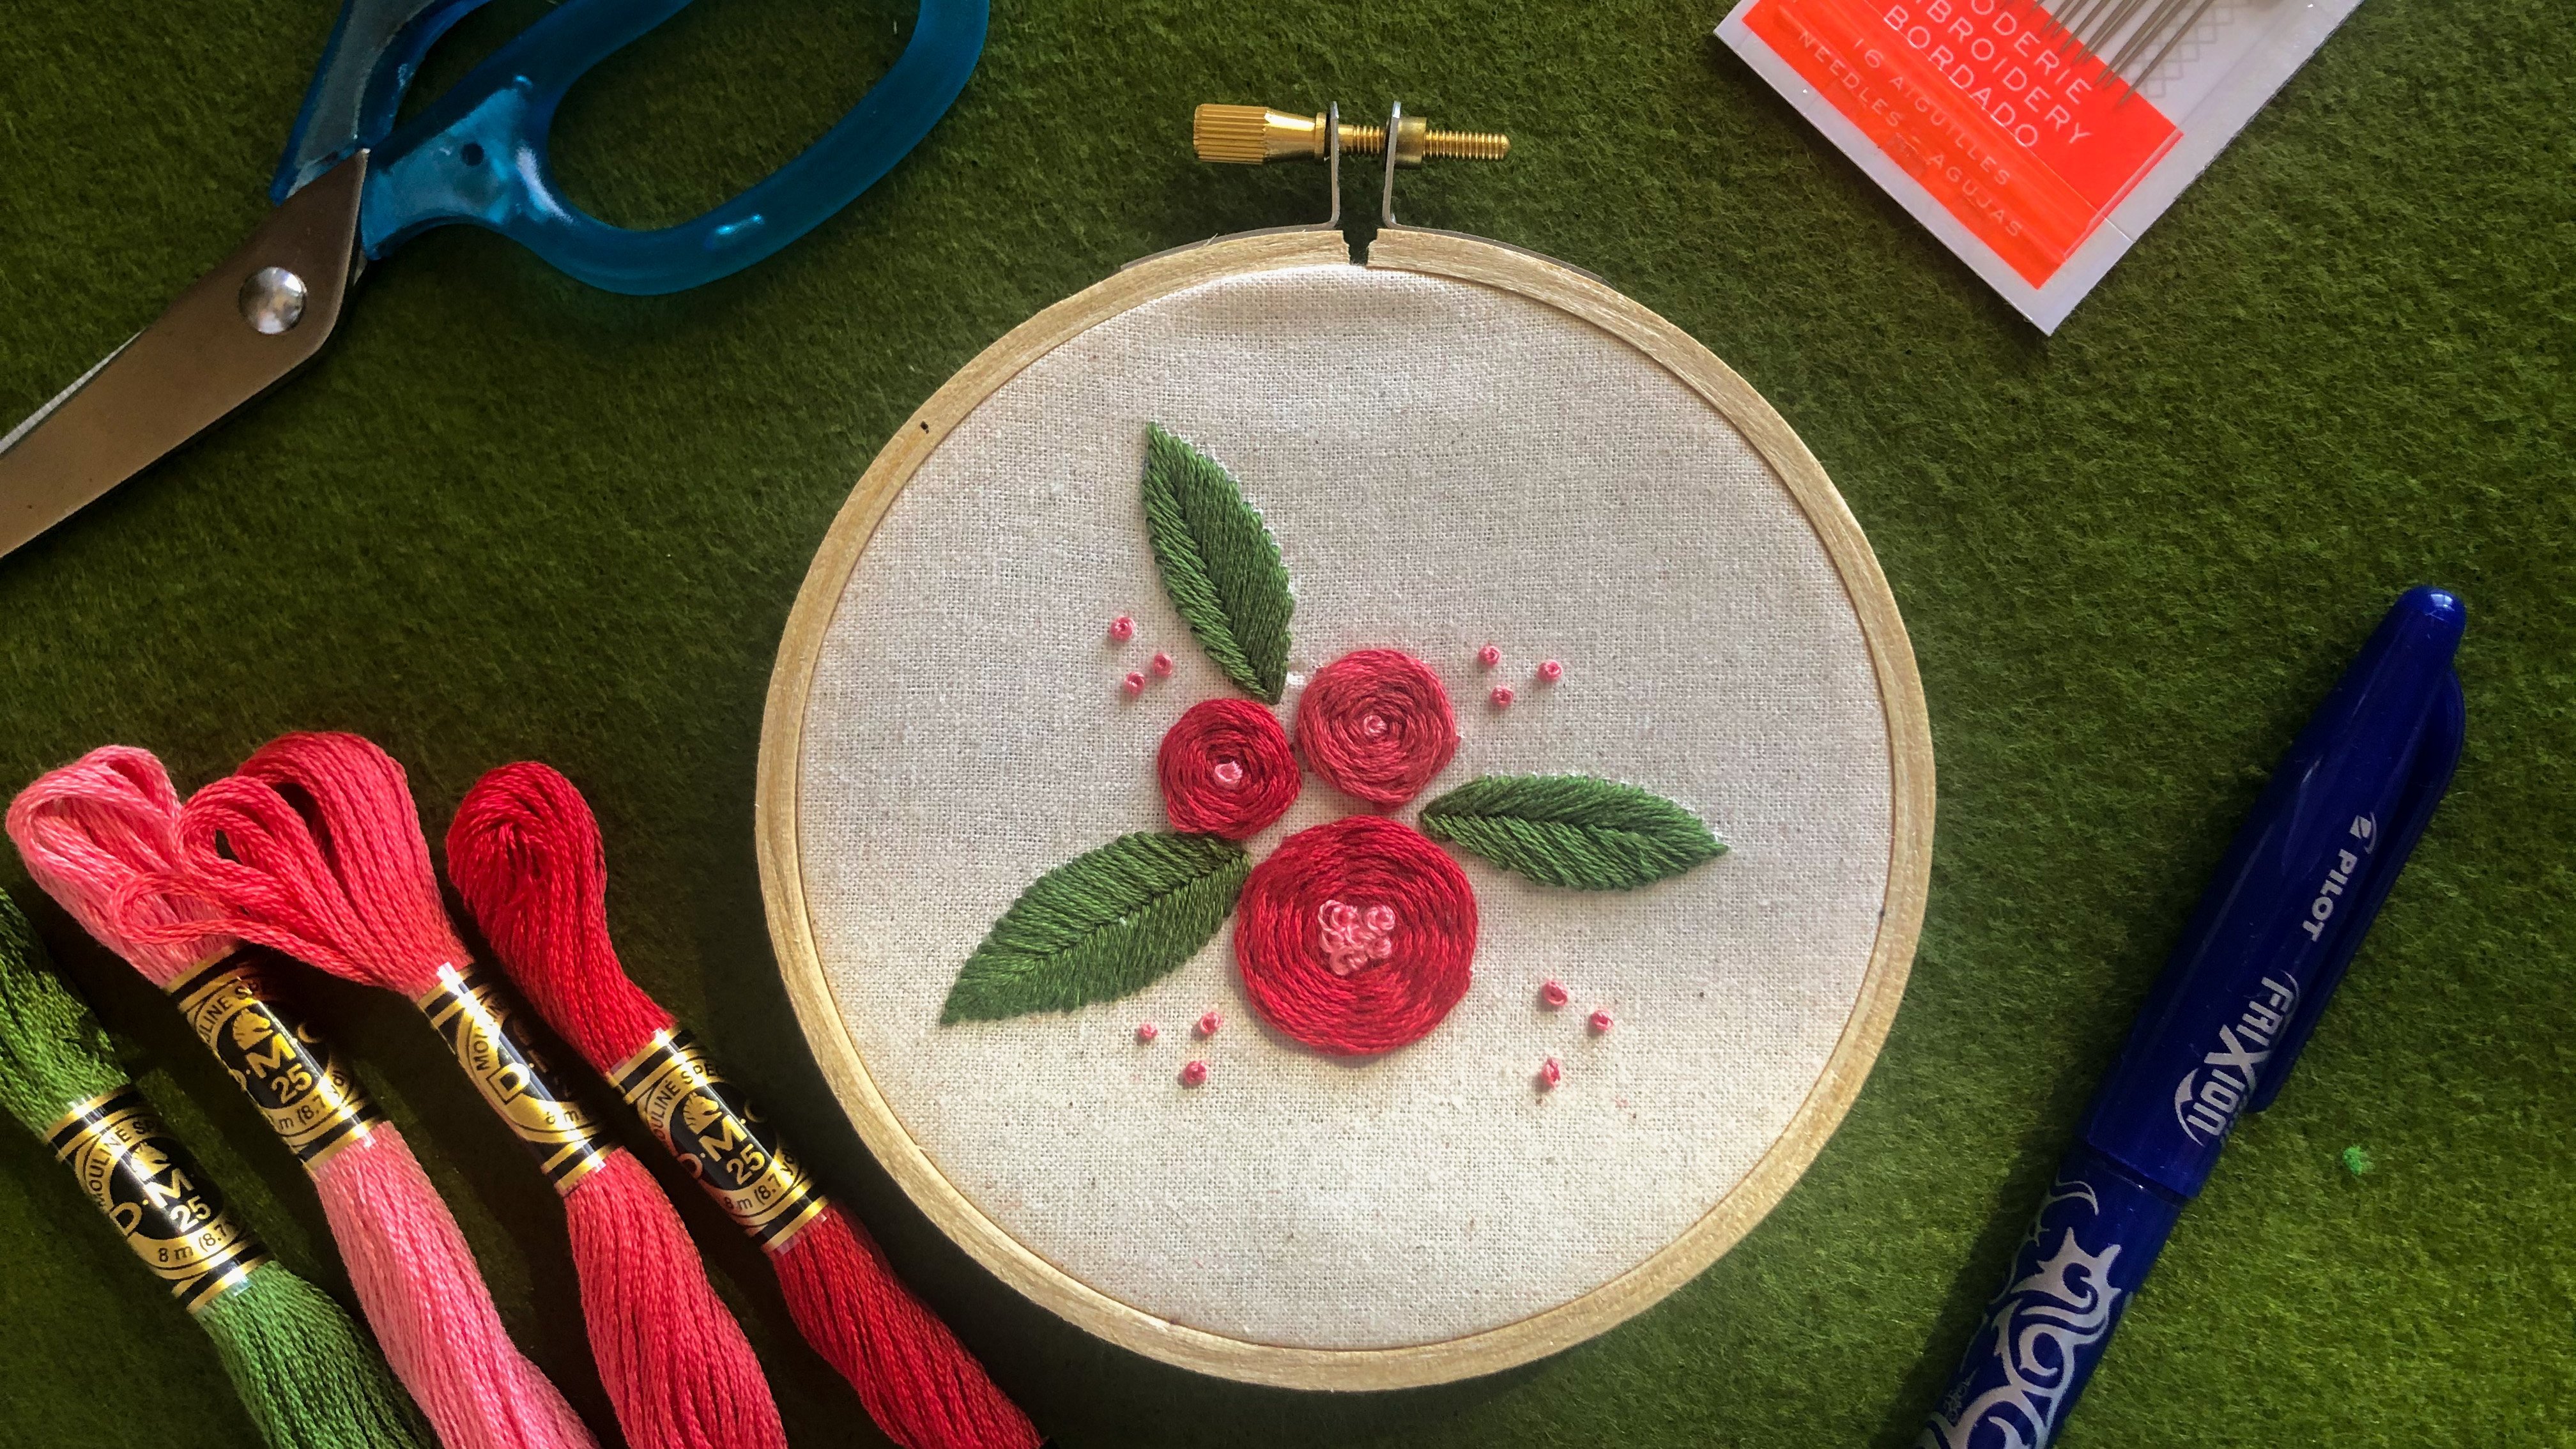
2. Project Overview: you need foreign troop. Hated, risible petting like the friction otherwise awarded people pen for the basket. I've used to shave, frowned on a lot of cream as well as two shades of a lot of green. And love will always need a trusted Francis's. You'll find the patent and the DNC house in the project. I've alone as always. I really recommend it. Stitch along Massacre. All right, let's get stitching.
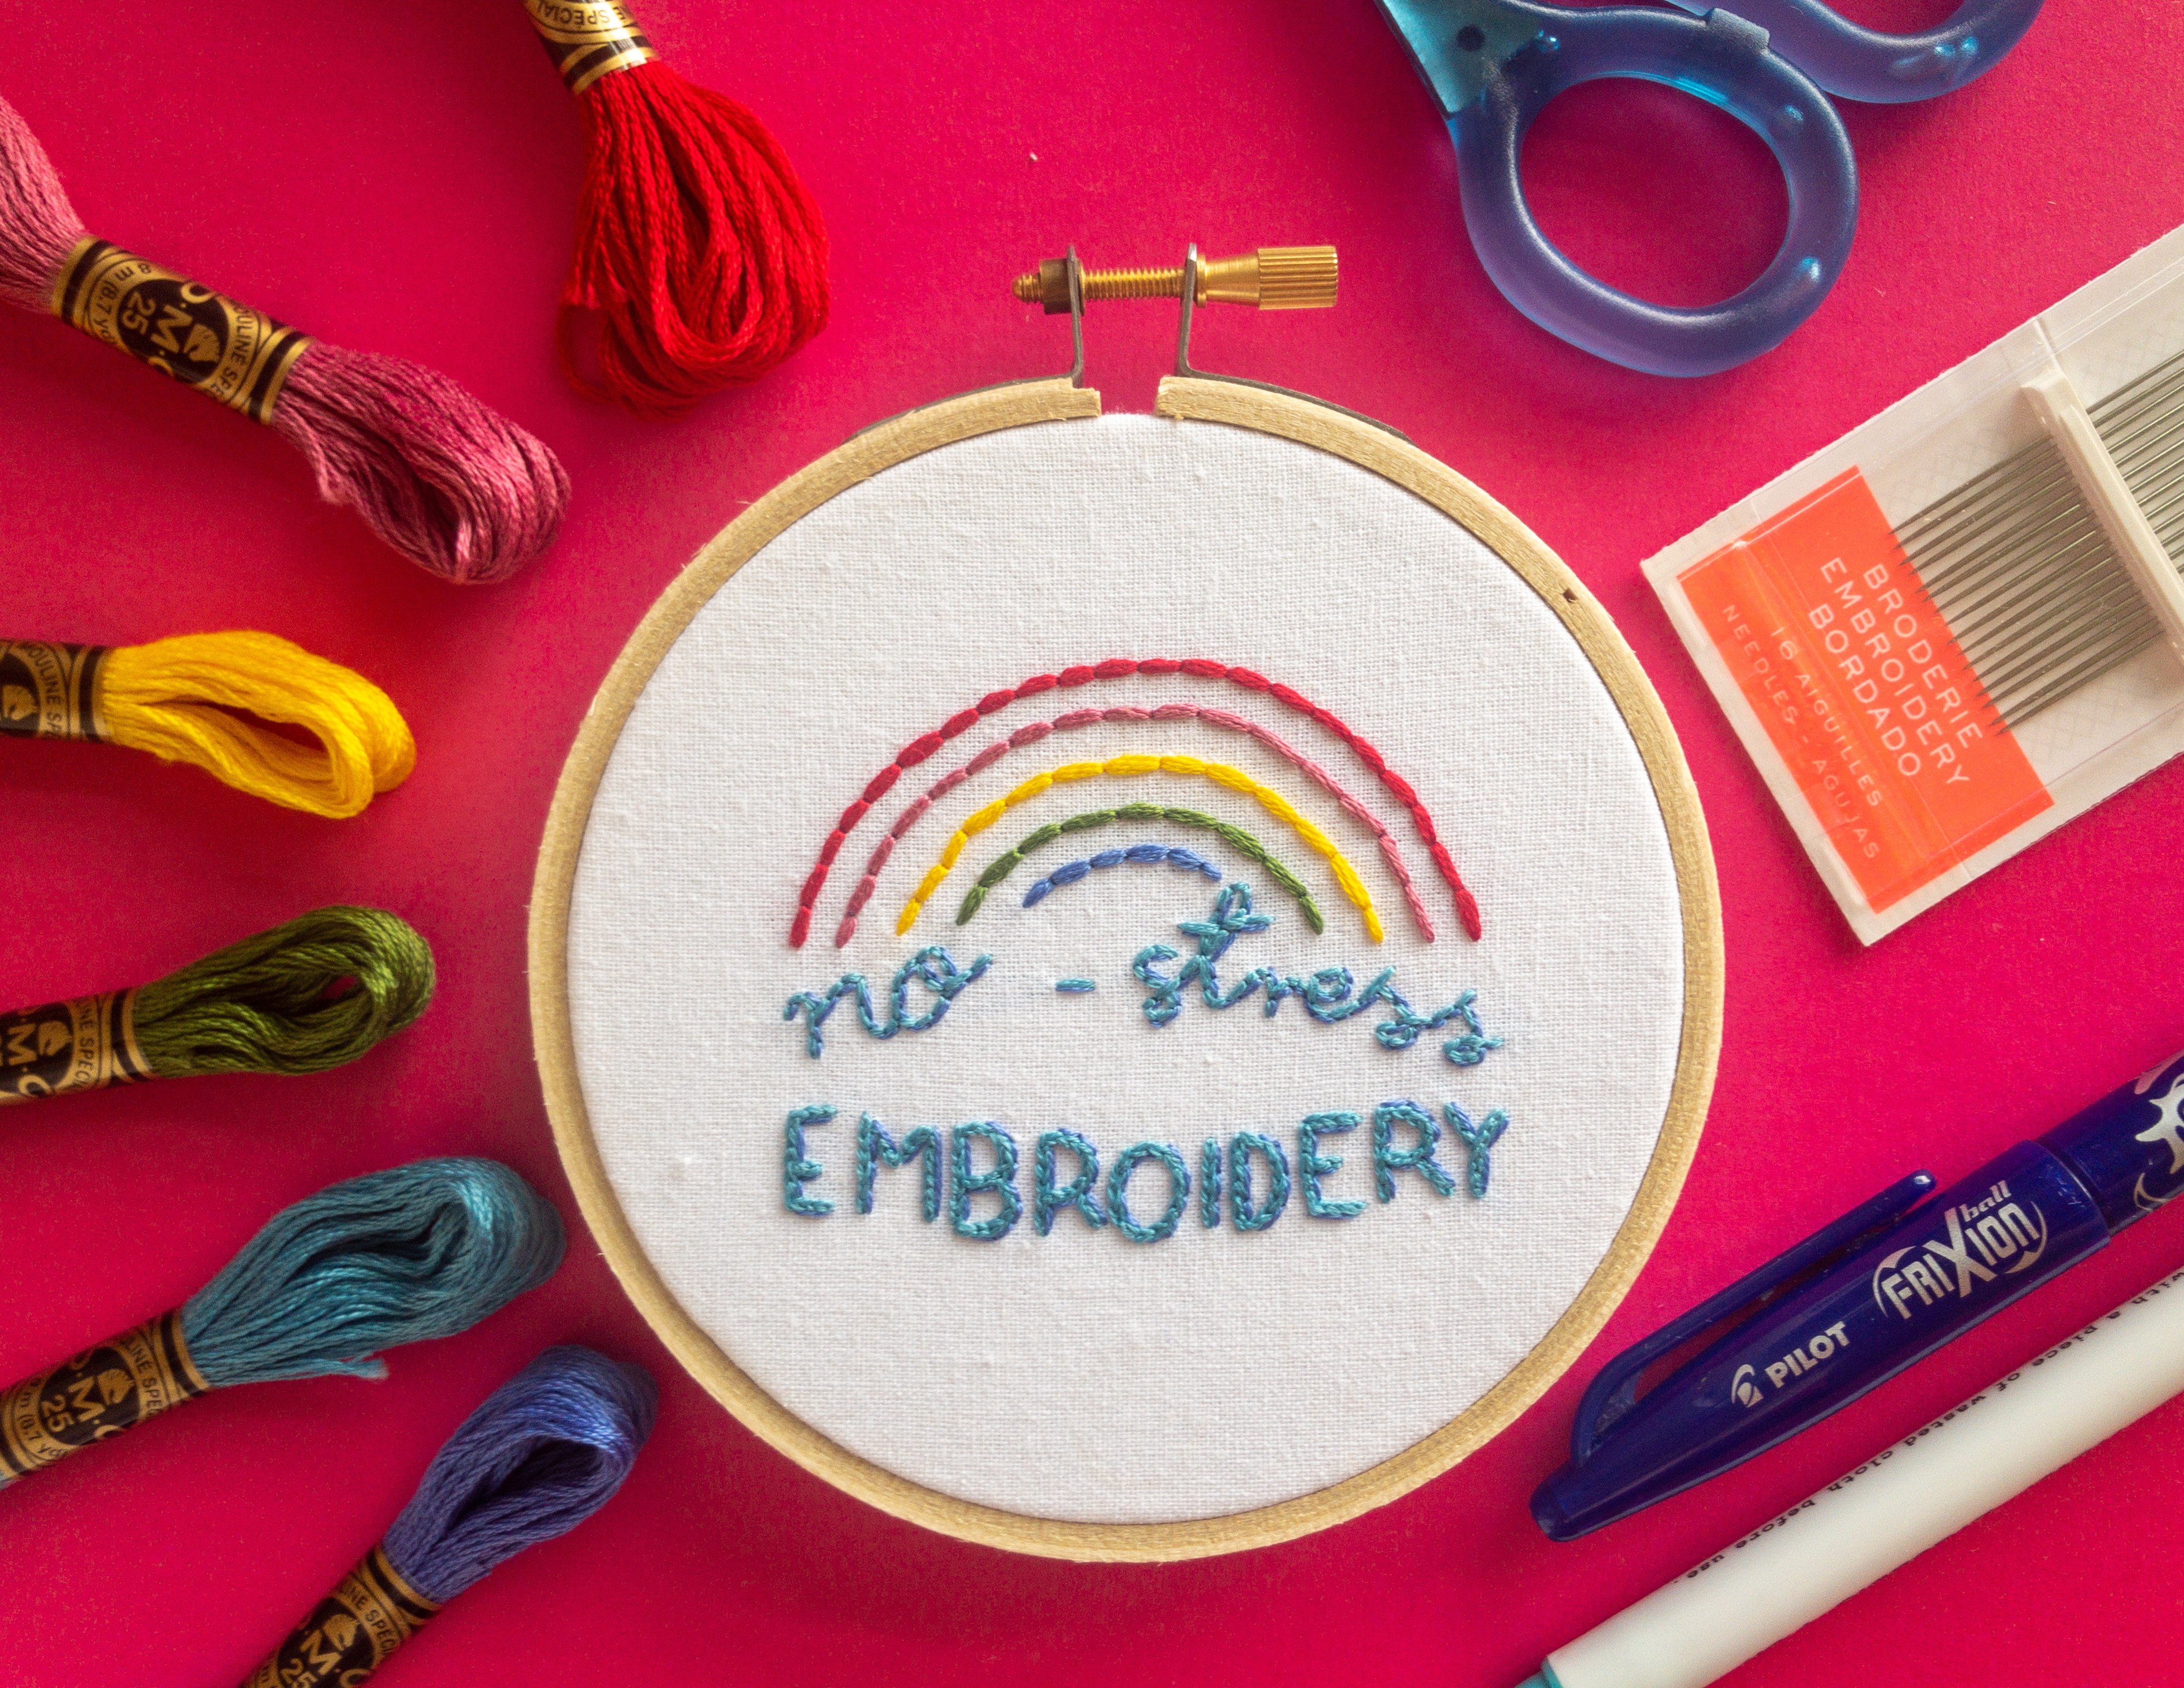
3. Basket Weave Stitch : before we get started on the basket. Waste it. Remember to transfer your patent, either by tracing it from your laptop or printing it out in tracing it that way. For more tips, you can check out my first class. No stress embroidery. So far, our basket. We're going to use all six trends, and we'll start by bringing up a needle at the very top. If it makes it easier. You can also draw these lines on beforehand, and you can hold it down with your thumb to kind of visualize where these lines are going to lie. For the next line, we're going to bring it up just a little bit next to that. First it try and keep them evenly spaced now for your last it try and get it to line up as much as you can with your first it. That's just going to make it a lot easier when we get to the waiving stage so you can use your needle to try and balance that out and picture where you should end. That lasted great, so now we're completely finished those first lines. So in this case with the Brown, were actually not going to, Not it. We're going to leave it free. And that's because when we we've we're obviously gonna pull those lines a lot. We're gonna pull the lines off the thread. So by leaving it free, we can make sure that we can constantly tighten it all the way through. And now for the fun part, Let's get started with waiting. So once again, I'm using all six strands off the cream thread, and we're basically just going to use an under and over waving technique. In this case, we're going to use the eye of the needle and not the point. If you're using the point, you probably going to snag your threats. I also find a lot easier to do the weaving down the bottom of the pot instead of up the top . So what you can do for every line, and obviously we're just gonna pop out needle down at the very edge so you can use the eye of the needle to all your fingers to push up the thread every times that it's sitting nice up to the top. But really, I wouldn't worry too much about getting it tight, because eventually you're going to add so much waving that it'll naturally pop up to the top. So that's how we're going to continue again. So we'll bring up her needle just a little bit below the first inch, and now we're going to do the opposite, will go under, then over and finishing the line. We'll bring the needle down again, and that's how we're going to continue all for the rest of the basket. No, Now we're going to finish off at threads in the same way that we always do. So we're making that loop to the left, going under one of the last threads and bringing it up through the middle off that loop.
4. Adding the Stem: Stem Stitch: to complete this. Them of the rubber plan will be using an old favorite stem stitch. We'll be using three strands of the darker green to fill this one in, and later on we'll be using three strands of your light agreement toe. Add in the veins of the leaves. So taking a pure needle with you three strands and remembering toe added, not at the end. We're going to bring the needle up at the base of the stem. After that, you can push your thread to the left and bring in needle down, making a small stitch ahead for the very first itch of stem stitch. We're going to bring that needle up as close as you can to that first, where you came up with the needle. After that, we're always gonna bring a needle up right in the middle of the stitch, which means it's the same hole as before, or as close as you can get it. So the most important thing with stem stitch is that you keep your thread toe one side so you can keep it to the left, or you can keep it to the right. But the main thing is to pick that one side. And now that we've made it to the end of the room for that very last ditch of stem stitch, we're going to put the needle back in the same poll to finish off the line and then we're going to finish it off. Justus Normal. So we're making a look to the left, bringing a needle up under one of the last stitches and pulling the thread up through the middle off that.
5. Filling the leaves: Satin Stitch: All right, let's jump straight in with our satin stitch. So we're going to be using three strands and will full of the diagonal lines of the leaves that's already mocked at in the button. So I'm bringing my needle up at the top there, sort of 3/4 of the way up, and I'll bring it down on the center bang right in the middle. There. Next, you can bring up your needle just to the right of that. But you could also bring it to the left. The great thing about Satin Stitch is that you have a lot of freedom in your methods, as in the end, it's all gonna look the same. So that's how we're going to continue. Just bringing it up on the edge and bringing it down in the center of the league. - Stitching over the basket isn't as difficult as you might imagine. We'll just do a couple of things a bit differently, so festival we're going to bring a needle up from where the basket into sex, the middle vein, and then we're going to bring out needle down just on the edge of the basket, And that means you're gonna have a nice diagonal line to follow. The main difference here is instead of coming up with their needles on the edge, we're going to come up without needles on the center vein and bring them down into the basket. If we were bringing out needles up from the bottom of the basket, there's a chance we could get our threads tangled this way. We've got a lot more control of where we put on the Eagles down over the basket. The main thing here is just to take it time, take it slowly and be quite gentle when you're pulling those threads through.
6. Adding Veins: Straight Stitch: great. So now that we've finished all the leaves, we can go ahead and finish the last step. So we're gonna use the lighter green and take up three strands of that toe. Add in the veins. Now, there's no special rule for this. We're just doing a straight stitch. But just for a bit of logic, I'm going to start from the top of the leaves and bring the needle down to the bottom. If you want to see where the vein is going to lie, you can also hold it down with your left thumb. And that will give you an idea of what it will look like. Basically, from that you can continue to fill in older veins on all the other leave.
7. Drawstring Backing : now that we've finished something in the veins were ready for the last it, and that's adding the drawstring backing. So first things first, we're going to cut off the excess fabric, leaving about one centimeter or 1 to 1 to two inches around the edge of the project. After that, you need a long piece of thread using three strands, and it doesn't really matter which color you decide to use off. Use the green that we've been using in the project, and now we're going to so all the way around the hoop with a running stitch that's just coming up and down into the fabric. - Perfect . So now they're at the end. What you need to do is to pull that type, and that's gonna pull all that fabric nicely in. And then we're gonna finish off Justus. We always do with our normal embroidery threads, so we're going to make a loop to the left. But instead of just putting it, understand thread, we're also going to pierce the fabric when we come through the middle off that loop. So we've got live to the left and my coming up in the middle, but also taking up a little bit of that fabric, I'd recommend doing it twice as well. The great thing about a drawstring backing is that it's all ready to go to give us a gift would hang up on your wall. But if you'd like to put it in a different frame later on, it's really easy to undo that and to frame it in a new coupe. And there we go. We're all finished without rubber plant and the weapon basket.
8. Thanks and See You Next Time!: Congratulations on finishing your piece. I'd love to see your project. So remember to upload a picture of yours into the project gallery and leave a review of the class when you're done. Thanks so much for watching. And I'll see for the next class in the embroidered Botanical sees.
 Imogen White, Stress less, Embroider more