Transcripts
1. Intro to Flying High with French Knots: Hi, I'm imaging from South threads and welcome to flying high with French knots. French knots can be one of the most difficult embroidery stitches to pick up. And I, myself avoided them for years and years before I learned to love them. So in this class we'll be going through five different ways to make your French knots a lot easier. All of the materials that you'll need to make those French knots go a bit quicker. And at the end, we'll be making up this really cute project of the balloon house so you can practice all of your new found skills. At the end, we'll also go through how to add a drawstring backing to the back of your embroidery piece. It's ready to hang up or giveaway at the end of this class is recommended for people who already have some embroidery knowledge. Now if you're completely new to embroidery, I'd recommend that you check out my first class, no stress embroidery to get a handle on the basics before you jump into French knots. I'm so excited to see all of you tackle your fears on French knots, so there's no time delay. Let's get straight into it.
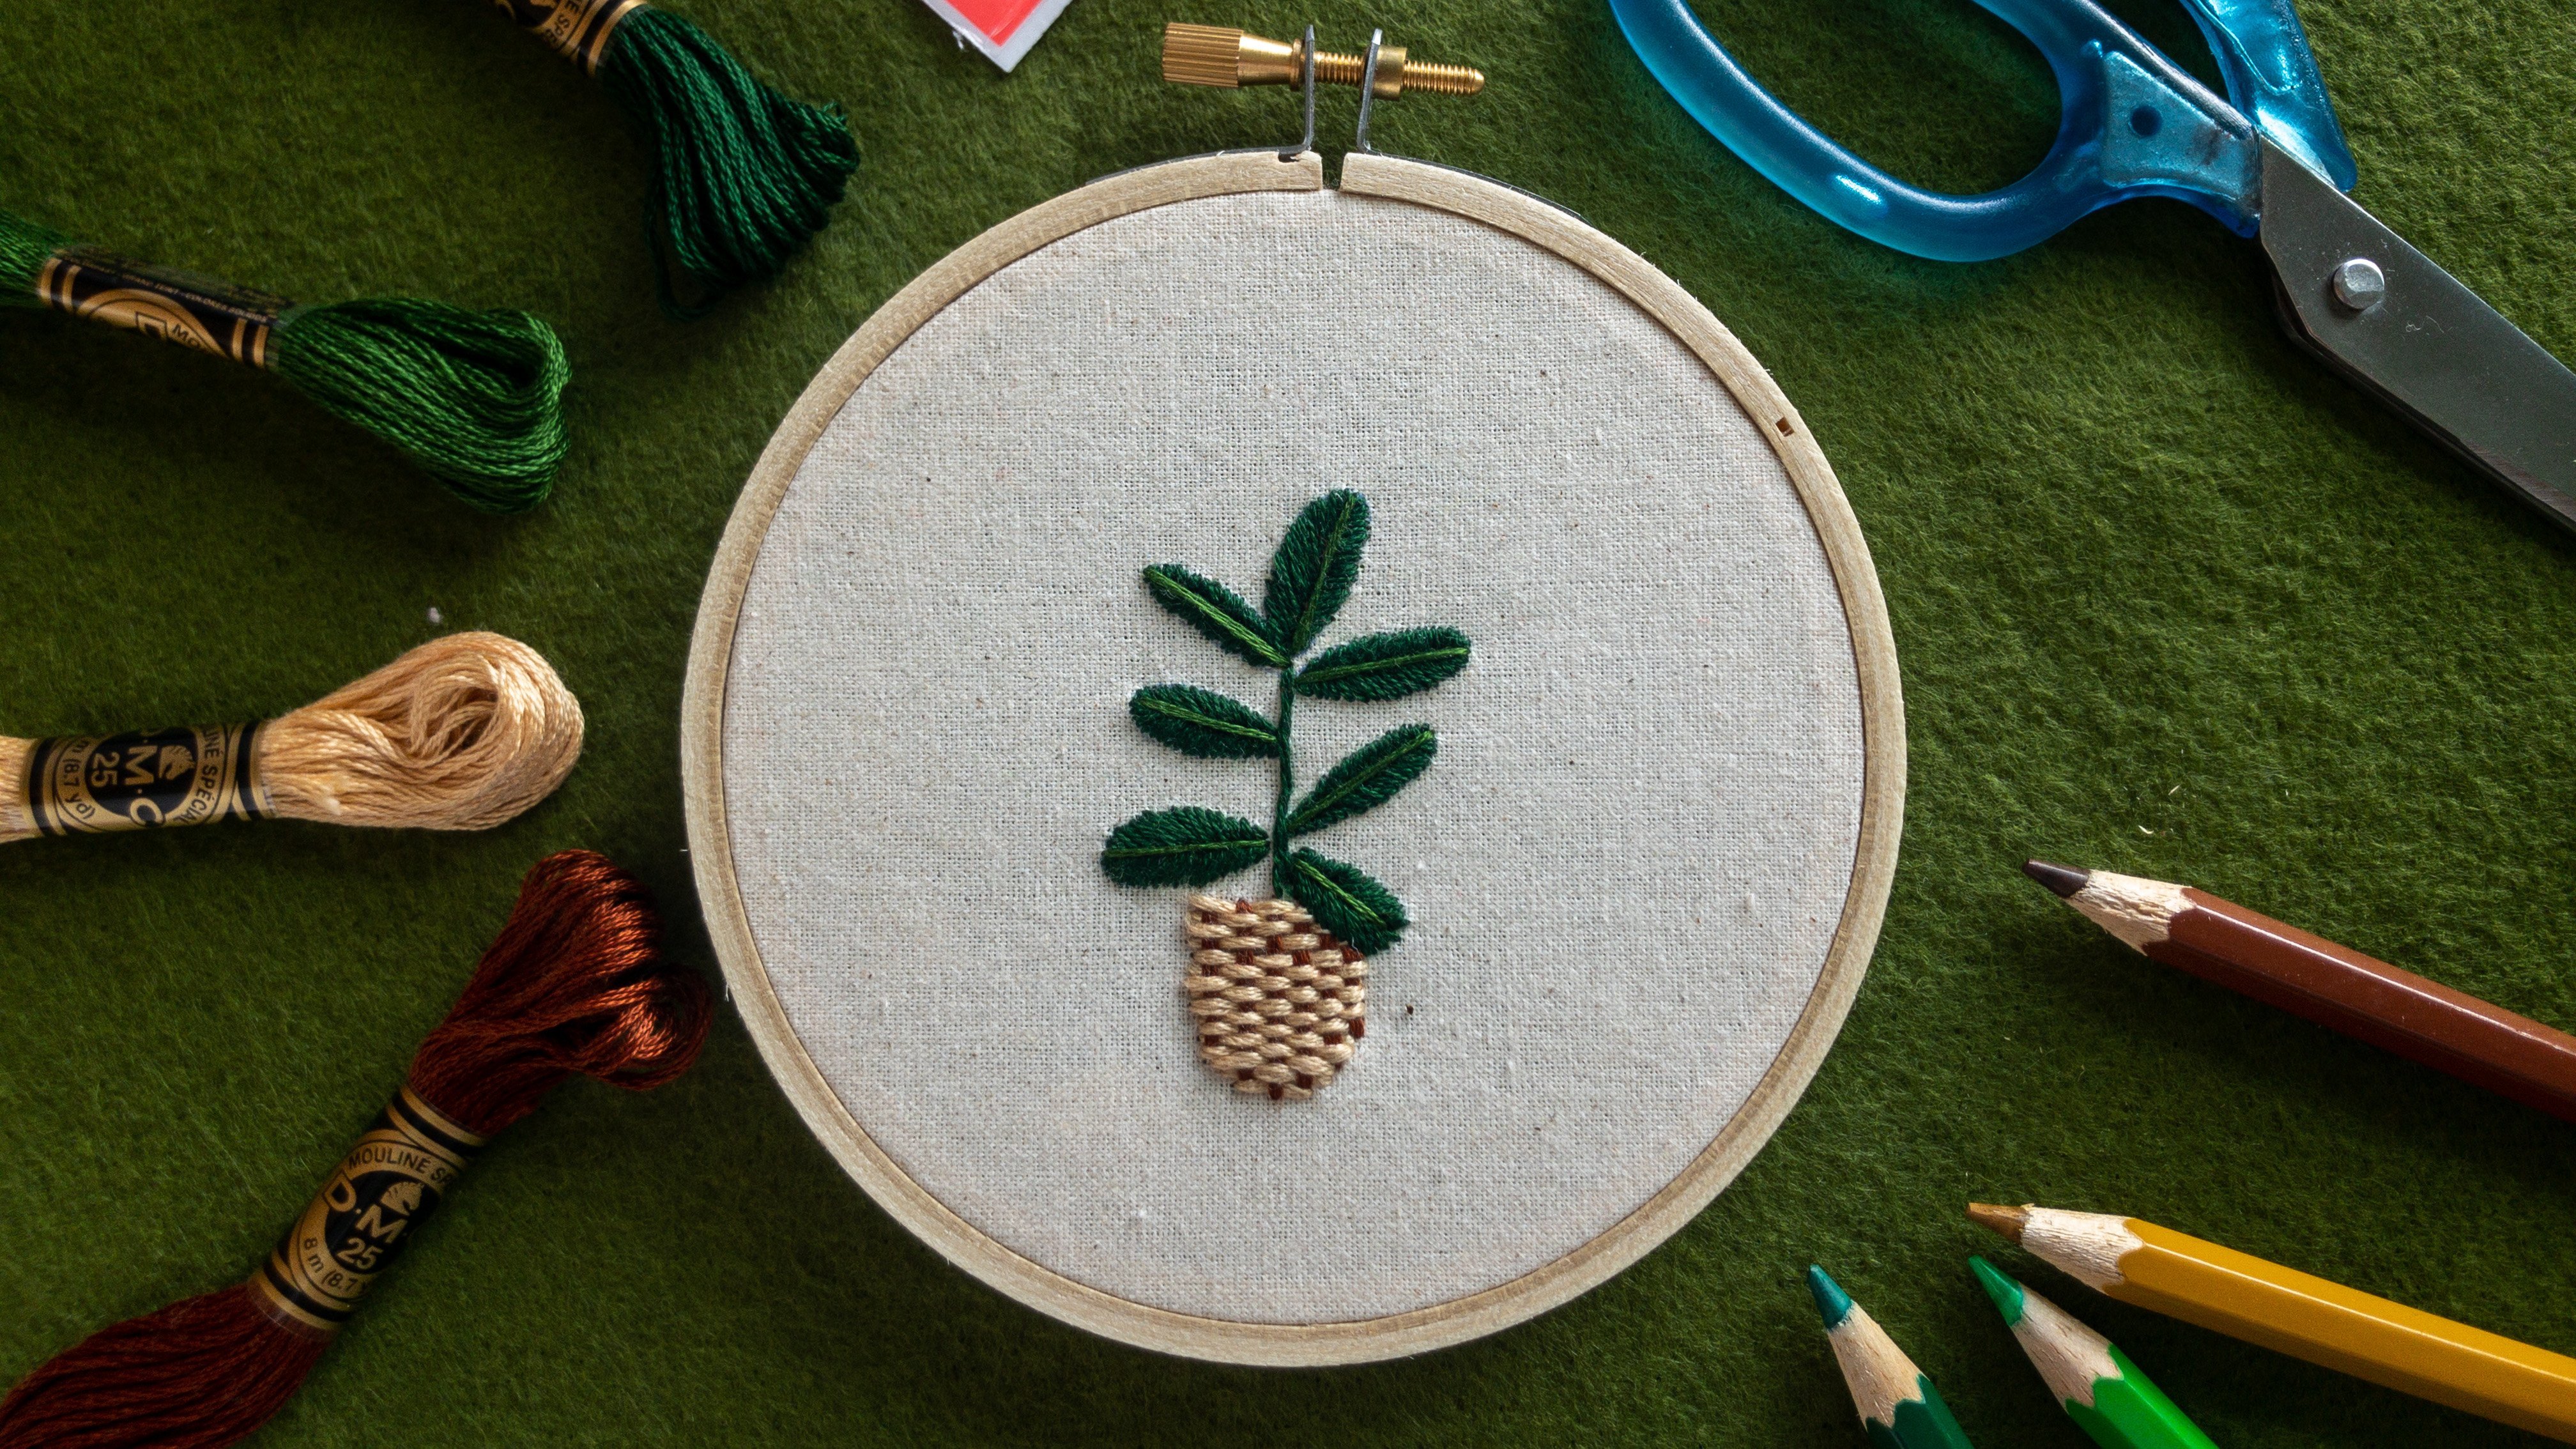
2. Materials Overview: To complete the project for this class, you'll need a couple of different things. So of course you need your rainbow thread. And we'll also be using a size one embroidery needle, which is the largest size embroidery needle. If you're struggling to find it, you can also use accrual needle, but I definitely don't recommend using tapestry needles because you'll need a very sharp needle. So we'll be using a six inch hoop. You can use a wooden or bamboo hoop or even a flexi hoop if you like. We'll be using a friction heat erasable pen to transfer a pattern. And we'll also be using linen. So in most of my projects I say you can use calico or cotton or whatever you'd like. But for this project, I highly recommend investing in some linen. And that's because it's got a wide wave and it's going to make it a lot easier to be bringing that needle through both the fabric, end, all the layers of thread that we'll be working with. All right, Now we're ready to get started.
3. Visualising the Stitches: So the first thing we're gonna do before we get started on the project is to visualize what we're gonna do with the balloons. So here I've got all the colors that we're going to be stitching with. So we can see we've got the warmer colors on the left, the cooler colors on the right. The pink is also going to be pretty much a warm color. And then we'll have our green, which is in the middle, and it's a kind of a neutral color. So what we'll be doing is starting out with one of our warm colors like red and then evenly spacing out the balloons within our large balloon. After that, we will alternate between warm and cool colors to fill up the balloon. And then in the middle we'll grab the green and fill it in with the neutral. So you can see what we'll be doing is with our thread starting out like this and just kind of evenly spacing those balloons out. So I do adjust intuitively, but if it would help you, you can also get your heat erasable pen and draw out the dots yourself. So you can see this half we've finished and that would be about one thread lengths worth. So what we'll do as well in the project is just go ahead and finish the other side as well. So we can have a balanced picture of how the red colored balloons are going to be spread out. So what we'll do next is grab for example, our dark blue thread. And we'll do the same process again, will be stitching the polka dots or the balloons and evenly spacing them out. So that's how it will be stitching the whole way along. And like I said, if it does help you, you can grab your pen and plan out all the dots, Reagan a set them if that would help you in advance. So now that we've finished our blue, I'll grab the yellow and I'll show you where we'll go from there. Now in my opinion, you can never have too much yellow. So you'll see in our project that yellow is the first color I reach for. When we go for the second round of colors, it just seems to pop and bring out all of the other colors. So there we go. We've got half of the balloon done. And then the same process again, we're still evenly spacing out yellow balloons. So it's not a quick project by any means stitching this balloon house, but it is such a wonderful result in a now you guys are really going to enjoy the project and enjoy the practice fully French knots.
4. Making French Knots: And now we're ready to get started with our French knots. So there are two main ways that you can vary how you make your French knots. And that's by using different strands of thread or different amounts of wraps around the needle. So we're gonna go through two different ways of that today. And the first way we're going to do is with three strands of thread and a size 5 needle. So basically with your French knot, what you're doing is bringing the needle up through the fabric and holding the thread over to the left and maintaining the tension with your left hand. Then we're wrapping the thread around the needle twice and putting the needle back down just next to where you came up and pulling it through. So there you go. That's your first French knot. Let's go through the process one more time. So we're pulling our needle up and we're holding it over to the left. Then we're wrapping that thread around the needle twice and putting it back down into the fabric just next to where we came up. So as you can see, you're still maintaining control with your left hand to that you can make some really nice tight knots. So now let's have a look at what it looks like when we're doing more reps. So as you can see, I'm holding it in my left hand and I'm doing three wraps this time and bringing it down just next to where we came up. So every time you add another wrap, your adding a little bit of extra volume to your NADH. So this time let's have a look at for rubs. Perfect, and bringing that down. So sometimes with the more raps that you do, the more difficult it is to bring that needle down. So sometimes you're better off simply using more strands of thread rather than doing more raps for your French knots. So this one is with five wraps and it was a little bit difficult to bring that needle back down. But as you can see, it has given us a lot of volume in our French knot. So that's all the different ways, starting with two raps and going all the way up to five. Now, with French knots, you definitely need to start with a not to keep it anchored into the fabric. But at the end, all you'll have to do is snippet away because there's no way that those are coming out of the February. So this time we're going to have a go with all six strands and a size one needle, which is the largest size of embroidery needle. So as you can see for comparison, got the size five next to it as one. So the size one is a lot larger and it does make it a lot easier to be bringing all those six strands up through the fabric. So we're doing the not in the exact same way. So we're bringing it up and we're holding it over to the left and wrapping it twice around the needle. So however many strands are used, I almost always do just to wraps of the thread and that's my preferred way to make French knots. But as you can see, there's a lot of versatility in how you can make French nuns. So feel free to practice and experiment to find the way that suits you best. Yeah, French knots, one of the trickier embroidery stitches. So it will take a bit of practice, but think about, and you'll get that in the end.
5. 5 Tips for Easier French Knots: French knots can be a pretty difficult embroidery stitches. So here are five tips for easier French knots. Number one, use a fresh needle. Sometimes we get so used to using our favorite needles that we don't realize that the coding of the needle is slowly wearing away. When you're using a fresh needle, it'll be easier to stitch your French knots. Number to keep the fabric extra time. If you think it's tight enough, tight-knit again, because that's only going to help to make it easier to stitch your French knots. You'll also need to have support for your hoop. You've got a couple of different options. You could rest against your chest or stomach or lean it against the table or desk where you're working for a bit of extra support. And so you've got both hands free to make the French nodes. In terms of fabric, you're better off using a wider we fabric like linen. A larger width means there's more space for the thread and a needle for easier notes. And last of all, the most important thing for better French knots is to really maintain the tension with your left hand when you're stitching those French knots. That's only going to help for easier French knots.
6. Stitching the Balloons: Now that we've sketched out the stitches, we're ready to start stitching our actual project. So the first thing we wanna do is take apart the hoop and get that framed really nicely in the hoop ready to stitch. So we've taken off the inner, put that under. The pattern is sitting in the middle. And now what I'd like to do is tighten the hoop a little bit and pull and then keep repeating that process. So pulling a little bit, tightening and pulling, just making sure that we don't walk with the pattern too much and that it's sitting nicely in the middle. So for this project, we're going to be stitching our French knots with all six strands of thread and with two reps. So what we wanna do to start out is tie a nice big knot in the end. And then we're just going to start like we did when we sketched it out, stitching French knots and evenly spacing them across the whole balloon. So we'll start with red and then we'll do that with each color. So now that I've stitch that one at the bottom, then you can jump over Institute another red one on the outline. So these French notes, or about a centimeter apart. And then I'm going to stitch the next one in-between those two fringe nodes. So this is pretty much how I normally stitch out the French knots. Just intuitively spacing them between each other in a polka dot pattern. In there we are with our first round of red fringe nodes. So you can see here you can just feel your way along and just evenly space them out. Now, normally in embroidery, we would always tie a knot at the end. But for this particular project, and in general, when you're working with French knots, you actually don't need to tie a knot at the end. There are already so many knots in the fabric that there is no chance of that thread is getting at. And especially in the case of this project, it's going to add a lot of extra bulk. So you'd have to be stabbing through all those knots that you'd left at the back. So that's why for this project, you definitely don't want to tie a knot at the end, just snip it off. But you do still need to tie a knot at the very beginning just to anchor that down. So now we're taking them blue as a contrasting color. And we'll pretty much follow the same process. So feel free to stitch the knots directly next to another French known as eventually we'll be filling up the whole balloon. So you could also do the same process and stitch the knots directly next to the ones that you've already stitched. But here, I do pretty much the same process, just intuitively putting the French knots in the balloon. And there we go. Also finished another round of blue. So you can start to see how the project will look as you go through each layer. And that's what the back will look like as you're going through with all your French knot. So here's something I prepared earlier. Now this is actually only one layer of all the colors. I've used nine colors in my project. So you can see that even only having done one round, you're actually almost finished. After that, I generally start with a yellow because that's going to pop all of the other colors. Then you can alternate between warm and cool colors to finish off your project as we see here. So this one is all done and we're ready to stitch the house.
7. Stitching the House with Straight Stitch: All right. So we're understatement house and for this we're going to be using just one strand of thread. And this provides a really great contrast against all the volume of all interested. So since we asked it in with one thread and we're using a linen which does have a wider wave. You're going to need to type quite a few knots in the end of that strand, probably go for at least five or six before you get started. So for the house you could actually use a couple of different stitches. But here I'm using a size 5 neat onto stitch in straight stitch. And this gives us some really nice long and clean lines. So all I'm doing here is making one stitch for the left side of the house. And then I'm continuing on and going over to the bottom of the house to make the next edge. So what you wanna do with these, obviously, since the thread is quite thin, is be making sure that you're stitching in all different directions to keep the tension in that thread. If you prefer, you could also use split stitch or back stitch to stitch the house. But I really do love the result when we're using straight stitch. So you can watch along and see how I've stitched the house. Fantastic. So now that you've finished stitching the house, we're going to stitch the strings of the balloons. So once again, there's no really hard and fast rules here. But once again, I'm using that one strand thread and we're making our straight stitches. You can also establish through the balloons if you prefer, but otherwise make sure you're just coming in really close to the edge of the balloon so that we can't see the beginning of the end of the thread. You can also add as many strings. And finished.
8. Adding a Drawstring Backing: Now that we've finished stitching our projected sign to add a drawstring bag. Now, this time I normally leave it open, but this time we might add a double backing with a piece of Calico. So what you'll need is your size five needle and a length of thread in any color doesn't really matter what color is because we weren't see it from the front. So only doing here is just first of all, grabbing uses as in snipping off any extra through it before we get started. And we're going to cover our peace with the Calico. So this is a great idea because it's just going to give a bit of support to the cream fabric. And it means it won't be as see-through as perform. It also makes it sit a lot tighter in the hoop. So this is one option you can do. Otherwise, you could just do it to the linen. You don't necessarily need the Calico as the backing as well. So now that we've got that centered, we're going to pop the hood back on and make sure it's sitting nice and tight within the hoop. If you need to iron your piece or remove any marks, make sure you do that before this step. So generally when I'm tightening my fabric in the hoop, what I'll do is tighten the hoop a little bit and pull and then keep repeating that. So I'll just keep repeating that process until I'm happy with how it's sitting in the hoop. Great. So now we're ready to cut around the edge to grab a pair of scissors. And we're cutting around the edge, leaving about two centimeters or one inch around the edge. Great. So we're doing one last final check just to make sure it's nice and tight. And then what we're going to be doing is stitching a running stitch all around the edge. And at the end we'll pull it tight just like you would with a drawstring to gather or the fabric in. So starting from the center and bringing the needle out. And then we're stitching a simple running stitch with both layers of the fabric, so it just in and out along the fabric. Great. So now that we've got that also in together, you might like to also push the fabric down a little bit if it's sticking up a lot. And then we're ready to finish off the thread. So we're doing it pretty much the same way as we always do. So holding an app to the left, this time, we're taking up some of the fabric as well. But my coming up in the middle of that loop. So just stepping through both layers of the fabric and bringing our needle up through the middle of the loop and pulling it tight. So we'll do that twice that one more time. Look to the left, through the fabric and up through the middle of that loop. So a drawstring backing is just a really quick and easy way to finish off your piece so it's ready to hang up or give away as a present. And there we go. We're all finished.
9. Project Overview: Project for this class is to make your very own hot air balloon hoop. Thanks so much for following along with the class. Now if you've enjoyed the class today, please do leave a review and leave me any feedback, but you'd like to pass on. If you need help with anything in the class, please feel free to leave a question in the discussion. Well, that's it for this class. I'll see you for the next one.
 Imogen White, Stress less, Embroider more