Transcripts
1. Intro to Felt Patches : Hi, I'm imaging fuselage reds and welcome to this class. I'm making some patches using just one beginner friendly stitch from start to finish and show you the process of making a very enhancing boiling some patches. Brainstorming session on how we can use color and texture to add depth to our designs. Then we'll jump straight into making our patches. For this class, I've created a new method of making patches is specifically designed for hand embroidery. That means you can say goodbye to Seoul heads and lost hours spent on sentence ditch. Instead, we'll use an embroidery hoop and ion non feasible webbing to finish. This class is suitable for beginners and up. But if this is your first time stitching, I'd recommend practicing the stitches before you jump into making OPAT. Well, there's no time to lose its, we've got heaps to do. So. Let's get stitching.
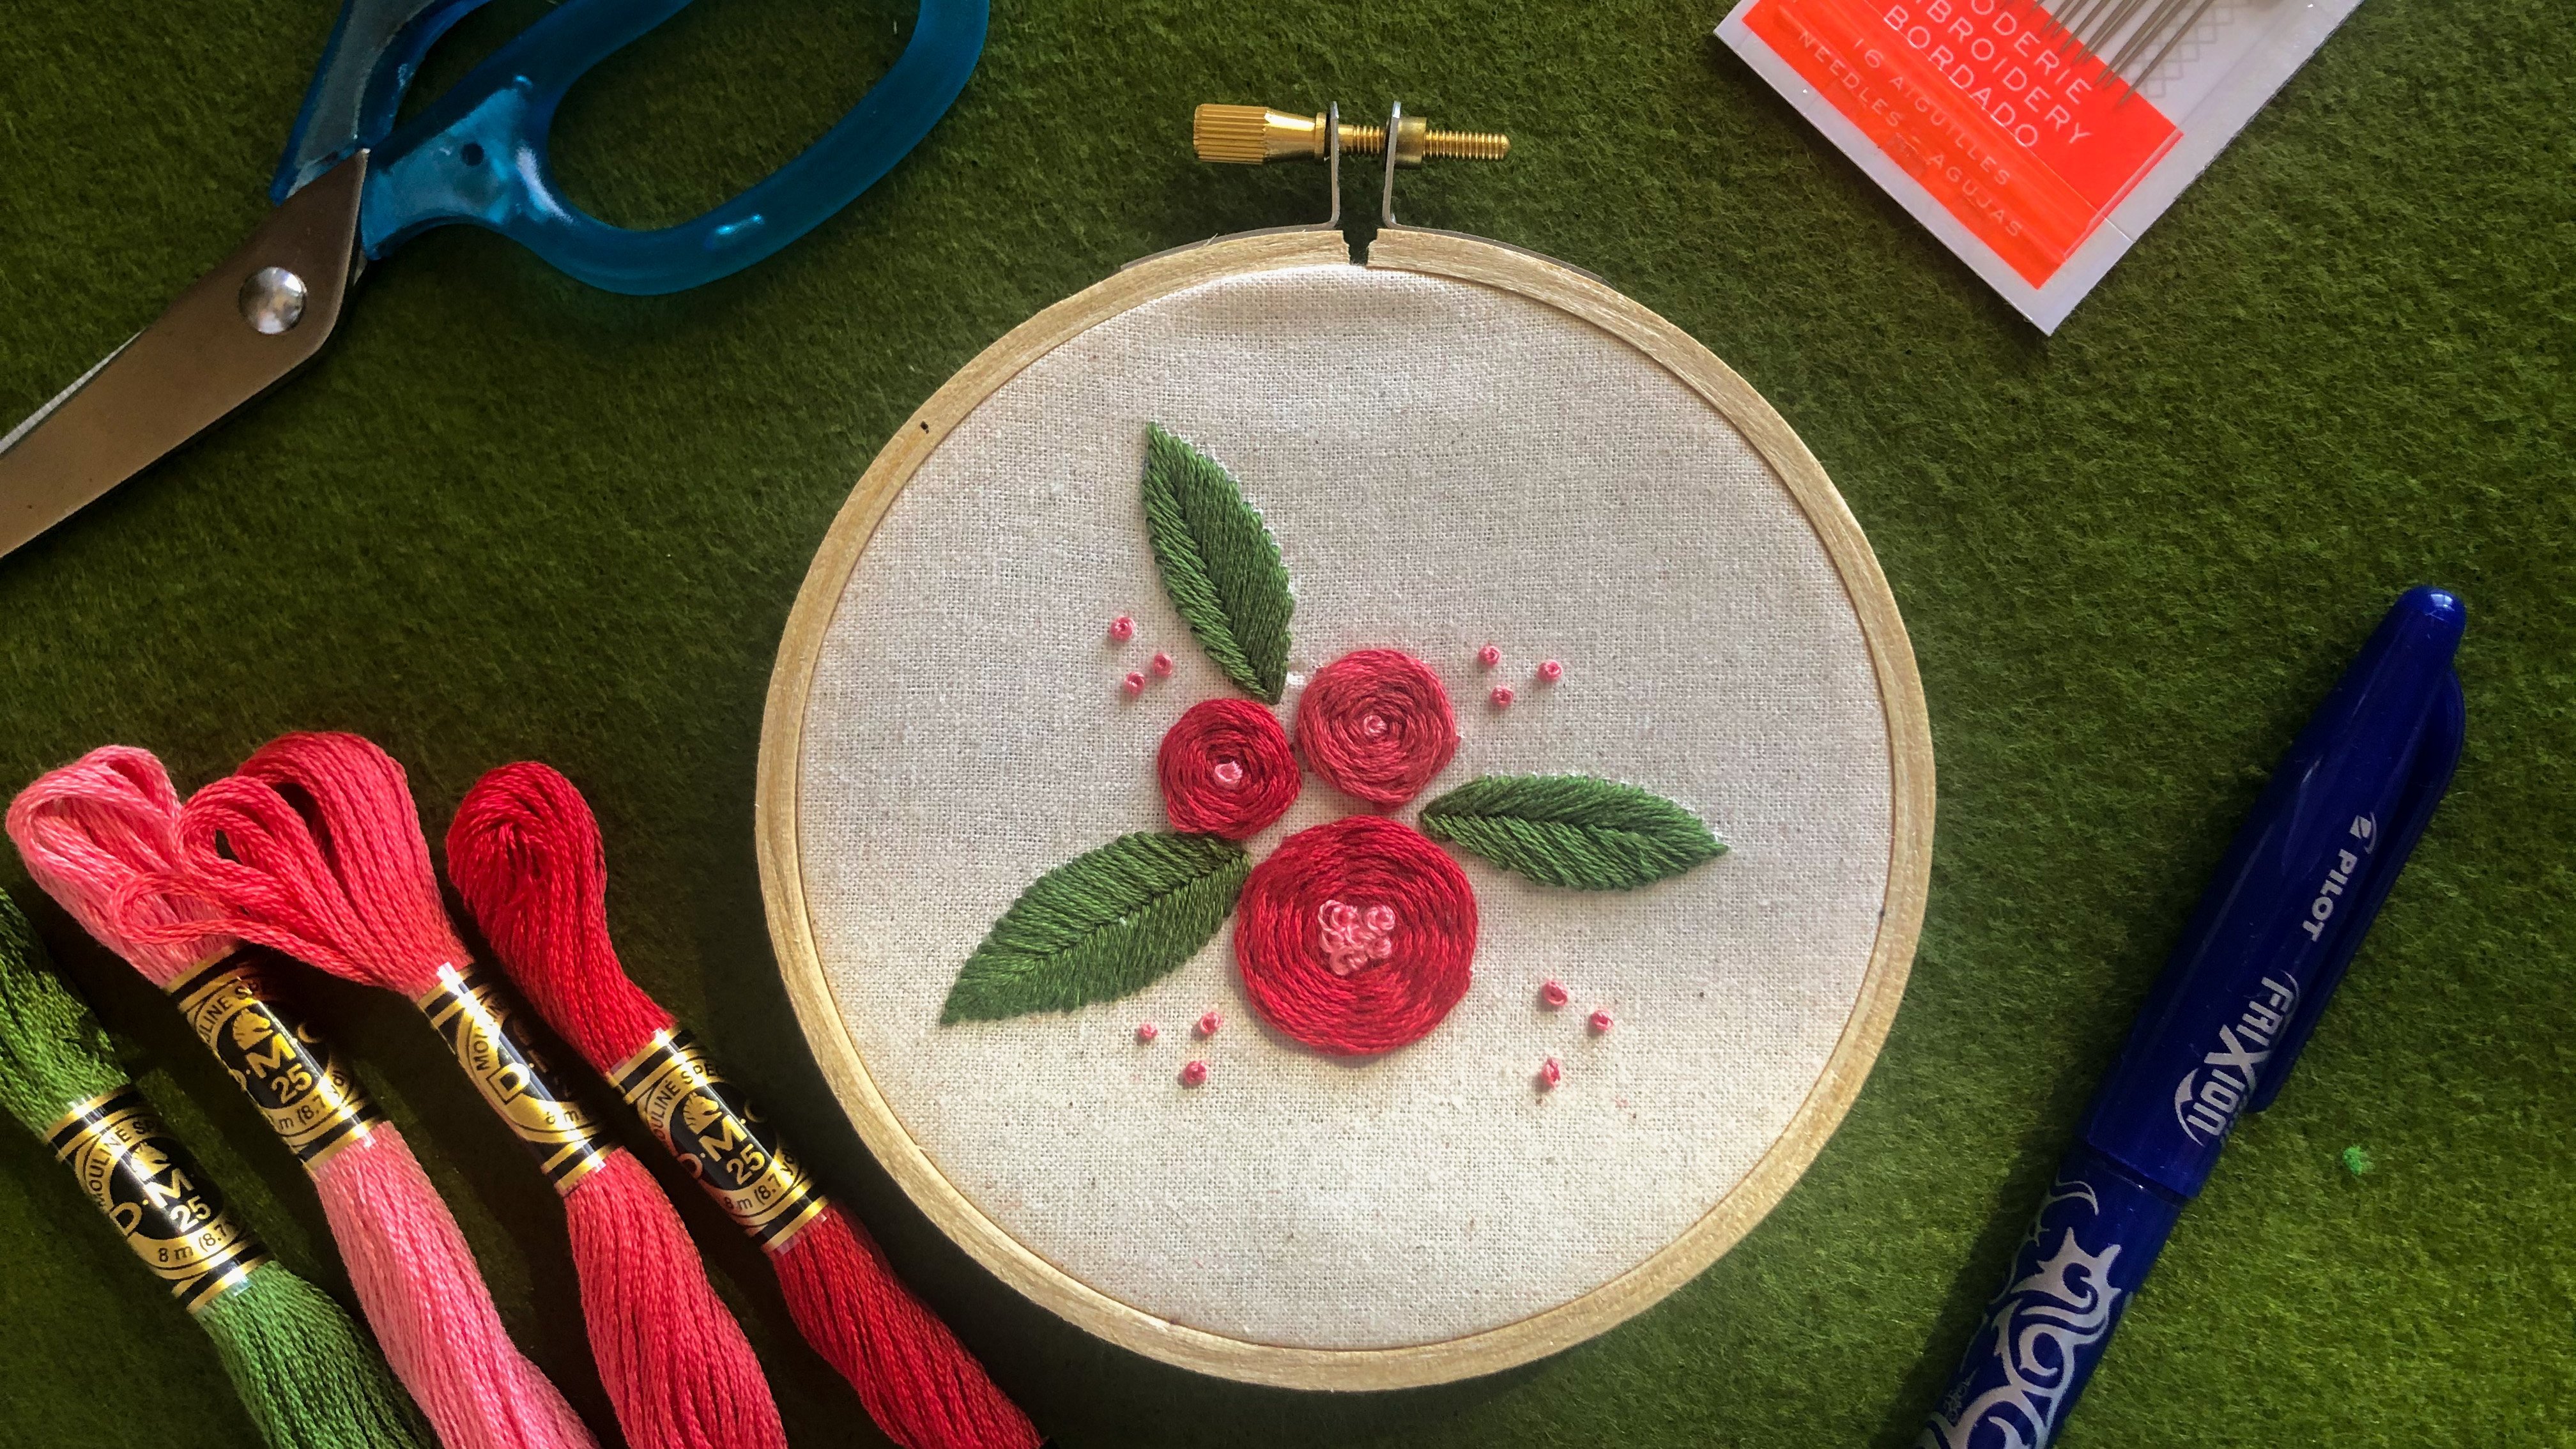
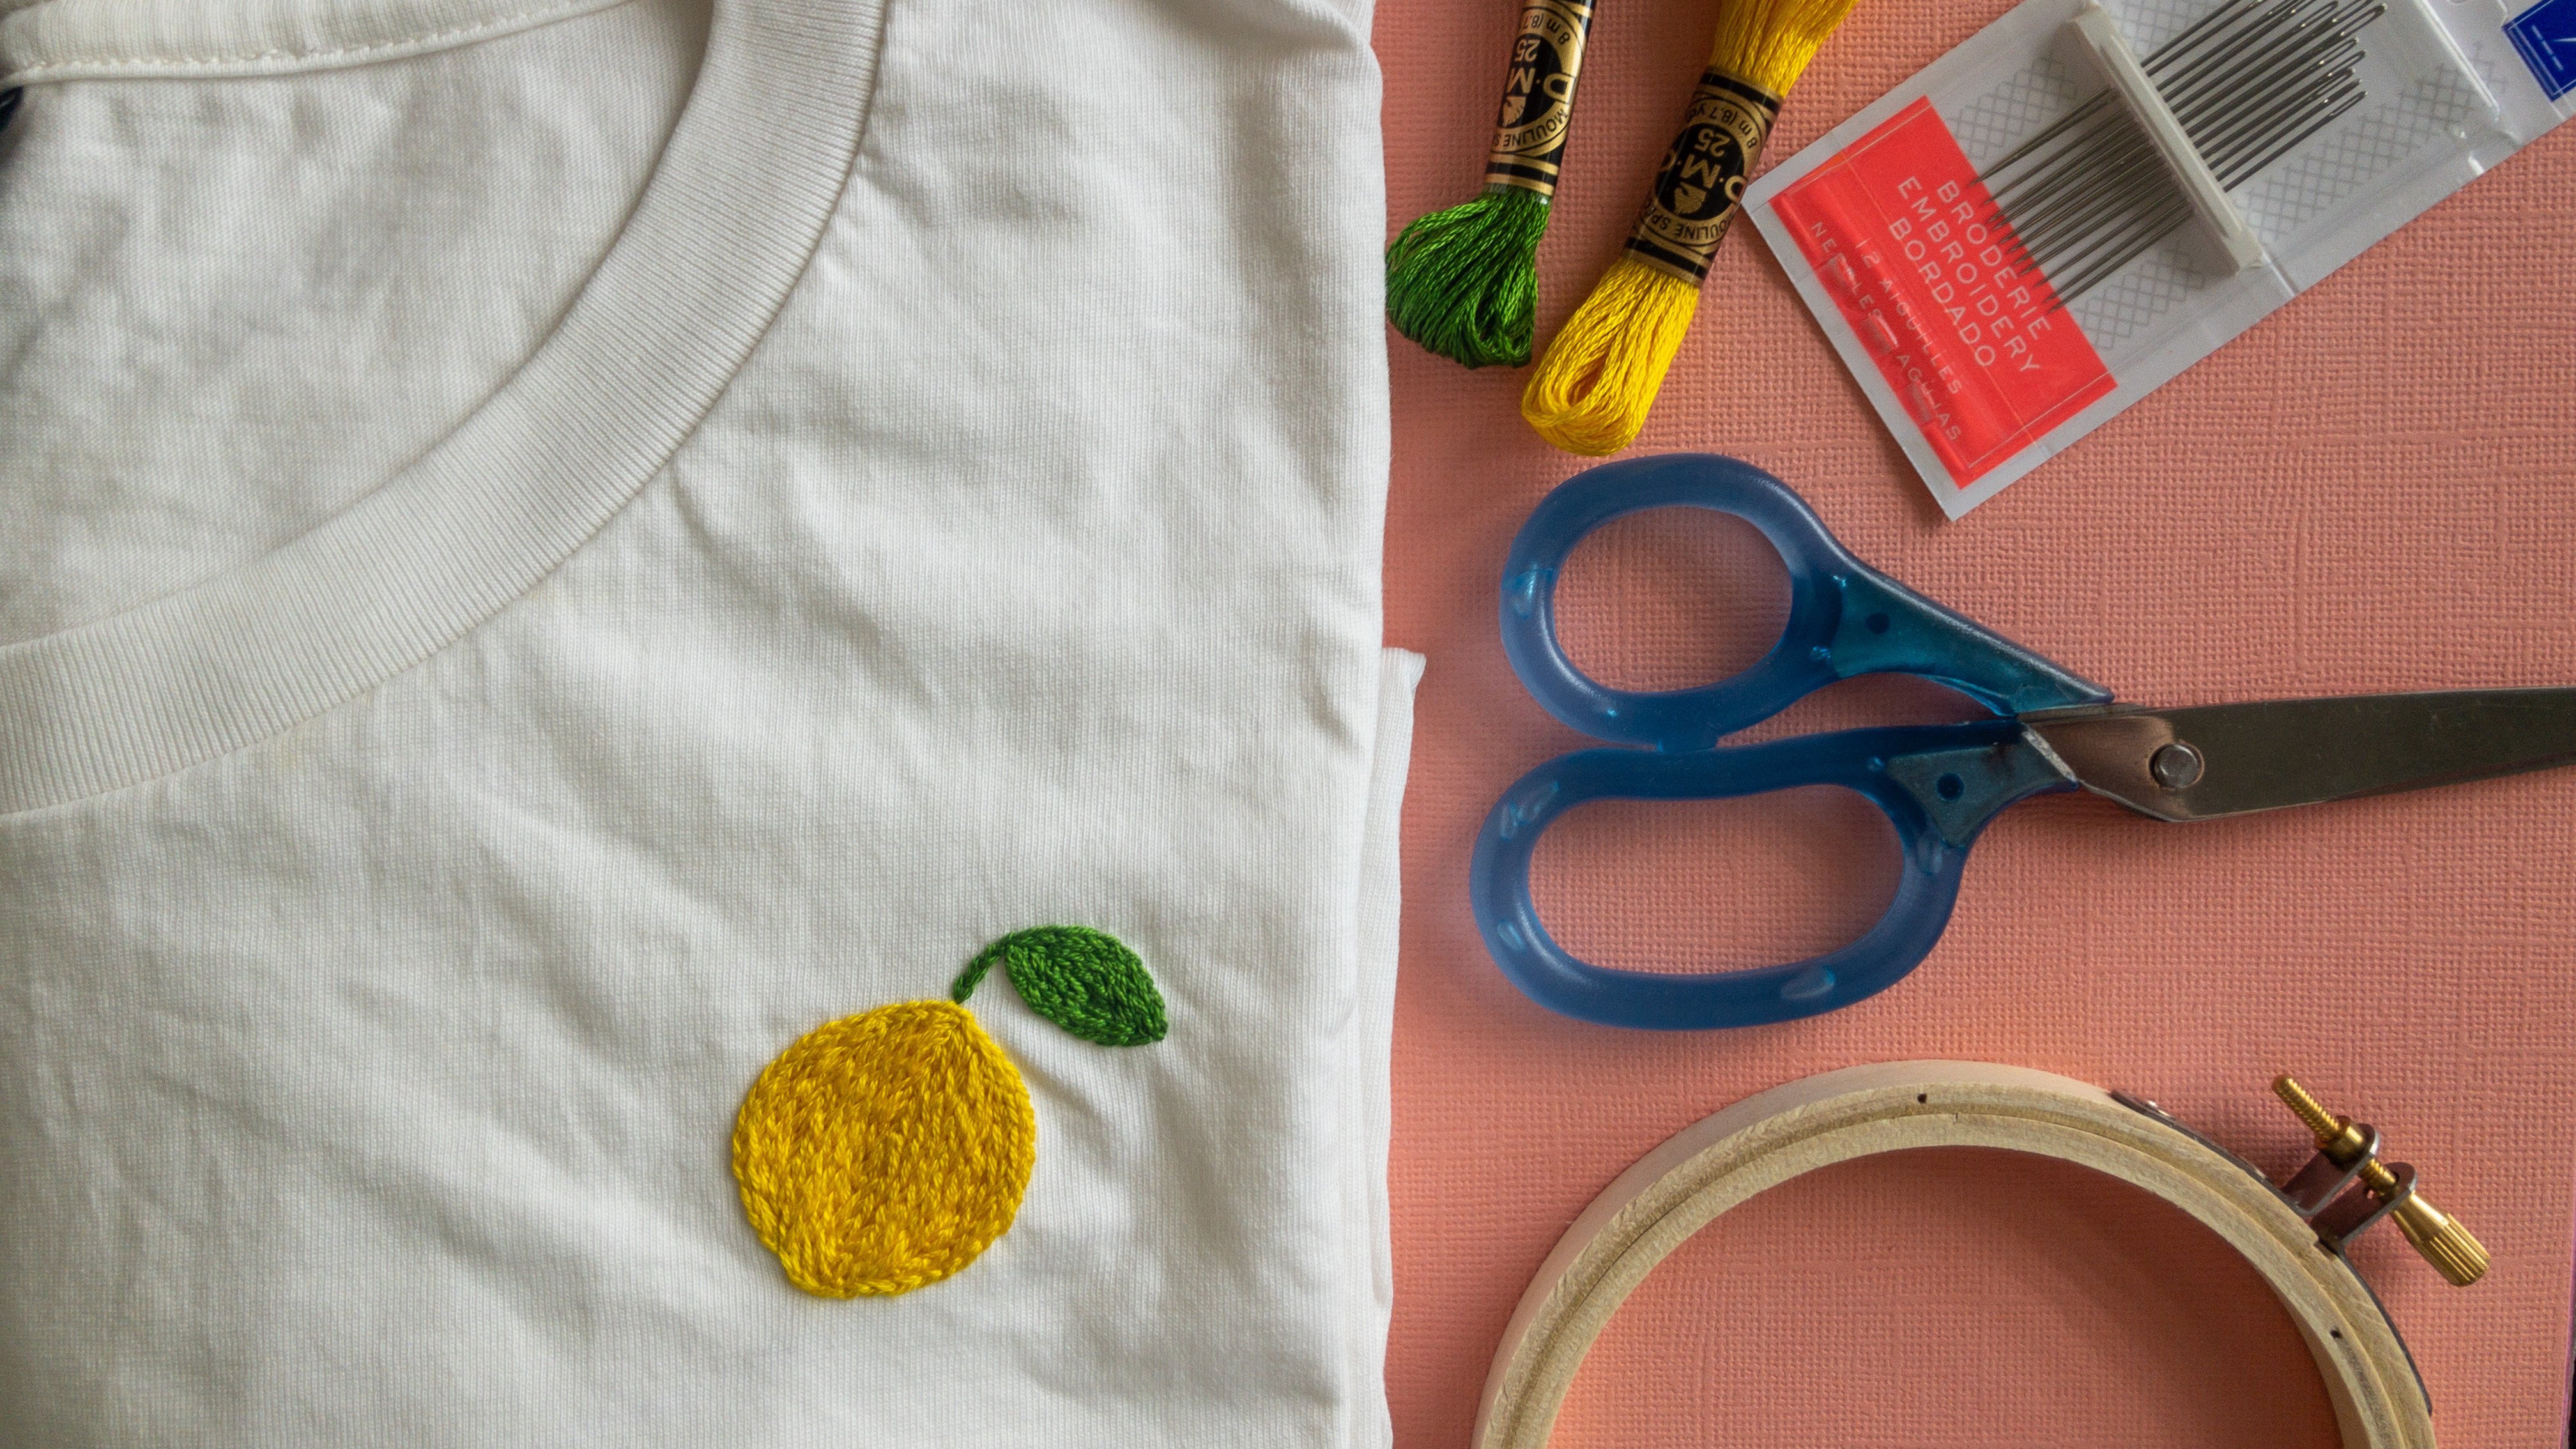
2. Materials: Okay, so let's go through all the materials that you're going to need to make your felt patches. So for every patch that you make, you're going to need one piece of light-colored felt, a piece of Calico or really any kind of lightweight kind of cotton. And you'll need two pieces of your iron on backing, which as you can see, is a ton of iron ore. Wedding. So you need two pieces for every patch that you make. As I was for the embroidery part, you'll need embroidery needles. I recommend size five. And of course, the colors that you prefer to transfer the pattern, we're going to use a friction heat erasable pens. And today I'm actually going to use a plastic flexi who, which I find the best for making patches just because you're holding together quite a few lays. But if it's what you've got at home and if it's what you prefer, you can also use your normal wooden four inch. And of course, you'll just need a Paris's is to snip the thread.
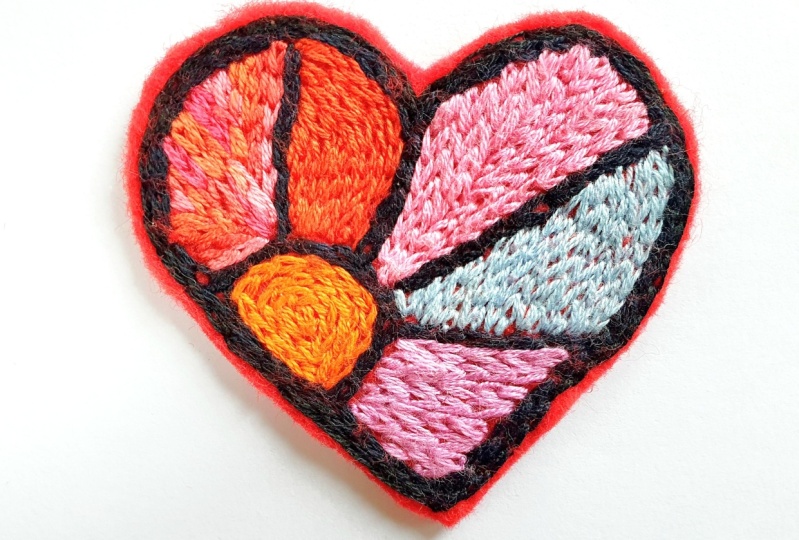
3. Visualising the Stitches: Before we jump into making our felt patches, I find it's always really helpful to visualize the stitches before we get started. So the first thing we're going to do is filling the outlines in black. So we'll go ahead and use chain stitch to outline all of the shapes. Then for the lemon, we're going to fill in the lemon in three sections, going on the left and the right, and following that to fill in all the shapes. And that's going to help us maintain the curves of the lemon. The characters were going to go in straight lines, vertically and horizontally on the edges as well. And then for the watermelon, for the fruit part, we're going to go in diagonal lines and then fill in the lines of the grain. And at the end, we'll use a little bit of detached chain stitch to add in the watermelon seeds at the end. So something really interesting to do with your felt patches is varying the lines you use in the background to add a bit more texture to your patches. For example, for the cactus, we're going to try and create the idea of a sunset. So we'll use horizontal lines with the pink. And then we'll add in the sun part in vertical lines in yellow for the watermelon. Since we're already going with a diagonal lines for the fruit itself, we're going to use horizontal straight lines to fill in the background of the watermelon. And since we've already got a curvy shape going with a lemon, I've tried to add some wavy lines for the background. So that's something to think about, whether you using my patterns or creating your own. How you can add a bit more texture in interest with the background of your patch.
4. Transferring the Pattern: In general, it can be quite difficult to transfer the pattern onto the film. But here's two different methods that you could use. The first one is that you could print out the patents and place them up against a door or window and then place the felt on top and trace over with a hate erasable pen. As he can see, you can't quite get all the special details, but what you'll be able to do is just fill them in when you take them off at the end. Now a different method you could use is this Denzel method. So once again, you'll need to print out the patents and then just cut around the edge of the circle and you'll be able to trace around the edge of the circle. So I've just made this out of paper. But if you want a stronger template, I'd recommend either printing and onto cardboard or printing it on paper, cutting it out and gluing it on cardboard. And then it'll be a lot easier to trace around. The great thing with embroidery is that we have the freedom to just so over the lines as we feel like it. If it's not perfect, when you draw it on, you properly be able to correct it and when you sit on it. So in the next step, cut around the edge of the watermelon and you'll be able to trace around the edge of that.
5. Outlining in Chain Stitch : And we're ready to get started with our changed it. The first thing we're gonna do is put the coupon. So we'll just pop out that inner layer and then place that outer layer on top. So sometimes it can be a little bit tough to get that plastic ring on the outside. So you may need to pick it up in your hands like you see me doing. And really push that on the edge. But once it's on there, nice and tight. So it's gonna be really easy to stitch up for the whole patch will be using three strands of thread whenever we use the thread. And I'm also using that size five needle, I've gone ahead and tied a double knot in the end of the thread. So let's get started with our chain stitch. So by bringing the needle up on the line and then just holding it over to the left with our left them. And just be careful that you're not stabbing the not at the back when you bring that needle back down. So at placing the needle back down, either in the same hole or just next to it for that first it and pulling it tight to make a loop. Then were coming up in the middle of that loop and pulling the thread tied. So this is how we'll continue with all of our changed it. So once again, we're holding it over to the left for their left them. And then placing the needle back pretty much anywhere inside that loop and bringing it up again on the line in the middle of the loop. So with felt patches, if you'd rather not use a hoop, you don't have to use a hoop. The felt is actually quite strong and you'll be able to stitch without a hoop. What I find though, is especially at the latest stages of finishing the patch, you'll be sewing through three layers that felt the calico and the iron on backing so your hands can get pretty so that's why I recommend using a hoop if you've got one. Right? So if we do that, fantastic. And now that we've finished up that outline, we'll finish it off in the normal way by making a link to the left and bringing the needle up tightly under the last edge. And we'll just snip the edge off. So there we are. We've gone ahead and finished all of the outlines for the patches. And now we're ready for the fun part to fill them all in.
6. Filling the Shapes: All right, so now it's time to get cracking with filling in all of our shapes. So the first thing I'm gonna do with the lemon, if you haven't already, just draw in those guidelines and that we're going to stitch. So the first step will be using three strands of thread. And I've already gone ahead and tied a double knot. In the end, we'll be using three strands of thread for all of the patches. So the first thing we're gonna do is go ahead and outlining chain stitch those two guidelines. Fantastic. So now that we've finished those two guidelines were ready to fill in the lemon shape. So the way that I recommend you do this is by stitching one line on the left of the shape and then one line on the right of each of the sections and keep going until you make them in the middle. This way, we're going to maintain the curvy shape of the lemon. Yeah. Now let's jump straight over to the characters. So you can see that I've already filled in the side and most of the body at the characters with straight lines have changed it. So we'll follow the same strategy as we use for the lemon. And we'll do one line on the left, one line on the right, and then a small line in the middle to finish off the cactus. And last but not least, let's finish up a watermelon patch. So you can see I've gone ahead and filled in the rows of the grain. And now we're just finishing up with these diagonal lines with the pink thread for the watermelon. So go ahead once again. And this time, instead of going left to right, we're just following along the line that we've already established along the edge. That's not exactly perfect. Perfect, perfect, perfect, perfect. So to make a watermelon seeds will be using three strands of black thread and we'll be doing detach, changed it. So you can refer back to your drawing or even the pattern that I've got there to see where to put your watermelon seeds that basically we're gonna do them in rows. So you can see we start at just like chains Fitch, bring the needle up, am I making that loop? And then my coming up in the middle of where we want that Luke to end, pulling it tight. And instead of continuing the chain by just putting a little stitch there to make sure it stays Ankit dam. So what I wanna do with my watermelon is to make three rows. So the first row has got one seat. Second we will have two. And the last one, you'll be able to place the three seats between the two of the top surface. And there we go. We're all finished with a watermelon patch. And the only thing left to do is to fill in those backgrounds.
7. Filling the Background: So now we're on to the very last step and that's adding in the background. Making sure we fill the background is gonna make the patch a lot stronger in the end. So the first thing you need to do is grab your heat advisable pen and withdrawing the guidelines, just like we imagine at the beginning. So the lemon will put in the wavy lines, the watermelon that we'll put in the straight lines and the cactus will draw in the pots, the sunset, which close to two. And we are all finished. So to finish these backgrounds, it took me about two hours for each of the patches. So it does take quite awhile, but just look at the wonderful results it brings when we're using chain stitch. It also means we've got quite a flat back, which is going to be an advantage when we getting them together.
8. Assembling the Patches: So now we're ready for the final step and that's assembling the patches. So there's four parts in this lesson, so I recommend you pay close attention. First things first, when you're heating up your iron, you want it to be on the wool setting or the silk setting, or basically at three-quarter strength. For this first section, you'll need your finished patch, the piece of iron on backing and your piece of cotton or Calico that completely covers the back of the patch. So first of all, I've taken the top layer of the backing and I'm just going to press that down. The backend that I'm using is adhesive. So all I need to do is to press that on and then peel off the other side. If you're having trouble appealing that top layer off, you can quickly run the ion over it, making sure you're not ironing On the felt. And that'll make sure it sticks before you add the Calico layer. So it's really important to never, ever ion directly onto the felt. You always need something covering it. So in this case, my piece of Calico fully covers the piece of felt. But otherwise, you could use something like another piece of Calico, a tea towel, or even a paper bag just to cover the felt. So I'd recommend in this first section that you iron without stopping for about 20 seconds. In the end, we are going to iron it again. So don't worry too much about how much you iron. For the second part, you can see already that the calico and the felt is already completely fused together. So we're going to add one more line of changed it. But this is actually just decorative. They're already fused together. So if you'd rather skip this step, you definitely can. But here I've just popped it back into the flexi hip. And this part can be a little tough because we've got an extra layer of material there, but you will eventually get that in. So once again, we'll be using three strands of threat. I've already got the not tied in the end. And we're going to add one layer of chain stitch all around the edge just to bring it together. Despite what I've already said. If you can't find very good quality iron and backing, or if you're using something that's quite thin, like applicant backing. Or even if you can't find either of those and you have to use Kraft glue, then you'll definitely need to do this last step just to bind them together rather than separately. And that is simply to say that that's, that's that's, that's great. So now that we've finished that lasted, we're just going to finish off in the normal way by making that leap to the left and bringing the stitch in under that. So the last step I'm going to do as well is just snip off the edges of all the knots that I've made. So these are all going to be put under the other piece of iron on backing that we have. But it's still a good idea to just snip them so that you don't end up cutting them at the end stage when we're cutting around the edge of the felt patch. Now that we've removed a hoop, we're ready to put on the last piece of iron on backing. So once again, just grab your piece and peel of the top layer and press that down. So we're not actually going to iron this for very long. It's just too attached to the back because we're going to iron it again when we finally attach it to our jacket or pencil case or whatever you're going to attach it to. So as you can see here again, the felt is completely covered by the calico and so it's fine to iron. And I've left on the three-quarter heat setting, but just remember to never iron on top of that felt fantastic. So you can see that it's fully bonded together and we're ready to cut around the edge of the felt. So for this, you might want to use a larger Paris's, then you'd normally use for cutting your thread. They don't need to be fancy scissors like just making citizens. They're probably just going to be a little bit bigger and a little bit stronger than you snipping scissors. So first of all, I'm just going to cut away the excess. So it's a bit easier for us to manage. And I'm leaving about half a centimeter or a quarter of an inch around the edge of the patch. So it's completely up to you how much space you want to leave around the edge. Because it is all bonded together. So it's open to stay together. So you can even cut at the very edge of the black line if that's what you prefer. And there we go. We're all finished our hand embroidery, felt patch, and it's ready to use for whatever you want to use it for. Basically, as you can see, if we peel off that backing paper, it's ready to iron onto whatever you want to use it for. And doesn't it look just wonderful? Hope you really proud of what you've been able to achieve.
9. Attaching the Patches: So now we're ready for that final step to attach the pat. And I'll be showing you how to attach it to this tote bag. So first of all, you want to take off the backing and position your patch wherever you'd like on the back. So you can also use this process to attach your patch to anything you like, like a denim jacket or even something like a pencil case as well. So I've repositioned at a couple of times, but now I'm pretty happy with where it's sitting. So now what we wanna do is to get our iron ready on a three quarter setting so you don't want to heat all the way up. So normally that's going to be something like a wall setting or the silk setting. The other thing is that we never want to be ironing directly on top of our patch. So the best way to do it is to be ironing on the inside of the bag. So if you're attaching it to a jacket, you would pop it on the front and then iron on the inside of the jacket. So I recommend ironing for about 30 seconds just to make sure that that patch has really attached. Now if you're using a tricky kind of thing like a pencil case, what you can always do is place a light layer of material, like a piece of Calico or even something like a tea towel over the top of the patch when you need to iron that dam. So it's bonded pretty well to the tote bag. But I'd always recommend this last step. And that's adding a line of whip stitch. So now using three strands of white thread and I've got a section of the patchy but didn't quite born properly. So that's why we're going to start with a whip stitch. We're going to bring our needle up basically underneath the patch if possible, or just next to it if you're unable to get in under the patch. So bring that needle up and what we're going to do is pretty much bring our needle down through the middle of the patch, through the middle of the felt and through the Calico on the backing. So you can see we're going to jump through that felt. So what we're not doing is going on top of the felt like we would if we were doing blanket stitch instead. We're pulling it down through the middle of the felt. So if it made a bit of a mark on the felt, you can just push it back with your thumb to cover that stitches. And that's how we're gonna go all the way around the patch.
10. Project Overview: So the project for this class is to make your very own felt patch. If you'd like to use the patterns that I've used in this class. You'll find them in a PDF in the project Resources tab, along with all the color numbers you'll need. If you'd like to meet your own designs, I would love to see you upload them all into the project gallery so we can celebrate your progress. If you want more inspiration and some free patterns, have a look through my other classes on skill share for more ideas of what you could make into a felt patch. As always, if you have any questions, I'm only one post away in the discussion section.
11. Class Recap: Congratulations for making it to the end of the course. I hope you feeling super confident to get out there and start making your very own felt patches. Well, we've covered a lot today. So let's go through the main points. First, draw or Tracy design onto the felt, then outline the shape and changed it. Next, fill in the shape and the background, sewing in different directions to create interesting effects. After that, ion on the calico with your island backing and stitch, one more line of changed it around the edge of your petty. And remember to never ion directly onto the felt. When you've finished lightly ion on the second piece of island backing than trivial patch to lacking. At the very end, you can ion on your patch or attach it with whips ditch. And that's it. Thanks so much for joining me in this class. And I hope you feeling inspired together and stop creating. Well, that's it for today. I'll see you in the next class.
 Imogen White, Stress less, Embroider more