Transcripts
1. Introduction: You know that you
can take some of the best film photographs
with your phone? Welcome to turn your
iPhone into a film camera. So this course, we are going to be talking about
film photography, and I'm going to be
showing you my approach to creating film like
photos with my phone. Now, this course is for anyone, which is why we won't
be going deep into the topic of film or focusing on the art of creating these photos because it is
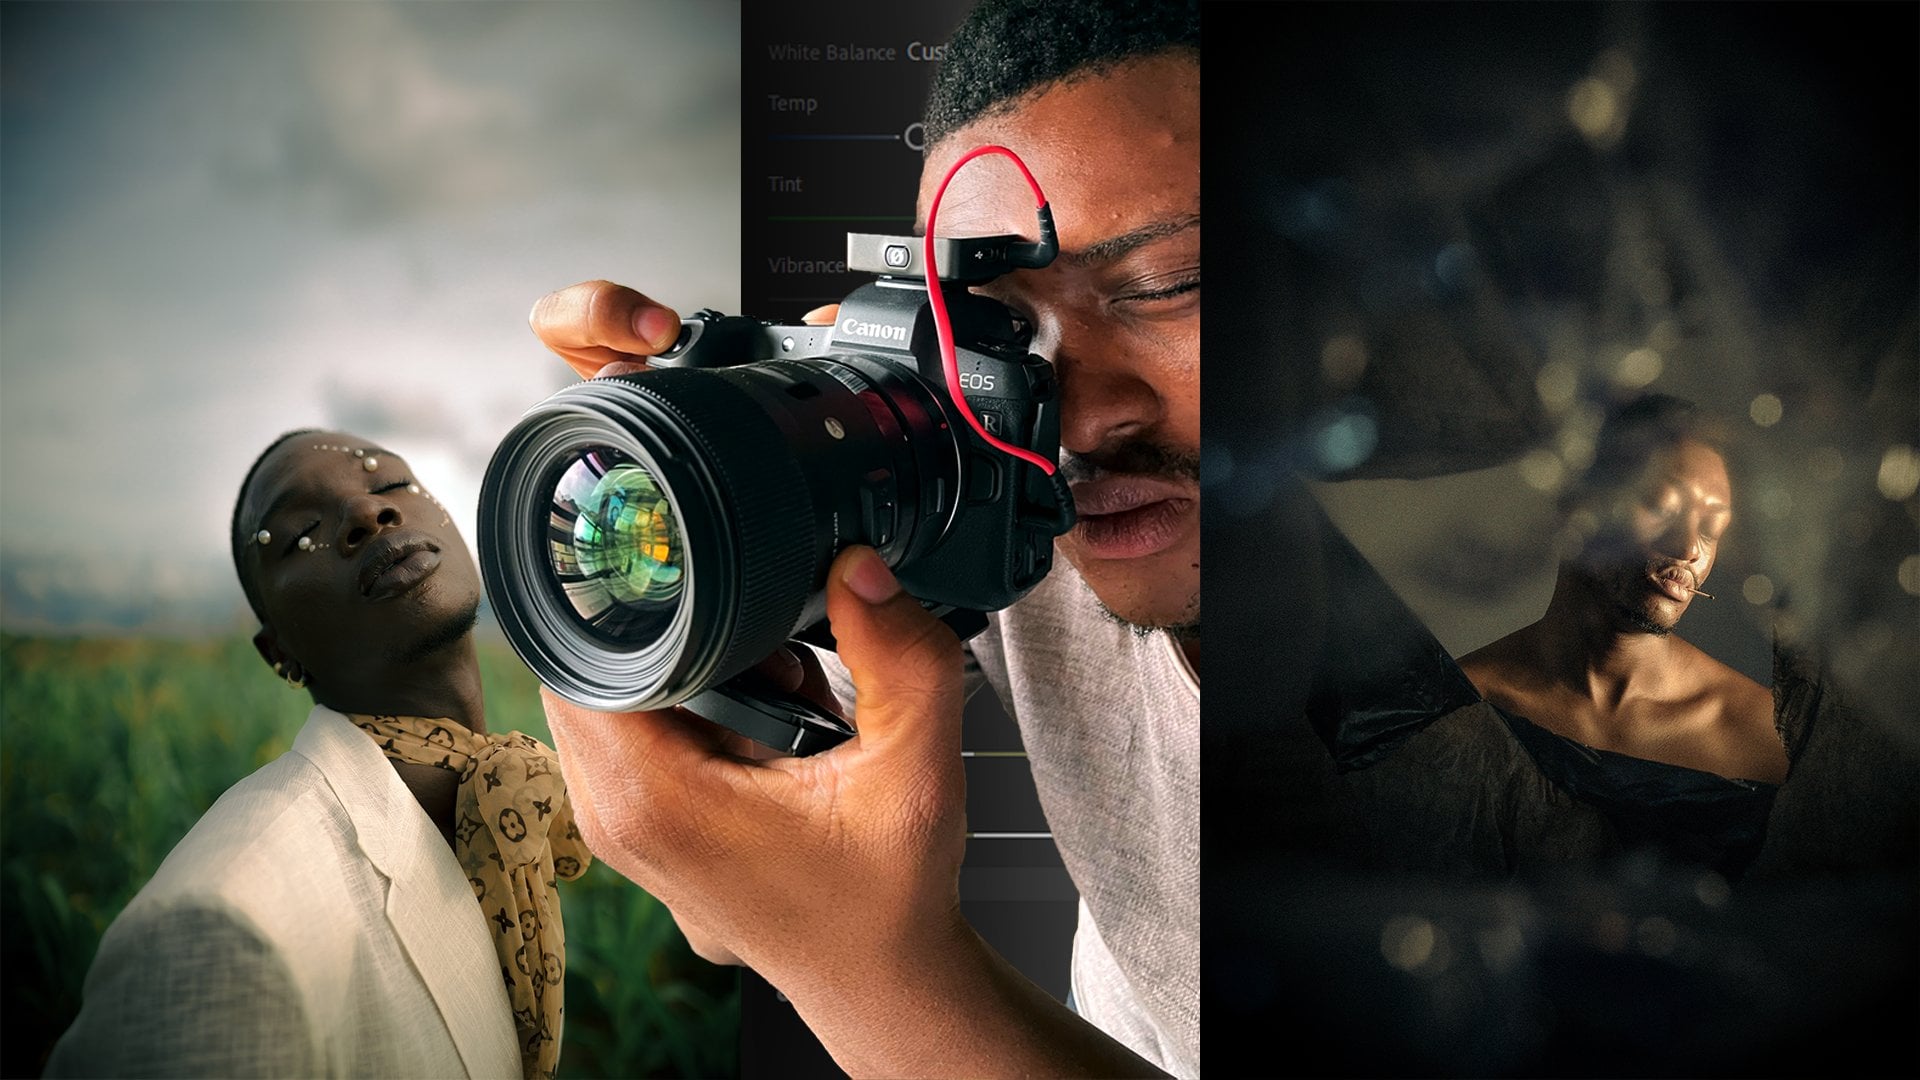
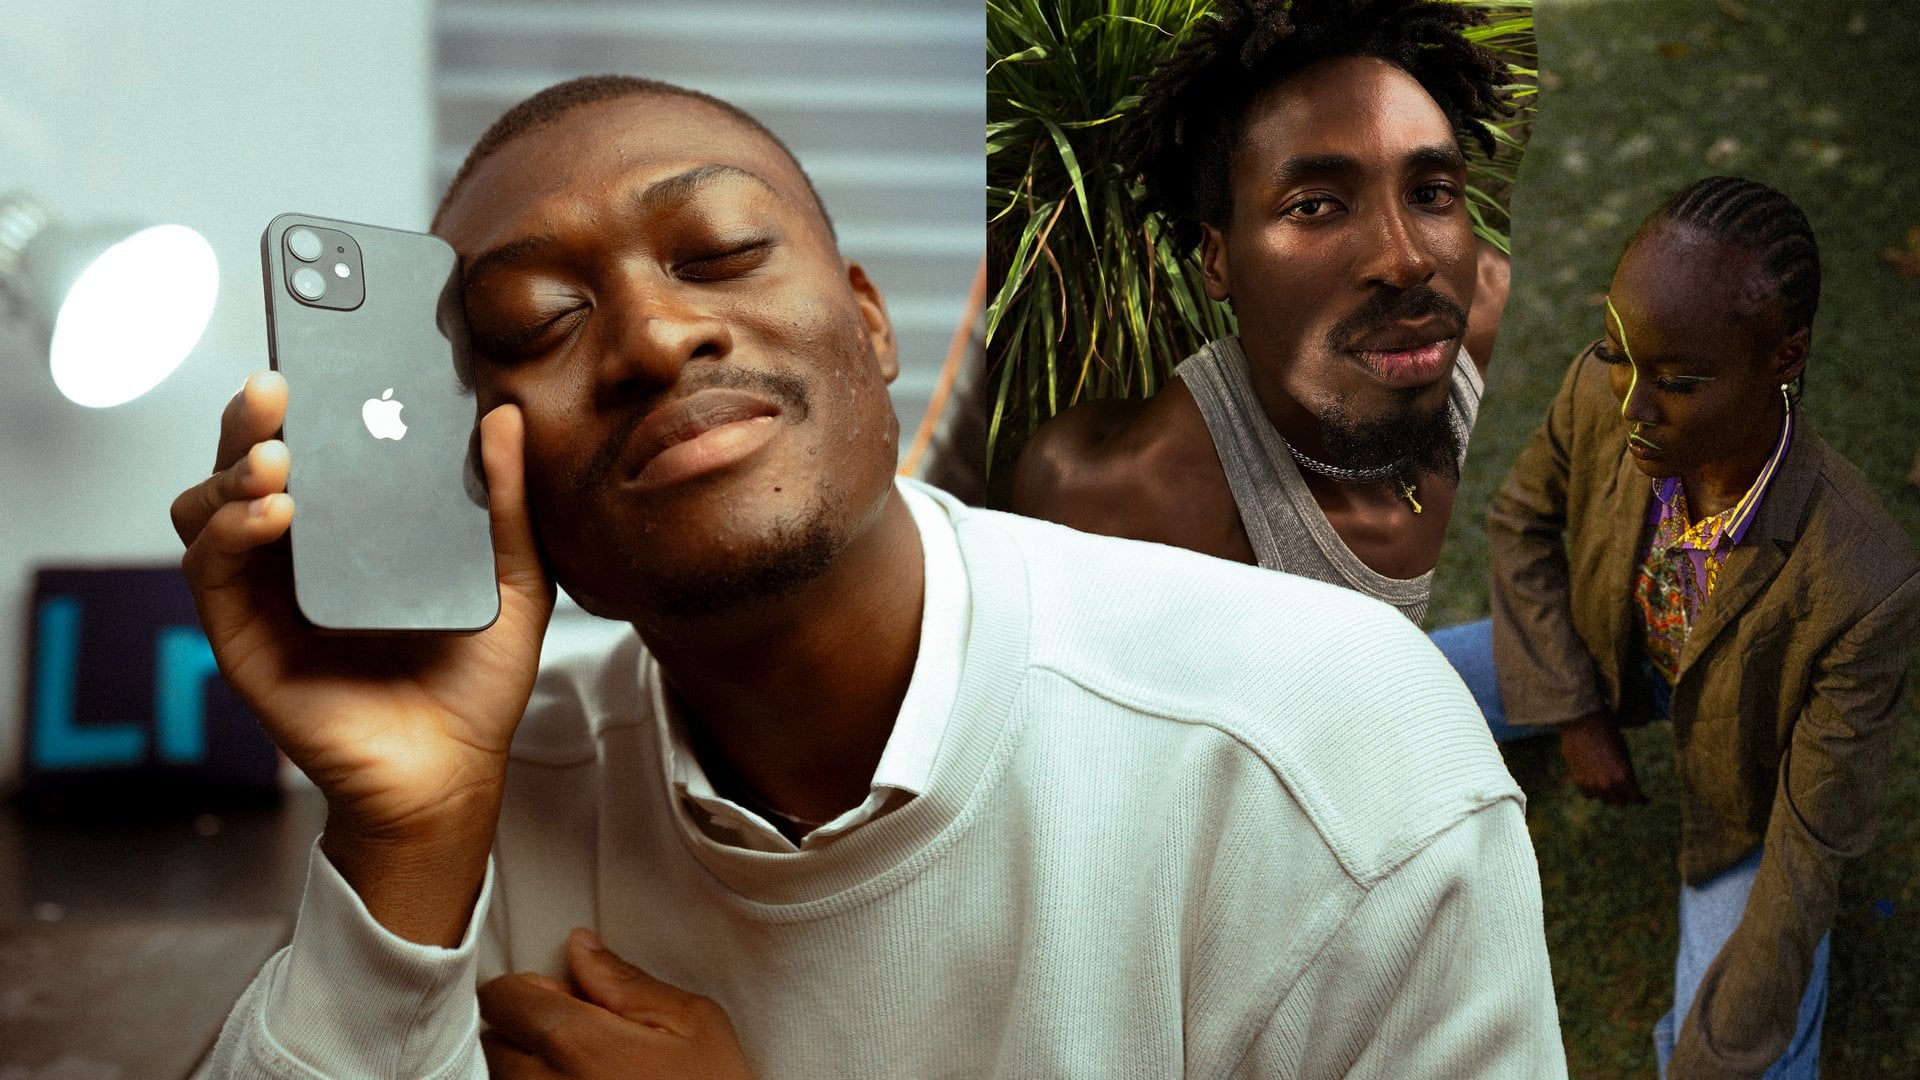
so simple and exciting. I'm Ab Camoi a photographer and filmmaker who's been
shooting for ten years now. I'm a Skillshare top teacher and adobe rising star
and ambassador. I've been shooting with my phone for a couple of years now, and I've enjoyed the process. Shooting with the phone
makes things a lot easier in cases and scenarios
where you can't bring out a bulky camera setup. In my photography, I
like to stand out. I like to do things
that are different, and I like to think
outside the box. Film photography is much like
my operative photography, which is it's different. It offers a new perspective into photography and the
way you view things. The grains, the halation, the dust and scratches makes
things look beautiful. And we're going to
be learning how to create those beautiful photos. At the end of this
class, you'll be able to create film like photos
just with your phone, edit them, and post them from a beautiful portfolio
of film photography. Yeah, I know you're excited
already and excited, too. So let's get started.
2. Class orientation: Hi, guys. Welcome to
class orientation. In this course, you'll
just be needing a phone and the
tram application. Optional accessories include
tripods or phone lenses, et cetera, but you would just be majorly needing a phone
and the tram application. Some other applications
you can use to edit are VACO and RNI films. But for this course, we
will be using Adobe tr. Showing you how I
shoot film photos, edit film photos, and even
make up my film effects. We will also create a film
portfolio on Be hands, which demonstrates
how you can use your film photographs
to actually build a professional portfolio. Your class projects
will be to shoot and create film photographs
using your phone. Be sure to share your projects. I'd love to see them.
Let's get started.
3. Understanding film aesthetics: Guys, welcome to Understanding
film aesthetics. For this lesson, I'll be
making a list of things I would love to see in my photos if I'm taking film photographs. I think this is
what you should do, as it helps you draw
inspiration from the photos you categorize as film and
recreate them effortlessly. With this list, I'll be
teaching you how to use these elements to make my
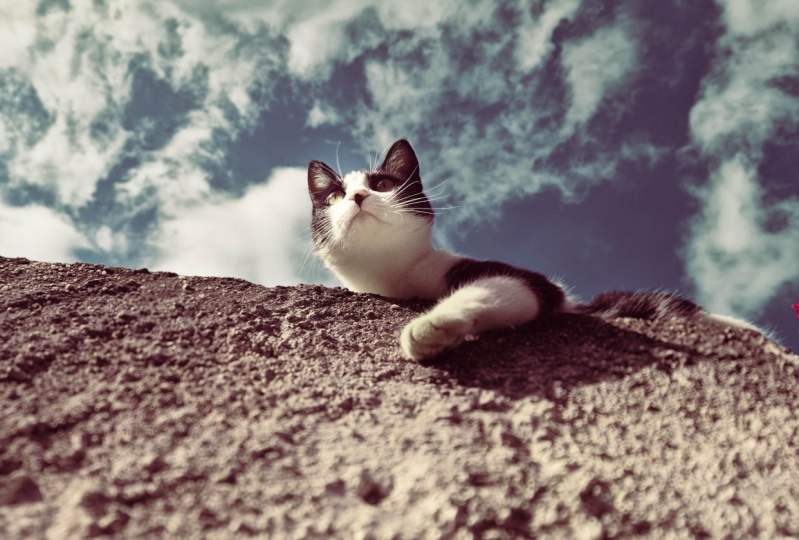
photos look like film. Here's my list, grain, dust and scratches, halation
and bleeding effect. For me, one of the major characteristics of
film photographs is grain. And that's how I envision my photos to be when
creating film photos. I want to have grain in
them. Dust and scratches. That's another additional
characteristics or thing or component
of film photographs. Not all of them
have it, but it's a plus when creating
film photos, and it's very easy to make
Halation and bleeding effect. So rather than explain halation, I will show youhlation. So take a look at this
frame right here. This is without halation. And this is with halation. As you can see, there's a subtle bleeding effect on the overexposed
bits of the frame. This is going to be
happening with your photos, and that's the halation
and bleeding effect. So, for instance, this
is a photo without it, and this is a photo with it. Film artifacts and how to create them, dust and scratches. This is how to create dust
and scratches by yourself, so you don't have to
go online to search for templates and PNGs. Take photos of subtle textures
like paper or fabric, adjust the contrast, then
overlay them onto your images. I the next effect is creating light lik
and here's how I do it. I set my camera to a
very low shutter speed, and then I just wave
a torchlight or a lead light at the
camera and capture. So you get a couple of, like, light streaks
and everything, and then you carry
these images and overlay them again
to your photos. When applying this effect, being subtle is key. Real film artifacts are
not usually overwhelming. They add character without
dominating the image. The goal is to enhance
the vintage film without making it look like
a heavy handed filter. Morning. So now that we've learned how
to add some effects that make your photos
feel like film, let's go to camera techniques
and things that we do on set when
shooting film photos.
4. Let's shoot: Hi. Today, I'll be showing you how a set looks when
creating film photos. I've shot numerous
models and friends using my phone with the aim
of shooting film photos. It's always fun, weird
and experimental, but in the end, the
results pay off. I go from shooting
backlit photos to adding my own artificial lights
to make the subjects pop. Different scenarios
and environments offer different opportunities to be experimental with
your film photos. Don't be scared of trying
out new angles and composition techniques for
your film like photos. Go out, experiment and have
fun while shooting photos. That's the main
thing you're having fun because what's it if
you're not having fun? If you're not able
to go out and shoot, I've provided some
sample photos that you can follow along
with and edit with us. Have fun shooting, and
I can't wait to see you in the next class where
we talk about editing.
5. Editing: Hi, guys. Today we're
talking about editing. We will be adding green, light lakes, and other
film characteristics. We'll also be doing
basic color correction to make your photos
look like film. Let's go. So first things first, we have a Adobe lightroom here. And for those who have
watched a few of my uses, you know how I like to edit. Um, I always encourage
people to go through every single thing
'cause you never know what you might find
that is unique to you. So the first thing we're
going to do is just try to adjust this a little bit. And we're going to lift the shadows and the whites
and also the blacks. Next, we're going to reduce our clarity just a little bit. As you know it film cameras
aren't, like, perfect. So you tend to have, like, a few out of focus,
like, places. And reducing our party just helps us get that
imperfection in there. And then we're just going to just bump up our texture
just a little bit. Next thing is we're going to
play around with our curves, and it's just going
to be a simple curve. So we just got this. And then we're just
going to crush the blocks tight. Okay, perfect. Next thing is we're also just going to
play around with this. We make three points and then just drop this
down a little bit. Do the same thing
for our greens. And the same thing
for our blues. After that, we're going to check out our color
grading tab here, and this is why I like
to just make things a little bit spicy or cinematic. So I add, like, a few
things to my shadows, highlights, and, like, me toned, and I just go with what I feel
like that in that moment. The next thing for me
is just scrolling. I don't think I want to do
any extra like sharpening. I'll just use this blending to see if there are any changes
or significant changes. And yeah, I think that. The next thing
here is our green. And you always want
to just bump that up. I think I'll just take
it up to 60 and then increase my reference
just a little bit as well and my size. Yeah, I think this is perfect
for me. There you go. So that's about it,
just for, like, the basic color
correction and just like getting it like set for work. You can now come back
here and now adjust, like this a little
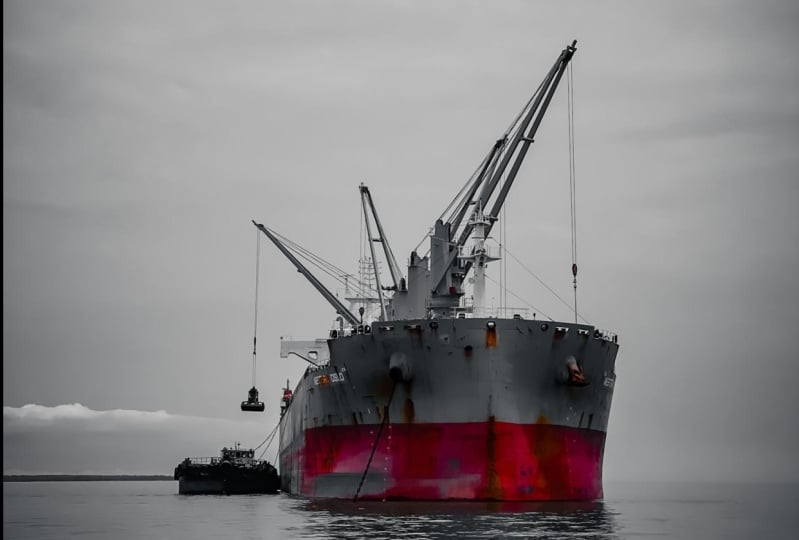
bit to suit the mood. I'm having some really
bright edges around here, and I think I want
to adjust that. So I'll just go to my mask, and I think I'll pick radio
gradient and I'll just, like, play around with this. Let me see how it looks. What I want to do here now is I want to add some dehaze. Yeah, something like that.
I think feels perfect. And I think one thing I want to just add just for
the fun of it, as well, is just to make it dramatic, I will add a masker making
this a little bit duger. And that's about it for
this image, really. This is the before and
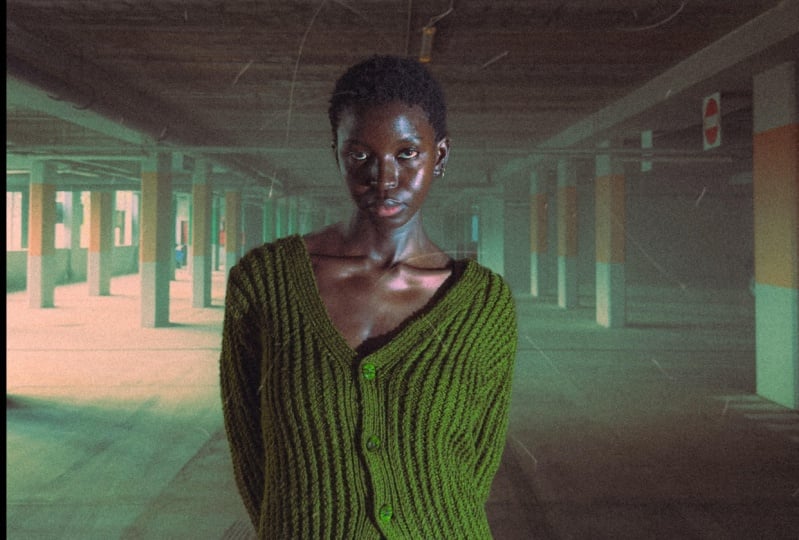
this is the after. So the first thing I want to do when it comes to editing portrait test,
I will adjust my crop. I like the skyline, so I'm just going to leave
that in there. I'm going to adjust her legs. And then the next thing I'm going to do is just
bump up my shadows. White, not so much, but a little bit
and then my blacks. I think I can bring down
the shadows now slightly. This is good. From there, we're just going to adjust a
little bit of the clarity. I just a little texture. Next, I'm just
going to come here and play around with my hues. Think I will make the aquas
in this image more blue. And then this one, I think
I'll make it a little bit. The next thing, of
course, remember, just max this out, and then you can adjust
as you're going. So let's just move this around and see what we
like. This looks good. And then we move
this around and see what we like. This
also looks good. Then let's see somewhere
between here, actually. Let's see. Okay, so we bring
this down just a little bit, and we also bring this
down with this down a lot. And then for this, let's see, we bring it down just a little
bit and make it yellow. So this is where
the please. Okay. The next thing we're
going to do is our grain. I'm just going to
come over here and then bring in the mystery. So this is it's, like, my style. So that's why I enjoy
bringing it in. Then I try to remove the
subject from it because I don't want her dress to be off. Adjust this and then
pull this down slightly. The next thing I want to do
is, I want to make advantage of the beautiful light
coming from the sunset. So I'm just going to go here, increase this a little bit, and also play around my Dehaze, like that. This is beautiful. I love how it looks already. Going to stretch this slightly. And then that's beautiful. I think I'll just adjust
the crop and a bit more. So this is your before
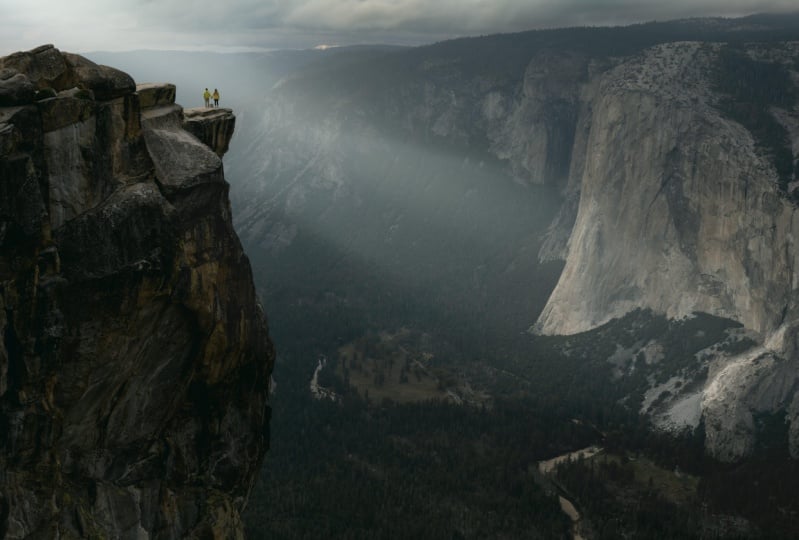
and this is your after. I have something for
to do with this image. So I think I should
do that before I start adjusting many things. I'm just going to add a mask behind her, something like this. Going to get her
out of the frame. And then I'm just
going to do this, increase my exposure slightly, increase my plaques, as
well. Something like this. This is good. And
then we're just going to now make our
adjustments here. Going to increase our shadows, whites again and blacks. I think we can decrease the
exposure slightly as well. This is good. And next, we're going to
reduce our clarity. I think for me,
I'm just going to, in general, reduce the dehaze
and then add some texture. The next thing is we're going
to use curves for this one because we really
want to get some of those blocks back in. And this looks good.
Yeah, this looks good. I don't think I'm going to
do much on the color mixer. I'm just going to head right
up here and see what works. This looks good. This
looks like a film. Then we're just going
to add some of the ws back in the frame. And let's see what works for us. Highlight ones. This is good. So I'm just going
to reduce it here. Slighting. Think
that's good as well. And this is This is nice. Perfect. I like how it looks. I love how it looks.
Now, the next thing we're going to do is
green, of course. Going to make this 60. We're just going to
do this a little bit, and then that's beautiful. What I want to do now is
something very spectacular. I want to just select
a sweater to make it, like, pop and need
to be saturated. So we're just going
to drag this across. Perfect. And then we're just going to add some
saturation to it. We're also going to
play around with our hue tab just to
see how we can make the green pop slightly.
That's perfect. It's perfect. I love it. Now our mystery, as usual, going to drag this along here and select our
subject out of it. And then we're just going
to make this dark slightly. Perfect. And that's
it for this image. You can see the before
and you can see the after. I love it. Now that you've
learned how to edit and make your photos
look like film, I can't wait to see a project. Go out, practice and
shoot some more. I'll see you in the next
class where we talk about building your film
photography portfolio.
6. Creating a portfolio: Hi there. So today, we're going to be creating a film portfolio using B hands. This is my B hands portfolio, and these are projects
that I've found. It's a beautiful place to put your pictures and share
your works with people. So we're going to go to this
tab called Share Your Walk, and we're going to
create a project. For this course, I'll be showing you how to
create a project. The tools I use on B hands and how to make it
look aesthetic. The first thing I normally
do is put a bold text. And then I try to
center my text. To change your background color, you just simply click
on Styles and you can see I can easily adjust
it however I want. So I'm going to go back here and I'm going to try
and make my text a little bit bolder and
also make it black. Next thing I do is I like
to put a single going to go here and I'm
going to click on this. So I'm just going
to put the text, and I'm going to type Now, the next thing I want to do is I like to add a grid
shortly after the image. So in this grid, I can just
give some extra information. After that, you can choose to either have a write up where you can say So after this, I either put a single photo
or I go all out with a grid. I think I actually want to go
with a grid because I have some aesthetic looking photos that I want to put in a grid. And it's creating
that right here. We're just going to
delete this tile, and this is how you delete it. After that, I'm going to give a single image that I've
already graded in Photoshop. So just to give it like drama. Now, you can click this to give your grade some
breathing room. So if you want your
photos to look like this, you can do that, and
you can do this. So we're just going
to do this for him. And then you can choose
to reorder the positions by going here and then just dragging it across to
where you want it to be. If you have a song
that is related to the photos or the
session that you had, you can easily just copy the embedded link and
paste it on here. And he adds that. So
people can click on it while viewing your photos. Very interesting, very lovely because there are so many times you just want
to have, like, music playing in the background, and then you can just
have this playing. That's beautiful. I would encourage
you to use platform. I would encourage you to use platforms like Behind Instagram, Twitter, Facebook to create your portfolio, but
especially Bhant. Once you're done, you can either save your draft or continue. I choose to continue. And then here you
can see where you can edit your cover image, pick what you want, and
I'm going to pick this, and then you can
give it a title. And then you can add a few tags related to what you're doing. And you see them.
You see photography, they give some
recommended tags as well. And then you can click
everyone or private. I think I'm just going
to stick to private. And then, um, there you go. It's as simple as that. You publish a project. And this is our final project
right here on Bands. I encourage you to
try it out and create a portfolio using your
photos with Bee hunt. I'll see you in the next class.
7. Conclusion: Hi, there. Congratulations
on rolling up this course. Mm. Oh Now that we've learned how to create
film photos with your phone, I can't wait for you
to go out there, experiment and have fun. Try out new angles, try out new composition
techniques. Feel free to play around with
your editing style as well, and just have fun with it. Bring out your phone
in certain conditions and places and shoot away, capture every
moment as it comes. If you haven't uploaded
your project by now, I'd still love to see it and
give you positive feedback. You can check out my other courses where
I teach on shooting portraits with an iPhone and creating marvelous
stunning portraits. I can't wait to see you again. But for now, bye.
 Ebuka Mordi, Nigerian portrait & fashion photographer