Transcripts
1. Introduction: Great scene. No models. Just take some
photos of yourself. Imagine turning every moment into a professional photo shoot. No expensive gear, no
photographer needed, just you and your phone. In the next few minutes, I'll be showing you how I
went from shooting basic selfies to creating magazine worthy photos
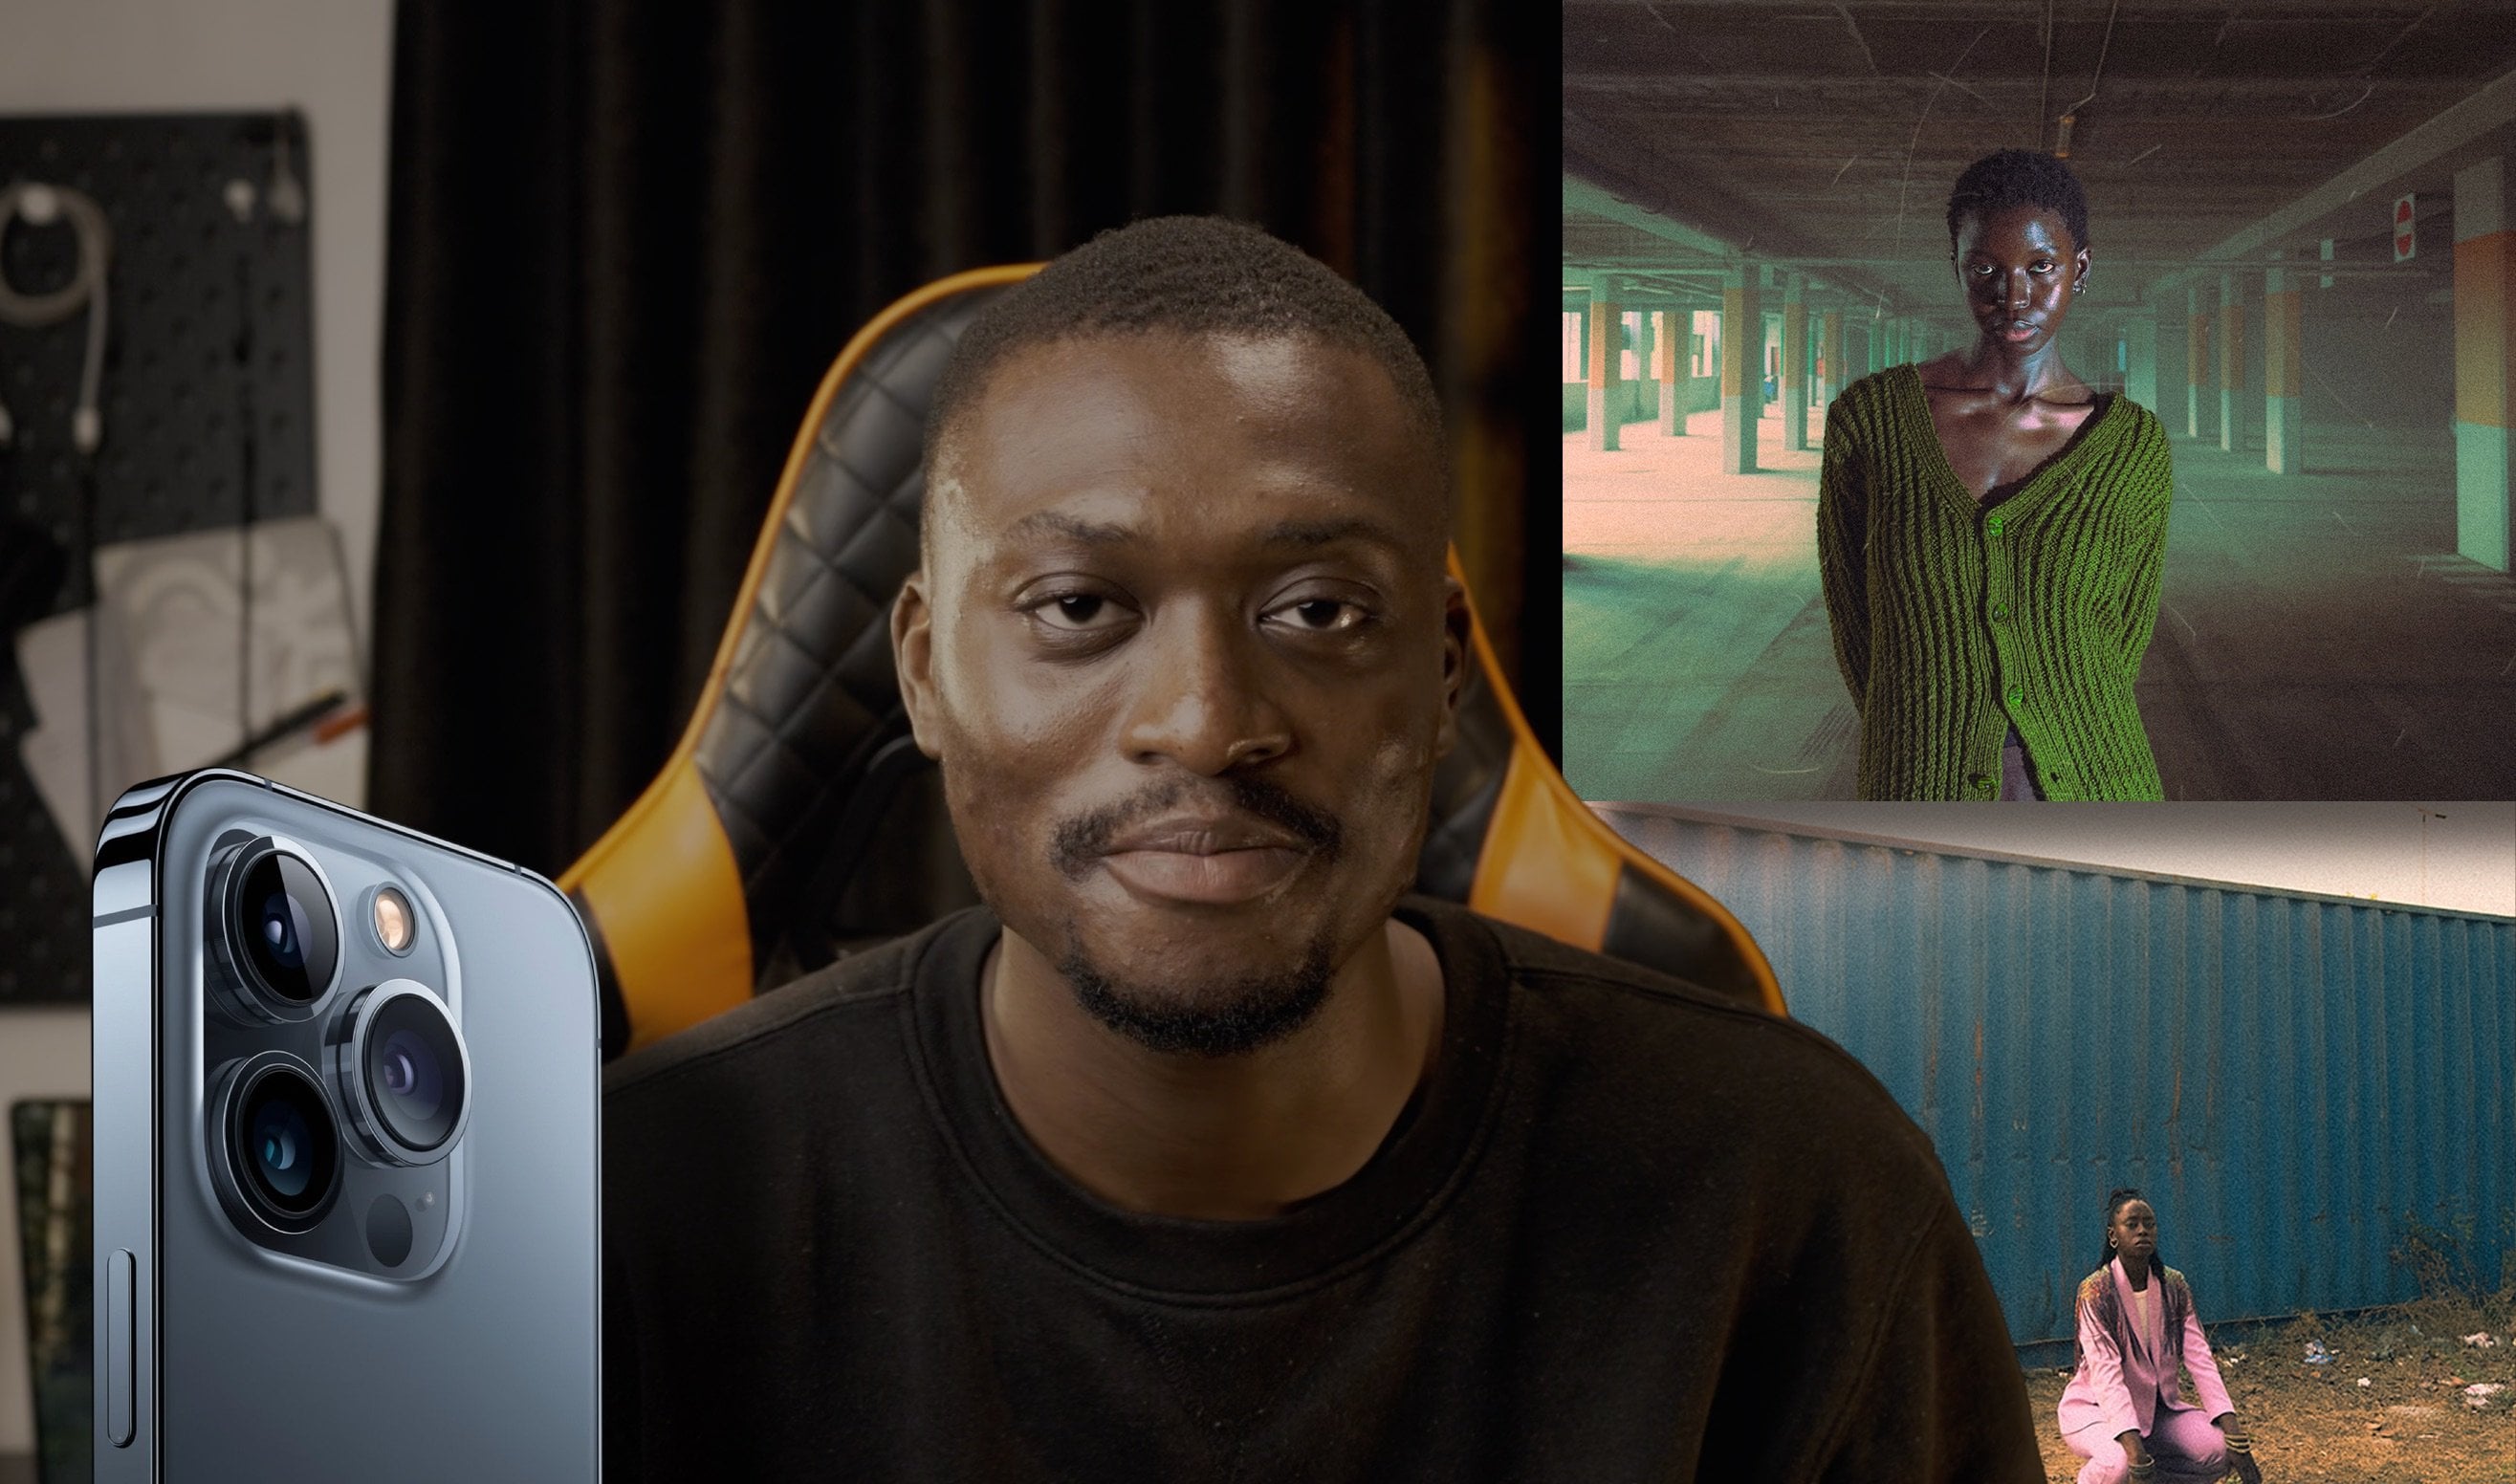
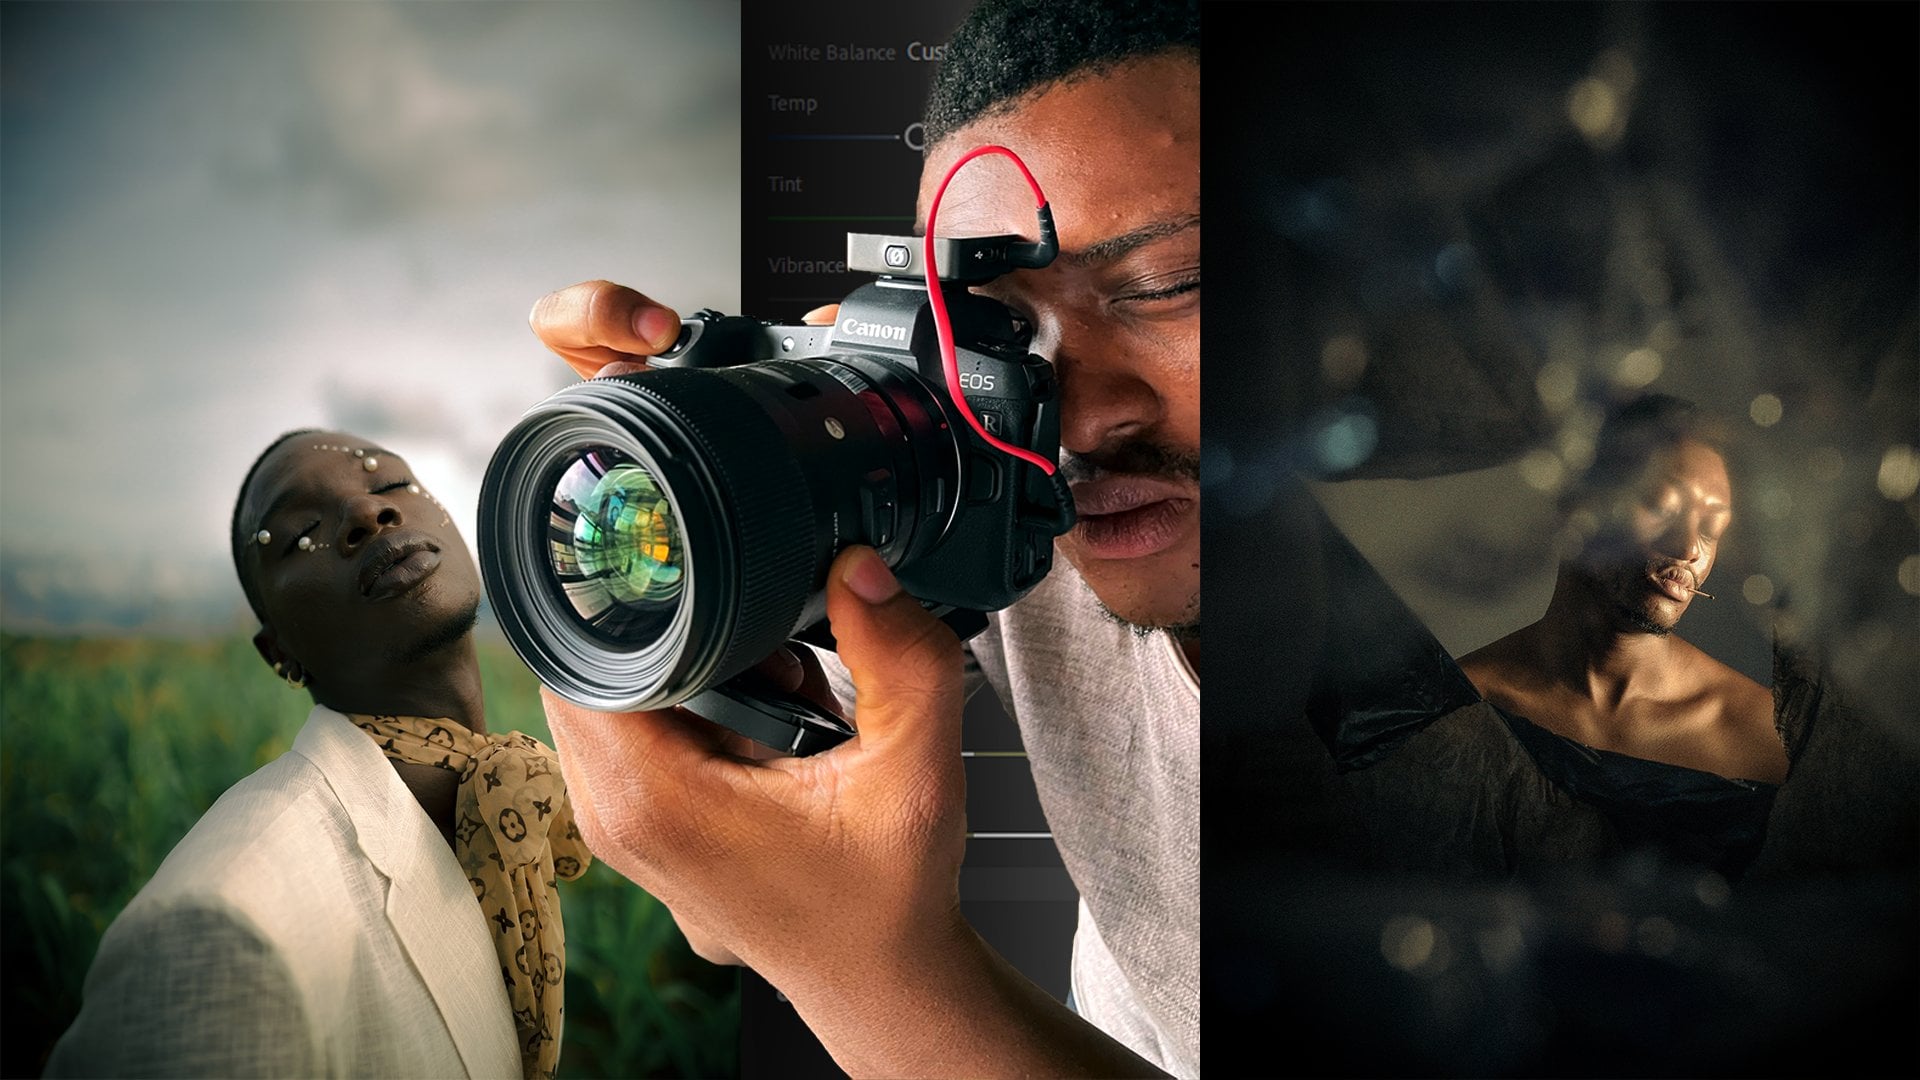
with just my phone. I'm Boca Modi, a photographer who has been in the game
for nine to ten years now, and I started out with an iPad, so I can vouch to an
extent the power of what a mobile device can do for you in your photography career. Created some mind blowing
images with a phone, and I'm here to show
you how to up your game by creating self portraits
with your phone. Here are a few brief tips on why learning self portraits
is beneficial for you. Number one, independent. You become self reliant
in creating content, freeing yourself from
the limitations of needing others present
for photo shoots. Opportunistic creativity. Spontaneous moments or locations become opportunities
for creativity, enhancing your portfolio with
diverse and unique content. Time efficiency. Self
portrait sessions can be conducted
on your schedule, allowing for efficient
use of time without waiting for models or
coordinating schedules. Artistic expression. Self portraits enable you
to express your emotions, ideas and storytelling
directly through your images, fostering a deeper connection
with your audience. And then, lastly, versatility, you can experiment with
various styles, modes, and concepts without relying
on external factors, expanding your
creative repertoire. Whether you're an aspiring
photographer or a pro, this course is designed to help your self portrait game get
better with your phone. Over the course of eight
comprehensive lessons, we'll go into each
step of the process. Learning how to
use your phone to get amazing, beautiful photos. Might I add that you
would need a tripod. Definitely need a tripod, and it would be a plus
to also have a remote or a way to time yourself
on your phone as well. And you also need the
lightroom software on your phone or your
computer for editing. This is exciting. It's nostalgic for me because
it's taking me back to the days where I actually just
relied on a mobile device. So I hope you're
excited as well, and I hope you're ready to learn some amazing cool
things that you can do with your phone
when it comes to creating self
portraits. Let's go.
2. Class Orientation: Hi there photographers
and amazing creators. Welcome to Master
iPhone self portraits, creating stunning photos
anywhere and anytime. I may become MD, and I'm
just glad to be here and happy and excited to be the one taking you through
this amazing course. Before we dive into the
nitty gritty of our course, let's talk about the
star of the show, the phone, or in my own case, the iPhone 15 P. Whether you're using a really
great phone like the iPhone 15 P or you're
using another amazing phone, like the Samsung a something. You have the right in your hands regardless of
what phone you're using. Remember, it's still about the
s of gear does not matter. It's not about the
hardware or what the phone gives or the mega
pixels or things like that. It's more about the the use of the device and how you use it and the person
who is holding it, like how they say it's not about the weapon but about the welder. So yeah, it's something
similar in this case. And throughout this course, I'll be showing you things
and techniques that I use in iPhone photography
to make my photos standout. Remember, I started
out on an iPod, and I think this phone is
definitely better than an iPod. So it's more about the
techniques and things you do that make your images standout
and less of the hardware. Now, let's talk about some
essential things that you might need when
shooting self portrait. So I use the Gorilla tripod
to get pictures from different angles and
creative angles because it can latch onto anything
from anywhere. Number two, a tripod. Having a tripod helps you set up your phone in different
places and in different settings and allows you to take photos from a far
distance with your phone. Then we have another
amazing tool, which is the Bluetooth remote. So this one came with a
tripod, a mini tripod, I take it out and then just connect it via
Bluetooth to my camera, and I take amazing
photos with it. Now, don't worry if
you don't have all of these things that we've listed or have the
means to get them. We're starting with the phone, and that's the most important
tool in photography. Every phone has a timer, so you can use a timer, you can use the selfie angle, whatever it is,
we're going to walk our way up to when
you need the gear. So you don't need
that right now. You can just have your phone and your editing software,
and we're good to go. In the upcoming lessons, we'll explore composition techniques, lighting tricks, casing tips, and editing skills that will transform your
self portraits. By the end of this course,
you'll be creating photos that definitely stand out and look more professional and
those will be self portraits. So yeah, like those linked in photo AI things
where you can have, like, AI create your
headshots and everything. You don't need
that when you have the skill of shooting self
portraits with your phone. You can actually sit in your
room and get your headshots, your copper headshots
done by yourself. In the way you like it, and you can actually review
it and just, like, delete. And yeah, it's definitely
more fluid than AI. So are you ready to become your own best photographer?
Let's get started.
3. Basic iPhone camera settings: Welcome back. Today we're going to be talking
about essentials, the essential camera settings
you need to stand out. So we're going to start with
resolution and aspect ratio. Resolution determines the
details in your photos. Most recent iPhones can
shoot at 12 megapixels, while latest pro models offer a beautiful amount
of 48 megapixels. Higher resolution
means more details, but also larger file sizes. To adjust this, go to
settings, camera, and formats, choose between high
efficiency for smaller sizes or most compatible
for highest quality. As for aspect ratio, iPhones typically shoot
at four by three, but you can change this
to 16 by nine for a wider shot or even square for
Instagram ready photos. To switch aspect ratios, you open your camera up, tap the arrow at the
bottom of the screen. Look for the aspect
ratio button. It looks like two
overlapping rectangles. Now, quick one. Here's
why it's important to know what resolution
you're also shooting at. So you know I just
mentioned that the recent iPhones
have 48 megapixels. They're about, and then we have, maybe the old models which are shooting at like 12
megapixels each. It's not a disadvantage. It's just about knowing
what you're using. Most film cameras of back then, never shot at 48, 80
megapixels thereabouts. No. There were also
low resolutions and low megapixel numbers. But what differentiated them was most likely the
style of editing, the grain, et cetera. So you could use those
techniques as well to make your images stand out
in its own individual way. So it's not a disadvantage. Now moving on. Let's explore
grid lines and composition. These are a total game
changer for your portraits. To turn on the grid,
go to Settings, camera and toggle on grid. This overlays a three by
three grid on your screen, perfect for the use
of rule of thirds. Rule of thirds, by aligning key elements on these lines
or in between these lines, you can play around
and your composition will just be perfect. So, yeah, it's another thing to note when shooting with phones. To make your images
stand out because it's not a camera. It's
not professional camera. You really need to pay
attention to the, like, little things that add up
to building a masterpiece. Lastly, let's talk about
portrait mode and depth control. This feature creates a professional looking
bouquet effect, blowing the background
to make you pop. To use portrait mode,
open your camera up, swipe to the portrait mode, follow the onscreen prompt to get the right distance
from your subject. In this case, the real magic
happens with depth control. After taking your
portrait mode photo, tap edit, look for the F icon
at the top of the screen. Use the slider to adjust
the level of backgrounbler. Remember, these settings
are just tools. Experiment with them and you might discover your style
quite sooner than you think. In our next video, we'll
explore composition techniques. I'll take your photos from
good to great. See you there.
4. Composition techniques for self-portraits: Hey, what's up? Today we're
talking about composition and the techniques in composition that can
transform your images, of course, from good to great. It's like a secret sauce. Well, yeah, we're going to be talking about composition today. So we'll cover four
of these techniques, starting with the
classic rule of thirds. Remember that grid
we turned on in the last video.
Here's how to use it. Imagine your image divided into nine equal parts by two horizontal lines
and two vertical lines. Place key elements of your composition along these lines or their
intersections. For self portraits, try aligning your eyes with the top
of the horizontal line. This creates a more
engaging image than centering on
yourself. A pro tip. Don't be afraid
to leave space at any point or any
sides of the frame. It's called negative space, and it also adds a little
bit of spice to your images. Next, let's talk
about leading lines. These are lines
within an image that lead the viewer's eye to
an important element. In self portraits, you want
these lines to lead to you. So here's how to use them. Look for natural lines
in your environment, roads, railings, or
even the horizon. Position yourself
where these lines converge or point towards you. Experiment with diagonal lines
for more dynamic fields. Remember, leading lines
don't have to be straight. Curved lines do
the work as well. Now on to framing.
This technique uses elements in the scene to
create a frame around you. It adds depth and draws
attention to the subject. Here are a few ideas you can try out when it
comes to framing. You can try out trees, you can
try out doorways, windows. You could even form your
own frame yourself. But the key thing
is to make sure that your frame does not
overpower you as a subject. And by overpower, I mean, take away all the
attention and pizzas from, you know, your
outfit or the swag. Lastly, let's explore
perspectives and angles. This one is a very
unique feature that can actually make a huge difference if you know what you're doing. In the low angle,
you could place your iPhone low and
angle it upwards. This can make you appear
taller and more powerful. In the high angle,
you could hold your iPhone above eye
level dangling down. This often creates a
flattering slimming effect. For the Dutch angle, tilt your iPhone for a
diagonal composition. This adds a sense of tension
or excitement to your image. Don't be afraid to test out extreme angles and different,
like, different things. It's all about testing
stuff out and just, like, getting to
find what you like. So don't be afraid to toss your phone in the
air and time it. And yeah, of course, don't
touch your phone in the air. That might damage your phone. But, yeah. You get the vibe. Remember, these
composition techniques are not rules or strict rules
that you need to follow. It's more about having
an understanding and a general idea of how it works, because that's what
matters, really. At the end of the
day, you get to shoot with your idea and your knowledge already existing
of how composition works. So you get to test out things. You know what you're
testing out, you know what you don't
want to test out. You know what results
you would get from shooting any type
of way or any type of, like, angle or with a certain composition
technique in mind. So yeah, it's all about
testing things out and following your heart
and discovering your style. In the next class, we're
going to talk about lighting, and in lighting, we're going to cover
how you can set a mood or set a tone
through lighting. Keep practicing your
composition techniques and keep getting better at it, keep understanding
what it means to your photography and how you want to convey those emotions, and I'll see you
in the next class.
5. Lighting: First up, let's shed some light. Because today we're
talking about lights. So today we're
talking about light, and we'll be talking about
natural and artificial light. So there's natural light and
there's artificial light. Natural light is, in my opinion, the best for self
portraits and for photos because it's just warm, it's abundant. It's everywhere. You don't need to do
anything special to get it. However, it's unpredictable. And that's where we now
have artificial light, which is a controlled source
of light. Predictable. And well, if you're in Nigeria, it's not as predictable
as you would think, because they can
take light anytime. But it's predictable
and it's controllable. The only downside to me is the harshness of
this type of light. There's also golden light
and there's blue light. These two scenarios or types of light can be seen on both
natural and artificial. Here's it. Let me explain. Golden light is the
type of light you normally see during a sunrise. That's very sharp, golden
toned light that you get at a sunrise when the sun is just,
like, heating, yeah. So that's golden light. And then you have blue light, which is more of the
evening type of blue light. You know, when the
sun is setting, the other side of the sky
that turns blue and just has, like, this blue thing going on. Yes, so that's blue light. And you can use both
of them to convey a message or to act as
backdrops or set a mood, basically for your photos. For artificial light, what
if the light isn't perfect or for natural light
or any of the lights? What if it isn't perfect? The mood isn't right? There are a couple of things you can
do to set the mood right. You don't need to buy a
very expensive light setup. N you don't need that. Just the other day, I got a little mini torchlight
and I used it to create So there are a couple of things that we use as photographers to control. We have the reflector,
and then we have, like, a black card or a black, like, sheet or something like that. And you can actually form a DIY setup for a
reflector with Es. It's something I
think I've even told friends that I will
take sheets of paper or a white
bedsheet whenever I'm traveling just in
case I don't want to carry a bulky reflector setup. And I could use that
actually reflect light onto, like, a subject or onto
a surface, basically. So yeah, white sheets of papers or white
bedsheet anything white can act as a reflect or bouncing light off
to your subject. While anything dark, like a dark bedsheet or black papers
or black sheet cards and everything can actually help in removing light from surface is so sort of like
darkening shadow. So if you just want to
play around with stuff, you can have like
white bedchtie. You can just, like,
place a black card somewhere and then you
just realize that, like, you see the
effect on the subject. And then we have some people who just love shooting
in their homes. And the reason is
maybe they have these like curtains
that diffuse light. So, like, the sun
hits the curtains. The curtains just like
give this white tone. Yeah, it's a perfect
example of how you can actually use different things around you to make
your lighting perfect. Have cases of people having so many mirrors in
their houses to just, like, bounce light
off different places. So yeah, you can also set up a mirror and
position it in a way that you can actually get
light shining all around you. That's how you can
actually use things around you to get the best
light setup going on. You don't need any
extravagant setup to achieve great results. In our next lesson, we'll talk about posing
and setting up shots. But in the meantime,
I would urge you to go and practice
lighting techniques. Like, there are so many things
you can do with lighting, and it's amazing the
amount of things and results that can come up from
just a very simple setup. So yeah, use things around
you, use whatever you have. Use your pro setup if you have one and play around with it. Let's see how beautiful
your images come out. So yeah, next class,
posing. See you.
6. Posing techniques & Setting up shots: Guys. So today we're
diving into we're diving. You know what we're
talking about Well, okay. Today, we're diving into posing. So now you get like we have
to try and pose like divers. We'll explore how to use body language, facial
expressions, props, and movements to
create captivating self portraits that truly
express who you are. Let's get started. First off, let's talk about body language
and facial expressions. It's a secret weapon
in conveying emotions. So yeah, if you aim to convey, certain emotions
with your portraits, these things or
these properties of your face and expressions
help you in doing that. For body language, number one, you could experiment
with open poses, arms spread out, shoulders back for confidence
and approachability. Number two, you could
try closed poses, arms crossed, shoulders hunched. And then, number three, you could play with
hand placements, hands in pockets for
casual looks or hand near to face to draw attention
to your expressions. When it comes to
facial expressions, practice in the mirror to
find your best angles and most natural expressions.
Don't force a smile. Genuine emotions always
translate better in photos. Experiment with
serious, playful and contemplative looks to match the mood you're
trying to create. Remember, subtle changes
can make a huge difference. Tilting your head or raising
an eyebrow or slightly parting your lips
can dramatically change the feel
of your portrait. Next, let's talk about how
to use props and how to use your environment to add to the value and the
quality of your work. Number one, choose props that reflect your personality
or tell a story. Use your environment as a prop, lean against a colorful wall, peek through flowers or use an architectural element
to frame yourself. Play with reflections
and mirrors, windows or water to
adapt and interest. Make sure your props and environment compliment you
and not overshadow you. So, for instance, you
can't have Well, you can. That's the fun thing
about photography. There are no rules, actually. Because I was going to
say you can't have, like, a football in a swimming
pool type of setting, but, I mean, that's that's art. Imagine having something like that and shooting
something like that. But anyways, the aim
is to let your props compliment you and
your environment compliment you rather
than overshadow you. Lastly, let's talk
about movement. Movement is one of the most fascinating
things in photography. I love movement because
it's different. It's not like the regular or it's not like
that. Movement is more of. And then you get, like, this captured.
It's so beautiful. It adds a unique touch to
every photo, in my opinion. So yeah, let's talk
about movement. Capture action, jump, twirl, toss your hair,
use your iPhones, burst mode to catch,
like, the perfect moment. Create implied movement, show
yourself midstep reaching out for something or with clothing or hair
blowing in the wind. Use motion blow, slow
down your shutter speed. You can do this
with the lightroom application on mobile devices, and then move during exposure
for artistic blur effects. Here are a few photos I
captured with movement. I made sure my
shutter was very low, and I was just
like, moving around and also having the
subject move around. And it created these
beautiful pieces that I honestly think
are masterpieces. Remember, creating a sense
of movement can be as simple as a slight lean forward or
a gentle turn of your body. So here's a fun exercise
for this class. Set up your tripod, put
your phone on your tripod, and set your timer. Don't listen to
the timer, do you. Have fun. It might look silly, but honestly, confidence is
what matters in photography. When you're sure about
something you're doing, whether it's a
professional headshot or an artistic expression
or a conceptual photo, as far as you're confident
about the output, it's going to look really great. So yeah, just set up
your tripod, your timer, and then just move, do something weird, do something crazy. And I promise you, when you see those photos,
you would love them. In the next class,
we're going to go to my favorite part of
photography, which is editing. So in the meantime,
practice your poses, create some amazing images, create mind blowing stuff, different stuff that
you've never done before, or unique stuff like, particularly unique to you
and bring those images, we will edit them together. So, yeah, editing is one of the best parts of photography. It's where an image that
has no meaning or value can actually get value
just off the editing. So, yeah, I will see you
7. Editing your self-portraits: Welcome back. Welcome,
welcome. Welcome back. And I know you're excited
already because you've gotten the opportunity to
shoot some amazing photos. If you haven't shot anything or you've not
had the chance to, I would link some
beautiful photos as well that I've taken
for you to edit with me so you can be carried along
and you're not left behind when it comes to
editing and learning about the editing techniques
that I'm about to share. So, yeah, you find
them attached, amazing resources for you to follow along and edit with us. Now, can we get to
the for part of photography as fast as
possible? Let's go. You know me. I like toggling things and just
testing things out. So I go from exposure
to contrast. I adjust it a little bit, and I go to my
highlights as well. I do the same thing with
shadows, whites and blacks, just playing around to see
what works with my eyes, because I feel like
that's the best way to edit or color grade a photo. And then I go to my masking and add a little mask down
there for some shadows, reduce the exposure as well, just to give, like, a
dynamic feel of the photo. And And I add another mask just above the subject to lift up the
shadows and just give, like, a little glow in the sky. So I just play
around with stuff. We're just going to add our
highlights a little bit, adding shadows as
well and whites, and we're going to
increase those blacks. We're going to also
toggle on the haze. And I want to select my
subject and increase the shadows and the highlights as well so that the
subject can pop. Next, I'll go to my crop and just try to
straighten the frame. Then I play around with
my color mixer and just see what works if I want to desaturate
something as well. And I also play around with the shadows and the
highlights and the mid tones. So I think I'll just add some
warmth to the mid tones and then some blue
shadows a little bit, and then some subtle
green to my highlights. It I don't know, I think I'll make the shadows. I'll make the shadows warm. So the best way to
collaborate is actually by playing with everything
you see on the tabs, and you get to know them better. You get to know what they
do to your image better. And by familiarizing yourself, it becomes easy to just know instantly what you
want on your photo. So that's it. Everything I've done
on my PC can be done on the tro
mobile app on phone. It's just basic editing, nice color grading and yeah, just that I masking. So you can get everything
you got on PC on phone, and you do not need
to worry about having to invest in a
laptop or anything. You can still use your phone for your camera and
also for editing. Let's talk about developing
a consistent style. It's very important to
while discovering yourself, develop a certain consistency, either the consistencies in your composition or
your method of shooting or your color grading or your style or the ideas
you have while shooting. Maintain that consistency
because it helps you grow better every
single time you do it. So that's one key thing about
consistency that I love, which is the fact that
you do it every day, you're definitely bound to
get better every single day. Lastly, don't be afraid
to break your own rules. Consistency is great, but
no one is doubting that. But at the same time, give
yourself some room to try out new things to
explore things. Because you wouldn't get
that style you want to be consistent with if you
started being consistent, maybe with one particular
thing and never bothered to try out other
things from the start. So it's good to try
out different things. It's good to experiment. It's good to just, yeah, taste every meal in the buffet, and then you know what
particular meal you would want to keep
eating, basically. Yeah. When you're done editing, be sure to share your final
images with us as a project. I would definitely definitely love to see what you've created. And I'm pretty
sure everyone else would love to see it
as well and leave you a kind comment and tell you
how much of a star you are. So yeah, please be sure to
leave your images and also, feel free to comment on anyone's
images or anything that you feel is motivating
or inspiring, as well. In the next class, we'll be recapping a few things we've
learned and also giving you some pro tips for you to
start your journey as a self portrait photographer
who uses their phone. Imagine that. That's
nice. See you there.
8. Conclusion: Welcome back, and
it's been fun so far. I really love what
we've been doing. I love what we've been shooting. It's also been challenging for
me and inspiring, as well, because I see myself slacking when it comes
to shooting with phone. But I want to do it more. I want to actually experiment
and touch the waters more with phone photography because it's something
I used to do, and then maybe I had,
like, this little break. But I got the 15 pro just because I needed
that flexibility as a phone photographer. So if I'm outside, I don't
need to carry my camera. I know that I have
a great device with me to also capture moments. So, yeah, it's been
really exciting for me. So we're going to be
talking about the videos we've done and the
things we've learned. The first video was
introduction where I said, I may Boca Modi, a photographer who has been in the game
for nine to ten years now. And I started out with an iPad, so I can vouch to an
extent the power of what a mobile device can do for you in your photography career. Boring. Boring. Enough about me. The second video, I put
you through the things you would need to go through
with this course and also, like, the things you need
as a phone photographer, a phone self portrait
photographer. We talked about the
tools you would need, the tools that are very crucial to have, which is the tripod, and then things that
you can also get us extra resources
or extra tools, which is the clip on
lenses, the ring light, the Bluetooth remote, as well, and just some extra little
things here and there. Remember, you don't need
so much of these things. You don't need to have
every single thing. You don't need to have the
clip on lenses at all. But if you can, why not? It's a nice thing to
have. But you don't need it to get your
perfect photos created. You can still create
with just your phone. Even need the Bluetooth remote. Boy, you need a tripod.
That I can stress. You need a tripod because it's just it makes things easier
as a phone photographer. So yeah, there's no need going through a lot just to set your phone when you can
actually just get a tripod. So it's a good investment. Get a tripod, get a phone, tripod, and be shooting. Next up, we talked about
our basic camera settings. So one fun thing I like to do is to just check out my
settings every time, like till now, I
still experiment. I try out different grid lines. I try out different settings. And then with the apps like trom mobile app that
comes with camera, you can actually go
on professional mode and control your shutter speed. I test out things
like that, as well, just like testing
my slow shutter on my phone and trying to
compare with my camera. I think testing it
out has given me a better idea of how it works. So you could do the same thing. You could test out this
stuff from time to time on shoots or when
you're just having fun. And with time, you get
to know what you want, or with time, you get to realize the functions of each feature. Yeah, it becomes it becomes
a lot more fun for you. So keep testing stuff out in camera settings and keep
noting what they do. So you just testing stuff out and forgetting
what they do. But you're testing them
out and actually knowing, Oh, this is what this does. I think I want that
in my next photo. Yeah, keep testing stuff out. Next up, we talked
about composition. Composition is beautiful. I feel like I say beautiful
for almost everything. But, yeah, it's
beautiful because it helps you highlight
your environment more. And for someone like
me who actually loves capturing the environment
apart from even subjects, I tend to want to
infuse subjects in the beauty that an
environment holds, basically. So composition helps me do that. Especially when I
have a vast idea of what I want to do with
a particular surrounding. So yeah, composition
is beautiful. We just need to test it
out more be more aware. You don't need to
be shooting to be aware of the composition or the environment or the
composition possibilities in a certain environment. You
can actually just do this. They say directors
do this a lot, and I think I want to
steal it from them, which is I could be
walking past something and then I just Oh, this
would look nice. This would look nice. Yeah, it just makes you I
trains your brain to actively search for framing in everything you're
seeing in front of you. So you could just Oh,
that's a nice frame. That's a nice frame. Ah,
that's if I tilt it. Oh. Yeah. You get the gist,
so Practice, basically. Practice makes perfect. So just keep practicing, do this when you're outside. Just like getting
an idea of what is what and how things can be framed in your
immediate surrounding. Lighting. Lighting is very
fun because like I said, it has endless possibilities. You can just keep experimenting with one source of
light and put it in so many different positions that the outcome is always
unique and different. Just practice,
basically. Oh, yeah, don't be scared to
test out stuff. Remember, you can get the white sheets and the
black sheets as well, and you can get curtains
that diffuse light. Just have fun with it, really. Don't be scared of
light, and yeah, everything would definitely go well for you when you do that, when you practice more
often with light. And then we talked about posing. Posing, posing, posing. Why I'm smiling is because I like the part I ended
with which was motion. And I feel like that's the
only thing I want to tip on. Motion is just
beautiful for real. And here's why, again, you could be
capturing subjects in the future if you
commercialize your skill, and they don't know what to do. You at that point,
don't know what to do. Maybe they don't have chemistry
or something like that. But you can just tell
them, You know what? Just dance around or roll
around or do something. And then they do it and you
just take photos of it. End up seeing the results
are more generic, more beautiful, more
natural than a first, Okay, you know, just
put your hands here. And the person does it and
doesn't know what to do. But when you tell them, Oh, no, rather than
put your hands here, just, like, do
this, move around. And the results will
definitely be better. So I feel like motion is the only thing I want
to highlight from that class for myself and
for you to practice more. So just practice motion. It always brings out
beautiful results. And then from motion, you get to know how to post people even better because now the I
naturally just did it, which is or something like this. It's off motion. Like,
you can actually tell someone straight up
when you have a better idea. Oh, yeah, just do this
and the person can do it. But the only way I knew to do this was because I
experimented by saying, you know, just move your
hand around your face. And then at some point,
the person did this, and maybe I got a photo of this, and I realized that, Oh, this is a lovely pose for a masculine,
like, maybe figure. So, yeah, you can
experiment with motion, and you'll definitely be
surprised at what you have. Lastly, we talked about editing, and editing, like I said, is the I believe you recited what I said.
Like, I believe that. But yeah, editing is
the spice, basically. Color grading is fun. It's also about experimentation, just going through tabs
and seeing what you like, and just practicing
it day and night. Yeah, watching videos as well, going through social media and not just scrolling blindly, but scrolling with
an intention to actually pick up stuff
and be inspired. That way you get to see colors, you get to see how people
have mixed colors together, and you want to infuse that in your photograph it's all about discovering your style
and just having fun. Don't mystify the process. That's something I keep on
telling people whenever I have a chance to
speak of photography. Don't mystify the process of creating because
when you do that, you find it hard
to create freely. So mystify means maybe
you just want to take a simple selfie
with the sunlight beaming through your
window in the morning. But then mystify you're
frantically searching for all, it needs to be this ankle. It needs to be perfect.
It needs to be this. You know, sometimes all it
takes is actually for you to just bring out your camera and actually just press
the shutter button. So try and demystify the process
of shooting or creating, and it helps you
do it with ease. It helps you do it more often. It helps your body get adjusted to creating and the process behind creating that it wants to do it as
often as possible. That's it for this
beautiful course, and I'm really happy with all the images
I've also created, and I'm excited to go
through your images as well and things you've created
throughout this class. Be sure to leave a review. Your review means a lot to me. So yeah, just be sure to leave a review on how the
class helped you or what you think about the class
and what can be done to improve the teaching
experience moving forward. And I look forward to
also reading that. Congratulations on
completing this course. I want to see your projects. It's something I'm looking
forward to, as well. I need to see your
projects. It's a need now. Because it's always fun
seeing people create stuff off the things we
talk about and also, practice stuff and be inspired. So I'm looking forward
to seeing that and congratulations once again. It's been fun. I hope to
see you in my next courses. I teach a bunch of
courses on Scios as well, and it's been an
amazing journey, and I hope to see
you there as well. Yeah, chairs and
have a lovely time creating with your phone
and taking selfies, self portraits, whatever you
choose to call it, Arts. Yeah, have fun and
goodbye. See you soon.
 Ebuka Mordi, Nigerian portrait & fashion photographer