Transcripts
1. Introduction: Lights, Action. What? So people, this class is all
about portrait photography. No getters. So definitely get us. They believe a portrait
can be taken by anyone. But as the portrait
actually portray the mood, feelings, and emotions
you're going for. So I'm able to come
Modi a fashion, I'm portrait photographer
based in Nigeria. I've been a portrait
photographer for about eight years now, and I've enjoyed the journey
shooting various people, various faces, unique features,
individuals, locations. It's just been a beautiful
journey really for me. And my works have been
published on Vogue Italia, rebel magazine,
flood, no magazines, blogs like shortcuts,
Bella Nigeria and well, the list is going to be endless. I've also created a class on Skillshare called professional
photography on a budget, which focuses on the techniques
and tools you can use in your photography to stand out no matter what gear you're using. The advice and knowledge
I'm going to share with you in this class are things that I wish I
knew when I started photographing and it makes me so excited to be able to
share this with you. This class is both
for beginner and intermediate photographers. Look into elevates their
portrait photography by using the appropriate lighting,
backdrops and postures. You will learn how to capture
the essence of a person. We will be going through basic camera settings that
can improve your photography. What it takes to find good
locations for shoots. Picking pushes that really
the mood or emotion well, lighting and how it
affects the pictures. Candid portraits, getting to know your subjects and a Dixon. So as you can see, it's, it's a course filled
with lots of stuff. Then you can learn from, although this class
we'll primarily be looking at unique and
creative portrait techniques, we'll discuss some features
of self-portraiture, unused these methods in
that context as well. By the end of this class, you would have created
some remarkable portrait. Join me in the next lesson
where I'll cover how to take this class and what
your class projects will be.
2. Class Orientation: In portrait photography
planning is a crucial stage when
you step out to shoot. It helps you stay
focused on your goals. I decided to make
the class project for this class a walkabout, exploration of our
surroundings and planning, because it might as well be the most crucial fees in
portrait photography. I enjoy how preparation and nibbles wants to set objectives, tasks, and to-dos that
keeps the shoot orderly. Allow for creative freedom, and enable one to
concentrate on taking pictures without being
distracted by other things. Cbt is that result from
a lack of organization. It's begins with
taking a stroll around your neighborhood or researching
potential locations. Choosing a subject or
considering how well does subject my father convey the
mood you want to portray. Being aware of your camera's
capabilities and lenses, obtaining props, and
setting up your lighting. So properly plan. We need a pen and notepad
in addition to a calmer, either a phone or a DSLR. Now that we have planned, Let's learn or re-learn
some basic camera stuff.
3. Learn How to Use Your Camera: In order to get mastery
over your technique and artistic expressions in
portrait photography, you must practice
in load is time to spend money on a nice
camera and lens. Once you've begun to grasp the complexities of
portrait photography. Since numerous cameras today can produce excellent portraits, there is no such thing as an
ideal camera for depictions. Knowing how to use them in various lighting and
environmental situations is key. I will talk about ISO, f-stop, exposure and aperture. Iso, your camera
sensitivity to light as it pertains to film or
digital sensors. In low ISO means
less sensitivity to light and a higher ISO means
more sensitivity to light. We can use ISO to
enhance your images and the flow of light
into your images. However, it comes with the
cost. What is the cost? The cost is green. The higher the ISO,
the more to grade, the lower the ISO to
lesser the green. So now we're going
to practical lies how ISO affects a
particular photo. Using this camera, the Nikon D 60, an entry-level cameras. I'm just going to
slice this much for ISO. And as you can see
from these images, you can see the differences between all the values
on what they give. And if you notice right here, you can notice like the
green, the green intensity, It's quite much, and
that is because of ISO value was being increased. So that's basically it for ISO. And you can use that to navigate different scenarios
or situations that you find
yourself shooting in. You get your images to
have exact amount of exposure you need
while keeping notes. That the higher the ISO, the more green the way of photos or created a relent on
three major factors. Or the triangle, which is ISO, your shutter speed and aperture. F-stop number of sets in is what controls the
aperture camera. So remember when I said ISO gives great when
you grow higher. To avoid a scenario like that, you keep your ISO
on a steady value. A value that you like that
gives the image in offline. And then you adjust your
f-stop value to match that. So adjusting your
f-stop value now helps control the amount of
light entering the camera. But how ever? The higher your F stop fighting, the lesser the depth of
the photo is displayed. So if you're a photographer who likes blowing out
your background, I would advice you go on your f-stop value and
use the shutter speed. So adjust the flow of
light into your photo. Shutter speed controls how fast or slow your
shutter closes, affecting the time of your exposure and helping
you freeze motion properly. The lower your shutter speed, the darker the scenario. The higher shutter speed, the brighter the scenario. In the sense that shutter
speed is a fraction. Fraction goes lower. When the numbers of the
denominator increases, the fraction goes
higher when the number of the denominator reduces. For instance, if you're shooting something as one over 16, it's going to be way brighter than shooting at one over 300. So you can use your
shutter speed to adjust the inflow of light. If you do not want
to tamper with your ISO or your f-stop value. So that way you have your
depth, your desired depth, and you have an image
that doesn't have green, and you're adjusting your
shutter speed nodes. Now, the lower the
shutter speed, the faster you capture motion, while the higher
the shutter speed, the more it seemed
to be observed. Now I'm going show
you how to adjust these settings using your phone. Now, I'm using the iPhone 12s. And on the iPhone 12s camera, on any basic iPhone camera. Once you open your camera,
you can choose to put your grid lines if you want
to perfect your composition, or you can just leave it plain. You can also use
the wide-angle lens or the normal lens,
the telephoto. So on iPhones to
adjust exposure, all you need to do is
tap on the subject. You can hold it down so
that it locks it in. And then you toggle with
the brightness here. As you can see. Great. Now, the more advanced iPhones
make it easier for you to adjust different things like using portrait
mode. For instance. Using portrait mode,
you can easily adjust your F stop value and create an image where the
background is employed for an image that has the background redeployed by toggling this. Then then you have applications that help you
adjust these settings. If you can't really find them on your iPhone or your phone. For instance, I use Lightroom. Lightroom mobile. Lightroom Mobile now has an
application for your camera. When you open it,
you see your values, your ISO value, your shutter
speed, and your exposure. You see all of
these things here. I hope this helps
when it comes to understanding your
basic camera functions. Let's move on to finding
the right location.
4. Finding a Location : In this lesson, we're
going to be talking about locations in exploring
the factors should be considered when looking for the location you decide
for a portrait session, we will have a big
impact on the outcome. Or do it presents
numerous difficulties. Shooting outside
in natural light often gives the
greatest results. Planning would include
consideration of whether time of day and shifting lighting
and environmental factors throughout the course of two t. So first of all, we
have location concepts, research ideas, cows planet, with a check
inspection location. Shooting. These factors,
if planned accordingly, can lead to very
successful shoots. Now that we have our location,
it's time to get ideas, are pushers and props that compliment our
mood and location. See you in the next lesson.
5. Postures and Props: Welcome back. In this lesson, we'll be talking about postures and props. Props are any items
that they utilize to enhance and clarify
the main subject of a portrait photographer. When taking portrait photos, a proper make the
person standards. Additionally, it will let the spectator understand
who they are. The use of portrait props can give creative
photographic concepts. If fictional edge. Props. Props aid the visual
impact of your photographs. Having little elements
or things that you can add a photo to
enhance its meaning really helps. With that. We'll move on to
the next lesson.
6. Lighting: Hello. In this lesson, we're going to be talking about
a few lighting techniques and what I use in my photos. A reflector,
diffuser, LED light, natural light are
the main components of my straightforward
lighting setup. Lighting. Lighting is actually a major
part of planning as well. Because you need to prepare for the conditions you're going to shoot out with. So if you're shooting indoors, you need to know what kind
of lighting you need to use. You need to get these
things on ground as well. And if you're shooting outdoors, you need to plan properly
to know what you would need to diffuse lights to reflect the light
or to just January aid the scene that you
prepare for your shoots. The first light into our
use is the reflector. Reflector bounces off lights from a light source
to the subject. Objects, whatever you want
it to bounce light from. I use it on my
portraits because I like the fact that I
can get rid of shadows, especially when I wants to
have a source of backlight. The second tool I
use is the diffuser. Diffuser reduces or
evenly shares life, especially when the
light source is harsh. So evenly shares it
out to my subjects like face or the object
I'm trying to get it on. So I get rid of harsh
lighting with the diffuser. Also use a LED lights. You can easily get a LED
lights for each ship amounts. You can use it as
one of your sources of lighting when
shooting portraits. And it's really
effective because it highlights your model or
subjects, or even yourself. And you can use it in
place of a softbox. And whatever expensive set
of theories out there, I use my LED lights and
then my diffuser to diffuse the harsh light
from the LED light onto myself when I'm
shooting indoor photographs, or even some particular
outdoor photographs that I want to highlight
a part of their skin. So I just like points
the LED light at that. Put the diffuser in-between
and then you have this soft, beautiful light hitting the face and you also have natural light. It's outdoor. You also have natural light
coming from this side. So that makes has gotten me like every photo I
want to like shoot. It has helped me achieve
every type of mood I want to portray because I'm
not restricted in any way. Now who's going to
be in the spotlight? Let's talk about that
in our next video.
7. Subject : In this video, we're
going to be talking about the subject as well
as candid photos. The most crucial elements in
photography is the subject. A great portrait
photography session depends on you getting
along with your subject. Prior to the photoshoot. Spend some time getting to know your subject and if possible, arrange to meet up in person. It is advisable to get to know
one another unexplained to the subject of
photographic style and the precise
objectives of the shoot. Subject. Getting to
know the subject. How can you get to
know your subject? Well, first of all, if you're taking
pictures of a Moodle, you can get to know
your subject by probably having tea
with your subject, bringing up
conversations that help you understand the
person even more. Laying out your idea
with your subject to see if your subject
is comfortable portraying the emotions
you're trying to portray and how well your subject can
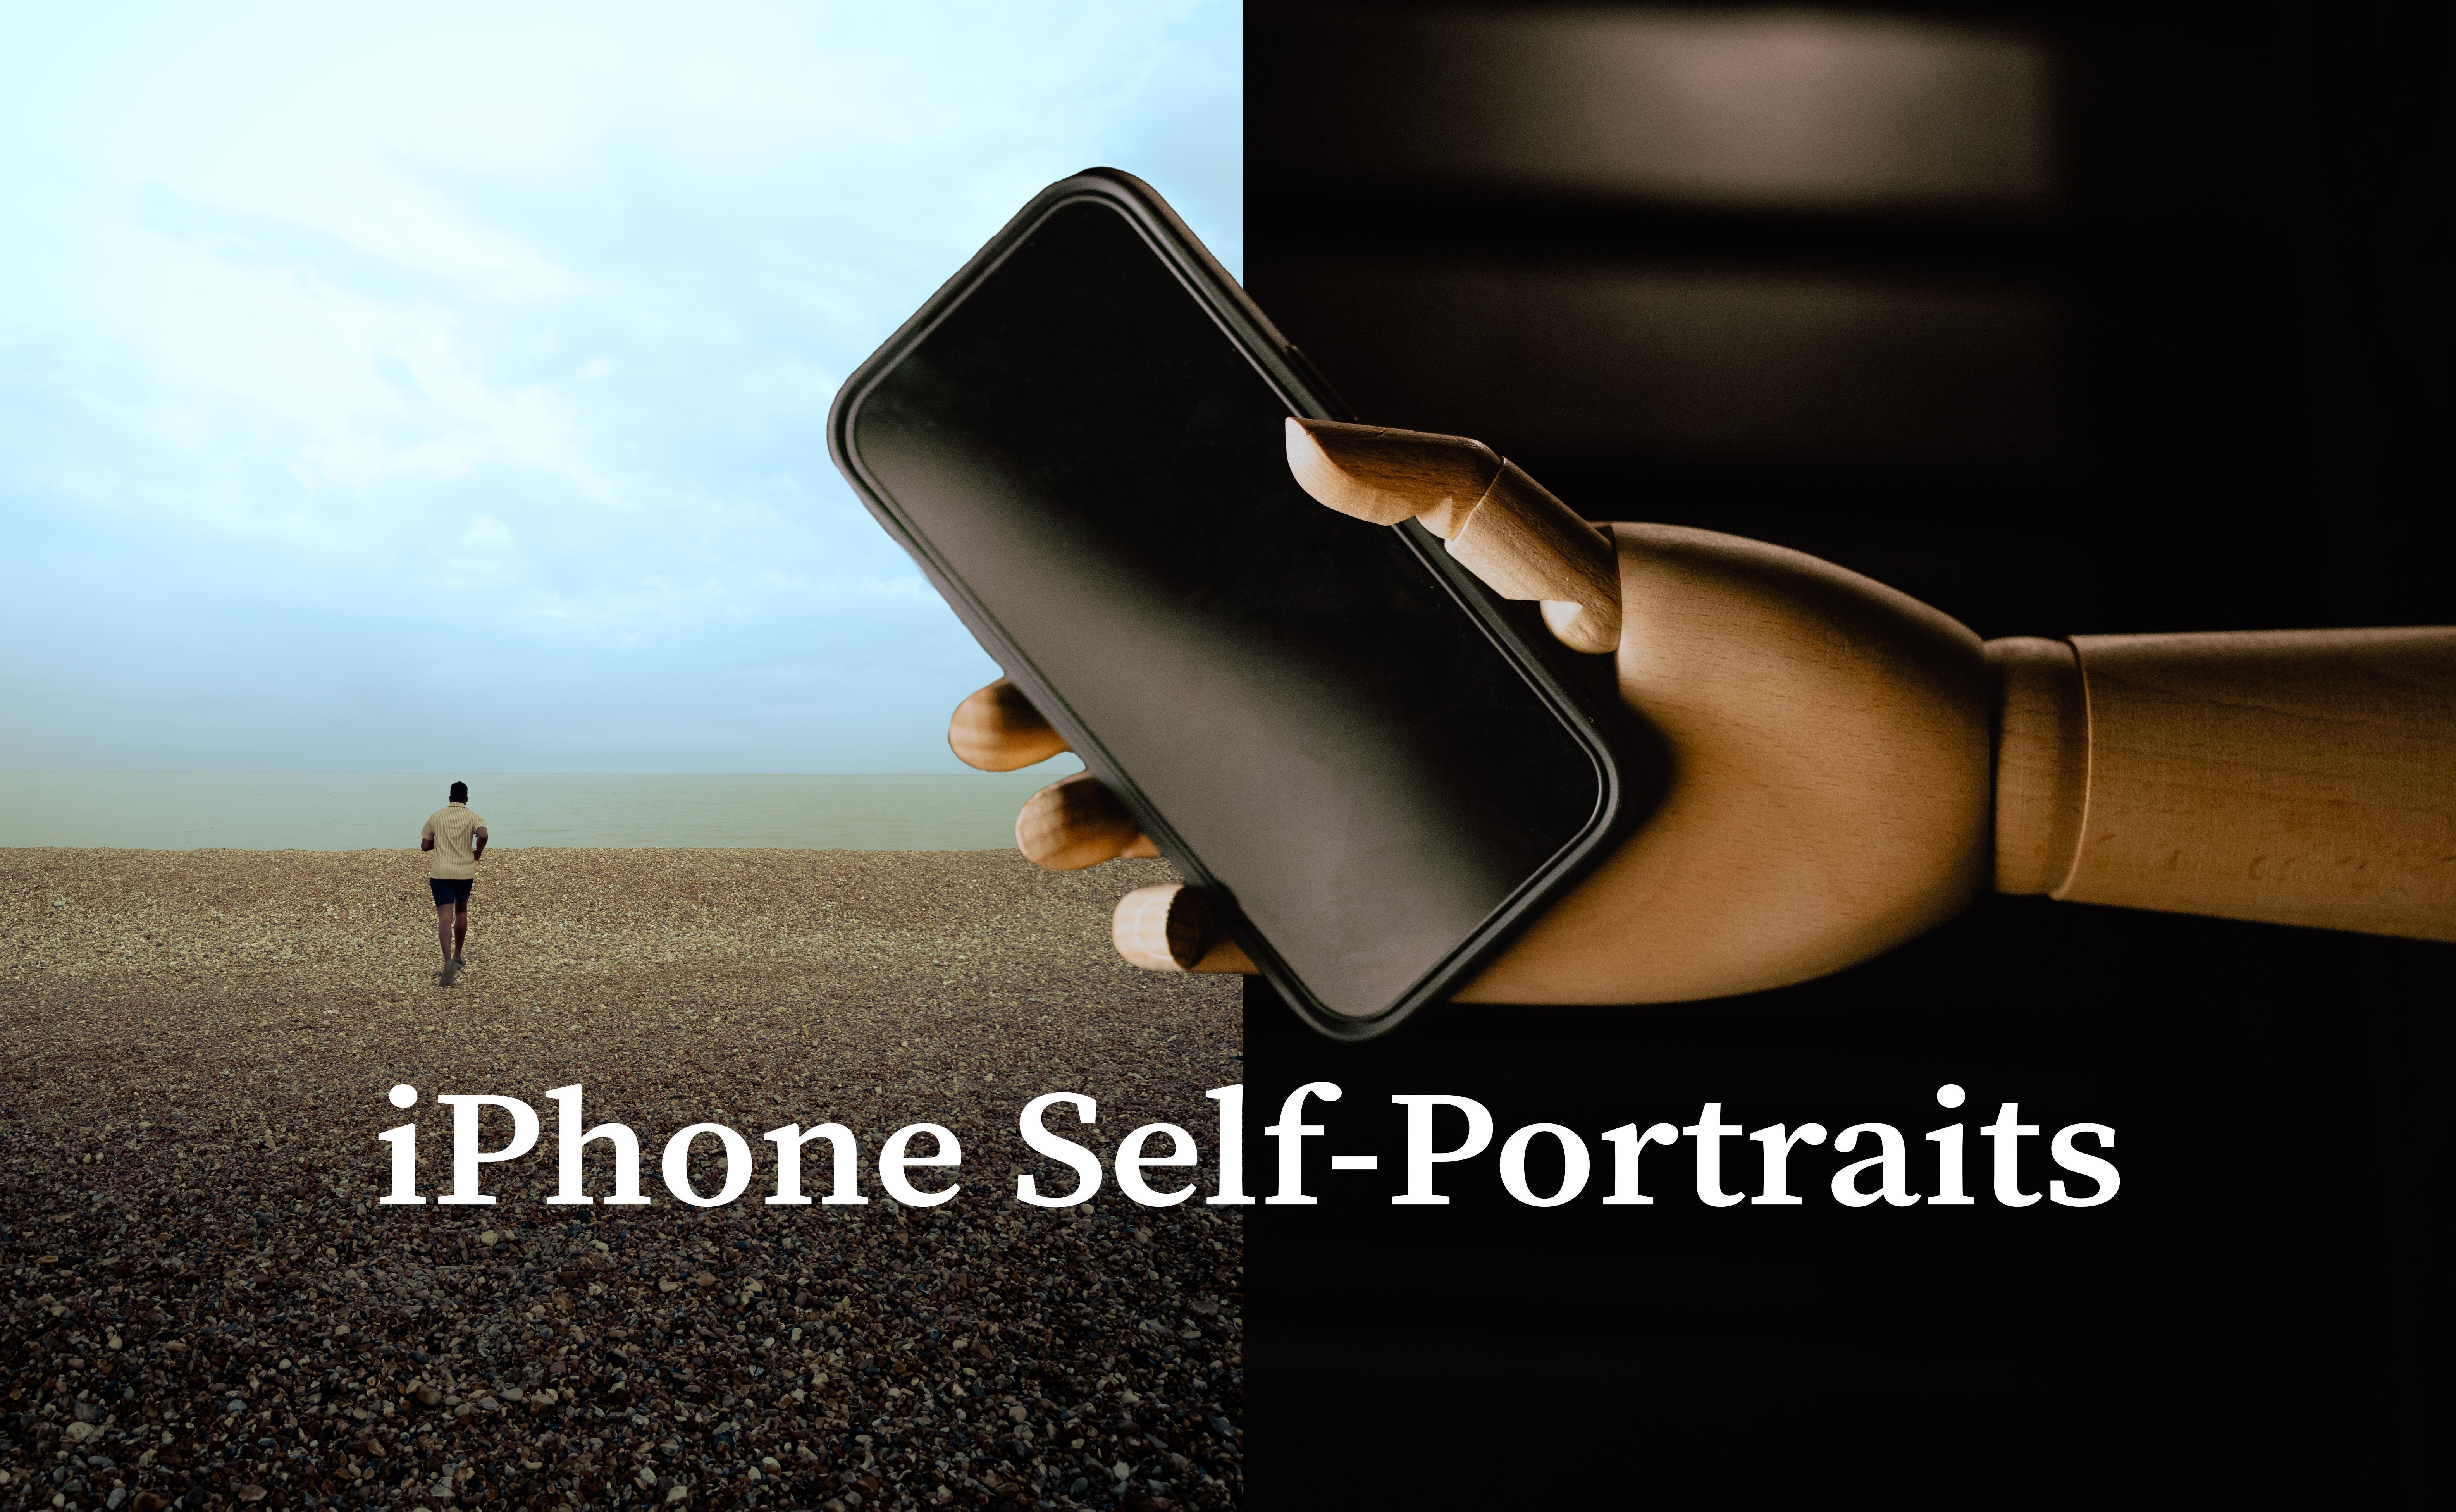
portray those emotions. Self portraits, on
the other hand, help you explore
more about yourself. The more you take
pictures of yourself, the better you are more accustomed to being in
front of the camera. So for self portraiture, you just need more practice
and more pictures. And the more comfortable you
get in front of the camera, the better the outcome is. Not to feel left out if you're going to be
shooting self portraits, the most important thing is
about being comfortable. You need to try out the
posters you've noted and see how well you connect with
the mood before shooting.
8. Editing and Color Grading: Hi. Now that you have
beautiful portraits to work with, it's time to edit. In this lesson, we're
going to be using Adobe Lightroom to
edit our photo. And don't worry if you
don't have any photos yet. I will plug in a few of my photos that you can
use to practice this. N has to be my favorite step. Inputs are working because
they get to portray moods and what is on my mind. Through color gradient. I'll be showing
you the tools and processes are used on my photos. Let's go. This is a photo of topic
that I really love and I chose it to
be 0 demonstration. So the first thing
is in Lightroom, you import your photos and you click on that photo,
the important photo. And then this pops up, which is your edit panel. The edit panel. I go step-by-step
when I'm editing because I like to toggle stuff and see what works
and what doesn't. The first thing we're going
to toggle is the exposure. So we're just going to
depend on what our mode wants to be or what we
intend on mood to be. I want this to be a dark photo, so I'm just going to reduce
the exposure a little bit. And then I'll contrast. I want it to be flat, not too contrasted so that
I can walk into blocks. So I'm just going to reduce
the contrast a little bit. And then my highlights, I
want my highlights to pop. You can see what it does
when you toggle it. It highlights are reduced here. To increase or reduce my
shadows a little bit to bring back the contrast
that I flattened out. Only. And then my whites,
I'm just going to check if I want whites, having white, I like what
it does to the sky behind. So I'm going to increase
my whites a little bit. I really love what it does. Then my blocks on because I already did that
with the shadow. I'm just going to keep
my blacks a little bit. Minus nine is perfect. Then we have the points
on the points club. You just need to
know two things, two basic things on
the plane score. If you have too many whites or white star overexposed
or blown out, you can crush them by
going to the top side. And doing that. You can see what it
does to refer to. If you have blocks
that you want to crush as well, you can do that. But I don't, I don't
crush my blacks anymore. I used to those
this whole phase in photography where people
like to crush blacks. So I've reduced the blocks and my whites and I think
I'm okay with that. The next step is the color. You can choose to increase your temperature or
reduce it normally, this is what I use
whenever I want to correct what my white
balance was initially. So if I shot in a, in an overly warm environments and I needed to reduce the ones. I will just move it a little
bit towards the blue side. If I wanted to increase
the warmth out, just move it a little bit
towards the yellow side. I think this is perfect. We shot tool then vibrance, synthesis basically to
change the tense to a purple tinge or a green teams are green doesn't look that bad. But I don't, I don't
want it to be green, so I'm just going to
maybe minus three. Then we're just
going to increase the vibrance and then
reduce the saturation. That's my style of
photography where you can, you can use, you can use your colors to your
advantage if you like. Saturated photos. I'm just going to
reduce the saturation a little bit with my
vibrance increase. And then we have the
column mixed up, which is one of the most
important tools as well in photography or
rather in Lightroom. I use this tool a lot because I normally lies and get
rid of my yellows. So for example, I have
yellow selected here. All I'm just going to do is drag this to desaturate my yellows. Then I toggled luminance sometimes to see how it
looks if my yellows and desaturated or sorry if my yellows are
eliminated or reduced. So I think I like it
when plus 100 is fine. I'm just going to increase
this a little bit. I think for this
particular photo, I'm just going to leave my
yellow square increases. Then I will
manipulate migraines. I'm just going to change the
hue is basically the shade. You can see. It's looking
at it to be yellowish here. Getting to be greenish here. So I'm just going to
make it green and then desaturated it a bit
to give it a fill. You can see it's just beautiful. And then I'm just going to
increase my luminous as well. The blues of the sky. I'm just going to
reduce the luminance because I want it to
pop and then increase saturation a little bit here. I'll do the same with this. Perfect. That's basically what I use to let me see if there's
anything here I can. Okay. Perfect. Increase the
saturation of oranges. Yeah. That's basically it. And then if there's
a color that you, you can't define in, in the options given. You can just click this to here and then select that color. And then it does the job of selecting what particular
color that is. And then you can just increase your saturation or whatever. The next thing we have is color grading and
color gradient. You have mid tones,
shadows and highlights. Mid tones. You can choose to. Normally whenever I use this, I keep my mid-tones or eat yellow and then
slightly adjusted. The same thing with my shadows. There could be a blue or green, and then I just move around and see what works
basically for my photo. And I think green
doesn't look that up, but at the same time
Buddhism top part, but I think green is,
green is perfect. It's a good, clean anti-hero. The symptom of your highlights, you can choose to just
move it, move it around. You don't need to use
this tool every time because sometimes they
don't, it's not necessary. But yeah, the highlights
here looks really good. Okay. So this is before and after this little adjustments we did with our color grading. Okay. I think I like what I
did. It's looking good. Then you can choose to toggle
the blending mode as well. It just helps you and
I think this is good. 13, you can also choose
to toggle balance. And I think it's good at 0. We now have the effects
panel where you have texture clarity, dehaze,
vignette, green. So it's extra if you want
the texture to show. Well, yeah, I barely
use texture except I'm being specific about using it. Then we have the vignette. I used the vignettes most
times because it gives me my photos feel basically. So I'm just going to
use the vignette and then Frederick pounds
100s smoothly, goes out or is distributed. Then we have we have green. You can choose to use gradient. You can choose to. But I don't, I wouldn't
use green on this photo. You have details where you
can sharpen your photo and you can reduce the noise or color noise reduction as well. Then you have your optics where your lens correction is done. You can just stick these two
boxes to correct your lens. Okay? You can see the difference. When I take an Arctic, the two boxes see this. Okay? So I think I'm
just going to uncheck the lens correction
because it gets rid of my vignettes and
I want my vignettes. Geometry. You can
just use the photo feels distorted vertically
or horizontally. You can just do this to fix it slightly and
then you crop it after. But one not using that. The next step is the crop. And the crop. I, I normally do this
thing because it makes you appreciate a photo because you've seen it from
a different perspective. I flip it horizontally and
it changes everything. Really like when you flip
it horizontally using a different lights
or a different view of what you did and you
just appreciate the photo or you go back to
what you are using. So I do that often when
I'm editing my photos. And then you can choose to
crop it however you want. But I think I like the
full frame our cities. And then the next
step is the helium. You have the clone. And here in this step, you can choose to, you can choose to touch
up your model's face. But I barely, barely
use this tool. I barely use this
tool because I like the texture of the skin. I like to portray
imperfections as perfections. That is, it's one thing
about my photography. I don't really removes pimples
or acronym or anything. I celebrate the person and I
tried to show people through my pictures that like the
person is perfect regardless. So I just, I don't
use these tools. Well, in this one,
you can choose to select your subjects
and select the sky. And it's impressive. So
if we select our sky, Let's the voice
selects. There we go. We have our sky selected, and then we can just reduce the exposure a little bit more. Increase the highlights of us. Oh my God, distinct,
so dramatic. Cheese. What do you think? Well, we can increase the whites because I want the Skype
and to show behind. And it's beautiful. Then blocks is just
decrease the blacks a little bit. This is perfect. Then you can also create
a brush tool as well. You can just brush
over where you want to get something done. I normally do this
over my modals, feces, and clubs to enhance the highlights on
that particular part. And then we have this. Okay. So that's about it. For Lightroom. This is the before and
this is the after. It's beautiful. You
can make any photo look very cinematic
with these tools. Just take your time
and toggle stuff. See what you like, see
what you don't like. Be experimental about it. And you get, I hope you enjoyed this process
and editing your photos. Go ahead and post your photos in the projects tab so that
I can check it out on TV. Positive feedback. I can't wait to see them marvelous images
you guys have edited.
9. Conclusion: You did it. We've covered a
ton of stuff in this course. And I've shown you
how I go about creating distinctive
portrait photographs. I hope this has been informative and beneficial to you
as a photographer. Although this was very
useful practices, the best instrument for honing your skills as a
portrait photographer. Regularly going out to
shoot and experimenting with different techniques
and approaches to photographic
situations will greatly improve your foundation
as a photographer. I'm very excited to
see your projects, so make sure you upload them as soon as you're done editing. Feel free to join
me on social media with the handle it
Booker, underscore moody. I look forward to
connecting with you. Well done and see you soon.
 Ebuka Mordi, Nigerian portrait & fashion photographer