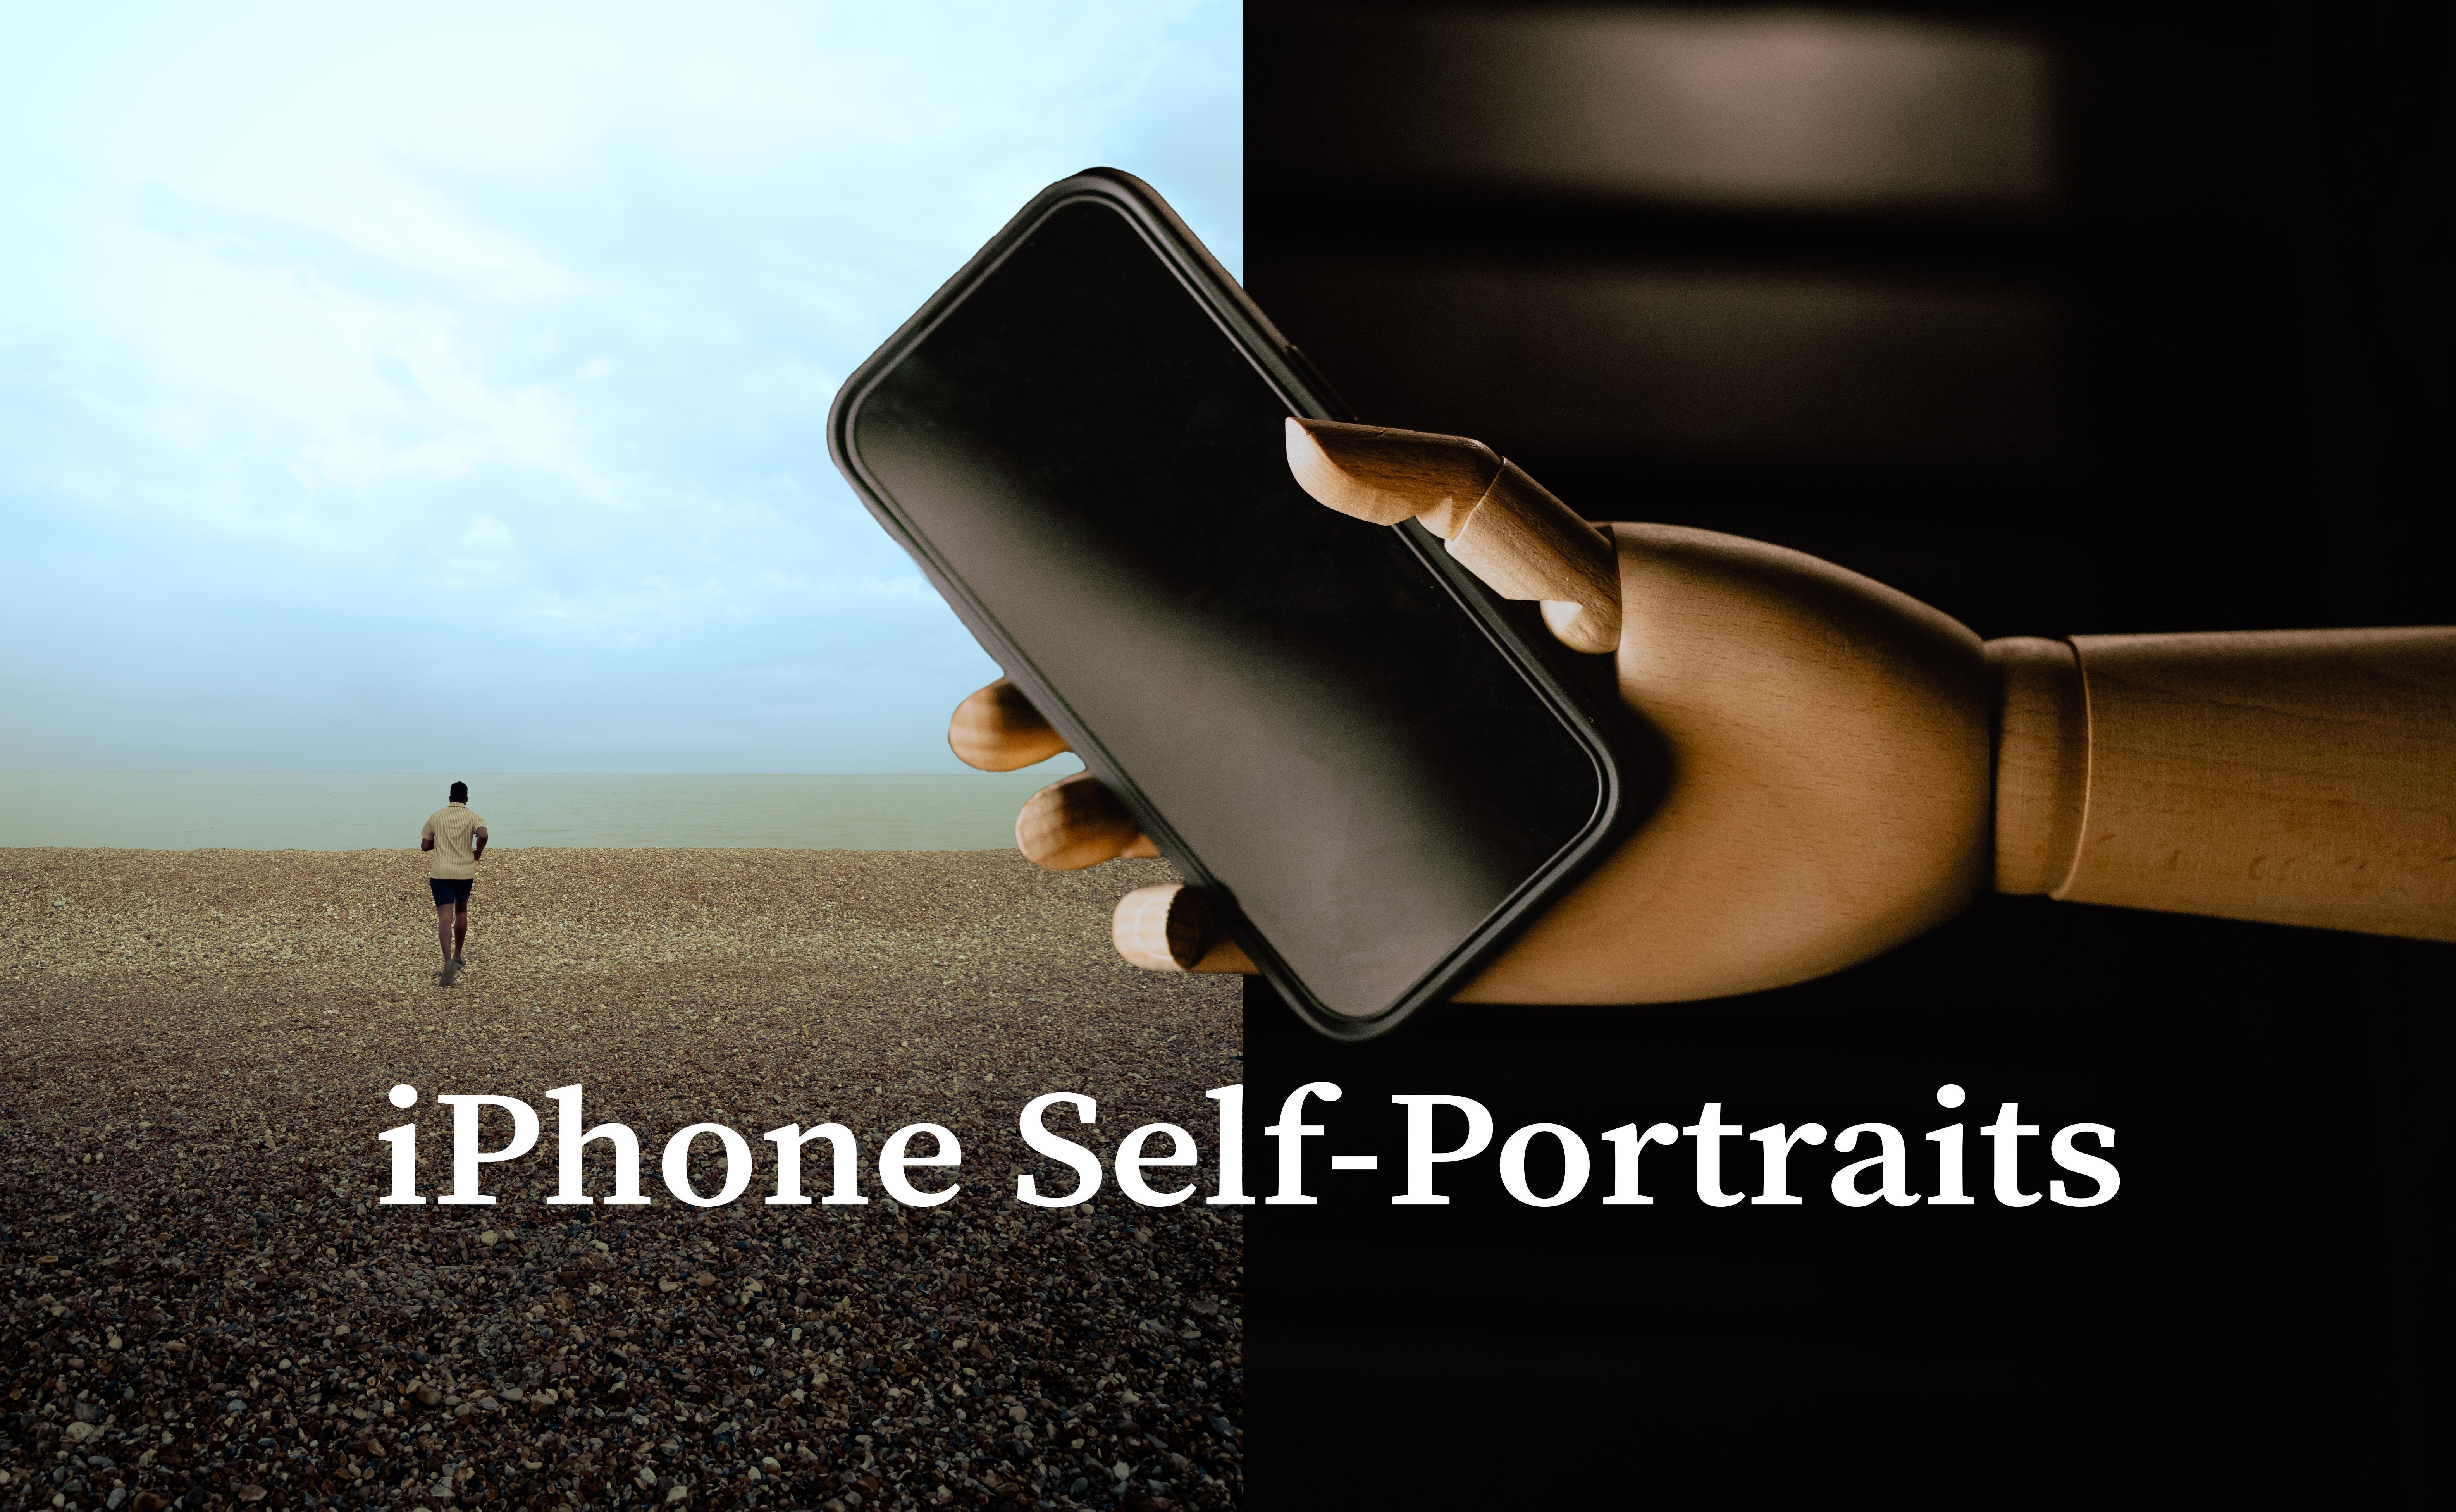
Transcripts
1. Introduction: Probably taken photos before. Sharp photos, clean photos,
perfectly exposed photos. But have you ever taken a
photograph that feels alive? Welcome. This is not a
technical photography class. This is a class about
turning motion into emotion, about painting without a brush, about controlling light, the way a painter
controls paint, and about creating images that don't just show something
but say something. Hi. My name is Ib Camori. A fine art fashion and
travel photographer. I'm an Adobe ambassador and
a Skillshare top teacher. I've had the
pleasure of creating images for about 11 years now, and it's been a completely
amazing journey. Fine art photography isn't about capturing reality.
It's about bending it. In this course, we're going to create images using
motion painting, slow shutter drags, light movement, and
intentional chaos. We'll build ideas from nothing and design sets
from imagination. By the end of this class, you won't just know how to
create these images. You know how to think like
an artist behind the camera. So if you're ready
to slow down and paint with light, let's begin.
2. Class Orientation: Most people learn photography
by asking one question. How do I make this look good? Fine art photographers
ask a different question. What do I want
this to feel like? Because the moment emotions become more important
than perfection, you stop being a photographer, documenting reality and you start becoming an
artist, shaping it. Fine art photography begins
with intent, not subject. What do you intend to
communicate with a photo? Is it a state of
mind or an emotion? And that is why two people can
photograph the same thing, and only one creates
art because of intent. Art is interpretation
not accuracy. Photography traditionally
captures what exists. Fin art photography creates
what doesn't exist yet. The image starts in your mind long before the
camera comes out. And the question
you find yourself asking is what can this become? Motion represents emotion, and that means you can speak
through your images. The saying that an image holds 1,000 words comes to life when the photographer
understands that emotions can be told and
words embedded in an image. Motion is just a tool to
amplify this message. Here's something fascinating. The camera records time
instead of freezing it because every point of the stroke is a second
different from the other. It almost feels like time traveling because
you're staring at different points in time
all in the same frame. In this course, we
use motion painting, not because it looks cool, but because motion allows us to photograph
something invincible, time, energy, and memory. When an image is
perfectly sharp, the brain understands
it instantly. But when motion exists,
the viewer pauses. They start to feel
instead of just seeing, and that pause is
where art lives. Cameras don't create art. Decisions do. You can use
any tool to capture a photo, but the decision you make is what determines
what you call art. Mistakes often become style. So be open to embracing
the fun of creating, knowing that anything and
everything is acceptable. Control and surrender co exist. So you can have control
of certain things, but be willing to let it
play out how it does. You will notice something
during this course. Sometimes the best images
happen when things go wrong. A light moves unexpectedly, a subject shifts too early, a drag that lasts
longer than planned. In commercial photography,
that's a mistake. But in fine art photography, that might be the moment. Your job is not to
control everything. Your job is to recognize
meaning when it appears. I want you to note
these important things. Number one, remember we're
experimenting at every point, so be open to experimentation. Number two, you need patience for this type of photography. Also, not every frame works. And lastly, artist is discovery. This class is not about
taking one perfect shot. It's about exploration. You may shoot 50 frames
and only love one. Fine art photography is closer to sculpting
than shooting. You remove, refine, and search until the
image reveals itself. Now that we understand what fine art photography really is, the next question becomes, where do ideas come from? Because before we build
sets before lights, before shuter speeds, we need
something more important, a reason to create. Let's talk about inspiration. I'll see you in the next class.
3. Getting Ideas & Finding Inspiration: Of the biggest lies in art is I'm waiting for inspiration. Inspiration almost
never arrives first. Ideas are not like
lightning strikes. They are connections. And today, I'm going to
show you how to build ideas intentionally instead of
hoping creativity shows up. Ideas come from emotion, a feeling, a
personal experience. Before thinking about lights or poses, ask yourself
one question. What do I want someone to feel
when they see this image? Calm, chaos, loneliness,
or even freedom. Fine art photography
begins with emotion. The visuals come later. When you start with
visuals, you copy, when you start with
emotion, you create. Inspiration can be gotten
from painters, films, fashion, music, sculptures
and almost anything. And then you combine
these influences to create a stack
of inspiration, which now leads to originality. Every artist borrows, painters, study painters,
filmmakers study cinema. Photographer should study everything except
photography, sometimes. Look at paintings for color
emotions, films for lighting, fashions for shape and movement, originality often comes from combining things that
were never meant to meet. Here's a method you can follow. I call it the ESM guideline. Emotion symbol and movement. First, choose an emotion and then ask what symbol
represents the emotion, flowing fabric,
hashlight, smoke, motion. And then we can add
movement because movement transforms
symbolism into energy. For this project, motion
painting becomes our language. The strongest ideas usually
come from something personal, a memory, a moment, a feeling you can't
easily explain. You don't need a dramatic story. Sometimes the quiet emotions create the loudest images.
Here's an exercise. Write down one emotion, one color, one type of movement. An example would be
restlessness, Bluetons, chaotic. That becomes the
seed of a concept. Don't wait for a
masterpiece idea. You need to just start small. One emotion, one
visual direction, one movement. That's
enough to begin. Now that we have an idea, the next step is turning
imagination into something real. In the next class, we learn
how to research, refine, and prepare your concept so your shoot day becomes intentional
instead of accidental. I'll see you in the next class.
4. Research & Executing Your Idea: A strong idea can fail not
because the idea was bad, but because it was never
translated into a plan. Fine art photography
looks spontaneous, but behind every powerful image is intentional preparation. Today, we take your idea out of your head and
give it structure. Research is not copying. Research reduces
creative confusion. Preparation gives
freedom during shooting. So research does not
limit your creativity. It protects it. When you understand your visual
direction beforehand, you stop guessing on shoot day. You already know the mood, you already know
what you want to do, the movement, the
energy you're chasing. And that allows
experimentation to become intentional
instead of Randolph. Collect textures, colors,
lighting references, not only photography references, look for feelings, a feeling
that remains consistent. Moodboard is not about finding
one perfect reference. It's about building
a visual atmosphere. You might collect paintings with similar colors, emotions,
fashion images, showing movements, film stills
with lighting direction, abstract textures that
match your feeling. You're not copying images. You're defining a
visual language, so you gather all these things and put them on your mood board. Every technical decision
should answer one question. Does this support the emotion? If your idea feels calm, movement may be slow and fluid. If your idea feels chaotic, shutter drags may be aggressive and more abstract
and unpredictable. Technique follows your concept,
not the other way around. Now, a very important
professional habit is testing before the shoot. Have your light tests, your motion experiments, your small failures
save the final result. So before the real
shoot experiment, move the light around, test your shutter speeds, try imperfect setups, put
your lights everywhere. These tests are not
like wasted effort. They're actually things
that help you know what you want and establish your
idea even further. You begin learning how
the image wants to exist. Final photography
is not only visual. It's an emotional direction. The environment
you create affects the movement,
expression, and energy. Sometimes the atmosphere on set becomes a part of
the artwork itself. Now that we know what
we want to create, it's time to build the
world where it exists. In the next class, we
will design the set, shape the light,
and create a space where motion and
imagination can come alive. I'll see you in the next class.
5. Environment Design: Most people think
great photographs require great locations. Finance photography teaches
something different. You don't wait for
the perfect space. You build one. Today we're
turning an empty space into an emotional environment designed specifically
for our idea. When painters work, nothing
appears accidental on canvas. Every color exists for balance. Every shape guides the eye. Your set works the same
way. We're not decorating. We are composing space. Now ask yourself constantly, what does this add
to the feeling? If it adds nothing, remove it. Too much detail kills motion. Simple backgrounds allow
light trails to breathe. We're designing not just what the camera
sees in one moment, but for what it
records across time. But remember this important
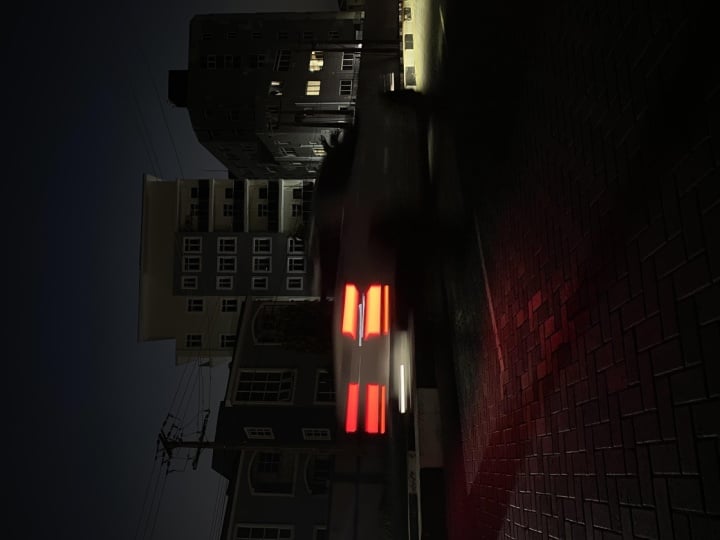
role, there are no rules. Take, for instance, this
photo I took of Bentley. It's a chaotic background
with a steel car. And I used that to my
advantage and used motion to show chaos where
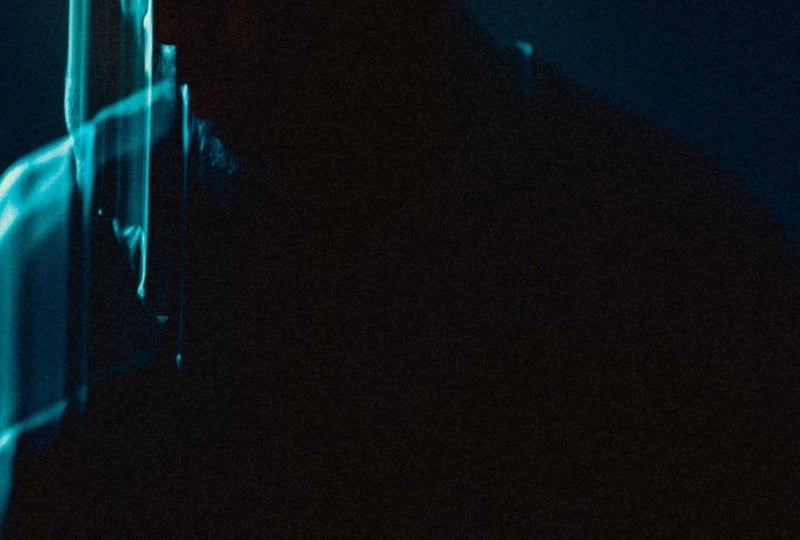
stillness is in its mist. Get it now. You are essentially deciding how your brush will move before the painting begins. Take, for instance, this photo I took while
camping out in Nigeria. I played around my
light at night and just painted with
it. It was fun. Now, here are things
that help this session. You want to give your
subject movement zones, mark their position sotly because safety and comfort
increase performance. Your subject needs freedom
but also direction. I like to create
invincible boundaries, areas where movement
looks strongest. Now, embracing imperfections
while creating means that slight chaos create
authenticity over perfections. Final sets should feel
intentional but a life. If everything feels
too controlled, the image loses energy. Sometimes a wrinkle, a shadow or an unexpected reflection becomes the element that
makes the frame real. Leave room for discovery. You never know what
you might find. Now, the world is ready.
Lights are placed. The space has intention. In the next class,
everything comes together. This is shooting. I'll see you in the next class.
6. Shoot Day: Hi there. This is the moment
where everything changes. Ideas stop being theory, planning stops
being preparation. And today, we stop imagining the image and start
discovering it. Welcome to Shoot ting. Before the shoot starts, you want to set the
energy and atmosphere. What I usually do is pick
a song that relates to my session and allow the model
ease themselves into it. Before I even pick
up the camera, I focus on the energy. Fine art photography
is emotional. If the space feels tense,
movement becomes stiff. If the environment feel
safe and creative, the subject begins to
explore naturally. S. G now on set, you want to give
emotional direction, not mechanical instructions. Give words like flow,
resist, or release. I rarely say move your arm
here or do this or do that. Instead, I describe feelings. So I say move like you're
pushing through water or move slowly like
time is heavy and let, like, the light follow you. When the subject understands emotion, movement
becomes natural. So you're trying not to force it and direct too much you want
them to get it naturally. Now, note this. You need to
review your frames often, adjust your light movements, and change things around
from time to time. Also, change your shutter speed from time to time and
test other settings. Artists feel when
the image appears. My advice to you is stop
chasing once you have it. You want quality over quantity. So once you get that
one, that's it. There's usually a moment during a shoot where
something clicks. The movement aligns, the
light behaves differently. The emotion feels real. You feel it instantly. And when that happens, you
want to slow down. Refine instead of
rushing forward. That's often where the
final image lives. We've created hundreds
of moments today, but photography doesn't
end when the shoot ends. Now comes the stage where
the image truly becomes art. In the next class,
we enter editing, where we shape our atmosphere, we refine the motion, and we transform raw images
into the final expression. I'll see you in the next class.
7. Editing: Hi there. Welcome to the class
that talks about editing. Today we're going to be
editing on Adobe ltrm which can be used on your
PC and on your phone. I use this software to
edit all my images, and I love how simple
it is to use and the tools that it offers when it comes to creating. Let's get. First of all, I
import all my images into tron and go
through the next phase, which is selecting which
ones work for our project. The beautiful thing
about this software is that you can select
just by tapping next and clicking one to five to star your images to know
which one works best. So I just use one to five. So if it's not five star, it doesn't work for me. Yeah. So we're going to do that now
with the selection process, and you see how I select and why I select some
particular images. So this I'm not
selecting because it doesn't particularly
show anything for me. This doesn't show
anything for me. This is not as well. This is good, so I'm
going to put five. This is amazing. I'm
going to put five. No, no. This fine. So now let's edit the
ones that pikes me. So, first of all, I'm just going to check
with all my presets to see if I have a mood
that sits well with me. So presets basically
help me edit faster, and I take my time
to create presets. Some of the presets I have have been they were
created about, like, nine years ago, and I just
keep tweaking and working on it over the years to fit
my style as it evolves. I've made a few of these presets available in my products, and you can buy
them when you go to my link and you check
for my products. So I'm going to use
my preset here, and you can see what it did. So basically, this is a
crushed blacks, and, um, yeah. So I'm just trying to make those the orange pop
a little bit more, bring back the blues
in the background, and just, like, add
some contrasts, but just a little
bit of blocks there. Then the next thing I'm going
to do is, of course, like, we're just going to increase the saturation
lumina of the blues. So it pops a little bit more. And then here, we're just going to let me see what this does. So yeah, remember my role. My role is to clear
out the words. Works, and then you discover
more in your style. So I like this, and I think I'm just going
to leave that there. Next is I want to add some
green because that's, like, that's specific
to me and my style. So I'm just going to
add some green there. Next is, yeah, I'm just going to punch
this up a little bit, and let's make some hlation. So if you want to make hation, go to your turn curves, go to reds and then just,
like, drag this down. Like you're crushing the whites. And we see what that does. I just gives, like
a salted yeah. Okay. So the next
thing we're going to do is I'm just going to go to my calibration and
reduce my hues of my blues to about -43, and then the saturation as well. So this just yeah, I
use it to adjust, like, my skin tone from time
to time on black people, like our skin and everything,
so it makes it pop. Although no skin color is particularly
shown in this image, but it just makes
the orange pop a little bit more, as
you can see here. Awesome. Now, I'm just
going to copy these stands, and to add calibration
to it here. Copy these cetans and then we paste and we have
fun with the rest. So everything maintains
the same consistency. Now, over here, we can see there's some lights
behind his head. I want to play around with that. I'm just going to add
a mask behind his head here and ampifier
lights just to this qv. I don't want to don't
want to change to rustic. Just so what he is actually
as much as we like. I like that. And then we're just going to
adjust the exposure again. And let's play around sees. Okay, this is ice
see what that does. Okay. Awesome. So I like
what this is doing. So this image. Nice. Now we want to play
around a little bit. Pres up shoves
just a little bit. Yeah, I think this
is good. This one. So it just going
to paste our sting you can see already
what it is done. You can tweak and see what
it looks like when it's completely blue or when
something different. Like what the boot
does today's image and gives us a different
feeling therapy, so I'm going to use it
to remove this so quick. I just got some phi it. Yeah. I'm trying to give it, like, to maintain composition. Next thing I want to
do is maybe decrease. You know, I would
decrease, actually, our highlights because then it gets rid of every
other distraction. I like this, maybe. Yeah, we increase
our whites causes the just wait a bit like
this. This is okay. Yeah, I really like this. Next I want to do is
play under the tint. So you can see we're
already getting some really cool moods from it. Although I like so
I'm just going to retire just going to retire back to this
'cause I like this. I'm going to coating hone now just adjust a few
things just to test out what we're doing and
what we like even more and I just
like the shadows, get some nice ss. Yeah, I like it like this. We just play around some bits and see what we like like this. Next up is the green. I think for this, we still
going to add some green, reduce the roughness
just a little bit. Um, we're good to go. This is this image.
I love that image. This one now, this one
has a warmer tone, which is why when
we make it red, these things keep popping up. So we want to get rid of that. We just make it
homemakin. We like this. This is good. So some
skin tone shows. And then we just increase our highlights and
give some shadows. Just should have. Yeah, I should have,
no correction. Um. Here's the saturation.
There's the saturation. There's the wax. Creates the contrast. Exposure. Ooh. I love this. So this is where I also hammer saying
this again on experimentation because now I just experimented
and discovered that the exposure being dark works perfectly well, this
image, beautiful. So just going to crop that get rid of the extra details and focus on what we have here. This is amazing. What I want to do now is just
enhance what we've done, I'll pick my brush and
just brush over here. The highlight point
of the time fragment. I'm just going to increase
on s. So this is last guy. I love this image so much. Um, sun trying to
see what works. This is nice, or
this is also really nice. Let's just clear. Let's see what I get. Funny enough, actually I really like
this green 'cause I've never really played
around with green before on my images. So I mean, it's a bit
conflicted on what to do. Okay, so I think I will
use I will use green. Yep. I'll use green. Nice. Nice. Over our shadows. Lower
the white to 'cause they're making the
highlights pop and then reduce the blocks. Next, I want to play
around with this, just to see what it
gives us. I like this. Play around with this as
well. I don't like it. I'm just going to return back. This one I love
it's doing already. So I'm just going to
leave it up there. Nice. This this grain
some green. Yeah. There we go. Well, par on the dish to
see anything. This is nice. I love this image. Beautiful.
Perfect. So, there we go. We have all our images
right here and how we've edited them to look like art and things we can actually
hang up on a wall. So I love these images so much. And as you can see,
I just made one my background, my wallpaper. And it looks amazing. I can't wait to try
out the remaining and see how they look as well. Yeah, so there you go.
You have these images. As you can see them
looking beautiful, looking artistic.
That's how you do it. That's how you get images like this to be out
there, as well. And that's how you
create a portfolio in fine art photography when it comes to motion
and blurring your images. I hope you had a really
lovely time editing with me, and I can't wait to see you try out these
edits on your own. I encourage you to post your
edits on the project's tab. I'd love to see what you do, and I'd love to give
you positive feedback as well on what you're doing and know how far
you've come when it comes to creating with motion. So your assignment is
to create an idea, shoot with motion, have
fun with it as well, and post it as a project. I'd love to see what you create. I'll see you in the next class.
8. Conclusion: At this point, you know
how to create the image, but creating art and understanding art are
two different ends. Because the real question is no longer, how did I make this? It becomes, what does
this say about me? I want you to take
a step away from technical thinking and view your image like a
stranger world. The first emotional
reaction matters the most. When you look at your
finished photos, try to forget how difficult
it was to create. The viewer doesn't
know your settings, and they don't know how
many attempts it took you. They only feel what the image gives them in the
first few seconds. Images feel more like art when there's a
consistent pattern, which is mostly as a result of intentional choices
working together. You need to also make
space for interpretation. One key thing to note
when discovering your voice is to stop
chasing friends. Your artistic voice is not something you invent overnight. It appears very slowly. Look back at your work
and notice your patterns. Do you lean towards
softness, chaos, minimalism, movement,
could be anything. And those repeated choices
are not accidents. They are clues. Your
voice already exists. Your job is just to
notice it and trust it. Now, when you present your work as a fine arts photographer, you need to know that series matter more than single
images, and here's why. The reason is that
it builds, like, consistent colors and mood, which can be easily
associated to art, reason, and purples. Fine art photography becomes stronger when images
live together. Take, for instance, this
grid selection from my page. There's purples in the grading, which allows viewers
relate to it. It shows and it's
evident through how viewers feel when they
see them all together. A collection tells a deeper
story than one photo alone. You're not just creating photos anymore, you're
creating experiences. So be sure to always
keep that in mind. When we started this course, we talked about turning
motion into emotion. You learned how to build
ideas, shape light, and paint with But the real
goal wasn't motion painting. It was learning to
see differently. Be fine art photography isn't about mastering
a technique. It's about how you
interpret the world. And once you see that clearly, every photo you create from now on carries a piece of you. If you love this course, be sure to check out my other
courses on photography. Thank you for
creating with me. M
 Ebuka Mordi, Nigerian portrait & fashion photographer