The Art of Sea Splashes: Techniques for Dynamic Effects
 Natalia Nikitiuk, Capturing Life's Beauty
Watch this class and thousands more
Watch this class and thousands more
Lessons in This Class
-
-
1.
Intro
0:34
-
2.
The plot and materials
2:11
-
3.
Getting prepared
2:48
-
4.
Watercolor drawing
10:01
-
5.
Conclusion
0:46
-
-
- --
- Beginner level
- Intermediate level
- Advanced level
- All levels
Community Generated
The level is determined by a majority opinion of students who have reviewed this class. The teacher's recommendation is shown until at least 5 student responses are collected.
94
Students
1
Project
About This Class
Are you fascinated by the movement and energy of the ocean? In this short and engaging 15-minute class, you'll learn how to capture the dynamic essence of ocean waves and sea splashes using watercolors. This lesson is designed to help you create stunning and attractive sea splashes quickly and easily, perfect for those who value their time and want immediate results.
What You Will Learn:
Techniques to create dynamic ocean effects with watercolors
How to use simple brush strokes to mimic the sea splashes
Quick methods to achieve stunning watercolor effects
Why You Should Take This Class:
This class is perfect for anyone looking to add a touch of the ocean's beauty to their watercolor art. Whether you're a beginner or have some experience with watercolors, you'll find these techniques easy to follow and highly rewarding. In just 15 minutes, you'll be able to create artwork that captures the lively spirit of the sea, making it a great addition to your artistic repertoire.
Who This Class is For:
This class is suitable for artists of all levels who want to explore new techniques in watercolor painting. Whether you're a complete beginner or an experienced artist looking to enhance your skills, this class offers valuable insights into creating dynamic ocean scenes.
Join me in this quick and enjoyable lesson, and let's dive into the world of watercolor waves and sea splashes together. In no time, you'll be able to create captivating ocean scenes that you'll be proud to display. Let's get started!
This class is part of a series of classes about the ocean. You can find the other lessons on Skillshare by following these links:
Meet Your Teacher

Hello there! I am a passionate watercolour artist, and I'm here to share the magic of this versatile medium with you. Contrary to popular belief, watercolour is easier than it seems, and I truly believe that everyone has the potential to create beautiful art.
My love for watercolour is deeply rooted in the joy of capturing life's most memorable moments in my ever-present sketchbook. Alongside these cherished sketches, I also take great pleasure in creating full-size watercolour paintings that bring vibrancy and depth to the canvas.
As a mother, I've discovered the delight of sharing my passion for watercolour with my daughter. It's not only a wonderful way to bond with children, but also a creative outlet that nurtures their artistic growth.
Let me guide you on this... See full profile
Hands-on Class Project
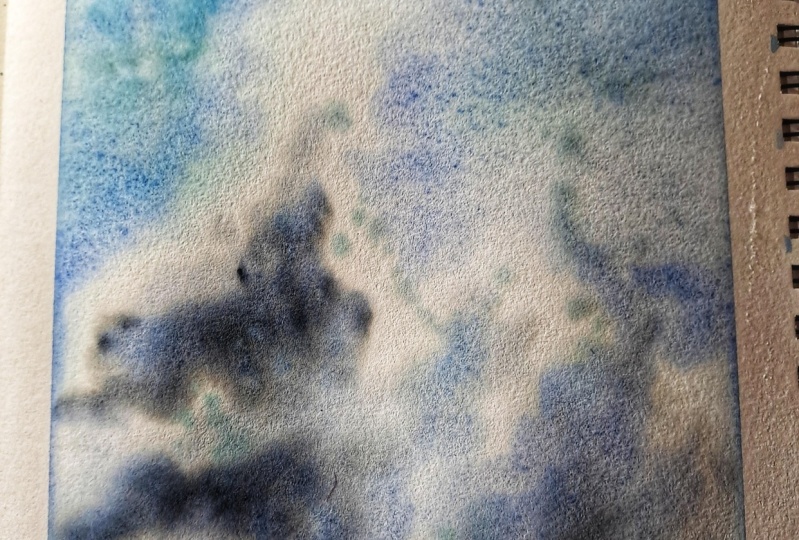
In this project, you'll bring the energy and movement of the ocean to life on paper by creating a stunning watercolor painting of dynamic sea splashes. This step-by-step guide will help you complete your painting efficiently and effectively.
Drawing Process
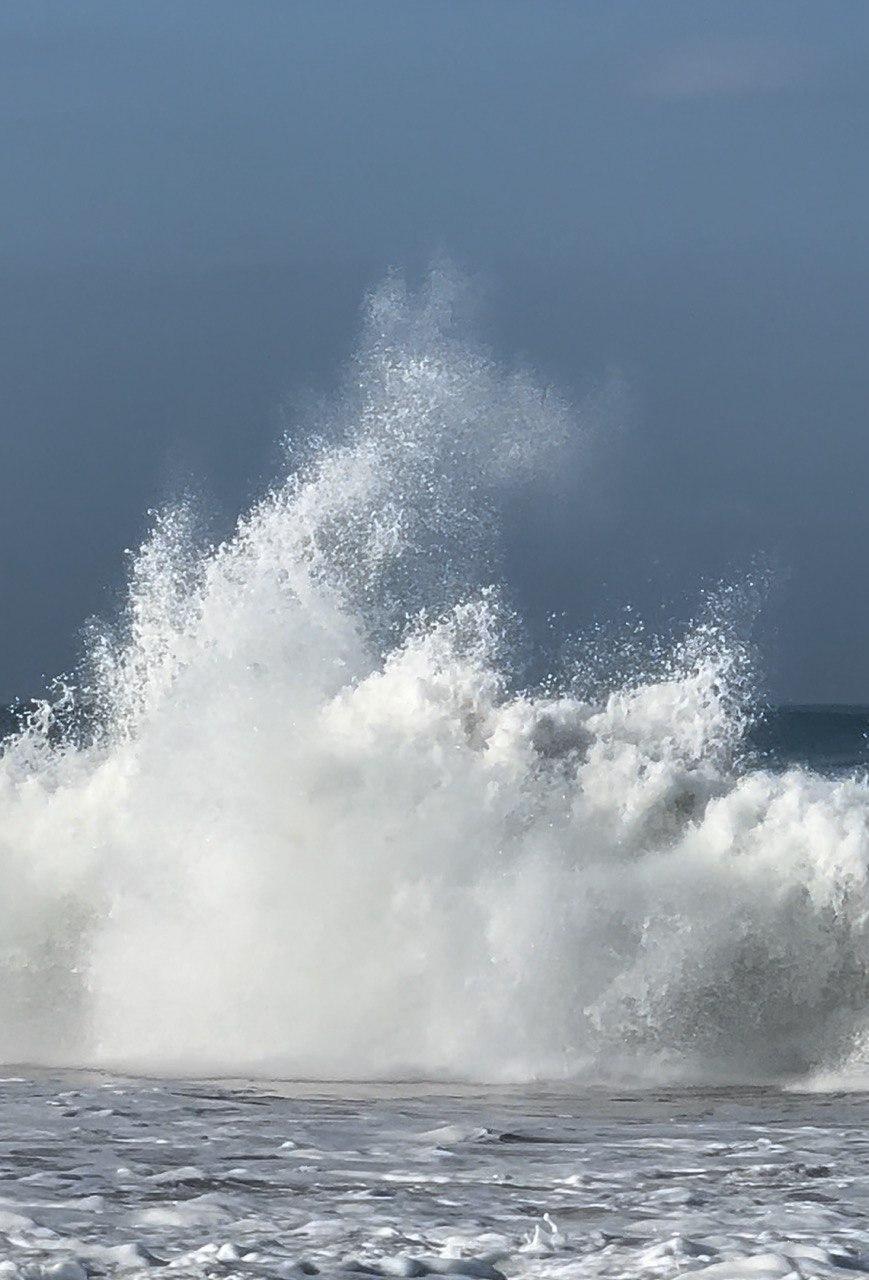
1. Study the Photo:
- Carefully examine the photograph of the scene we will be drawing.
2. Prepare Materials:
- Watercolor Sketchbook or Watercolor Paper on a Drawing Board: High-quality paper is essential for handling multiple layers of paint and water.
- Masking Tape: To secure the paper and create clean edges.
- Medium-Sized, Soft Brush: Ideal for creating smooth, flowing strokes.
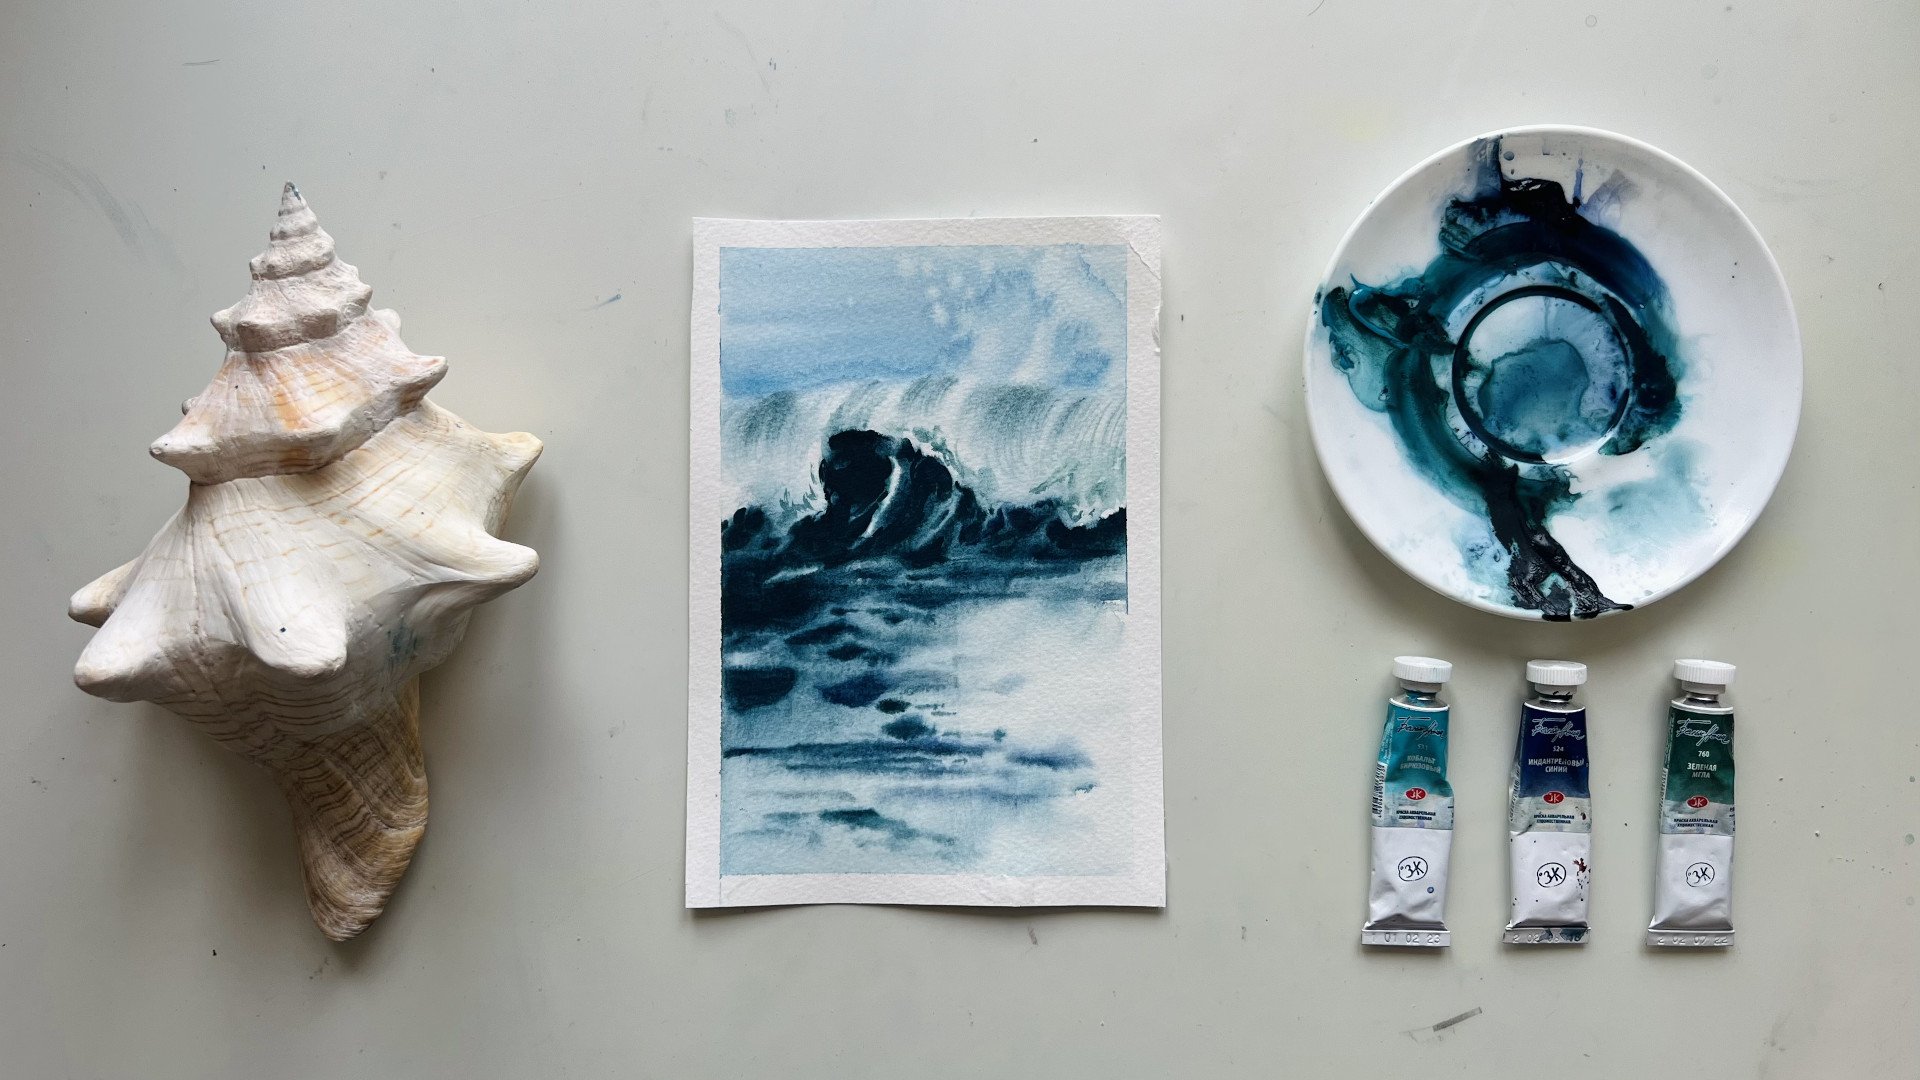
- Watercolor Paints: Use cobalt turquoise, indanthrone blue, and Payne’s gray, or any shades of blue that you like.
- Palette or Saucer: For mixing your paints.
- Water Container: Keep a container of clean water nearby for rinsing your brushes.
- Paper Towel: For blotting excess water and paint.
- Hairdryer (optional): To speed up the drying process.
3. Prepare the Paper:
- Secure the paper with masking tape, wet it with clean water, and prepare your chosen paint mixture on the palette.
4. Watercolor Painting:
- Start with the Sky: Paint the upper part of the picture, following the curve of the wave.
- Create Splashes: Tilt the paper in the opposite direction and use clean water along the edge of the drawing – the water will start to create splashes.
- Add Splashes: Add more splashes with clean water.
- Paint the Wave: Paint the lower part of the wave.
- Add Details: Add any necessary details.
5. Dry the Painting:
- Dry the paper and remove the masking tape.
6. Admire and Share:
- Congratulations, your dynamic ocean splash watercolor painting is complete! Share your artwork in the class project gallery and enjoy the beautiful ocean scene you've created.
Reference:
Class Ratings
Why Join Skillshare?
Take award-winning Skillshare Original Classes
Each class has short lessons, hands-on projects
Your membership supports Skillshare teachers
Learn From Anywhere
Take classes on the go with the Skillshare app. Stream or download to watch on the plane, the subway, or wherever you learn best.