Transcripts
1. Intro: Would you like to finish a garment or back
with a beautiful hand stitch buttonhole or are you just interested in how to
traditionally stitch one? This class is for you. As a tailor, I always
finish the suits and pants and white coats I make with
hand stitch buttonholes. They are very pretty traditional
and I love making them. My name is Lisa. I completed a three-year
apprenticeship for being a professional tailor
and I currently work at an opera house
here in Germany. I sew suits and costumes for the opera singers and actors. In this class, you will
learn the buttonhole stitch, how to prepare your fabric, and how to actually
stitch a buttonhole. To complete the topic, I'll show you in the last
lesson how to sew on a button to last and look neat and
clean at the same time. If you are a little crafty
and good with your fingers, you will be able to make it through all of the class and end up with a nice
handmade buttonhole. You don't need a lot of
experience for this. Now grab some fabric
for practice, needle, and thread
and get ready to saw.
2. Tools & Materials: For your class project, you will be stitching
a few buttonholes for practice and sewing on a button. For that you will need a
piece of fabric for practice. It should be big enough to
work with it comfortably. A shorthand sewing needle, thick thread, a sewing
machine, and matching thread. The sewing machine
isn't essential. You can do all sews by hand. Sharp small scissors. Punch pliers for the
eye, if you have, but you can also make a
buttonhole without an eye. Tails chalk, if you have, but the pencil will
do to work as well. Fabric glue, if you
have, or wood glue. Thimble, if you want to use one, and a button of your choice. Additional things that would
come handy; a matchstick, beeswax, or a piece of
candle, and pliers. In this class, I'll
show you step-by-step how to prepare the fabric
to get the best results, how the buttonhole stitch works, how to place the knots on the different parts
of the buttonhole, and of course, how to sew
on a button like a pro.
3. Preparing: To prepare your
fabric or garment, you need to secure the fibers, so the edge won't freeze out. I recommend using at
least two layers or thicker fabric as it will be easier to stitch
it above the hole. Here I use a piece of normal jeans with
pressed on into lining. Mark the preferred length of the buttonhole
with your pencil or chalk. The buttonhole should
always be about two millimeters longer than
the width of your button. With either your sewing
machine or by hand, you'll now sew around
the marking with tiny stitches to
create a rectangle. If you're using a
sewing machine, make sure the length
of your stitches won't be longer than 1-1.5. If you're sewing by hand, use a back stitch like this. The basic movement
is to work in loops. You always place the needle
one stitch length behind the previous one and stick it through from
the upper side down, then let it appear one stitch length in front
of the previous stitch. The rectangle should be approximately half
centimeter wide. Keep in mind that these
lines you created will be your guide for the
buttonhole stitch later on, so try to sew them as straight
and parallel as possible. Figure out on which side
you want the eye to be and punch a hole at one
end of the sewed rectangle. Place the hole exactly in the
middle of the drawn line. Then take your scissors, they have to be very sharp at the tip to make a clean cut, and cut through the
middle of your rectangle, right where you drew the line. Make sure you don't have any loose fibers
showing on the edges. If you don't have punch pliers, or you simply want to
buttonhole without an eye, the first cut is a
little trickier. For that, you can fold
your fabric vertical to your seams and make a tiny cut between them
where you drew the line. Then open the fold and cut to both sides
till you reach the end. If you have, and if your fabric
is very freely, you can put some glue
on the edges to be sure that your fabric
will stay in place. Just take a needle, cover the tip in glue, and place a tiny
amount of glue on the loose ends and let
it dry completely. For some glues,
it's good to press, but you'll need to
figure that out for your own brand
and kind of glue. When your glue has
dried completely, make sure to cut
through it again.
4. Buttonhole Stitch: [MUSIC] Before we start making the buttonhole, I'll show you how the
buttonhole stitch works. [MUSIC] We will practice
on the edge of a fabric. First, prepare the edge
you're working on by putting a bit of glue on
the edge like before. You don't need to sew
right next to the edge as this is just for practicing
the buttonhole stitch. Take some of your thick thread
and thread your needle. You don't need to make a knot. [MUSIC] Then put on your thimble to help pushing the needle
through the fabric. Our first stitch. From underneath, pull your needle
through and leave a tail about five
centimeters long. You can hold this with the hand you're holding
the fabric with. Now, again, stitch your
needle from underneath, right next to the first
stitch through the fabric, and pull it until you have a little loop like this to make the knot that will form the neat and strong edge
of your buttonhole. Stick your needle
through the loop like this and pull the
thread upwards. Repeat that. Stitch from underneath right
next to the previous stitch. Look out for the loop and stick the needle through
from front to back. The first knot will
always look a bit off, so just keep going. It is important to
make every knot in the same direction to create
an even picture in the end. As you tighten the knot, you should try to form
the knot tight but don't overpull as this would make
your buttonhole very stiff. [MUSIC] Practice this as long as you need to, to get the right
direction of the knot and also try to pull every knot
with the same strength. My first buttonholes look
like dying centipedes, so just don't give up. I always sit with my legs
crossed and the piece I'm working on on my knee to
prevent neck and shoulder pain. Sit comfortably and put the
hand in which you're holding the fabric down on
your knee [MUSIC]
5. Start: The appropriations are done now and you can practice
the buttonhole stitch. Start with threading
the needle. Your thread should be about 50 centimeters long but it depends on the
length of your buttonhole. I always measure one arm length as this is a good length for
me to stitch a buttonhole. Start from the upper side
of your fabric and stitch a fence around your cut
to seam you saw before. You should start at
the lower-left corner. The fence you're sewing should be about as wide as the seam you saw before. This step will give you a thick thread
a bit of extra hold, and your buttonhole
will be stronger. Then start with the
buttonhole stitches. Keep in mind that the
first stitch will be the corner of the lower
end of your buttonhole. Don't care too much
about the beauty of the first knot as it always
will look a bit off. We'll look after that when finishing the buttonhole. Now, work your way up by
using the seam as a guideline. Pull the thread up and maybe a little
toward your chest. Try what works best for you. To prevent annoying knots, pull your thread rather slow and untangle the thread
with your needle. When you reach the end
of your cut you start with stitching the eye.
6. Buttonhole Eye: [MUSIC] To get a nice round shape buttonhole eye the
button sits in, you need to pull the
thread you work with in another direction than
you do with the legs. Also, place the stitch a
bit wider apart from each other like you always
skip about one stitch. Because if your
stitches are too close, the eye will look wiggly because there are
too many knots. Try to pull the thread for
the first knot of the eye upwards and slightly
towards your chest. Then for the rest of
the eye stitches, always pull towards
your chest and then in the same
movement to the outside, following the circular
shape of the eye like this. Like I said before, make your stitches a bit
wider apart from each other to prevent
getting too many knots. So the first half
of the eye probably won't look as you wanted to, but the circular shape
will farm as you go. By pulling the thread
in a circular motion, you guide your knots to sit in the right spot and on the
upper side of your fabric. For the last stitch before
going straight again, use the same method
like for the first, pull upwards and a little
bit towards your chest. Then continue stitching
like for the first leg. If your thread gets tangled, you can let it hang like
this to unroll itself. When you've come to
the end of the cut, your last stitch should be
at the same level as to one on the other leg to
create a parallel end. For the buttonhole
without an eye, the technique is
almost the same. When you reach the
end of the cut, make your stitches a bit
wider apart than you did on the legs to look like
rays of sunshine. When tightening the knots, pull the thread like I
explained for the eye, towards the chest,
to the outside, and in the same movement
following the circular shape. After you completed
a semi-circle, proceed like we did
for the first leg. [MUSIC]
7. Finish: To finish your first buttonhole without any bothering
knots, there's a trick. But first, let's fix that first knot I've
talked about earlier. Stick your needle from the end of the buttonhole
through the first knot, then through the fabric
directly next to the knot and put tight
from underneath. You will see a part of
the stitched fence. Try to keep this thread
within the stitch. This should lead to a
nicer-looking first knot. Now to finish and tie at
the end of the thread, pull the needle
through the buttonhole and stitch through the
fabric quite close to the end of the buttonhole Look out for the thread of the fence
you've sown earlier. It should again be
inside of the stitch. Stick the needle from the
end where the thread leaves the fabric parallel through the stitches of the lack
you've stitched last. This might be a little hard on your fingers and so a
thimble comes handy. To pull the needle
all the way through, you can use pliers or the
handle of your scissors. Last step. Cut the thread right where it appears
and you're done. Your first hand-made
buttonhole is finished You can iron it to be
flatter and nicer, but just asked you like. You can also give the finishing
touch by holding together the legs and rounding
the hole with a hole.
8. Sewing on a Button: [MUSIC] As I said, here's the lesson about how to sew on a button like a pro. [MUSIC] I've learned
a few tricks that help the button
to last very long, thanks to working at an Oprah house where
buttons must undergo a lot of crazy movements the actors and
Oprah singers make. First, we look at the
thread and what we can do to make it more durable. Then, I'll show you why
it's important to leave a bit of space between the
button and the fabric, and how to accomplish
this with less effort. Lastly, I'll show
you how to sew on a button to look
like a masterpiece. There's a lot of different
threads out there. To be honest, I mostly work with only normal sewing thread
and this thicker thread. [MUSIC] The thick thread I use for stitching buttonholes, sewing on buttons, or turning small bands
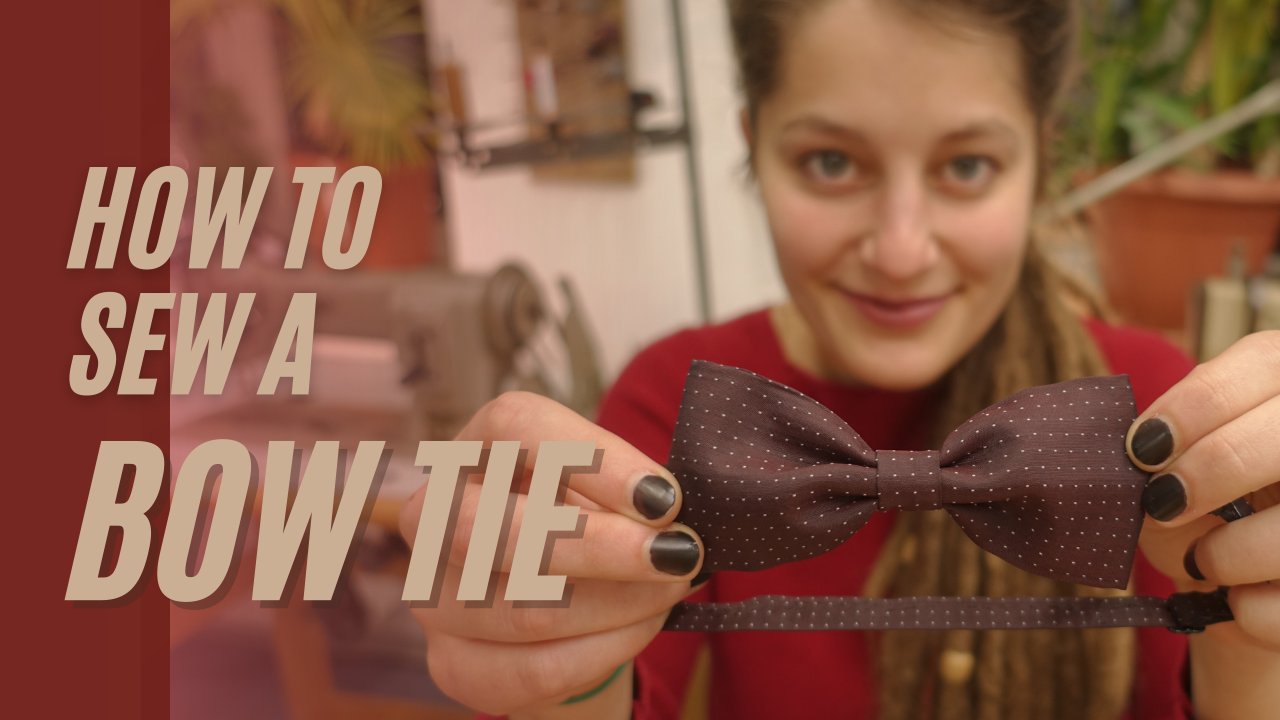
like band loops, and the neckband for bow ties. If you have twine
or heavier thread, this will be very good for
sewing on buttons as well. Silk thread is also
pretty good because it's super strong
and also very shiny. [MUSIC] To have the thread
holding all the fibers together and therefore
having a lot more strength, you can pull it
through some wax. You can use beeswax
or a piece of candle. Try to do this
rather fast to heat up the wax to be soaked
into the thread. For extra heat,
take the threat to the ironing board and pull
it through under the iron. Now your thread is more
durable and the fibers won't fringe as much when you
pull it through the fabric. The next thing I want to point out is that you should leave about three millimeters room
between button and fabric. If you pull the button
through the buttonhole, the fabric needs space
to fit under the button. You can use a match as a placeholder while
sewing on the button if you find it difficult to hold the button a few millimeters
apart from the fabric. [MUSIC] Now that we've
covered the basics, let's start with sewing. I always use this thread doubled like this when I
sew on a button. At the end, I make
one single knot. This should be enough
to hold the thread. [MUSIC] Stick the needle through from the
upper side down, right in the middle where
you want the button to sit. [MUSIC] Then imagine a square, which corners reassemble the
four holes of your button. If you work with a
button with two holes, just imagine a horizontal
or a vertical line. [MUSIC] Stitch through
one of the corner points, so your needle appears
on the upper side. [MUSIC] Then stick it through one of the
hosts on your button. [MUSIC] You can now decide if you want to form two
parallel lines or a cross. [MUSIC] When you stick a needle through the second
hole and the fabric, make sure to aim at the matching corner point
of the square you imagined. To leave the
three-millimeter space I talked about earlier, you can now take your match
and place it in-between. Repeat that with the
other two holes. [MUSIC] I personally repeat
this only once, so I stitch two times
through every hole. [MUSIC] Then I stick the needle
through the fabric from underneath to appear right next to the stitches
under the button. To make the button last
longer and to keep the gap, I create a stem by winding the thread around
the existing stitches. [MUSIC] Try to do this in an upward spiral move
to be as neat as possible. [MUSIC] To secure the thread, stick your needle
through the stem you formed once or twice
and pull tight. [MUSIC] You maybe want to use pliers to pull the needle through because the
stem probably is very tight [MUSIC] or the handle
of your scissors like this. [MUSIC] Now cut the thread right where it appears,
and you're done. [MUSIC] If you want to sew on buttons
on a button-down shirt, you should use normal
thread and you don't need to leave much
space between fabric and button as the thin material of the shirt doesn't
need that space. [MUSIC]
9. Thank you!: Congratulations. Now you can practice your buttonhole till you are
pleased with your work and then use your newly
acquired skill to finish your garments with beautiful hand
stitched buttonholes. Also, I personally find
stitching them super relaxing because of the rather
monotonous hand movement. I love making them. Please share your project with
the other students and me in the Project
Gallery below. It's always nice to see
other people's work. Don't hesitate to show off your first buttonholes as well as some of them you've
practiced a bit. It's great to watch the
process of you getting better. If you have any questions
about stitching a buttonhole, sewing on a button or
just sewing in general, feel free to open a discussion, and I'll try to answer them all. Now have fun stitching
a lot of buttonholes. Thank you for watching. Goodbye.
 Lisa Kahlhöfer, Bespoke Tailor & Crochet lover