Transcripts
1. Intro: Crocheting is such a great way to express their creativity. There isn't a shape
you can't achieve. So there are endless
possibilities. Do you want to learn
how to crochet different types and shapes of
leaves to create bracelets. This little sprout, or to embellish your phone
charger and make it unique. Hi, my name is Lisa. I completed a three-year
apprenticeship for being a professional Taylor, and I'm currently working at an opera house here in Germany. I saw suits and costumes for
the thing as an actress. In my free time, I do other crafty things
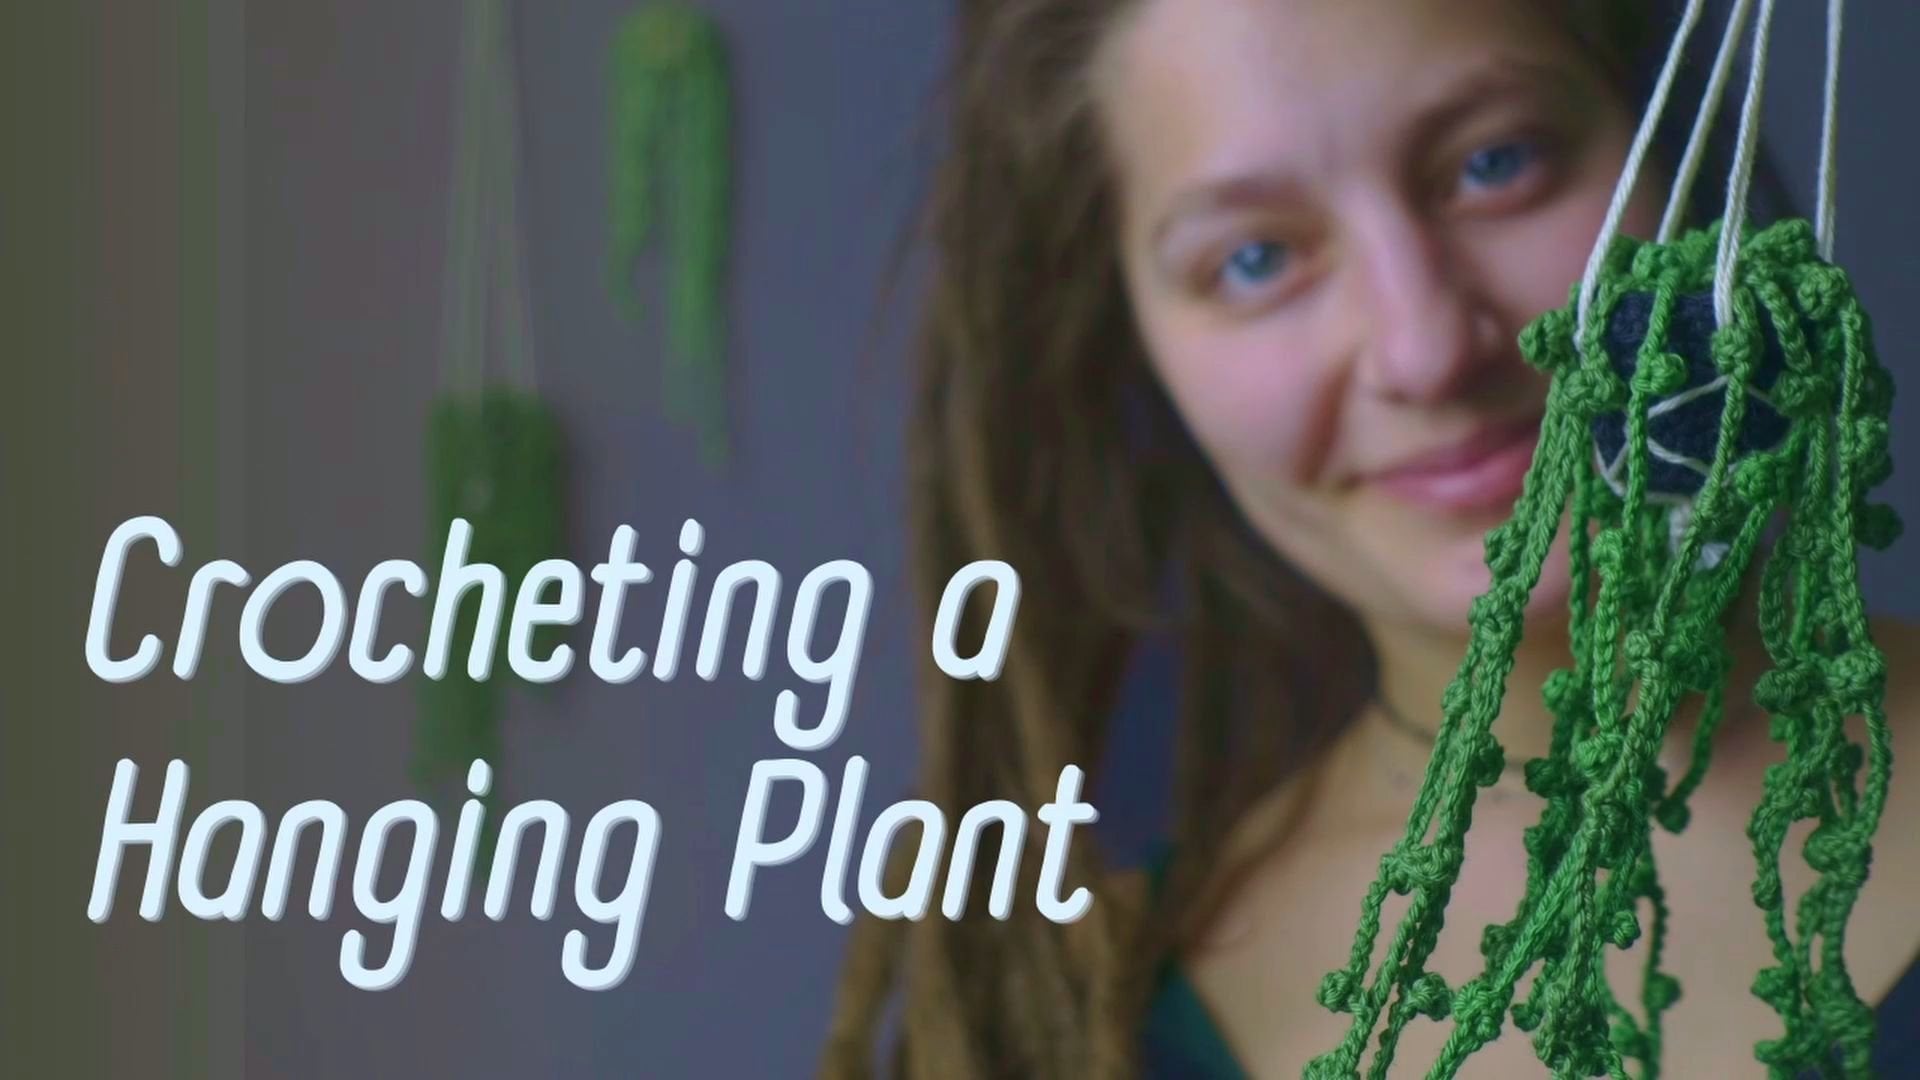
like, for example, crocheting these lovely plants and other Amiga rooms stuff. In this class, I'll
show you how to crochet four different shapes
of leaves, the tools, materials, and
stitches you need, and some projects you can accomplish with a
different leaf types. There's also a PDF file you can download with the written
patterns to follow along. To make it through the class, you should be able to crochet
even rows of stitches. I will explain every
stitch you need. But if you never crochet before, I'd recommend you to take a beginners class
here on Skillshare. And once you've got
comfortable with your hook, yarn, come back and
start with this course. Alright, now, let's
start and have fun.
2. Tools & Materials: To crochet the
different leaf types you only need a few things. You need are a crochet hook. The one I'm using is
three millimeters. I would recommend using
2.5 to 3.5 millimeters. They come in a lot
of different sites. This scissors and a tapestry needle to weave in the ends. The materials you need
are crochet yarn. I use 100% cotton and the thickness of the yarn
should match your 2.5 to 3.5. ****, I have different
tones of green, brown for the soil of the
little sprout pot and black. But I actually used a
terracotta tone for the pot. Stuffing the pot,
I use small cut fabric scraps and a yarn I cut off after
weaving in the ends.
3. Stitches: In this lesson, I'll explain the abbreviations of
the different stitches, the magic ring and increase
and how they work. I won't go into detail too much, but I tried to show
them as best as I can. First, I'll show the
different stitches. To start a new piece of work, we need to start a loop. Yarn around your thumb like
this and told the loose end. Then go with your hook into the accrued loop
from below and grep the working part of
the yarn and pull it down. You can pull tight. That's your starting loop. Then we can start with a chain. It's probably the
easiest stitch. You just grab the yarn
with your hook and pull it through the loop
on your hook. That's it. Grabbed pool. Yeah, you can see why
it's called chain stitch. So for the single crochet, start one loop off the hook. The hook through the stitch, grab the yarn and
pull it through. Now you have two
loops on our hook. Yarn around the hook and
pull it through both loops. The single crochet stitch, thick to hook through
the next stitch, wrap the yarn and pull through. The single crochet is probably the most
common crocheting set. It's easy, fast and makes
a nice-looking surface. For the slip stitch. Stick to hook through
the next stitch, grab the yarn and
pull it through. Now you have two
loops on your hook. Pull the first loop, second one. That's the slip stitch. As I started crocheting, I always made a slip
stitch just way too tight. So keep in mind
that you let it go. What a half double
crochet stitch. The yonder rank your hook before you insert it to
the next stitch. When you now grab the
yarn and pull it through, you should have three
loops on your hook. Now sling the yarn
around the hook. And Burkitt's move
all three loops. So it's basically like
the single crochet, but with a third
loop on the hook. The double crochets starts like the half double crochet thing, the yarn around the hook before you stick it through
the next stitch. Wrap the yarn and
pull it through to have three loops
on your hook. But now you go to, to link the yarn around the hook and pull
it through the first two. Now you should have only
two loops on your hook. The same again, to have
only one loop on the hook. That's how you crochet a
double crochet stitch to. Two. We'll also need the triple
crochet for some leaves. This stitch rugs like
the double crochet, but whistling the
yarn two times around the hook before sticking it
through the next stitch. When you now grab the yarn, you have for loops on your hook. Work them often groups of two. So two to the last two. You finished when you
have only one loop left. The quadrupole crochet stitch works like the double
and triple crochet, But Sling the yarn
around the hook three times before sticking it
through the next stitch. Then again, work them
off in groups of two till you have
only one loop left. Morning. Take your yarn like this. Then cross over and come
around your fingers again. Hold the end of the yarn
between thump and ring finger. You should now have to more or less parallel
strands of yarn. Now with your hook, go
under the first one. The other one. Pull through and twist. The twisted loops
shouldn't be too tight. So try to keep
everything a bit loose. Then graph the
same line of yarn. You twist it and pull
it through the loop. Congratulations, you've
created a magic circle. When you now sit your single crochet stitches into the ring, you can tighten it to
get a nice circle. There's one more
abbreviation left. Inc, increase. To crochet circle, you need to increase the number of
stitches each round. To do this, you simply make two stitches into one like this. So first stitch and enter
the same the second stitch. These are all the stitches
you need for this course. You can practice
them as much as you want before you continue
with the next lessons.
4. Basic Leaf: We start with a
basically pattern. Then I'll show you how
you can make it bigger. And at the end of this lesson, we will crochet it Garland. Okay? Here you see fewer leaves with almost
the same pattern. This one's first as
it's the easiest. And you can get an idea how the different stitches
are forming the shapes. We start with a row
of chain stitches. To begin making starting loop. So sling the yarn around
your thumb like that. Book goes in a loop
from underneath. Grab the yarn and pull
through the loop. Now, make nine chain stitches. Crochet back, eight
slip stitches. This will be the
middle of your leaf. Now, make one single crochet, 2.5 double crochets. One double crochet, again
to half double crochets. One single crochet,
a slip stitch, and another slip stitch and
one of the loops on the tip. Now we make the other half of the leaf exactly
like the first one, but in reverse order. So one slip stitch in the
outer loop on the tip. Another slip stitch, one single crochet, 2.5 double crochets, one double crochet to
half double crochets, one single crochet. And to finish off
one slip stitch. Cut the yarn, and pull
through the loop. Now you can weave in the ends. This is a small basic leaf. I'll show you how you
can create a bigger one. Basically, you just
make a longer chain, let's say chain Fifteen. Make your slip stitch route back. And then crochet. One single crochet,
two double crochets. Then in one loop to
triple crochets. In the next loop to
quadruple crochets. You see I fail as
well sometimes. Then three triple crochets, two double crochets to half double crochets. One single crochet
and one slip stitch. Now another slip stitch
and one at the top loops. Yeah. First half Stan. So now crochet back
in reverse order. Cut the yarn, pull the loop
through and within the ends.
5. Garland: One of the projects in this
course is a garland out of the basically are all the different leaves you
learn in this course. It's a super easy
project to begin with. You just need to connect all the individual leaves
with chain stitches. Make chain stitches to you like the length of the part
to hang up your Garland. Then start with the first leaf. Count, your next chain stitches. I make nine. Then turn
and crochet stitches. Beck. Start with for three of the pattern. Good. After finishing the leaf
with the slip stitch, just pull the loop tight. And Jane, however long you want the string to be
between the leaves. Then again start with
row one of the pattern. Keep in mind that you need to chain stitches from row one. And you shouldn't use the
chain stitches from in-between the leaves as the gap won't be as big as you
intended to make it. When you are pleased
with the length of your Garland, make
chain stitches, like to start to have a bit
of string for hanging it up. You can make only one garland or make a variety of
different colors, leaf shapes and sizes.
6. Heart Shaped Leaf: Now let's start with the
heart-shaped leaves. For this type of leaf, we start and end at
the tip of the leaf. You probably can also start like it did
for the basic risk. But I think the top of the leaf book better if you
would like to show you here. As for probably the
most types of leaves, we start with the chain stitches
and slip stitches back. Make ten chain stitches. Turn and make nine
slip stitch is back. Then chain another and turn. Now leave one stitch and make one single crochet
in the second stitch. Then to hop double crochets. Two double crochets, to a triple crochets. And to form the
top of the heart. Three triple gouache
spend the last stitch. Chain form. And in the same
stitch join with us lipstick. That makes the first
half of the heart. Now we crochet back
in reverse order. So chain four and then three
triple crochet stitches also in the same stitch. Then to tropical shapes. Two double crochets to
half double crochets. One single crochet. To finish, make one slip stitch
and a tip of the heart. Sometimes I feel like it needs a second slip stitch in the tip. So feel free to do that. Cut the yarn, pull the loop
through and pull tight. Weave in the ends
and you're done. Here. I crochet acute hanging plant and the style of a
Black Eyed Susan, which has some kind of
heart-shaped leaves.
7. Oak Leaf: Cafe, an oak leaf chain 21. Then make one single crochet
and forced lip stitches. This will be the
stem of the leaf. Now we crochet
around the midrib. Six single crochets, 5.5 double crochets. Three double crochets. In the loop at the top
make six double crochets. Then turn and crochet, BEC, three double crochets, 5.5 double crochet, and sticks, single crochets. Make one slip stitch in
the first one and turn. To crochet the shape
of the oak leaf, make 1.5 double crochet and leave one stitch. And then in one loop,
three double crochets chain three and connect them with a slip stitch
in the same loop. Then make one slip stitch
in the next group. That's your first
bump of the shape. Now, one single crochet, 1.5 double crochet,
one double crochet. Then in one loop,
three triple crochets, make four chain
stitches and connect them with a slip stitch
in the same loop. Then another slip stitch
in the next loop. To crochet the third bump. Make one single crochet, 1.5 double crochet,
two double crochets. Then in one loop
to triple crochets For chain stitches. And again connect them with a slip stitch
in the same loop. And another slip stitch
in the next loop. Now we start to
top off the leaf. And the next loop make
1.5 double crochet. One double crochet, and
bond triple crochet. Then in one of the top
loops to triple crochets. Now back in reverse order. So two typical shapes
in the outer top loop. In the next loop,
one triple crochet, one double crochet, and
1.5 double crochet. Don't forget to add a slip
stitch between the bumps. I fast forward this part so it doesn't get too
boring to watch. Okay. So when you're done, finished
off with a slip stitch, cut the yarn and pull the
lift through the end. And your oak leaf,
this finished.
8. Shamrock Leaf: Shamrock, clover or three file, however you want to call it. I really love this plant. And I think it's pretty easy
and fast to crochet one. And you get a nice outcome. It starts with a magic ring. Want a yarn around your fingers, hooked underneath
the first time. Graph the second. Pull
through and twist. Grab and pull through the loop. Now chain three and Charney of change and the magic ring with the slip stitch. The slip stitch tight. For the three leaved one, make another two of these. Each chain ring will
become one clover leaf. So in each ring crochet,
one single crochet. So you want to stick your hook through the middle of
the ring you've created. Then 1.5 double crochet, three double crochets, 1.5 double crochet, and then back in reverse order. So three double crochets, 1.5 double crochet. One single crochet. Can get a little crowded
in the small ring, but just pull the
stitches you've made so far to the right and
crochet further. After the single crochet pulled tight and start
with the next leaf. I've shed to written patterns in the project section below. So just download the PDF file. The last few stitches
off the last leaf. Feel like they're too
much for the ring. But trust me, it'll
look fine in the end. When you're done with all
three leaves, crushed, aid a little stem by making five chains stitches and turn. And make one single crochet
in three slip stitches back. You can make another slip stitch if you feel like
it could need it. To finish. Make
one chain stitch, cut the yarn, and
pull to look through. Now pull everything tight
and weave in the ends. The fall leaves. You obviously need four of the chain
rings and the magic ring. But it's the same few
stitches in each ring. And the same for the stem.
9. Sprout: I started to make
these little beauties. The spring when I saw my first tomato and
capsicum seedlings started. I was so in love with them
that I had to crochet them. Now they can stay with
me the whole year round. The pattern for the leafs is the one for the
small basic leaf. We start with a row
of chain stitches. Make a starting loop. And then nine chain stitches. Now crochet, Beck it
slip stitches and turn. Make one single crochet, half double crochets. One double crochet,
2.5 double crochet, one single crochet, slip stitch, and another slip stitch
in one of the top tubes. Crochet the other half of the leaf exactly
like the first one, but in reverse order. One slip stitch,
another slip stitch. One single crochet,
2.5 double crochets, one double crochet, 2.5 double crochets, one single crochet. And to finish off
one slip stitch. Cut the yarn and pull
the loop through the ends to connect
everything later on. Make two of them. Okay, to
make the stem start with about eight genes such as then crochet back,
seven slip stitches. My camera died at
the end of this row, but I made a chain stitch
and pull tight, loop. Crochet back seven
slip stitches. Again. Make a chain stitch, pull tight and crochet
back, seven slip stitches. That's it. Finished off
with the slip stitch. Cut the yarn and pull
the loop through it. Don't cut those loose ends. Relate to use them to secure
the stem on the side. Now we assembled the lens brat. Thread, your needle with the longest string of
one of the leaves. And Solitude the upper
end of the stem. I think there's no
right or wrong. But it should be securely
salt onto the top. Then within the adult loose
end of the first leaf. Repeat this with the other one. The little sprout link, now
need soil to be planted. A little straddling now
need soil to be planted. Start with magic ring. So again, yarn
around your fingers, hooked underneath
the first line, graph the second, pull
through and twist. Grip and pull through the loop. Then into the magic circle. Make seven single
crochet stitches. Pulled the end of the magic
ring to close the hole and increase each stitch
in the next round. As we work on rounds, you should always
mark the first stitch after new round to
not lose track. Just crochet and little piece of a different colored yarn into
the first stitch like this. You should now have 14 stitches. Then make one single crochet in the next stitch at in your marker and
increase the following. Repeat till you
reach your marker. This makes 21 stitches
in the third round. Finish off with a slip
stitch, cut the yarn, but leave a tale about 20 centimeters and pulled
the loop through. Now we connect this prop
with the soft thread, your needle with one yarn
end of the sprouts them, preferably the longer one. So it onto the middle
of your solid piece. Cover all the edges of the stem. His proud should be
able to stand upright. Then we've in the end and thread the needle with the
loose end of the stem. It's everything should
be secured by now. Just bring it to the
bottom and weave it in. Now you're done with
the upper part. So let's start with the pot.
10. Sprout Pot: We start with a magic ring. So again, windy yarn around
your fingers and hold it. Then hook underneath the
first-line, grep the second, untwist, grep the same one, and pull through the loop. Now you can tighten
the magic circle a bit by pulling the loose end. Then into the magic circle, make seven single
crochet stitches. The bottom of the
pot is basically the same as the
pattern for the soil. For the second round.
Increase each stitch. Again, don't forget the
different colored yarn. To mark the next round. You should now
count 14 stitches. Again, place your marker in the first stitch
of the next round. This is the one single crochet. Then increase the
following stitch. One or two. Then again, one single
crochet in the next stitch. Then increase the following. Repeat till you
reach your marker. This makes 21 stitches
in the third round. Now we're done with
the bottom of the pot. For the next round. Only stitch through the
back loop of your stitches. This is the full loop. We only want the
backlog for this round. Don't forget your marker. Make a single crochet
in each back loop. You can see that this helps the stitches to form
the edge of the pot. When you reach your marker, start with single
crochet round in the fall looks to
you like the height. I crochet about six
brands for the world. To make. A little rim at the
top of your pot. Make one round of single crochets only
into the front loop. Loss off with a slip stitch. Now cut the yarn and
pull the loop through. As you can see, I'm not the
best with the marker thread. It's a bit weakly, but it doesn't really matter
for this plot. You can now pull out
your market threat and forth over the room. Fragile tapestry needle and we've the end of the
yarn into the pot. I'd say there's no right
or wrong to do this, but it shouldn't be visible from the outside. Okay. Now, take some of
your fabric and yarn scraps and put them
into the little pot. Always tried to form
the pot as you go. It needs a flat bottom to be able to securely
stand on your desk. Stuff at densely so
it has some weight. When you are happy
with the stuffing, take the little sprout with soil attached and
planted in the pot. Now you only need to show the soil to the
inside of the pot. Okay. When you're done, we've in
the end and cut the yarn. I always press the
little thing around to, I'm pleased with the look
and the extent of it. Here are some of the
sprouts I've made so far. Well, only a tiny
amount of them all.
11. Phone Charger: With a few easy stitches, you can create a phone charger, everyone recognized as yours. Just crochet a cute one
of your favorite leaves around a court may
go starting loop. Then take your phone charger. Now, just make single
crochets around the court. It feels a bit different to
crochet around the cord. So grabbing the yarn isn't the same leg when you're
crocheting stitches. The secret for getting a nice fine is to pull
tight every stitch. When you feel like you've
made enough single crochets, start with the first leaf. You can make every
type of leaf you like. I used a small basically
with ten chain stitches. So after crocheting nine
slip stitches back, make a single crochet in the top loop of the
first chain stitch. Now you can start with
the leaf pattern. It feels a bit weird that the sturdy cord is
hanging around. But after a few leaves, you get used to it. To finish the leaf, make a slip stitch in the first
stitch and pull tight. Then continue with single
crochets around the cord. Remember to pull
the stitches tight. When you're down
a few centimeters within the loose
end from the start. So it doesn't annoy you anymore. But be careful and don't stick your needle
through the court. I like how the single
crochet stitches look when they aren't
all in one line. It looks a bit more natural. But you can turn the stitches around however you
want them to be. The space between the leaves
is totally up to you. I start the next leaf now after a few centimeters
of single crochets. When you reach the
end of your chord, pull the stitches you've made together so they
form a neat surface. This makes space for at
least one more leaf. After the last stitch, you can cut off the yarn and
pull the n through the loop. Then carefully, we've hidden. That's it.
12. Project & Thank you!: Congratulations. You've
made it through all of the class and maybe you already started to
crack crochet leaf. Now you can follow my patterns, borderlands proud, or
just get creative. You will probably find lovely ways to use the
different leaf types. Maybe some kind of jewelry or bookmarks or whatever you like. There's one more
important thing to do after you finished your work. It's called blocking. For bigger crochet
or knitted projects. You get your whole piece wet
and then pin it to some kind of blanket or your ironing board and then let it dry completely. But I find it much easier for the little projects
like the lead two, ion them with steam. This blocking process will help your work Tuesday and places. I like the plants, I create much more after the leaves
are pressed flat. So for the project, I'd like you to take some pictures of either
the individual leaves you crochet or your phone charger or the sprout or other
creative things degraded. Then share them with
the other students and me in the project
gallery below, so we can all appreciate
your work. If you want. You can tag me on Instagram. If you upload any
pictures on your account. I really look forward to see
all of you crochet greens. For any questions. I'll open a discussion under this class and I'll
definitely come back to you. And if you are interested
in other crafty things, check out my Skillshare profile. I've created another
crocheting class about how to make acute
string of pearls, but also some classes
about sewing. I really hope you
like this class. Thank you so much for watching.
 Lisa Kahlhöfer, Bespoke Tailor & Crochet lover