Sunflower Watercolor Bookmarks: Using Salt and Watercolor Pencils for Texture
 Marisa Johnson, Artist/Photographer
Watch this class and thousands more
Watch this class and thousands more
Lessons in This Class
-
-
1.
Hello and Welcome
1:06
-
2.
Art Supplies
3:00
-
3.
Washes and Techniques
7:33
-
4.
Sketch The Flowers
1:44
-
5.
Flowers
10:16
-
6.
Leaves
4:37
-
7.
Finishing Touches
8:33
-
8.
Class Project and Thank you
2:24
-
-
- --
- Beginner level
- Intermediate level
- Advanced level
- All levels
Community Generated
The level is determined by a majority opinion of students who have reviewed this class. The teacher's recommendation is shown until at least 5 student responses are collected.
166
Students
4
Projects
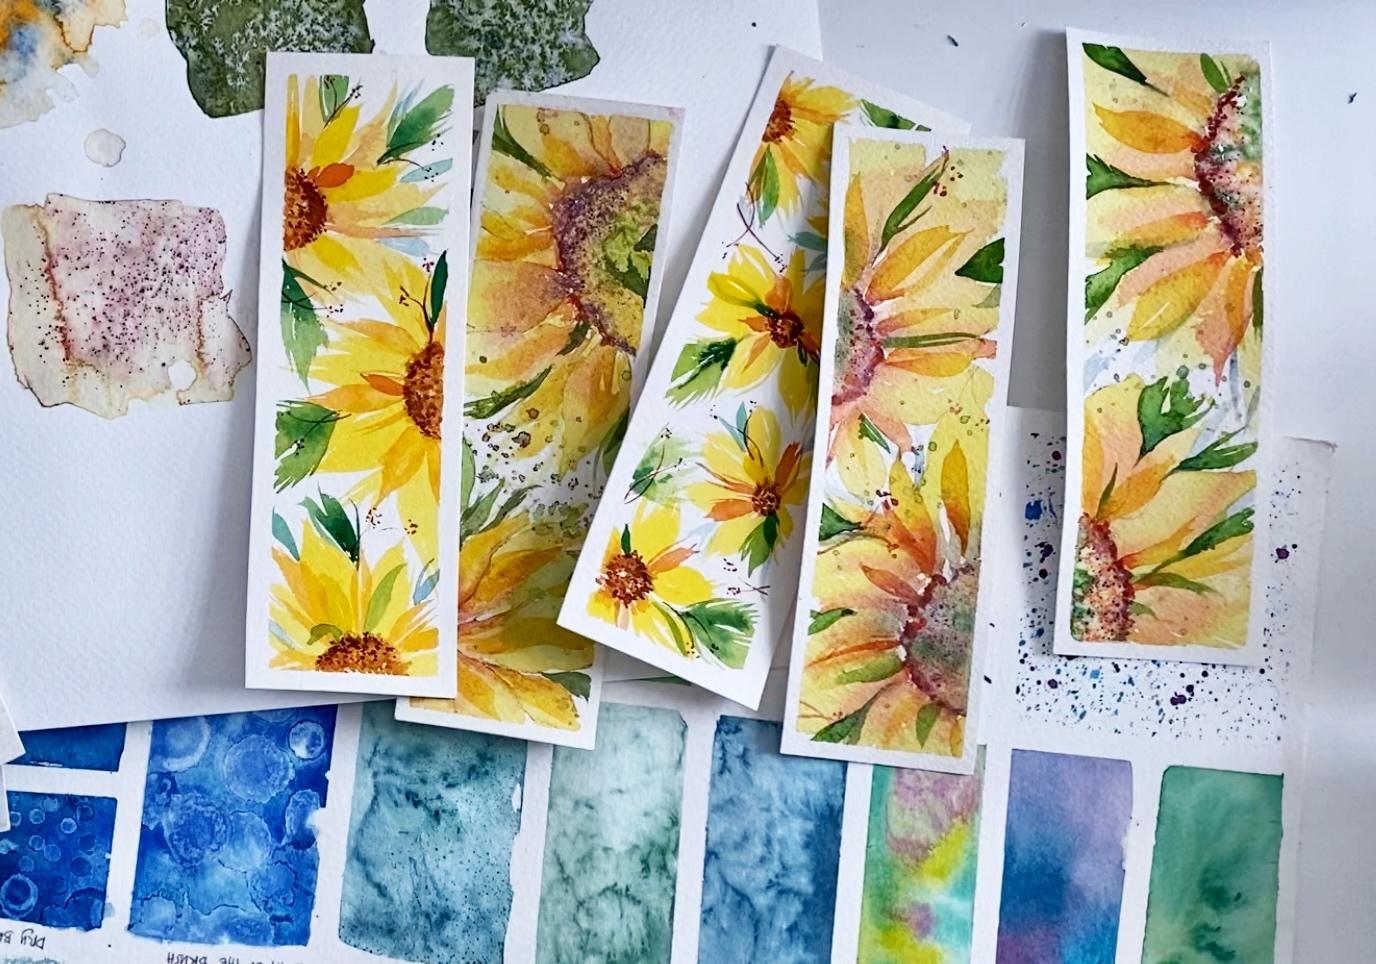
About This Class
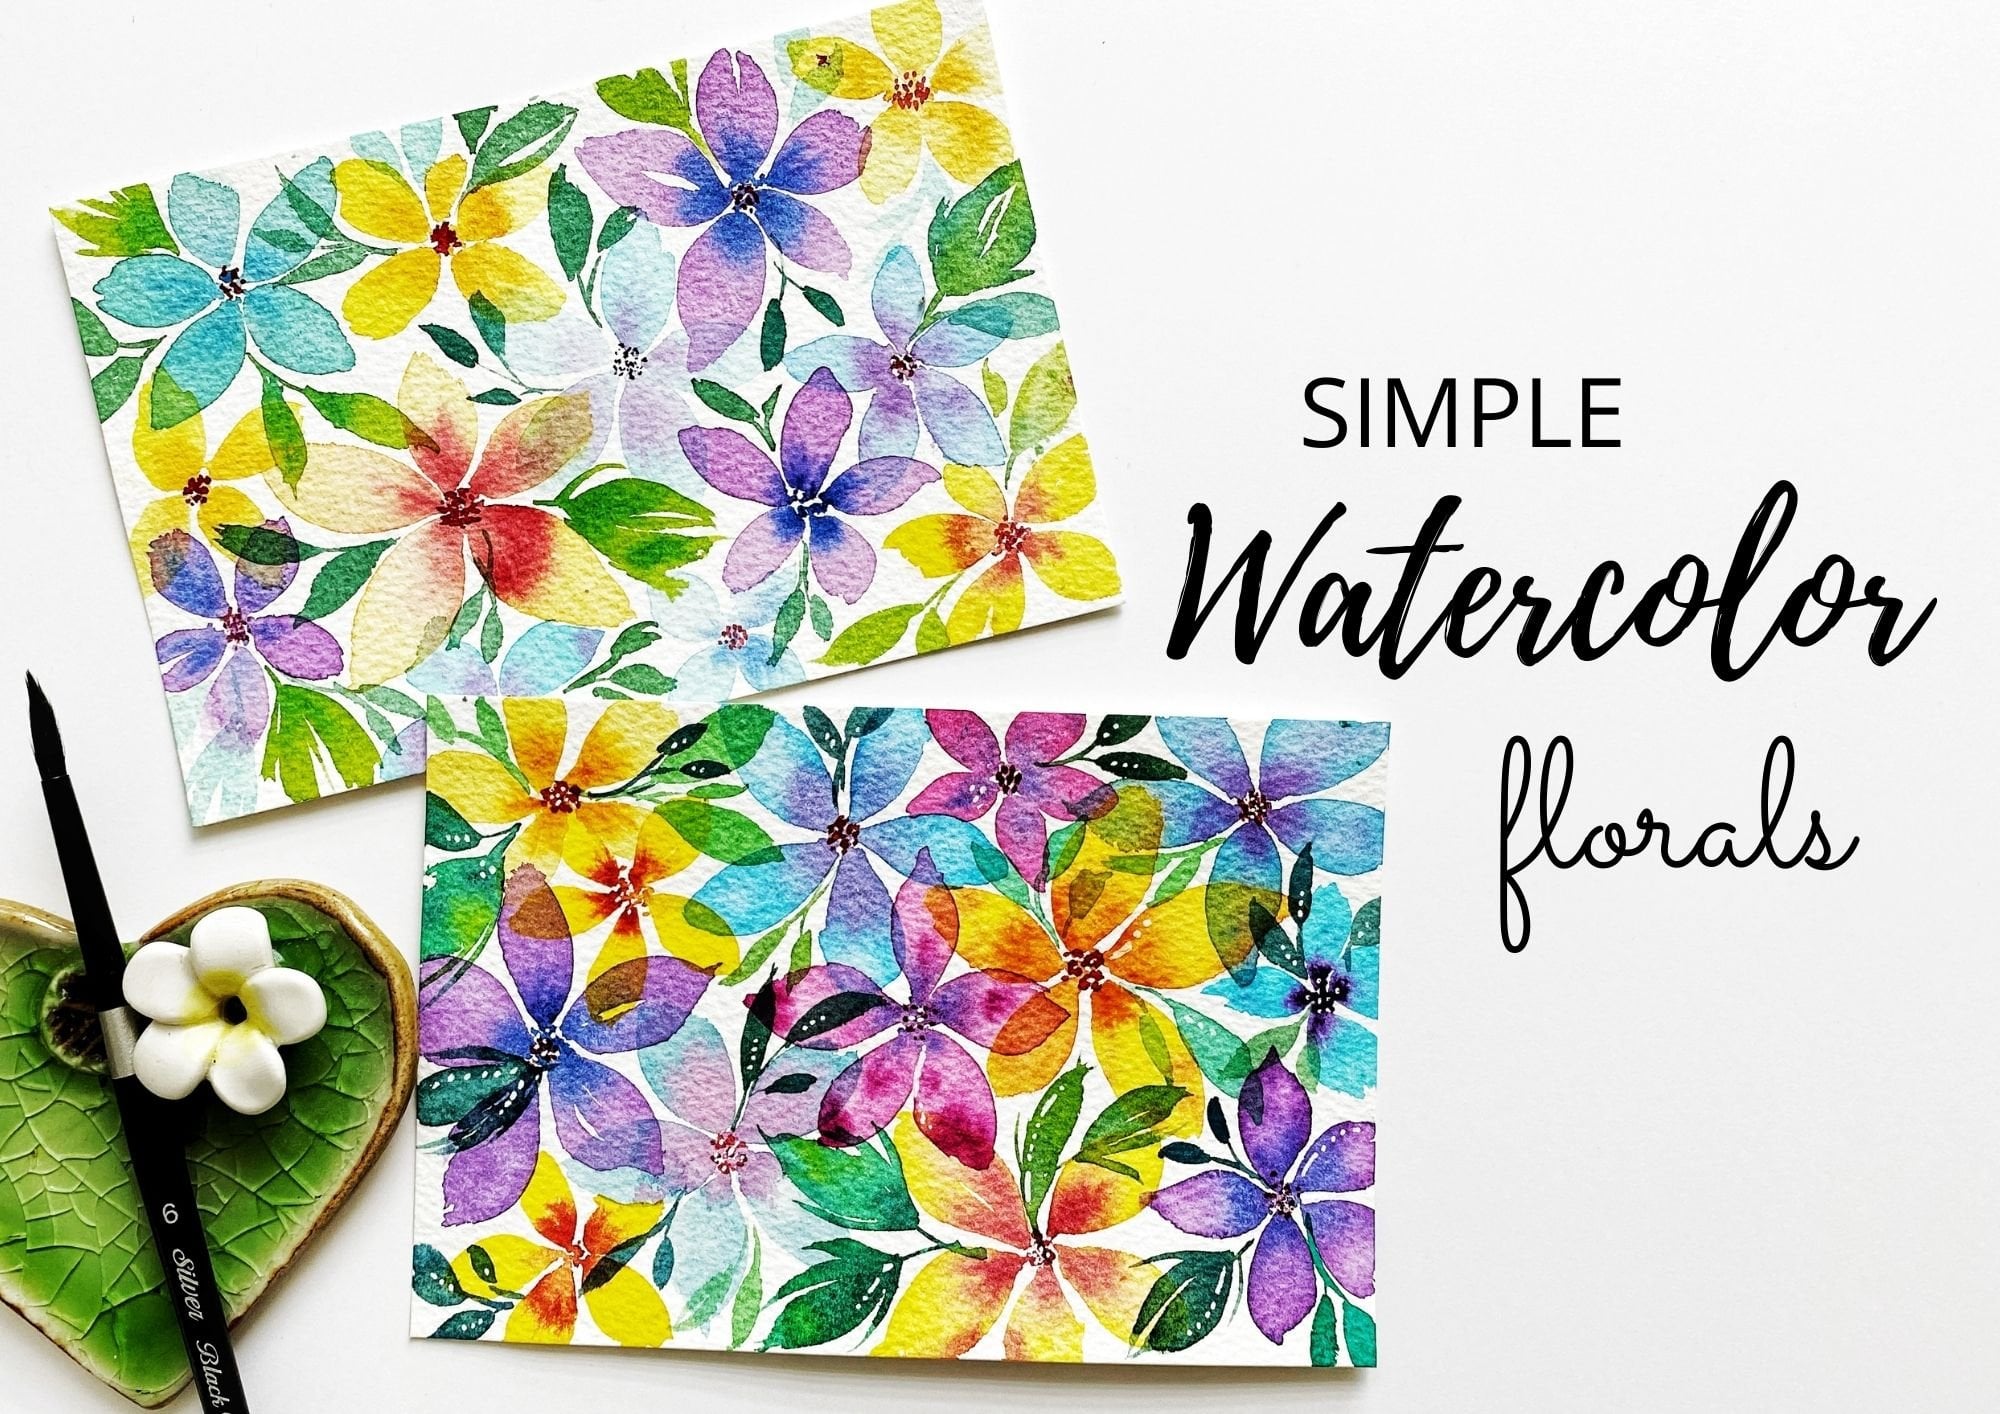
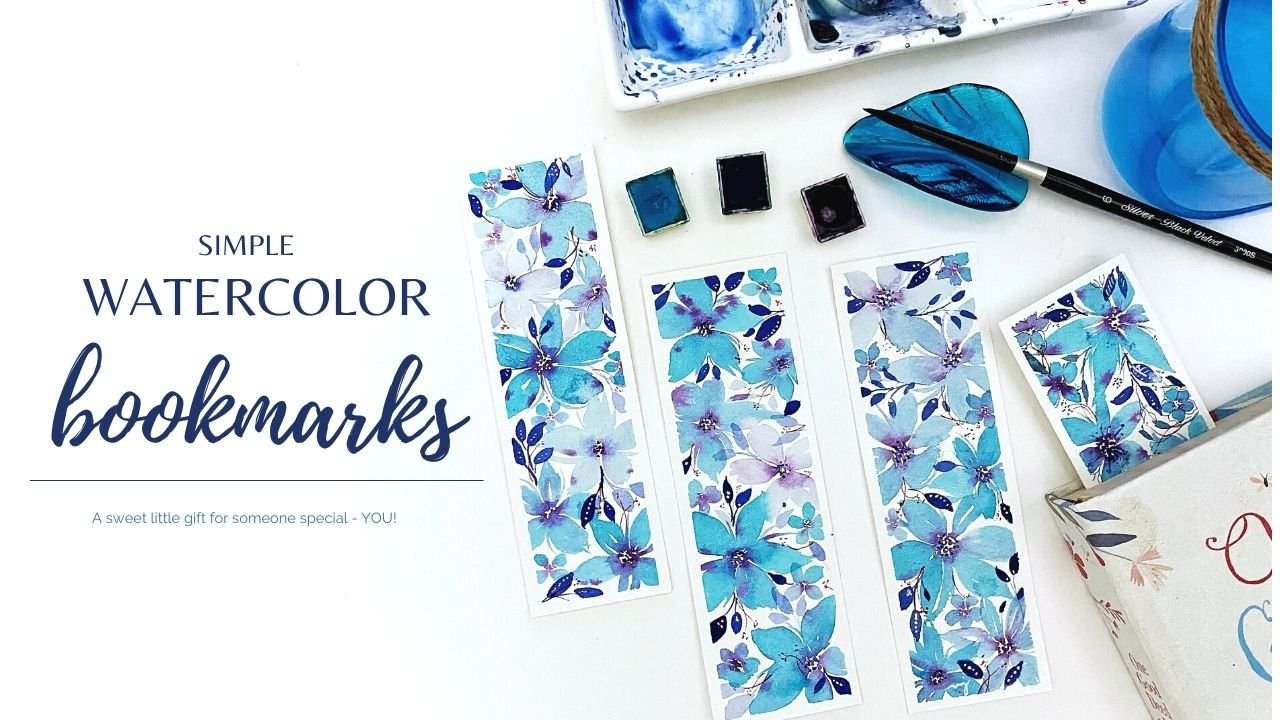
Hello! I hope you are doing fantastic today. We are going to paint a simple watercolor sunflower bookmarks. Here you will learn to control the water and paint in order for you to achieve the transparency and opacity of watercolor also the control of your hands holding the brush. You will learn and enjoy the use of salt and watercolor pencils to achieve textures.
Here is the guide for your class project:
1. Prepare your paint, brushes, water and paper. Try to paint using natural light or under a bright source of light.
2. For beginners, do some exercises first in creating petals and different washes and techniques. You can find the exercises under the Watercolor Washes and Techniques section.
3. Paint the flowers. This is not something too serious where we have to think about detailing and depth or dimensions. This is more about being free and tapping into your intuition. Just be creative and feel free to add your own style.
By the end of this class you will not only have bookmarks to be a part of your reading journey, but you will have inspiration and confidence to paint simple and easy loose sunflowers in watercolor.

Sharing your Artwork
I can't wait to see what you create. Please show me your work in the project section and please do feel free to upload any of the following:
- Your Watercolor Washes and Techniques
- Your work-in-progress from any phases of the project
- Your final Watercolor Painting
Don't forget to tag me on Instagram @habit_of_art and use the hashtag #letspaintandstayconnected to feature your work on my stories. Please reach out to me if you have any questions or need an extra guidance.
https://www.instagram.com/habit_of_art/
https://www.facebook.com/makulaystudio
Feel free to share your work to our Facebook Private Group Page: Let's Paint and Stay Connected by Makulay Studio
https://www.facebook.com/groups/1024233775013094
Make today amazing!
Meet Your Teacher

Marisa Johnson is an award-winning artist. Has been honored with numerous awards for her artworks in the US Department of Army. Has had several solo and group exhibitions and publications in Japan and South Korea. She has done a lot of commission work sold internationally. Have been teaching since 2007 serving the US military families in Japan and Korea. Now being based in the Philippines, she is looking forward to share her artwork expertise to everyone interested in developing its creativity.
See full profileHands-on Class Project
About This Class
Hello! I hope you are doing fantastic today. We are going to paint a simple watercolor sunflower bookmarks. Here you will learn to control the water and paint in order for you to achieve the transparency and opacity of watercolor also the control of your hands holding the brush. You will learn and enjoy the use of salt and watercolor pencils to achieve textures.
.
Here is the guide for your class project:
1. Prepare your paint, brushes, water and paper. Try to paint using natural light or under a bright source of light.
2. For beginners, do some exercises first in creating petals. You can find the exercises under the Watercolor Washes and Techniques section.
3. Lightly sketch the flower petals. I have uploaded under Resources a sketch of the 2 bookmarks for your reference in case you wanted a guideline. You can download, print it and use for tracing.
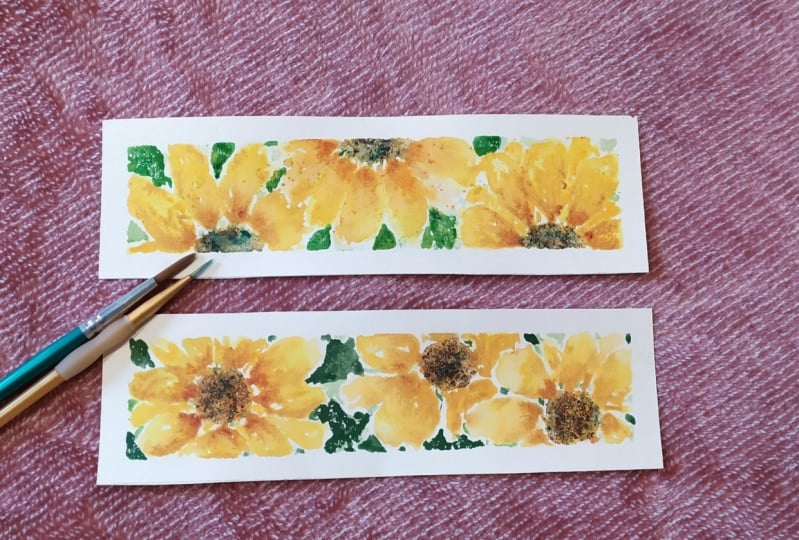
4. Paint the flowers. This is not something too serious where we have to think about detailing and depth or dimensions. This is more about being free and tapping into your intuition. Just be mindful of the tonal value, the lightness and darkness of the color. Be creative and feel free to add your own style.
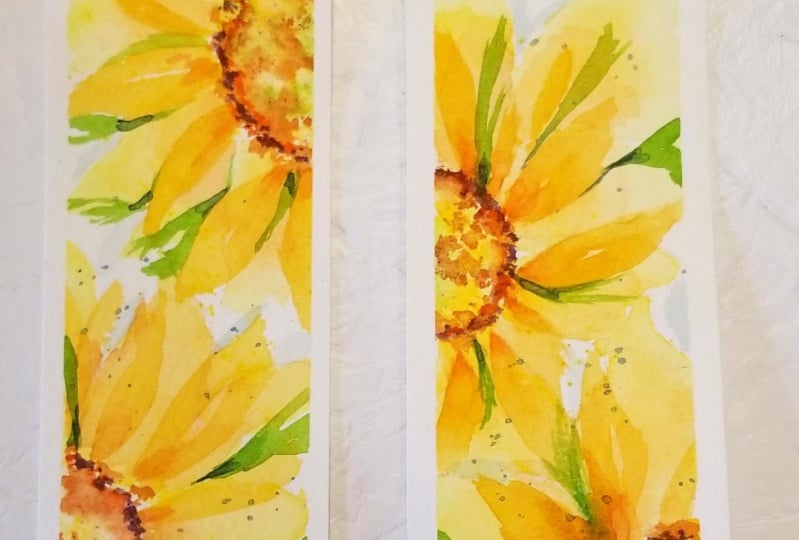
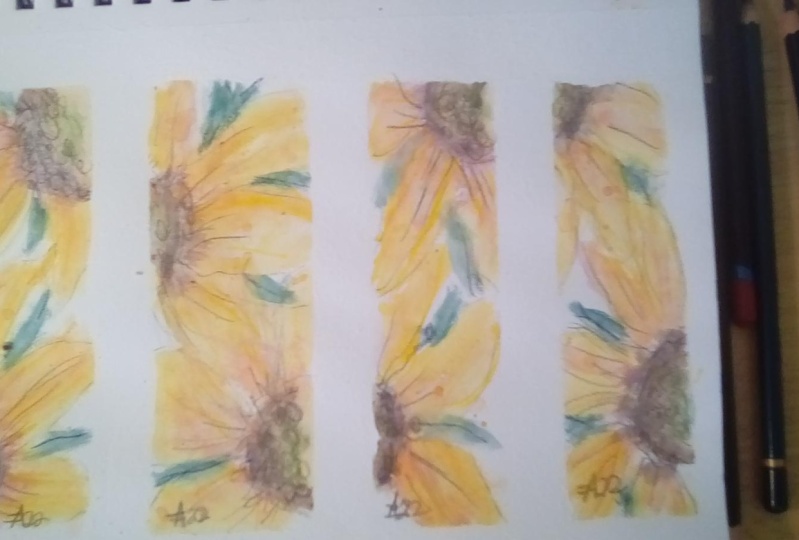
5. Enjoy the use of salt and watercolor pencils to accentuate and add texture to the center of the sunflower.
6. Cut the finished painting into a bookmark. You can also punch a hole and put strings on it if you prefer.
By the end of this class you will not only have bookmarks to be a part of your reading journey, but you will have inspiration and confidence to paint simple and easy loose watercolor sunflower.
Materials:
- Watercolor Paints (tube or pan paints will do the job)
- Watercolor Paper
- Watercolor Brushes in different sizes
- Cups with water
- Paper towels or napkins
- Salt
- Nail File
- Watercolor Pencils in Deep Purple, Red and Green
Sharing your Artwork
I can't wait to see what you create. Please show me your work in the project section and please do feel free to upload any of the following:
- Your Watercolor Washes and Techniques
- Your work-in-progress from any phases of the project
- Your final Watercolor Painting
Please reach out to me if you have any questions or need an extra guidance. Please feel free to ask them in the discussion section of this class, and I will get back to you as soon as I am able. If you find this class beneficial, it will be much appreciated if you leave a review to help other students decide if they like to take this class as well.
If you want to learn more from me, please feel free to visit my other classes over here on Skillshare as well as thousands of creative classes from talented teachers all over the world on this amazing platform.
Don't forget to tag me on Instagram @habit_of_art and use the hashtag #letspaintandstayconnected to feature your work on my stories. Please reach out to me if you have any questions or need an extra guidance.
https://www.instagram.com/habit_of_art/
https://www.facebook.com/makulaystudio
Feel free to share your work to our Facebook Private Group Page: Let's Paint and Stay Connected by Makulay Studio
https://www.facebook.com/groups/1024233775013094
I hope you will all enjoy this class. Paint your stress away, be creative, have fun and enjoy the process.
Class Ratings
Why Join Skillshare?
Take award-winning Skillshare Original Classes
Each class has short lessons, hands-on projects
Your membership supports Skillshare teachers
Learn From Anywhere
Take classes on the go with the Skillshare app. Stream or download to watch on the plane, the subway, or wherever you learn best.