Transcripts
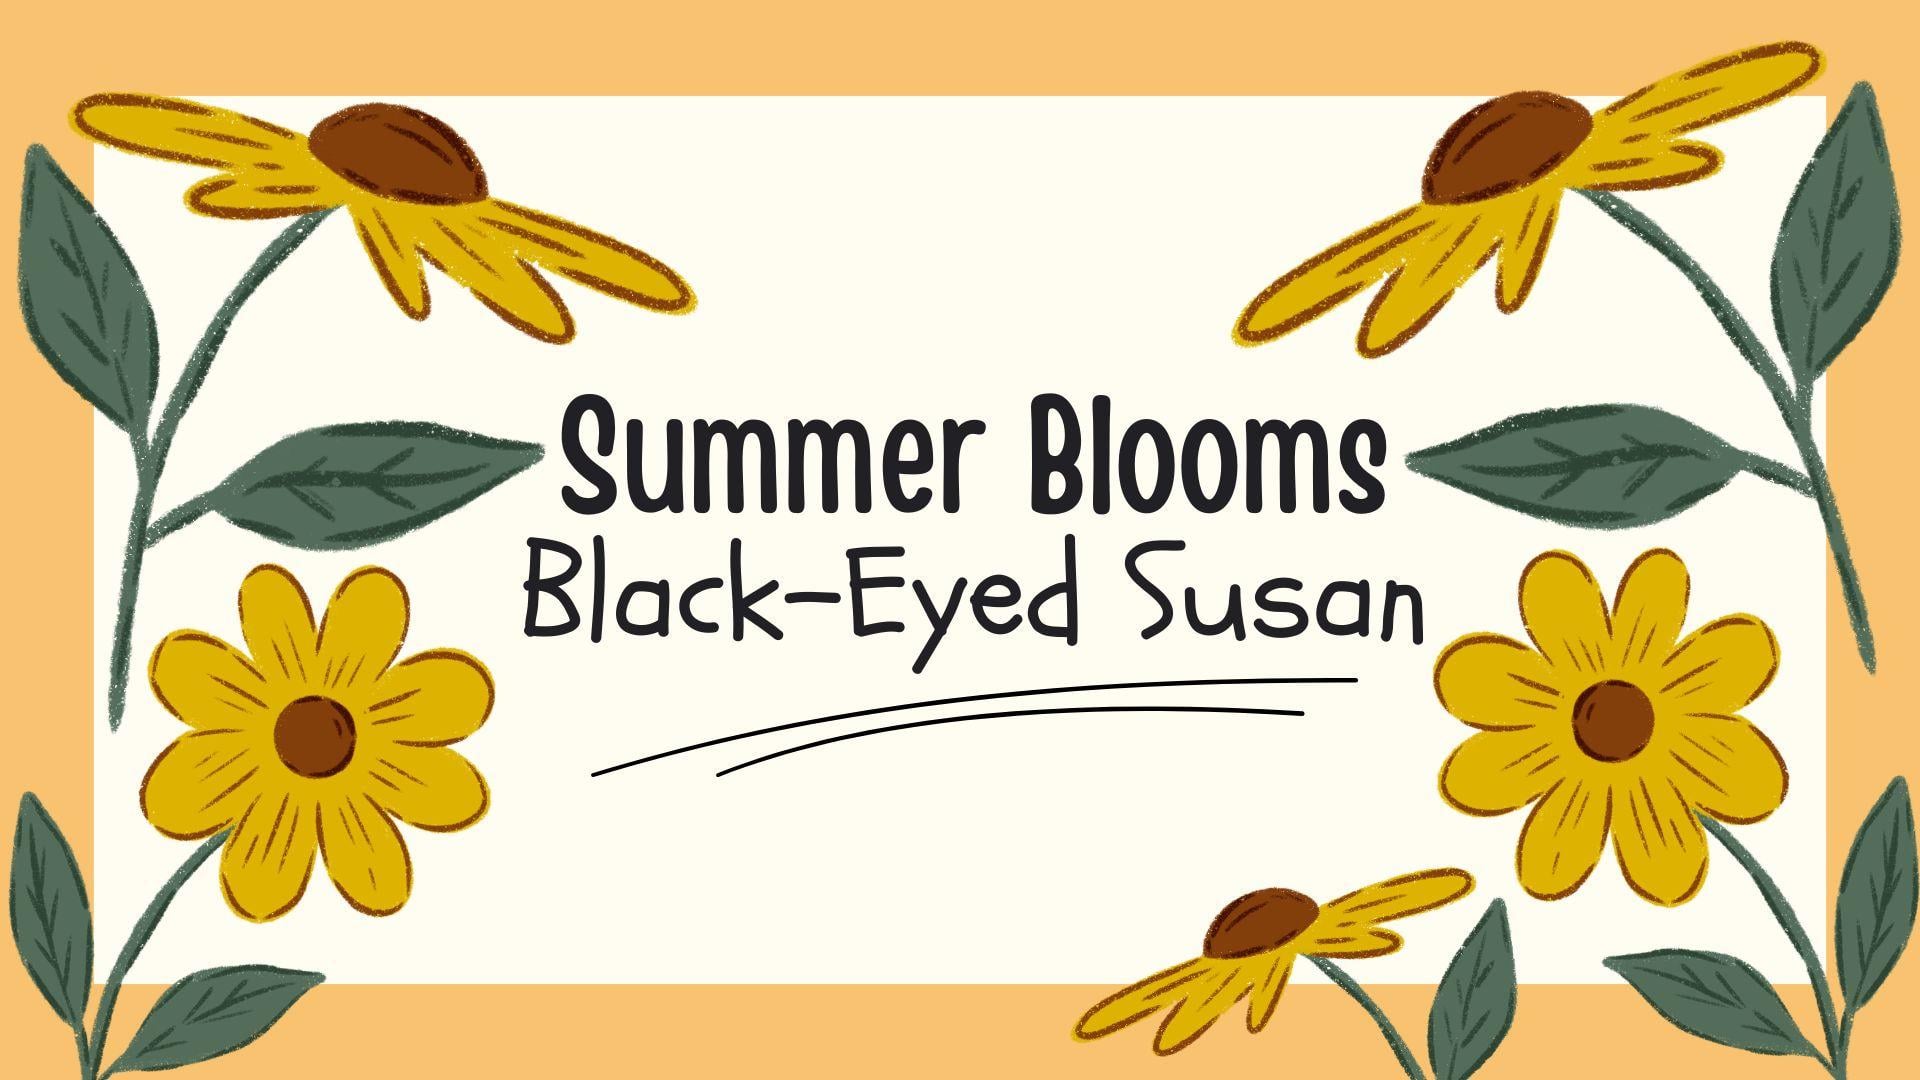
1. Class Intro: Hi there, creative friend. Welcome to class. I'm Sarah. And in this class, we'll
be drawing a black eye Susan together as part of
our summer Blooms series. A relaxing collection of simple botanical drawings
inspired by summer florals. I'll guide you step
by step in a calm, beginner friendly way
so you can slow down, create, and enjoy the process. So grab your iPad and
let's get started.
2. Class Download : I'm going to show you how to download the class
color palette. And something important to know is that you
will need to be on a web browser and not the Skillshare app to
access the class download. So right below this video, you will go to the Project
and Resources tab. You will scroll down
to your swatches file. Now I will tap on my Winter
plat swatch file, save. And you can save it here on your files or your Google Drive. I'm going to save
it to my files. Now I will tap
open in and select Procreate and it will automatically import
into the Procreate app. I usually places the
palette at the very bottom, so we can just tap
on the palette and drag it all the way
up to the very top. Now that we have our palette, we are ready to begin.
3. Sketching: So we're going to start off with a canvas that is 8 " by 8 ", and I'm going to make
sure it's at 300 DPI, and our color profile
will be at RGB. So I'm going to start
off with creating just a solid
background color layer so we could draw
everything above that. If you go to our color palette, it'll be this light pink color. I can now just drag
and drop the color in. I'm going to create
a new layer and I'm going to bring in
our moodboard so we can visualize and see the different angles our
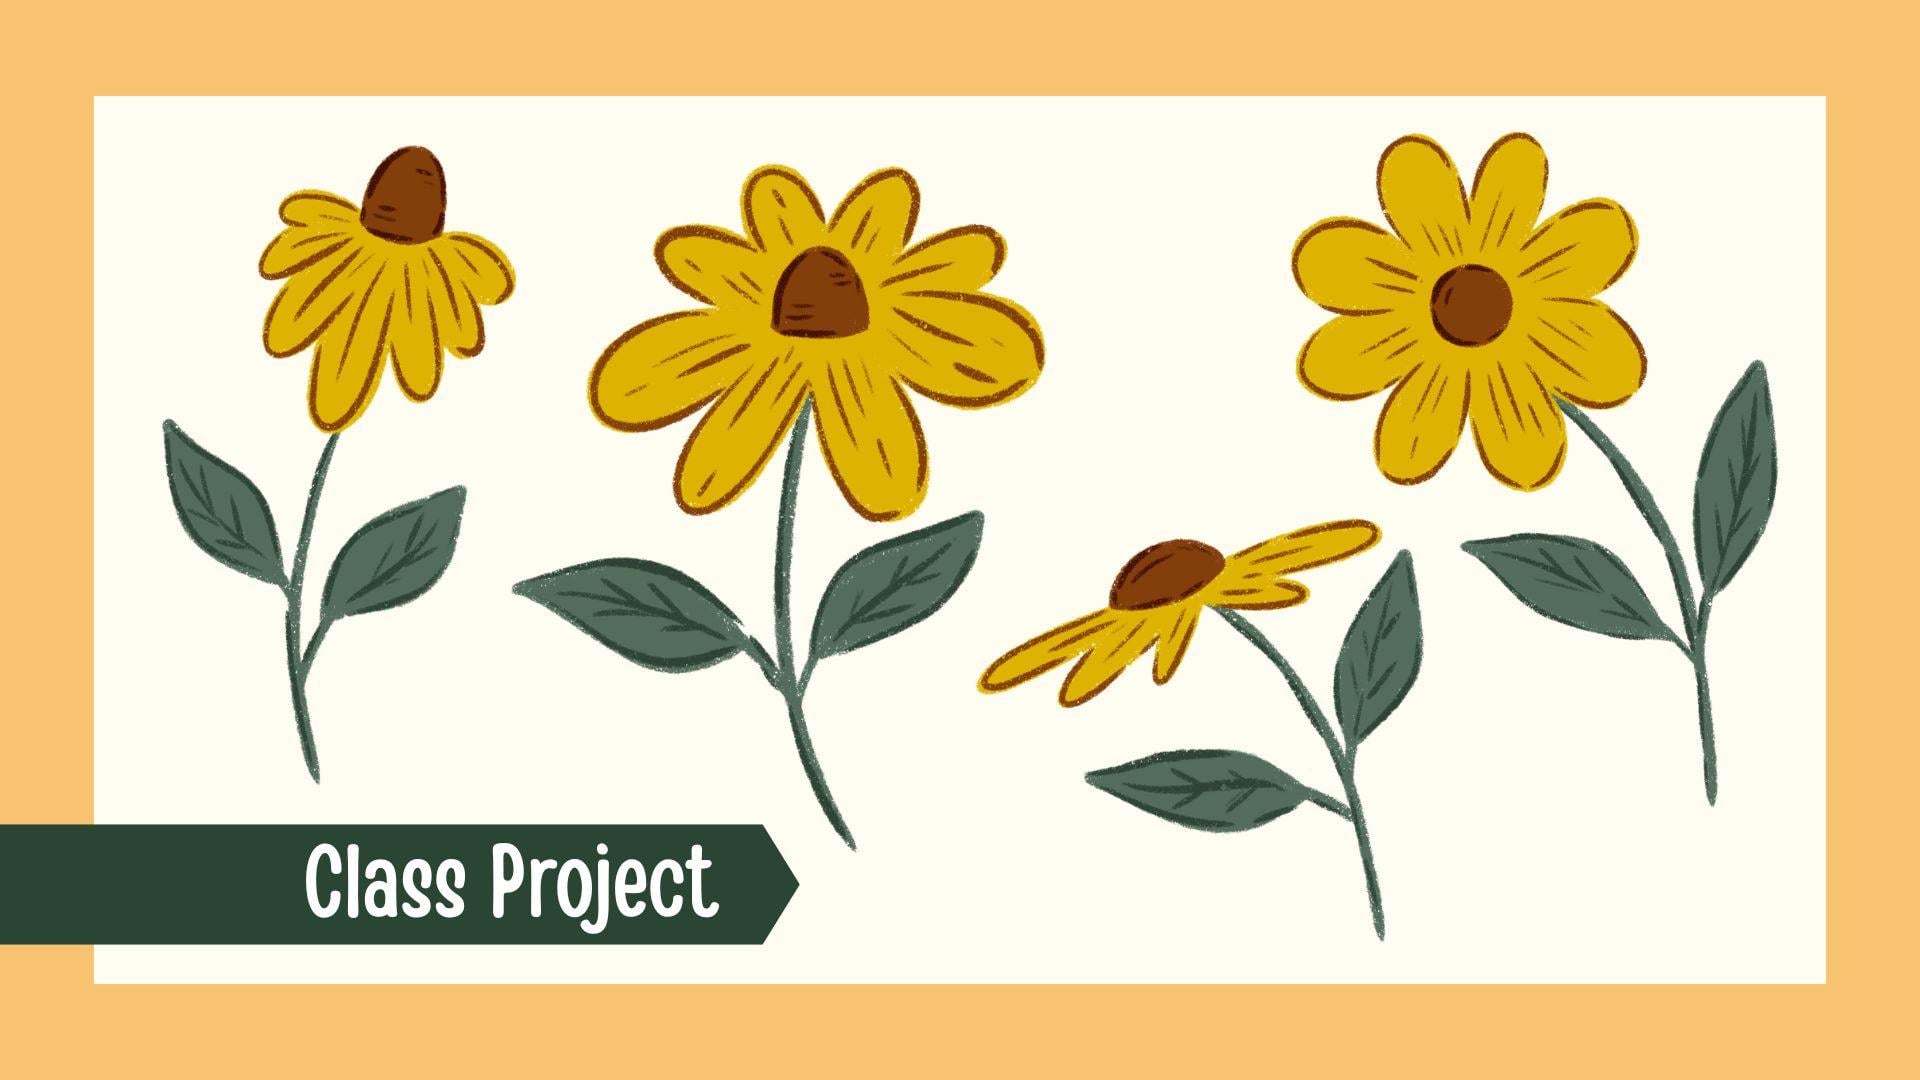
flowers will be drawn at. Let's analyze this.
As you can see, this flower right here, going to create a new layer
above this so we can analyze. I'll grab this red color. As you can see,
this flower right here is just very straight on. So we'll create some flowers with different angles to
create visual interest. So this will be our straight
on, as you can see, it has some thin petals
with the center, and it's just straight on. And then we have
this one right here, and this one's from the side, as you can see the middle, and then the petals
go off to the side, and you don't really see
anything in the back. It's just from the side. And then we have these
that are very interesting. And as you can see, these
are almost completely straight with just very
few petals coming forward. And, of course, the middles, they're a little more prominent with the
black eyed Susans. And I like that. And then this one right here is
kind of straight on, but slightly to the side. So you can see more of the petals from the
front and less in the back, and then we have our center. So I'm just going to turn
off the mood boards. We can kind of see the angles
we'll be working with. And this already
gives us kind of a rough idea of what our
florals will look like. So I'm just going to turn
off the sketch layer, and we'll just
keep our moodboard here in case we need to
come back and reference it. We'll leave it there,
and we're going to create a brand new
layer so we can start creating our
sketch for our flowers. So I'll just be using
the six B pencil, which comes with
the procreate app, but you can use any brush
you'd like to sketch. And I'm going to grab
this gray color. And I'm going to
use this gray color to mark off some circles. So we know that we're going to do one that is straight on. So I'm going to do that right
here. Going to do that. And then I know I'm going
to want some that are slightly I'll kind
of do like an oval, because I really like the
way the side flower was, so I'll just divide it in half. This is just very loose. So I'll draw this line right here to
represent the center, and I'll come back and
refine the petals. Right now, we're just
doing the big shapes to kind of get an idea. And then we saw some
that were just kind of, like, straight on, just
totally toward the side. And then I really
like the one that was kind of half sideways,
half straight on. So I'm going to do
that right here. So we can always add more later, but I'm going to just adjust, make sure you're on free
hand and no color fill. I'm going to just adjust the placement of my
flowers a little bit. And you can leave this as all the flowers
together on one page, like a composition,
or you can break them up and use them for
patterns or clip art sets. It's totally up to you. But for the purpose
of this class, I'm going to leave
them all on one page. So that's looking good. Now I'm going to come back
and we're going to refine our flowers a little more
before we start inking. So I'm going to go back to my mood board just to
kind of get another idea. And as you can see,
the black eye Susan has a very prominent center, and then the petals are thinner and not so
close together. They have some
spacing in between. So now that we saw that, we
can go back to our sketch. This time, I'm going to grab my red color and make sure
I have my six B pencil, and now I can start refining
the sketch a little more. So I'm going to grab
a new layer over our I'm going to call
this the blob sketch. So this will be more of
the refined sketch layer. So we'll start with
this one that's just completely straight on, and I'm just going
to do a middle so it doesn't have
to be perfect. We don't want the flowers
to be too perfect because anything in nature
has more of an organic look. So now I'm going to just start marking off where
I want my petals, and I'm going to
divide it in half vertically and
half horizontally. And now I can go
in in between and add divide those in the middle. And I think that
looks pretty good. I don't want to do
too many petals, but you can do as
many as you'd like. So now that I have kind of
roughly marked off my shape, I can start kind
of just creating little petals and
keep this loose. This is just our sketch layer, and we'll come back over
it and ink everything, and then we'll add some details. So I'll just add in my petals or I have
kind of, like, a guide. Keep it loose and organic. That looks very nice. Now we can just bring
let's see if I want to add a stem kind of to the side, maybe some leaves.
That looks perfect. So that's our first flooral.
That one's just straight on. Now let's do this
one that's kind of just completely to the side. So we already marked
off our center. So let's add our middle. As you can remember, the
center is more prominent, and it's kind of like
this little cone shape. So I'll just kind of do that. And now I'm going to add again lines to where I want my petals. And there was they weren't
too close together. So I'm going to
just roughly kind of at these lines to
where I want my petals. We didn't really see
anything in the back, so I'm just going to
do one can go back. As you can see,
this one back here, you can see it,
but not too much. We're just going to add
that little detail. Back here, we'll just
do it very lightly. It's you can see
it, but not really. I think that's pretty good. Now we can go in and start filling in our shape
for our petals. Start with this in the front. These kind of just laid
on top of each other. That looks pretty good. So now we can add our stem. So leaves, kind of this
little pointed leaf. And there is our second
floral kind of to the side. So I'm going to turn off
the blob sketch layer, and that's looking really nice. So now let's try this
completely side kind of shape. So I'll make sure
I'm on my pet layer. And again, we're going to
make sure we have our center. And then for these leaves, they were just almost
completely flat. So we're just going to
kind of stay within this shape and then
just add some petals. And they were not too thick. They were just kind of side ways where you just saw the
very almost like a slice. I'll bring down our stem. A. Let's turn off our blob,
and that looks great. Now for our last sketch, this one was kind of let's
look at it one more time. It's kind of sideways
and kind of forward, so we can kind of see how
the petals are in the back, but the ones in the front
are a little longer. So let's go back to our sketch. And wherever you
place your middle, that's going to
be important here because if you place
it toward the bottom, the leaves in the
back will be longer. And if you place it higher up, the leaves in the
front will be longer. And as we saw from
our reference photo, the leaves are a little
longer to the front. So we'll just add
our middle higher up and now I'm going to
just add some guides. I'm gonna cut this
vertically and horizontally and then
add to each one. And as you can already see,
it's taking that shape. So now we can just
add our petals. That's looking really
nice as you can see the petals in front are a lot longer than the
petals in the back. That's exactly how our
reference photo was. We can add our stem
and our leaves. So I'm going to turn
off our Blob sketch, and that looks just amazing. So I'm going to just grab
my two sketch layers, and I'm going to center
them to the canvas, so I'm going to make sure my
snapping and magnetics are turned on and you'll see it snap when it's
right in the middle. Now we can deselect it. I'm just going to go back to my petal sketch and I'm going to bring
this then make it just a little bit longer. I'm going to turn
off my lob sketch. So that looks incredible. So the next step is going to be we're going to ink everything. So then we have our
beautiful little florals. So in the next
lesson, we'll work on adding color and some details.
4. Inking: In this next lesson, we
will ink our drawing. So I'm going to go
to my layers panel, and we are going to merge our two sketch layers because we'll only be needing
this as a reference. So we'll just pinch our
two layers to merge them. And now we will create
a brand new layer, and I will bring that
under my sketch layer, and now we can lower the
opacity of our sketch. So we just want it to
be very light just as a reference because we
will be tracing over it. So we want it enough
where we can see it, but also so we can
see our ink drawing. So I'll be creating a brand new layer for
each color we use. So we're going to start
off with our petals, and I will just grab
the yellow color. And for my brush, I'll be
using the drying brush, and you can find that under the inking tab in
the Procreate app. But feel free to use
any brush you'd like. So I'm going to make
my brush around 20%. And I'll just start right
here at the very top. And this is the fun part. This is where we just relax, and we're just going to
trace over our sketch. So I'll just trace
over my petals. And right now we're
getting more of just the color shapes because we'll be adding details
in the next lesson. So we just want
big color shapes. So to color this, we can either come in and color it like if we have a crayon, and that gives it more of a
sketchy kind of crayon look, or we can just drag
and drop the color in. And that's totally up to you. For this class, I'll just be dragging and dropping the
color into the shapes. So now I'm going to
just go in and do this to all of my petals. I will just be tracing over my sketch and dragging and
dropping in the color. And if it fills the entire page, just slide your pencil and
you'll see the threshold on top until it stays
within the outline. So now I will just continue
filling in all of my petals. Now that I have all my petals, I will turn off
the sketch layer, and we can see if
there's anything. And as you can see, some of these little white
gaps on the flowers, we can just come
in and fill them. So you don't see really
an outline anywhere. It just looks nice and smooth. You can just do that. We're just going to go over and make
sure everything looks good. And I think that looks great. Now we have our petal layer. We can turn on our sketch, and I will create
a brand new layer, and this will be for the
center of our flowers. So we're going to grab our
brown color from our palette. And for this layer, we
will make sure it is above the petal layer because this will be the center
part of the flower. So we're going to do
the exact same thing. And just start tracing over the center part of the flowers
and filling in the color. And if you're going to use
the dragon drop technique with your color, make sure all your
shapes are completely closed so the color
fills in your spaces. I really like this one because
it's just nestled within the petals and it gives it a nice little gives it some
character to the drawing. So that looks good. We'll turn off our sketch
and come and make sure we don't have any little
gaps you want to fix. Right now we're just doing
the big color shapes. We will worry about
adding detail later on. So I'm not too worried. Keep this really loose
and fun. No pressure. This is just a relaxed drawing. That looks great. Now we will
add our leaves and stems. Again, for every new
color we introduce, we will create a new layer and this time we will
bring our layer underneath our petals because
we want the stems to look like they're coming
out from under the petals. We will grab our
light green color and turn on our sketch. Now we will do the same thing. I'm going to hire my
brush to around 25%, then I will just start
filling in and tracing over my stems and leaves. Now that we've finished
filling that in, we will turn off our
sketch, and again, we will come in and just adjust
any of the white spaces. I love just grabbing
a cup of coffee and just relaxing and
drawing these florals. And once you have your florals, you can turn them into art
prints, seamless patterns, clip art sets, even
foam wall papers. It's really fun and really relaxing to draw these
little summer blooms. So I'm just going to
finish fixing this. And I think that looks perfect. So that's how we get our
big shapes colored in. In the next lesson, we
will add the fun part, my favorite part, the details, and that's when the drawing
really comes to life.
5. Lesson 3 Details: For our final lesson, we will
add details to our florals. Now that we have color shapes, we can add details. This
is my favorite part. It just really brings these
illustrations to life. I'm going to create a new layer and this will be the
detail for my leaf. I will make sure that new
layer is above my leaf layer. We will grab our
dark green color. I'm going to lower
my brush size to around 20% and now I can
just start adding detail. There's no wrong or
right. You can add as much detail as you'd like or as little
detail as you'd like. You can leave if you like
more of a minimalist look, you can leave just the
shapes without any detail. It's totally up to you. I just like to add a
little bit of detail, just a sketchy effect. And I'm just going to
go around the leaves. I'm just seeing what I like. There's not really a plan. It's just more what
you think looks nice. I'll just keep adding some
details to my leaves. As you can see, it's
already bringing this drawing to life and
I just love it so much. I'm just going to
continue adding details to all my stems and leaves. Y. That looks really good. Now we can add details
to our petals. I'm going to make sure I
create a new layer above my petal layer and I'm going to grab the
brown color again. Now I will just start adding details where I think
I want to add it. Keep this part just very
organic and sketchy. You don't have to
make this perfect. Just remember
everything in nature is always very nice and organic, just keep your lines loose. I'm going to try adding some lines coming
out from the center. I like that, so I'll
just keep adding. That looks really nice.
I'm going to do that to the rest of my petals. I Okay. That looks amazing. Now we're going to finish
off with our centers, and I don't want to add too
much detail to the center. But again, we will create a
new layer above the center. For this layer, I am going
to put it on multiply. I'll be using the
same brown color, but it will make it
a little darker. Right here on the little end, you're going to tap
on that and then scroll up to multiply. Now we can just come in
here and add some details. I don't want to
overdo the center. I don't want that to be
the main focal point. I'm just going to
add a little bit. But as I said earlier, feel free to add as much or as little detail as you'd like. That looks perfect. I think I just
love this so much. So that my friends, is how you
draw the black eyed Susan.
6. Final Thoughts: Thank you so much for joining and drawing alongside me today. I hope this class
gave you a relaxing, creative moment and
helped you feel more confident with
botanical sketching. If you haven't already, be sure to upload your project
to the Project Gallery. I would absolutely love to see your beautiful
illustrations. And if you have any
questions along the way, feel free to leave them
in the discussions tab. I'm always happy to help. Thanks again for being here, and I'll see you
in the next class of our summer Blooms series.
 Sarah Raquel, Artist & Designer