Transcripts
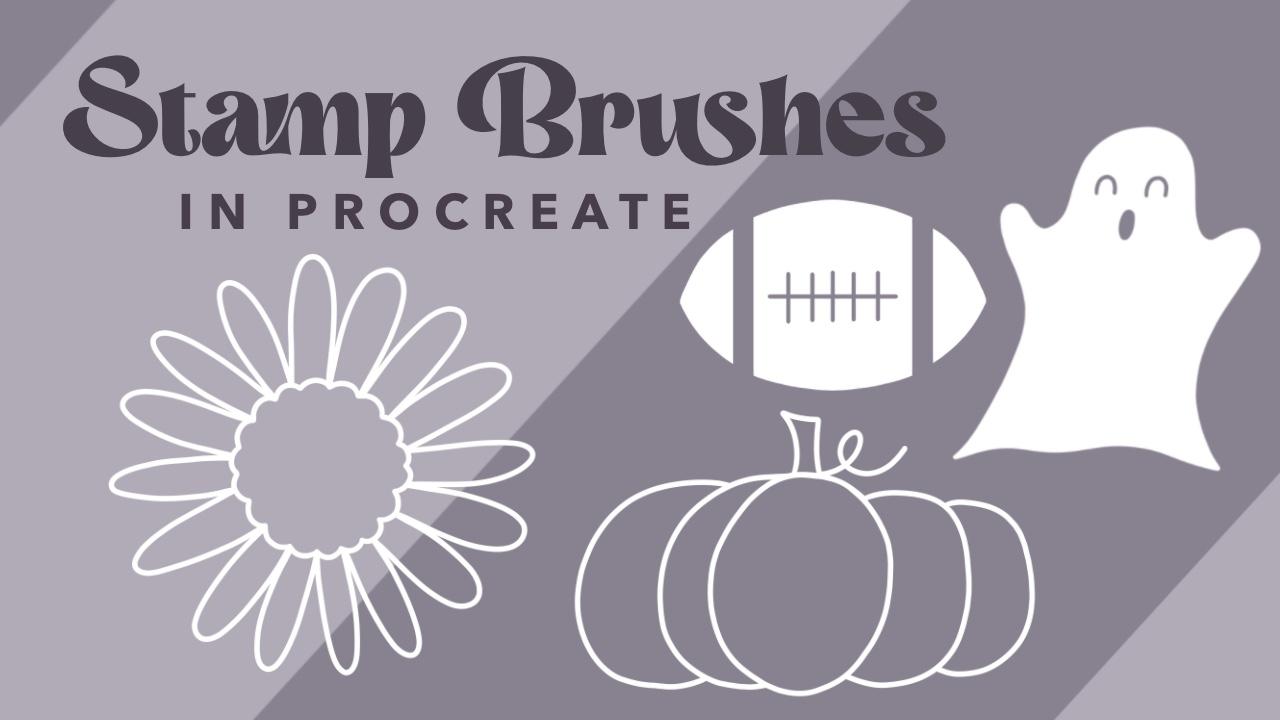
1. Class Intro: Hi, their creative friend. Welcome to class. I'm Sarah. I'm an artist and designer. And in this fun class, I'll show you how to create stamp brushes in
the Procreate App. Stamp brushes are a great way to express your creativity
and are super fun to use. In this class, I'll
show you how to create an outlined brush stamp as well as a filled
stamp fall edition. But please feel free to create any type of illustrated
stamp you'd like. All you'll need for the
class is an iPad, a styles. I'll be using my Apple pencil
and the procreate app. Are you ready?
Let's get started.
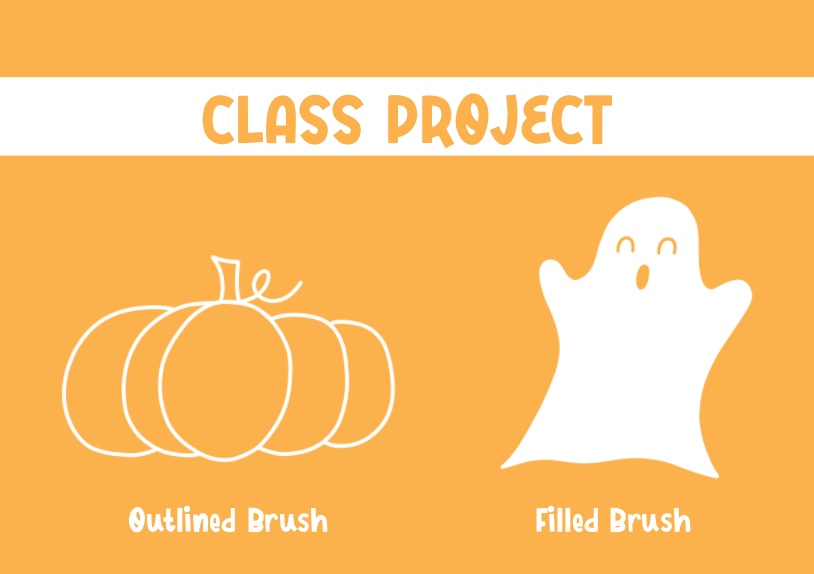
2. Class Project & Resources: For your class project, create one or both of the stamp types
demonstrated in class. I'll be showing
you how to create these brushes using full
themed illustrations. But please feel free to illustrate any type
of design you'd like. I'm going to quickly
show you how to download the class resource. Something important to know is that you will need to be on a web browser and not the Skillshare app
to access the download. Right below this video, go to your project and resources tab and scroll all the way down to you see
download resource. You're going to tap on the file. Right here at the very
bottom of your screen, you will tap on download. Then open in and
select Procreate. And your brushes
will automatically import into the procreate app. You will usually find them at the very top of
your brush library. I've included four fall stamp
brushes for you to use. Feel free to try them out and play with the
brush settings.
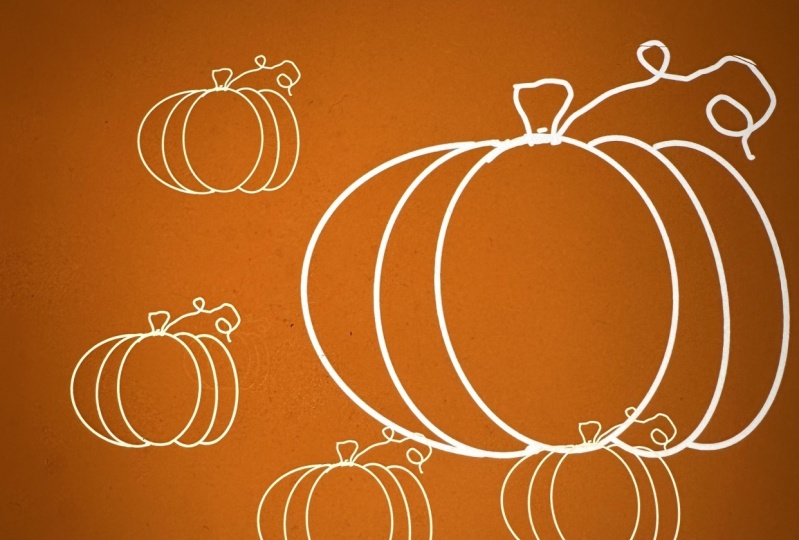
3. Outline Stamp - Brush Sketch: We're going to start off with
an outlined stamp brush. My favorite size is to create a canvas that is 12 " by 12 ". But you can make the canvas
size as large as you want. I'm going to tap up
here on the plus sign, and I will create a new canvas, make sure I am on inches, and I will make my width
12 " and my height, 12 ". For my color profile, I'll just keep an R GP. Now we can tap on create. For our stap brushes, the staps always
have to be white. Our drawing will be a white
outline or a fill color. We will create a background with another color so we can
see what we are drawing. I will go to my layers panel. Right at the bottom, I will tap on that background color layer. Now I can just fill it in with whatever color
I want just so I can be able to see what
I'm drawing on top of it. I'll just pick this
light pink color. Now, I'll start off with
a sketch layer and then I'll ink on top before
I create my stamp. I will grab my six B pencil and you can find that
under the sketching tab. Now I will grab just
the color white. We're going to start off
with just a pumpkin. I'll make sure I'm on
a brand new layer. Now I can just start
sketching a pumpkin. Remember, this is
our rough sketch. This is where we will get ideas and create what we really want perfected before we ink it. I don't want to perfect pumpkin. I just want something that's
organic and fun, wonky. I'll start with just
like this oval shape. That'll be the center
of my pumpkin. Now I'll add to my pumpkin
and just build it up. At a little stem. I really like that. I
think that looks good. You can do as many corrections
or sketches as you'd like. Fix it, just how you want it. Once you're happy with
the way it looks, I'm going to make sure
I center this and make this pumpkin as large
as possible to my canvas. I will make it as
large as possible. Because we're working on
adjusting our brush size, it will only go as
big as we draw it. If you want a very large stamp, make sure you create a very
large canvas because then you can't go larger than
the largest you draw it. I hope that makes sense. Now that I scaled up by pumpkin, I'm going to center
it to the canvas. I'll make sure my snapping
and magnetics are turned on, and I will just center my
pumpkin to the canvas. Now, this is our
sketching layer. I'll create a new layer on top and that's where I will draw my inked permanent stamp
that I'll be using. I'll go back to my layers panel. I will create a
new layer on top. This time, I will grab the monoline brush and you can find that under the
calligraphy section, and it is just the
monoline brush that comes with the procreate. Now that I'm going
a brand new layer, I'll use my bottom
layer as my reference. I will just lower the
opacity of my sketch layer. Now I can begin drawing on top. I have my brush
set to about 81%. I like the thickness
of this line. Now I'll just go over and start tracing over my sketch layer, and this will be
my final ink layer that will turn into
my stamp brush. I will just go
around this pumpkin and trace over my sketch layer. Now that I traced
over my sketch, I'm going to turn off
the sketch and see how this final inked
line work looks. That looks really good. If you see anything that
needs to be fixed. Right here, I see this, it's
like a little notch here. I'm just going to
smooth that out. This is where you can refine everything because once
we put it into our stamp, we will not have the opportunity to then go back and fix it. This is where we want
to fix everything and make sure everything
is good to go. That looks great. Now we have our in
stamp ready to go. In the next lesson, I
will show you how to get this drawing into a stamp rush.
4. Outline Stamp - Brush Creation: In this next lesson, we will turn our illustration
into a stamp rush. Now that we have our pumpkin
all inked and ready to go, we can start creating
our final stamp brush. The first thing I'm
going to do is I will go back to my layers panel. I'm going to make sure I am on the final ink illustration, not our sketch layer. I will tap on layer
and click copy. That's just copying our outline, not the background
color, anything. Now that we have that copied, we can go to our brush library. If you scroll all the
way to the very top, you will see this
little blue plus sign up here. We
will tap on that. This is creating a
new brush folder within the brush library. It will house any
stamps that you create. You can have
collections of say you do Christmas stamp brushes
or fall stamp brushes, and that will be where
your brushes are located. It can have as many brushes as you want in there or as
little as one brush. I will rename this folder. Fall stamps. As you can see, it's completely empty right now. But as soon as we
create our first stamp, it will appear right
here in the folder. Right here on the upper
right hand corner, you will see this
little plus sign. We will tap on that, and this is where all
the magic happens. This is where we will create our stamp brush in
the brush studio. I will go down to my
Shape tab to start off. Right here next to Shape Source, you will see it says edit. We will click on that. Now we will click on
Import and paste. Earlier, we copied our pumpkin, so now we are just pasting
it onto this Canvas. Now we'll push done.
Here is our pumpkin. But as you can
see, we still have some editing to do to
get it into a stamp. Because right now it looks
like this weird slinky brush. Now that we got that,
we will go all the way down where it says Apple pencil, and right here on the opacity, we will make sure we bring
it all the way down to none. Now we will go right
under that to properties. This is really where we will
refine our pumpkin stamp. At the very top
brush properties, where it says, U sta preview,
we will turn that on. Orient to screen is on. Then the maximum size
and minimum size will be under brush behavior. That's what we're
going to play with. We can put our maximum size
all the way up to Max. Our minimum size, we
can I don't know, we'll test that, but
I'd like to start off not so tiny.
We'll start at 77. Now go all the way to
the top where it says stroke path, and on spacing, we want to bring that
all the way up to Max, and that's what gives
us our stamp effect. Now that I have that,
let's test it and then we will see what other
adjustments we need to make. Now I can click on Done. And I'm going to just turn off my original
illustration and create a new layer so I can
test my new stamp brush. Let's put it the
sizing somewhere in the middle so we can
see how it's looking. That looks really good. Now I'm going to put
it on the smallest just to see how small it is. That's a pretty good size. Sometimes they're so tiny, and you want to make it where it's small enough,
but not too small. Now let's put it on our
maximum and that's perfect. We want to have a
good nice big size when we put our maximum. That's looking pretty good. I'm going to go back
to my brush library. As you can see right
now the preview, it's very hard to
see what it is. We'll play with our
preview size now. I'm going to tap on the brush and go back to my properties. As you can see under
brush properties, where it says preview size. That's where we will
play with the size of the preview. Let's start small. Let's start at around two and
see how the preview looks. That's better, but I still think it's a little small,
so let's bring it up. Honestly, this really isn't
doing anything to the brush. This is just how it will
appear in your brush library. Maybe make it a tiny bit
smaller, and that looks good. That's size six on
our preview size. Everything is looking good. If you feel like you want it
smaller, the minimum size, this is where you
would play with that, and then you can come
back and just test it and just play around with
it and see what you like. You can just keep going and
seeing my minimum size, preview size, and
all that stuff. Once you're happy
with it, good to go. Now we can name our brush
and add our information. Down at the bottom where it says about this brush, we
will click on that. This is where you
will say who made the brush and add a name to
it and all that good stuff. I'm going to name
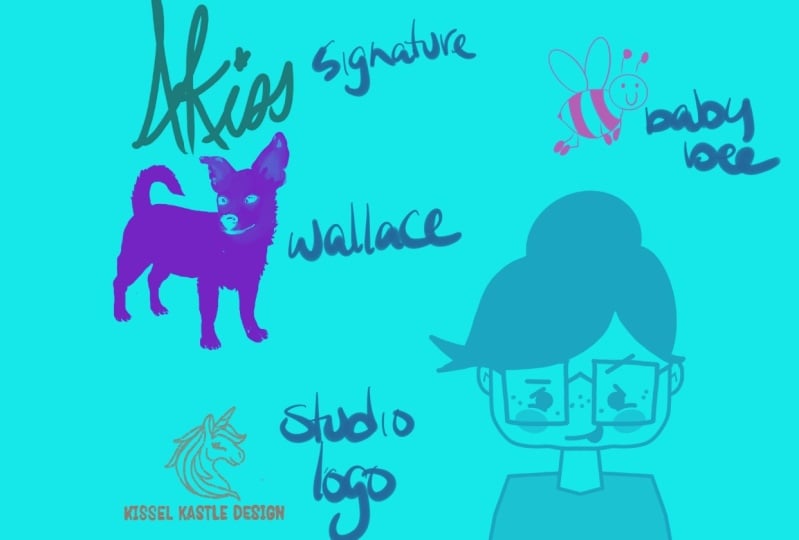
my brush Pumpkin. Then right here on
this little icon, you can tap on that and you can add your logo if you want. I'm just going to add mine. I'll tap from photos and scroll and I have my
logo right there. Then made by, you can
type in your name. Then right here, signature, you can write your name if you
want or anything you want. I'm going to put have fun. Once that is all
set, I can click on. I'm going to just
delete that test layer, and create a new layer, so I can test it out
one more time and make sure it's just
how I want it. You can come back later
and adjust it if you want or fix certain things
if you didn't like. That looks great. That my friends
is how you create a outlined stamp Rh
in the procreate app. In the next lesson, I
will show you how to create a filled in stamp, and we will go through
all the steps on that. It's super fun. I will see
you in the next lesson.
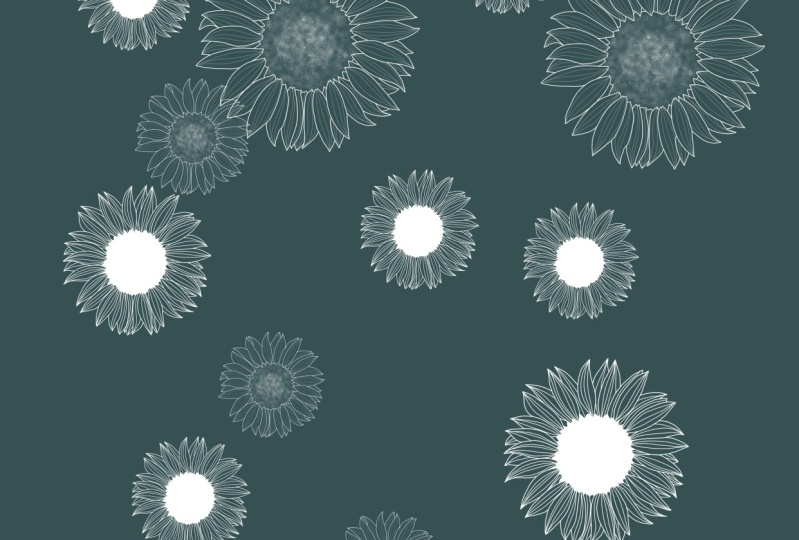
5. Filled Stamp - Brush Creation : In this next lesson, I will show you how
to create a filled in stamp brush. We will
do the same thing. We will create a new canvas, and I will also make
this 12 " by 12 ". Something very important
to note is that you always need a squared canvas
to create brushes. It doesn't matter how large
you make them or how small, they must be squared canvasses, or it will not work out. Again, we're doing 12 inch by 12 inch or color profile is RGB, and we can click on Create. We're going to do
the exact same thing as we did with our pumpkin. We're going to give ourselves
a background color. So we can see what
we are drawing. But for our pumpkin,
we did an outline. For this brush, we will be creating a filled
in brush effect. I will grab my six
B pencil again. This time, I'm going
to grab my color. I want it to be a little darker. I'll make sure I'm
going a brand new layer and we can begin our sketch. For our filled in stamp, I'm going to be
drawing a cute ghost. I'll just begin sketching. I think I'm going to pick color. I can see better. That's better. I'm just going to
start sketching. Like I said, this is the part where you can do as many
sketches as you want and really refine
your rough sketch before you move on to inking. I'm just going to play around
here with the shape and just until I am happy
with my illustration. That's looking good. Now we can make him bigger
and get him ready for inking. I'm just going to
make him bigger. I think I'm going to straighten him out just a little bit. I will turn off my snapping
and magnetics for this part. Make him as big as possible
to the canvas. That's good. I will just center
him to my canvas. I'll turn snapping and magnetics
back on for this part. I'll make sure he snaps right to the center. That's perfect. Now that we have our
sketch ready to go, we can begin creating the
final illustrated drawing. I will just create a new layer. I'm going to want to make
sure I bring this underneath. Since this will
be a field brush, we want to be able
to see our sketch. I will just rename my layers. I won't get confused. I will make rename my
sketch layer sketch. And my final layer, I will just name it fine. And I will will lower the
opacity of my sketch layer just so I'll be able to see
what I am drawing underneath. We'll make sure we are on
our final empty layer. I'll grab my monoline brush and make sure I have a
completely white or. Now that we've got everything, we can begin drawing
our final illustration. I will just go around my sketch, trace it, and then I
will fill in the color. Now that I've finished
tracing over my sketch, I will just drag and drop
my color into my outline. I'm going to turn off my
sketch for a minute just to see how my
linework is looking. I you see any areas, it need to be smoothed
out or fixed. This is the time
you would do that. Maybe right here on
the top of his had, I'm going to just sth
that out a little bit. Everything is looking very good. Now it's time I add my details, and we need to add his
mouth and his eyes. The way details work
in brush stamps is we need to delete
erase those bits on our illustration because stamps cannot have
layered colors or different colors in them. The details will be made by erased bits from
the illustration. I'll make sure I am on
my final inked layer. I will grab my eraser and
I will make sure I have my monoline brush
for my eraser brush. Now I can just go in and start a erasing the bits
from my illustration. So the mouth and the eyes. I'm going to test this
and I'm going to turn off my sketch layer just to
see how it's looking. That's looking really good. I think we are good. So I'm weigh in to make sure
I have deleted all the bits, and I left a few bits. I want to make sure I
get all the little parts and there's nothing
that I didn't delete. That looks good. I think we're ready to
begin making our step. I will go back to
my layers panel. As before, I'm going to tap
on my finished Inc layer. Click on Copy. Now I can go to my bruh library. I'm going to find my
fall stamp folder that we created earlier. Again, everything's going
to be exactly the same. We will tap on this
little plus sign to create a brand new brush. We will go to our shape tab. Click on edit, import and paste. I pasted our ghost
perfectly in the Canvas. Now click Done. This time, I'm
going to start with stroke path at the very top, and I'm going to make the
spacing all the way to Max. And we will go to Apple pencil, bring the opacity all
the way down to none. Then finally, properties
where we will adjust our size and all the
other stuff of our stamp. We will turn on use stamp preview or in to screen
is on, which is great. We will go down now
to brush behavior, set the max all the way
to Max, the maximum size. The minimum size, we'll
start around 45 and we'll test it out and see how it looks once we do a test run. We got all that. Let's test it, and then we can come back and make any other edits we need. Now we will click on Done. I'm just going to turn
off my illustrated layer so I can test my brush and I'll create a brand
new empty layer, so we can test this out. I'm going to just make sure
I'm on my new stamp brush. We can just start
testing our brush. That's looking good. Let's make it the smallest to
see how that looks. You can see these teeny, tiny, you start losing
some of the details. I might bump up the minimum
size up just a bit. Let's see how our
max size looks. That's great. We want a
nice big size for our max. Now we can go back and fix our sizing on
the minimum size. We will go back to our brushes. Click on our stamp brush and bring up the minimum
size just a bit more. Put it at 78 and test that out. I'm going to just
bring it all the way down and that's better. Now I'm not losing all the
details as we did earlier. We're losing a lot of detail
because it was so tiny. I like that much better. Now we can work on our
brush preview size. Again, we will tap on the brush and we will
bring down the size. Let's start off with a 3%
and see how that looks. That looks pretty good. I'm going to bring
him down to about 2%. That looks perfect. You
can see what it is, and it appears very nicely
with our other brush. Now that we're happy and
everything looks good, we can name our brush. We will go down to
about this brush. I'm going to name it ghost. I can add my logo. My name, and our signature. Once that's said,
we can click one. Now I'm going to test
it one more time, so I will delete this
first test layer. I'm going to create a new layer. Now I can play around
and see how it looks. I'm going to grab a different color and see how that would look. Just have fun. So much fun to test out
all your stamp brushes. That looks so nice and cute. I'm going to add
the pumpkin and see how that looks with our ghost. I'm just grabbing random colors and just playing around
with my new stamp brushes. That looks absolutely great. That is how you create a outlined and filled stamp
brushes in the Procreate app. Now that you have these skills, you can create all kinds of stamp brushes for different
seasons or times of year, and it's so much fun. Just have fun, try
different things, experiment, and I would love
to see what you create. Please don't forget
to post your project down below in the
project gallery.
6. Final Thoughts: T hank you so very much
for joining the class. I hope you have fun creating all types of stamp
brushes in Procreate. I would love to see
what you create, please share your amazing
work in the project gallery. And if you have any questions, please don't hesitate to ask. You can start a
new discussion in the discussions located
right below this video. Thanks again, and I'll
see you next time.
 Sarah Raquel, Artist & Designer