Transcripts
1. Welcome!: Hello, dear friends. If you ever wanted to pick
up watercolor, but felt too overwhelmed with all the techniques and
never knew where to start, this beginner friendly class
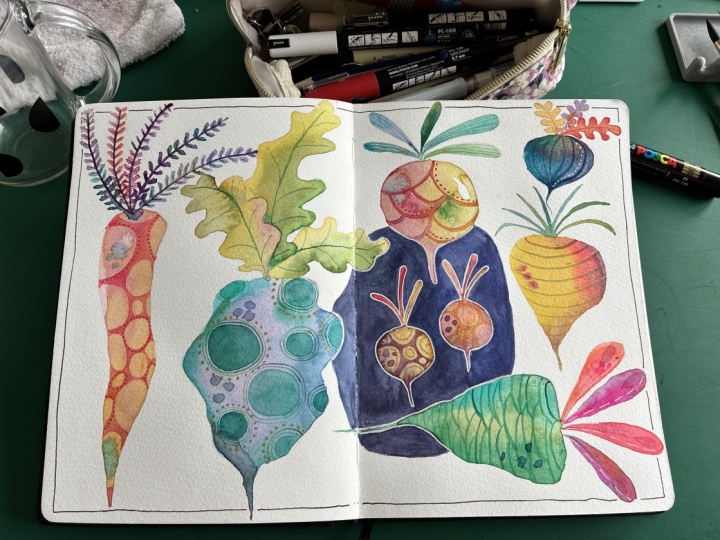
might be just what you need. We are painting some easy, fun beads and carrots
with watercolor, and I think that it's the perfect subject for
complete beginners, as well as for those of
you who already know your way around watercolor
but want to relax a bit. You will combine
different colors of your choice and see how
they work together. We will experiment with wet
on wet as well as wet on dry techniques and all that in a very relaxed and fun way. W Vegetables like bits and
carrots are just perfect for an easy exercise like
this because they come in many different shapes and
you just cannot go wrong. This applies to
many other things like leaves, mushrooms, or fish. You don't need to follow any precise anatomy
or color schemes. It's just you and
your imagination. So this class is not a
standard how to course, more like a place
to have fun and explore the medium
without any pressure. Of course, I will provide
some tips that might be helpful for those of
you who are just starting. If this is something
you'd like to try, meet me in the classroom. Oh
2. Materials: The idea to create
this glass came to me when I was just doodling in
my watercolor sketchbook. This sketchbook is
not super fancy, which definitely contributed to my willingness to have
fun and experiment. So if you're anxious about your precious cotton
paper just like I am, just grab a piece of affordable pulp paper or a sketchbook. Also, any brushes you like
and are comfortable with, I have several round brushes
here, various sizes. So it depends on how big your paper is and on
your preferences. But generally, I will be using the big brush
for the body of the beads and the smaller
brushes for the details later. If you want to
predraw your veggies, a pencil comes in handy. And I have here one of my messy idea
sketchbooks where I will show you how to
easily come up with the shape of the
beads and the leaves. This is my watercolor set. It's quite messy and there's
a wide selection of colors, but anything you have would do. I like having the mixing tray, this one is quite dirty, so I will probably
use another one, let's not forget the
paper table to clean and dry your brush and a
jar of clean water. We have everything.
Let's sketch a bit.
3. Sketching the Beets and Carrots: I absolutely love
this sketchbook. I never show it to anyone. It's quite ugly but also
full of wonderful ideas. This time, I will
use it to show you how to draw a simple beetroot. It does not have
to be realistic. I just want you to have
fun and get creative. You can also use this drawing that I have here
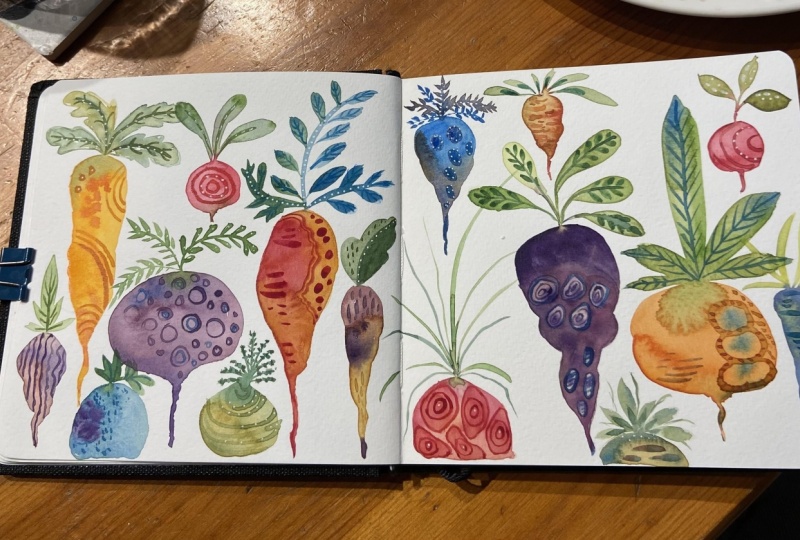
as an inspiration. The shapes are very variable. You can see that the
root can be round, oval, prolonged like a carrot or
wider and very irregular. Also, the leaves can
be long and narrow or white and wavy,
pointy or round. There are no rules. You
don't even have to pre draw anything if you don't want to and let everything
happen on its own. But if you are more
confident with a pencil sketch, let's
draw some first. So it can be a very
simple round shape, and on the bottom, there is
a thin root coming down. This is a perfect beetroot. But we can forget perfect shapes and try something
else like this. An irregular shape
like the one of the sugar beet or fodder
beet, for example. Or a simple carrot, longer and narrower shape. Also the leaves can be very different for each
type of the wedge. You can try different shapes on a piece of scrap paper and then choose those you like the best and draw them on
the watercolor paper. You can also experiment with various sizes of the veggies, fill the space between
two bigger ones with a tiny one or even drop
some upside down. And once you are ready,
you can add some colour.
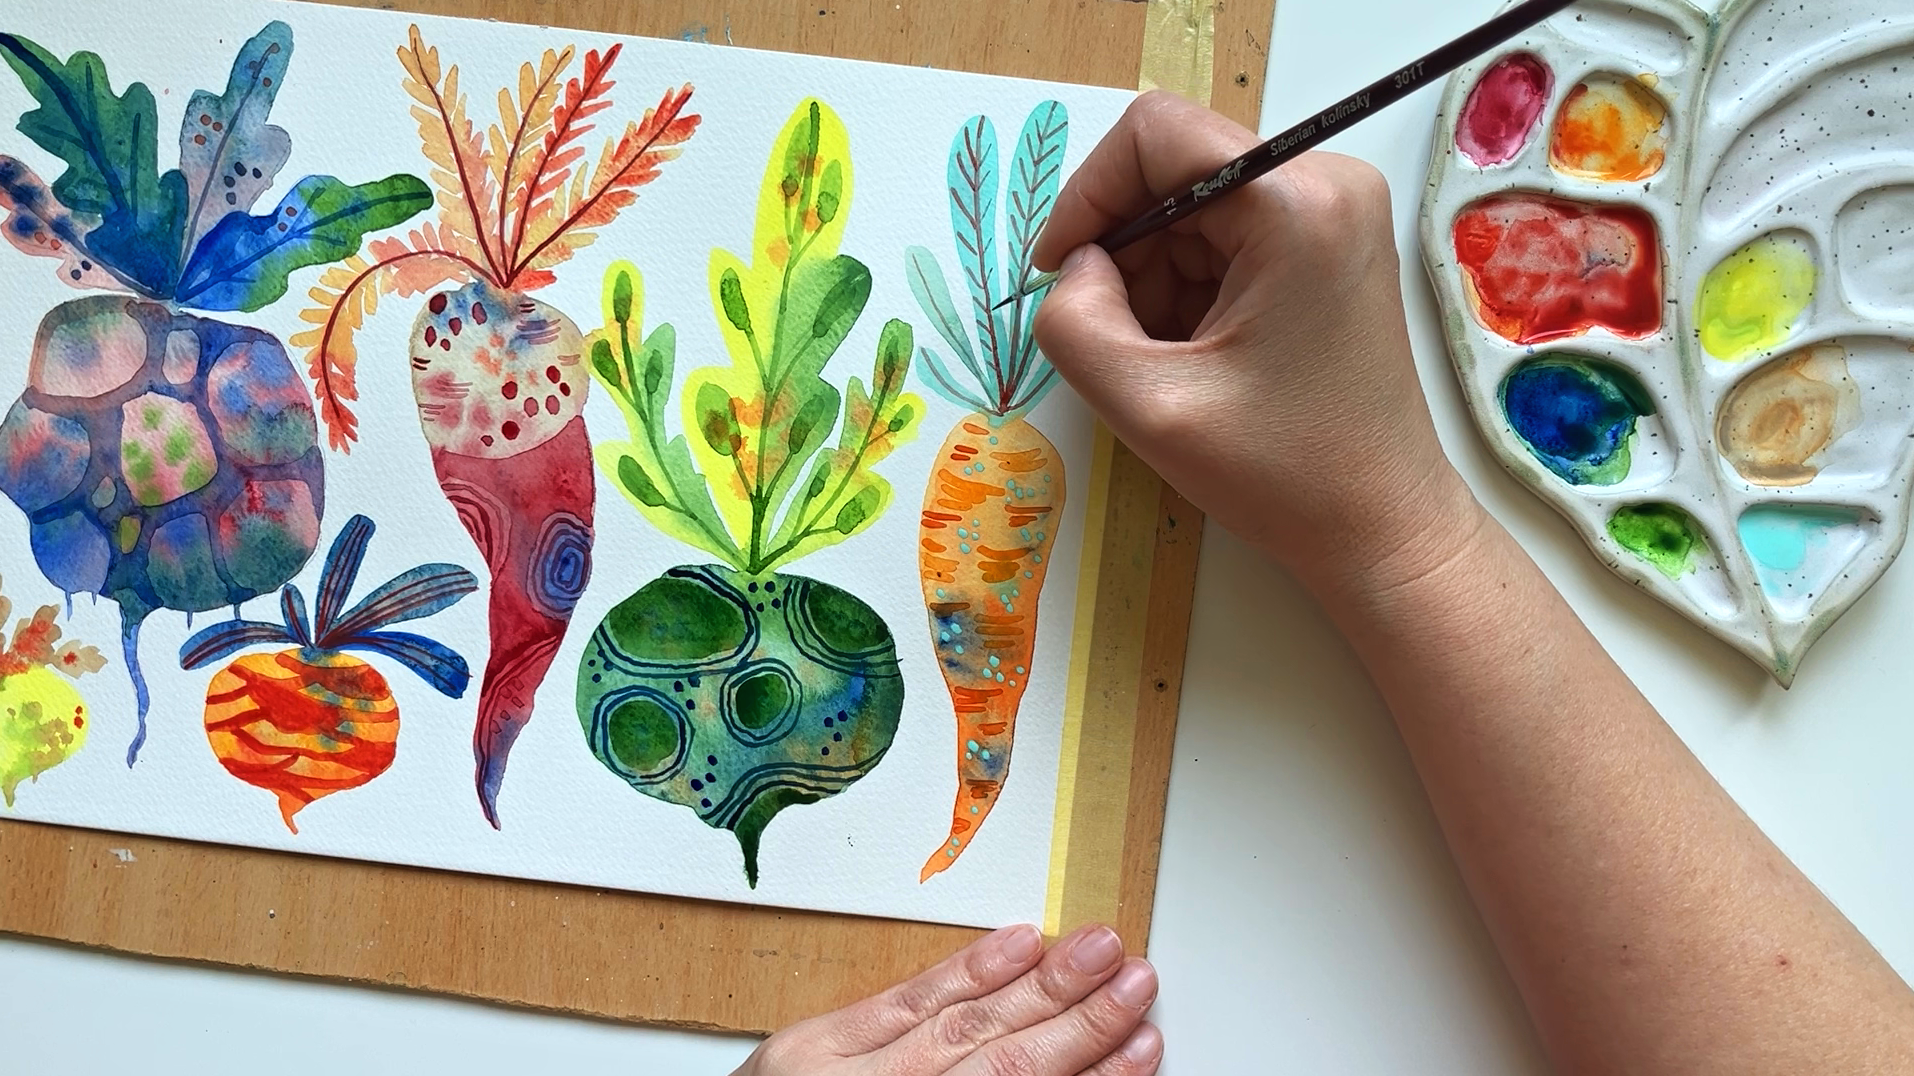
4. Adding some Color: This is a piece of watercolor
paper 21 by 30 centimeters. I like fastening the paper to a piece of cardboard
using masking tape. It's completely optional. I just like it when the paper stays in place and
does not move. I'm going to pre
drop the first one. I like these imperfect shapes
and the way he leaves. And now I just grab my big brush and using
generous amount of water, I apply the first
layer of the paint. I'm not overthinking
the color palettes. I choose the colors
quite randomly. This first layer will be
very light and translucent. You can combine several
different colors, and if you use enough water, they will flow into one another and create some
lovely gradients. I'm adding a bit of
ultramarine blue, which is one of my favorites. These little drops of
color you can just casually add here
and there while the paper is still
wet and they become a lovely texture once they
dry. I do it all the time. I'm now mixing blue and green to get this nice
bluish green color. This is intended to
be a relaxing class where you can let go of
control and have fun, so feel free to combine
colors you would not combine normally
or mix them together. And if you are a beginner, this is a perfect place
for you to experiment with color mixing
and see how it goes. So how you choose your colors is completely in your hands now, but one thing that I'd like to mention for this first layer, make sure that you are
using light color mixes. That means use enough water just because in the next step, we are going to be
adding some details, texture, and second
layers of color. And if the first one, if the first layer is too dark, then the details would
not stand out properly. And this is a very valid point for any watercolor
painting, actually. Always start with light
colors and work your way up to the darkest because this
watercolor is transparent, it's difficult to bring
back some highlights and the light areas once you cover
them with a darker paint. Now I'd like to share
something personal and also the reason why I say that this class is not only for
the complete beginners, but also for people
who are skilled, but maybe sometimes
just need a breather. I have a job that is
quite demanding mentally and where I have to think a lot and come up with solutions, I'm running from one meeting to another and it can be
pretty exhausting. Exercise like this always helps me relax after a busy day. Suddenly, I can just
play with colors and shapes without
giving it much thought. I have been on the
verge of burnout twice in my life and
both those times, art and especially
watercolor was one of the few things that could calm me down and bring me some peace. And when I was
sitting at my desk in my apartment
late in the night, too overwhelmed to sleep, grabbing my paints and paint something simple,
something familiar, and something that I knew
I don't have to show to anyone was the thing
that worked the best. My favorite things to paint like this are different
kinds of fruits, vegetables, mushrooms,
leaves or flowers. And because this is not a
class where we are creating a particular piece that you
would frame and showcase, you can do it, of course, but
it's not the primary goal. I'm not going to tell
you how to place the objects on the paper in
terms of the composition. It's completely up to
you and I want to take the potential stress of this
being shown to anyone away. Of course, I will be happy if you share it here in
our little community, but I just really want
you to have fun and relax your mind and
don't be afraid that something is not going
to be perfect or that some colors will just not go together as nicely
as you expected. Mm
5. Playing with Details: When you have all your veggies, you need to let them dry
before adding more details. If the areas you want to
draw on are not dry enough, the colors would
start bleeding and the shapes would not
be well defined. Mine are already dry, so I can be playing with some
simple and playful textures and patterns,
nothing complicated. It can be lines of
various thickness, little dots, areas
with different colors. The first layer of
water colors may cause some overlapping shapes like
the leaves lose its borders. So I'm coming back there and adjust the shape
of the leaves. Now it's clear which leaf is the one that is in the front
and which one is behind. Also, you can add
these simple lines that represent the
veins of the leaves. Those are very easy and effective way to bring some
interest and texture. Now, this body of this
bit is pretty big, and I love the colors
and the gradients there, and I want to preserve it. But at the same time, I want to make it more
fun and textured. So I'm randomly choosing round areas which
stay as they are, and around them, I
apply some blue paint. I'm using smaller brush at this point for better
control and thinner lines. This one is quite small. I'm dividing the roots into smaller areas using
red watercolor. And why not fill in some of
those areas with red too? Would it look good? I don't
know. Let's find out. I like this carrot
in the middle. Using dark red color, I create some shapes
within the shape of the carrot and adding
random dots and circles. It really just pops
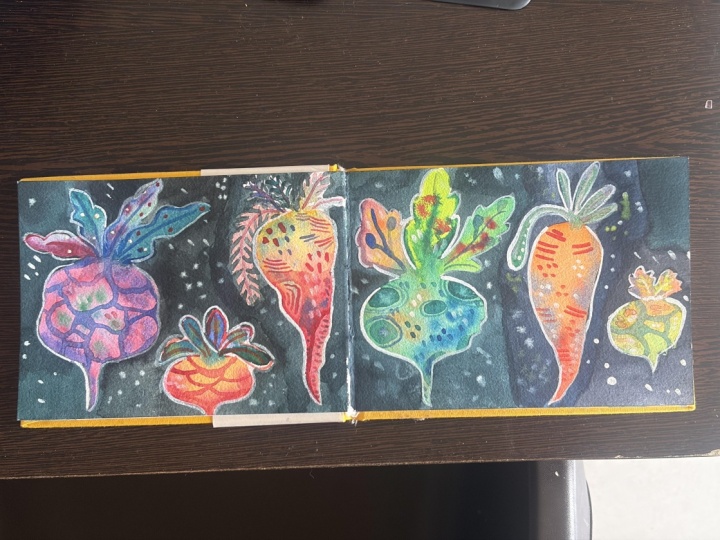
in my mind as I go. For this part, even gel pens or markers would work just fine. In the sketchbook, I
use markers as well. The shapes that I
add on the top of initial color layer
are all very natural, just some ovals, dots
and simple lines. I know that you can come with many amazing ideas how
to decorate your beads, or you can just get inspired with the ones that
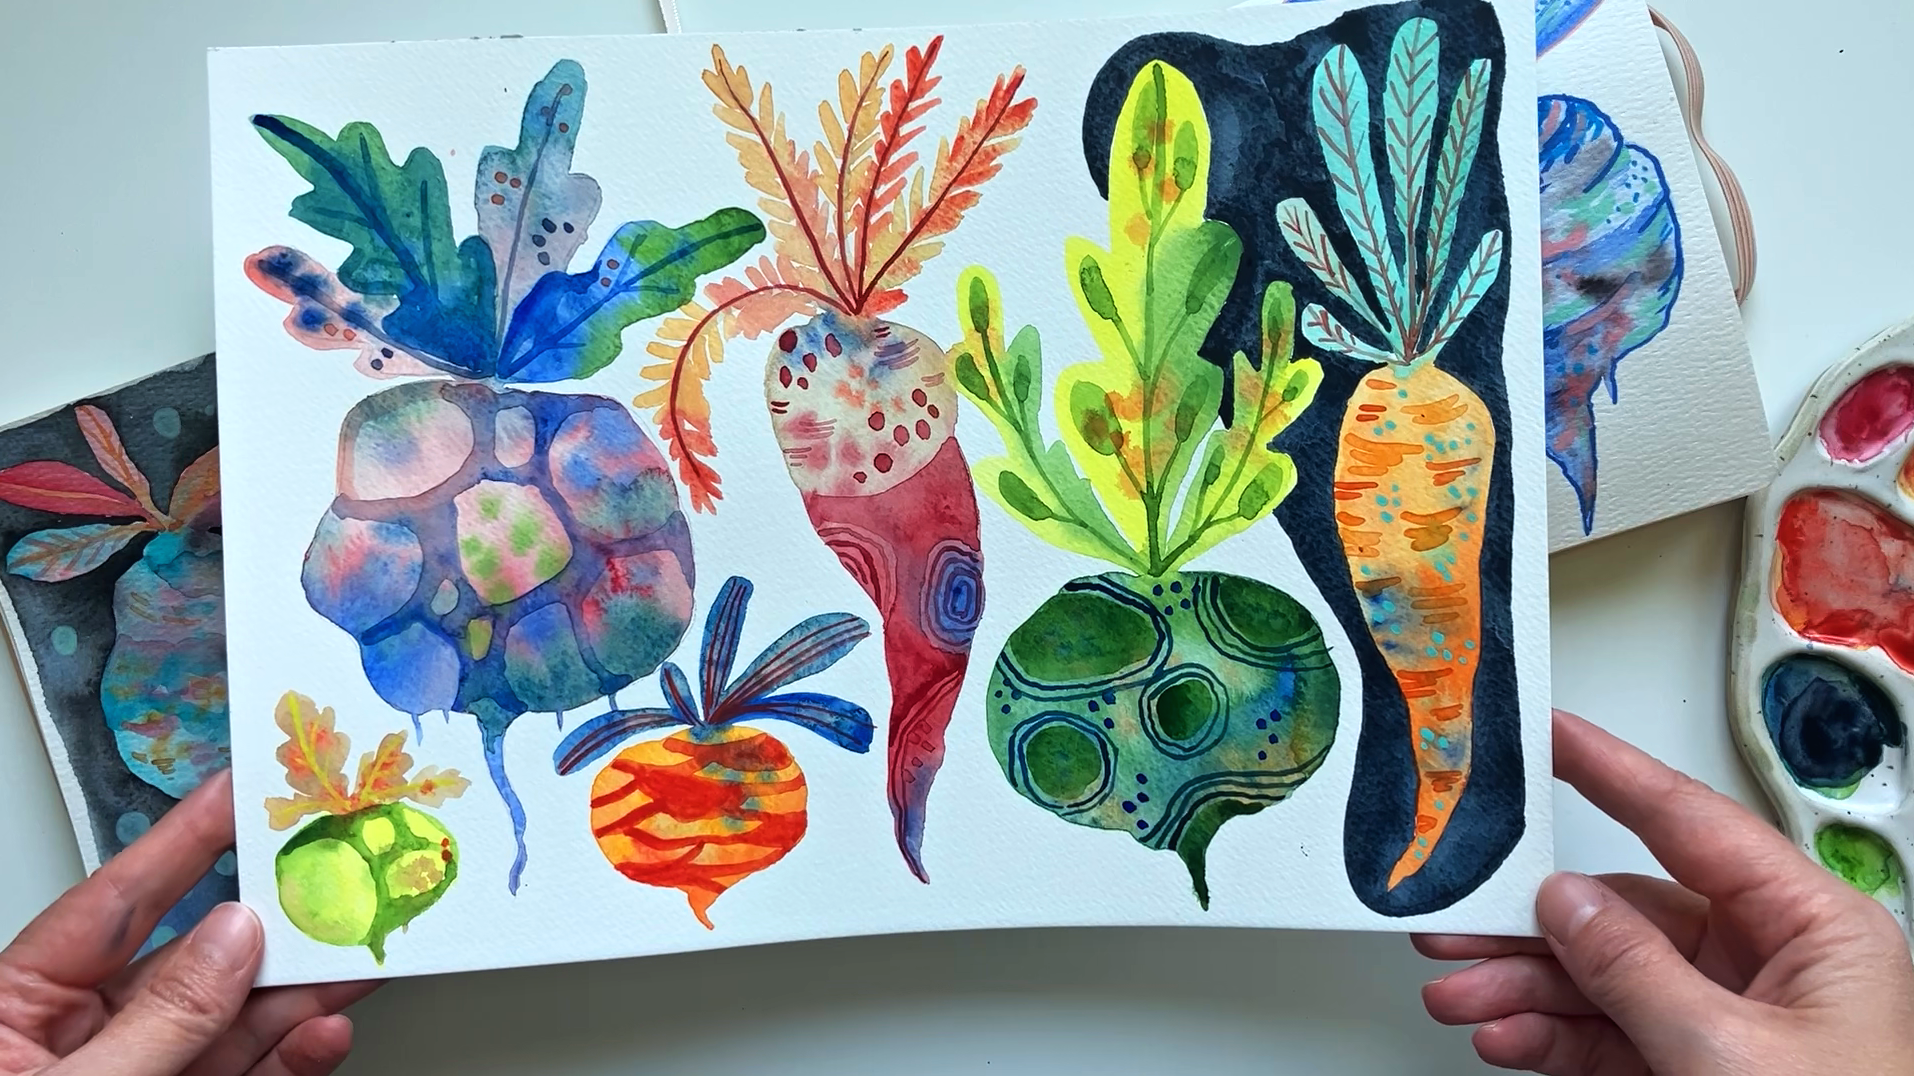
I have created. What I like doing
and what works as a great brush control exercise is painting a round
object with dark color. I choose the one that
is the lightest so that there is this nice contrast between the veg and
the background. Then I mix a dark indigo, really rich and saturated and using a brush I'm really
comfortable with, I carefully paint
around the shapes. It can be very tricky
and frustrating. You need to be very
careful and patient not to paint over the tiny parts
of the bids and leaves, but I love this because it
really helps me clear my mind, as you need to forget everything and focus only on the
brush in your hand. Also, I like the
final effect of how the object suddenly stands out against a dark
color around it. If you're not comfortable to try this, you really
don't have to. Or choose a bit that is
simple and not very ragged, so it's easier to
paint around it. F.
6. Thanks for Joining!: Guys, the class came to its end, and I want to thank
you for participating. I hope you had some nice time
creating something fun and playful while discovering the potential
of watercolor medium. Feel free to try this way of loose painting on
other objects as well. And also, if you feel like it, I'd be more than happy if you shared your
projects with us. Just upload the picture of your painting in the
project section. I wish you all happy painting
and a lot of inspiration. See you in the next class.
 Jana Raninis, watercolorist