Transcripts
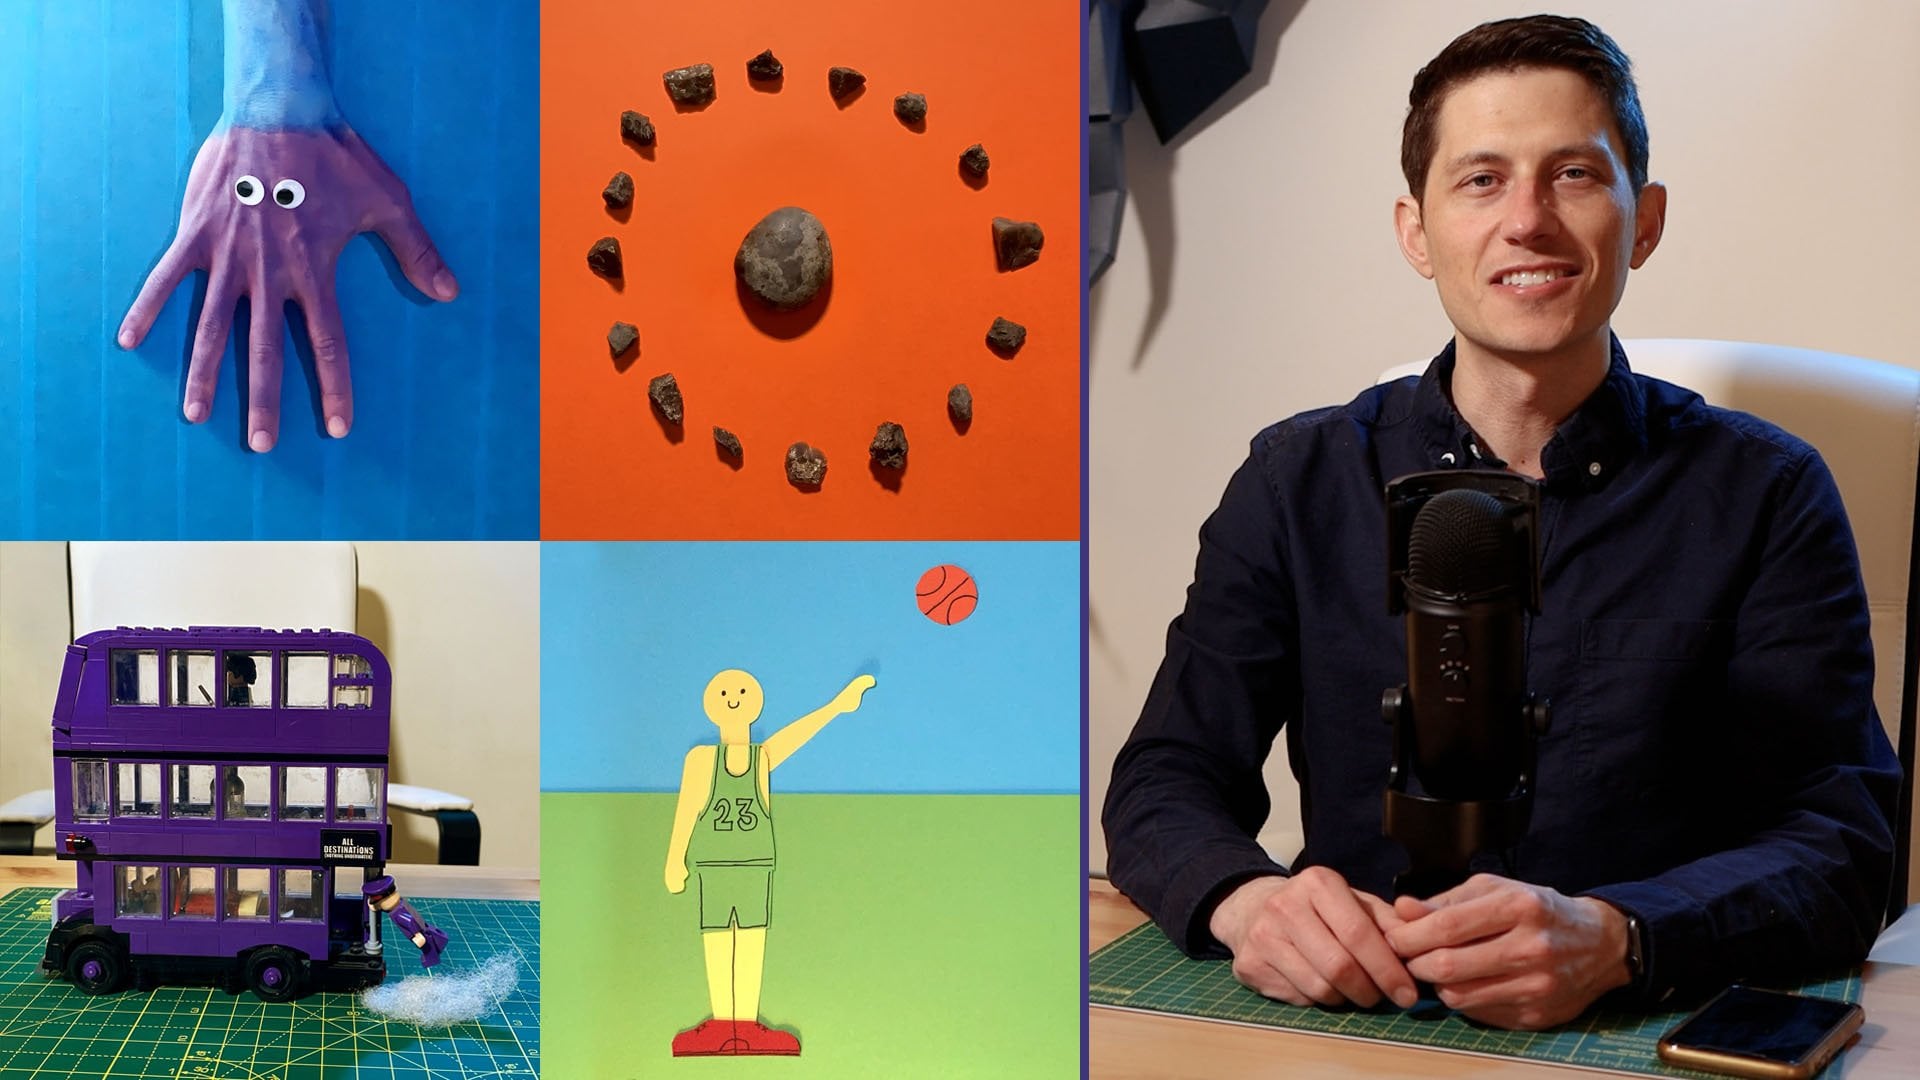
1. 1. Introduction : wear your underwear were stop motion animators. We have a small animation studio in Australia. We create animation for our music like peace. - I think in this class we will teach you how to animate Plasticine characters using the squash and stretch animation technique. All you need is your smartphone or tablet tripod Plasticine Pay for two desk labs and Kabul . Let's stop.
2. 2. The Squash and Stretch Animation Principle : an animation. Everything you can imagine is possible. In the early days, one of the most important discoveries was how an animated can stretch and squash any shape to give a sense of gravity or given expressive touch to a movement. In the first example, the bull looks rigid and light. In the second example, the squashing creates a sense of gravity and gives the bulls more weight. In the final example, you can see the way we animated the bull using a wire rig.
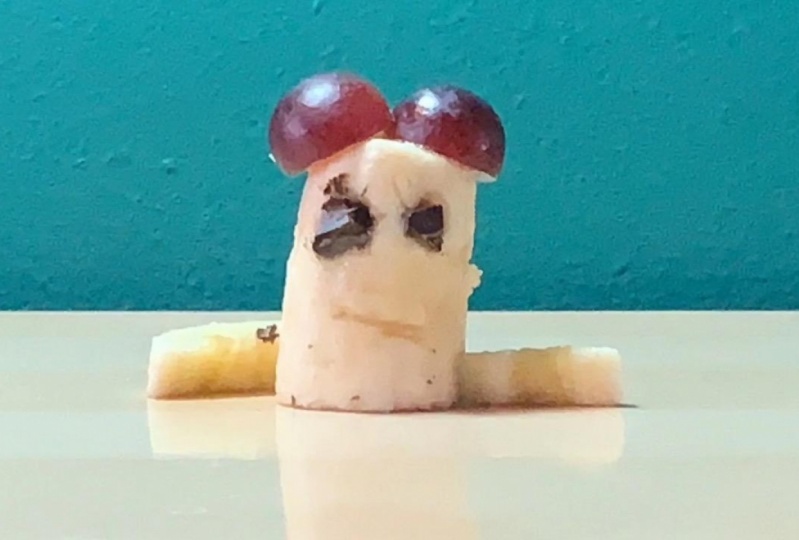
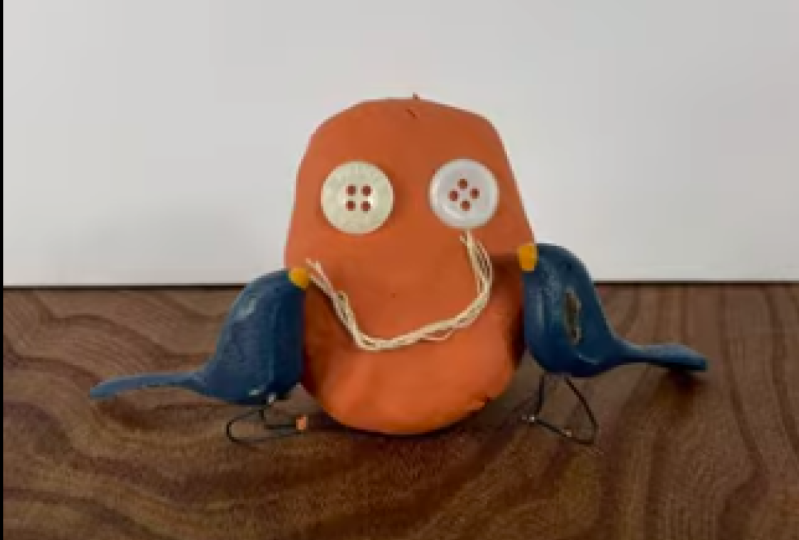
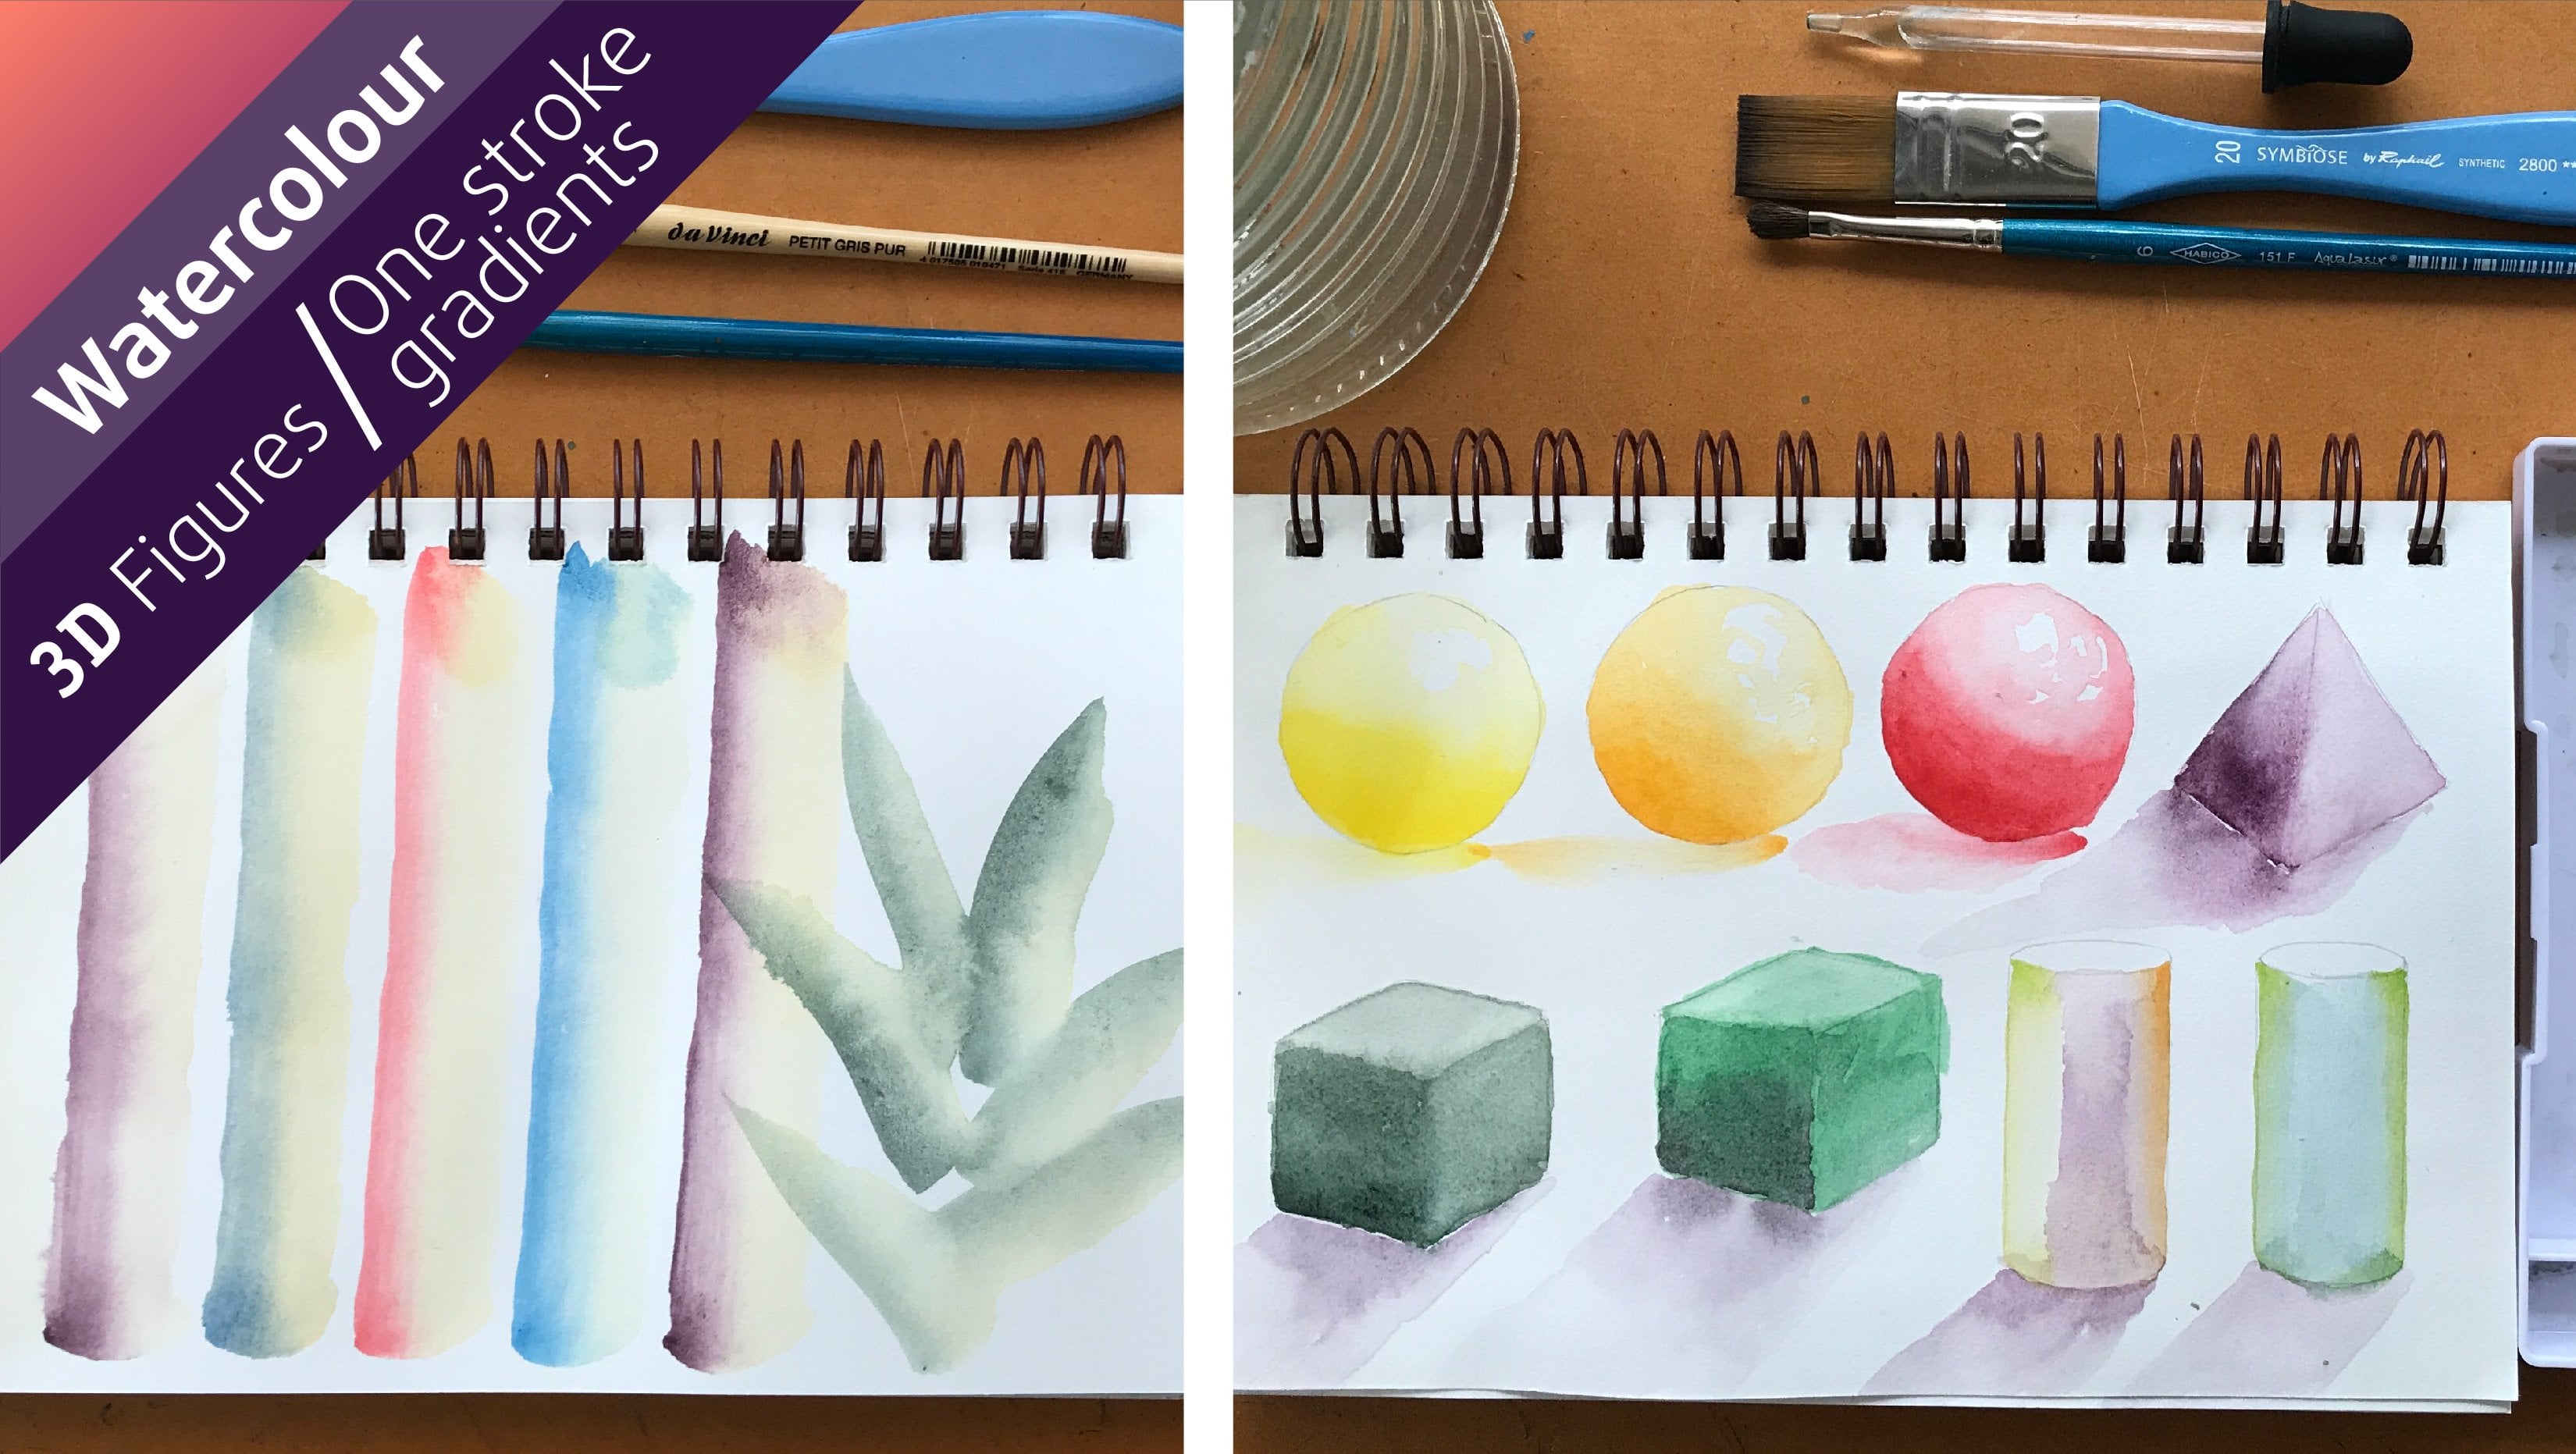
3. 3. Designing and Building your Character: When you start your design, it's important to consider that it will be re sculpted in every picture. Simple and easy shaped characters. We make your animation experience more. In general, you can start from basic shapes like a sphere cube pyramid boasts elinda. Make it a bit different and add an extra touch. It could be a pair of eyes or even three eyes. If you want, put a mouth or leave it without as you prefer, take into account that the eyes and mouth will need to be easy to take off, so it's a good idea to make them from a different and preferably hard material.
4. 4. Building an Infinite Background: you will need a background set for your animation. We recommend using something simple that creates a good contrast between your puppet and the background. Here is an easy way to make a background. You can do this with one large piece of paper or with several smaller pieces of paper. In this example, we're using several smaller pieces of paper, so the first thing that we're going to do is stick the first piece of paper to the table. If you were doing this with one piece of paper, you would just be sticking a piece of tape in one side of your piece of paper and sticking that tape to the table. Now take your second piece of paper and stick it on one of the long edges to the first piece of paper. Don't worry about making it to perfect because you're not going to see the edges. The last step is to stick a piece of tape on the top edge of your paper to the wall and wila. There you have it an infinite background
5. 5. Lighting your Set with Three Point Lighting: Now let's put some lights. We're going to use that technique. Coal three point lighting. All you need is to this clumps. A lot of big subversion studios used expensive professional lights, but most good, so much an animated start of chief desk lapse in three point lighting. One light hits the character from one of the sides. Part of the light is redirected with a reflective panel to the opposite side of the character, and the third light fills the background and the back of the character to get the best possible result of your desk. Lamps changed evolves to cool, white led ease and make sure you close the curtains and blinds to get a consistent lighting .
6. 6. Building a Reflector Panel: building a reflective panel is really simple. All you need is a couple of pieces of white cardboard, a pair of scissors and some tape. First, cut one long strip of cardboard and then take this strip of cardboard and make two folds approximately 1/3 of the way along. Once you've made these false, fold this into a triangle shape and take it piece of tape and taped them together. On the short edge, this triangle will be the stand that holds your reflector upright. Next, take your triangle shape and tape it to the short edge off your remaining piece of a four white cardboard. And there you have it, a reflective panel. It really is that simple.
7. 7. Setting up your animation: Now let's put everything in place. Put one lamp on one side and take your second left and put it towards the back, pointing down. Take your reflective panel and place it on the opposite side to your lab to reflect the light. Now turn on your lights and adjust to make a nice even lighting across your background. Next, take your character and place it in the center you're ready to animate.
8. 8. Using Stop Motion Studio: Still, Mission Studio is an app that allows you to use your smartphone or tablet as a complete stop motion studio. Through the camera of your device. You can take a series of images to create an animation, using all the tools at past offer. There's a free version that allows you to use almost all the features of this app to make a stop motion film. You can search for it as stop motion studio in the play store or the absolute. The first thing that you're going to want to do is tap new movie in the top left corner and then select the camera in the top right corner. Select the menu to bring up options. The first option you should select is manual. This will prevent some Flicka. You can also change the white balance, the Farkas, the I S O the shutter, speed and zoom. So just have a play with these preferences to create a look that you like. So I'm quite happy with that. How that looks. So I'm going to take a photograph with the little red circle on the right side. There's a useful function in Stop Motion studio, which is called onion skinning. It's this little slider on the left side. Drag it down about halfway, and you will be able to see the previous frame. This will help you keep things in a nice line and see how far you've moved between frames. It's a very useful function. This is the time of function. The time of function allows you to make your device take a floater every few seconds. This can be very helpful because sometimes you might want to include your own hand in an animation. Or maybe your camera isn't very stable, and this means that you won't have to touch it when animating using your hand, Keep an eye on the onion skinning. Make sure that everything stays in a nice line so that it doesn't create a jittery look. To stop the time of function, press the Little Red Square on the right hand side. If you're happy with your playback, your next step will be to go and change the frame rate of your film in the previous menu. You can also delayed frames that you don't like in this section and create a pores by copying frames and pasting them in my animation. I'm copying the frames and then reversing the frames that I posted have a play around with different spades. You can try any frame right that you like. I'm going to stick with about 15 frames per second. You can also add images, titles, music and video clips, or record your own voice over by pressing this microphone on the left side. My film is done, so the next step is going to be exporting it. Exit to the main menu. Select your film and rename it whatever you want. Now top your film and select export movie. You also have the option to export your film directly to social media or share your film via airdrop and messenger services. And that's how to use Stop Motion studio.
9. 9. Animating your Character : Now it's time to animate your character. When you start to animate your character, you're going to want to create a short pause. You can do this by taking multiple floaters without making any movement. Make your first movements very small and gradually increased them. You don't want to start with a movement that's too fast, because you'll run out of space as you accelerate your movement. Keep an eye on the position of your eyes, using the onion skinning to make sure that your character remains facing the same direction and that the eyes are moving downwards in the same line as we get towards the bottom of the squish. The movement is getting quite large. Make a small movement at the very bottom so that it isn't too fast before it accelerates in the opposite direction. Remember to keep your shape nice and smooth. You're trying to create the same shape, being squished into a different form, so if you're using a round shape, it would not make sense to have any corners as you flat in your shape. Now we're repeating the same action in the opposite direction. It is a good idea to imagine, but the final shape will, baby, when you've stretched to the final point, this will help you create a consistent movement. - You can check your movement by moving this slider on the left side to struggle between your current frame and the previous frame. - If you have to remove the eyes, you can check their position using onion skinning. - And that's our finished animation, so now you can have some fun and animate your own character.
10. 10. Copying, Pasting and Reversing Frames: if you want to create a loop of your animation, but the first frame and the last frame have the character in a different place. What you need to do is select all your frames, copy them paced. Um, select the frames that you just pasted and reverse those frames. Now the character is doing a little dance, which you can easily loop.
11. 11. Recording Sound Effects and Goodbye : through this app you can record sounds for your film. Now we're going to show you a few creative ways to make sounds okay . Yeah, - way . Have you enjoyed this? Stop motion class and we're looking forward to seeing your animation. You can post it in the community of this course so you could learn from each other. Remember to tag ast's when you show your animation in Instagram and we will share our favorites. Follow us to keep up to date with future classes, But see you next time.
 Eleanor & Giovanni, Stop Motion, Animation, Music, Art