Transcripts
1. Welcome: Hi, I'm Joanne, a lawyer. And in this class I'll teach you how to make water color gradients using one stroke. Also, I'll show you how to paint three-dimensional figures is in watercolors.
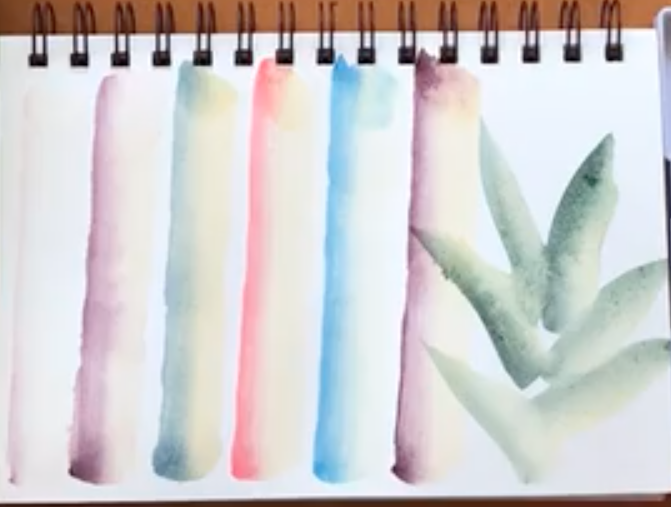
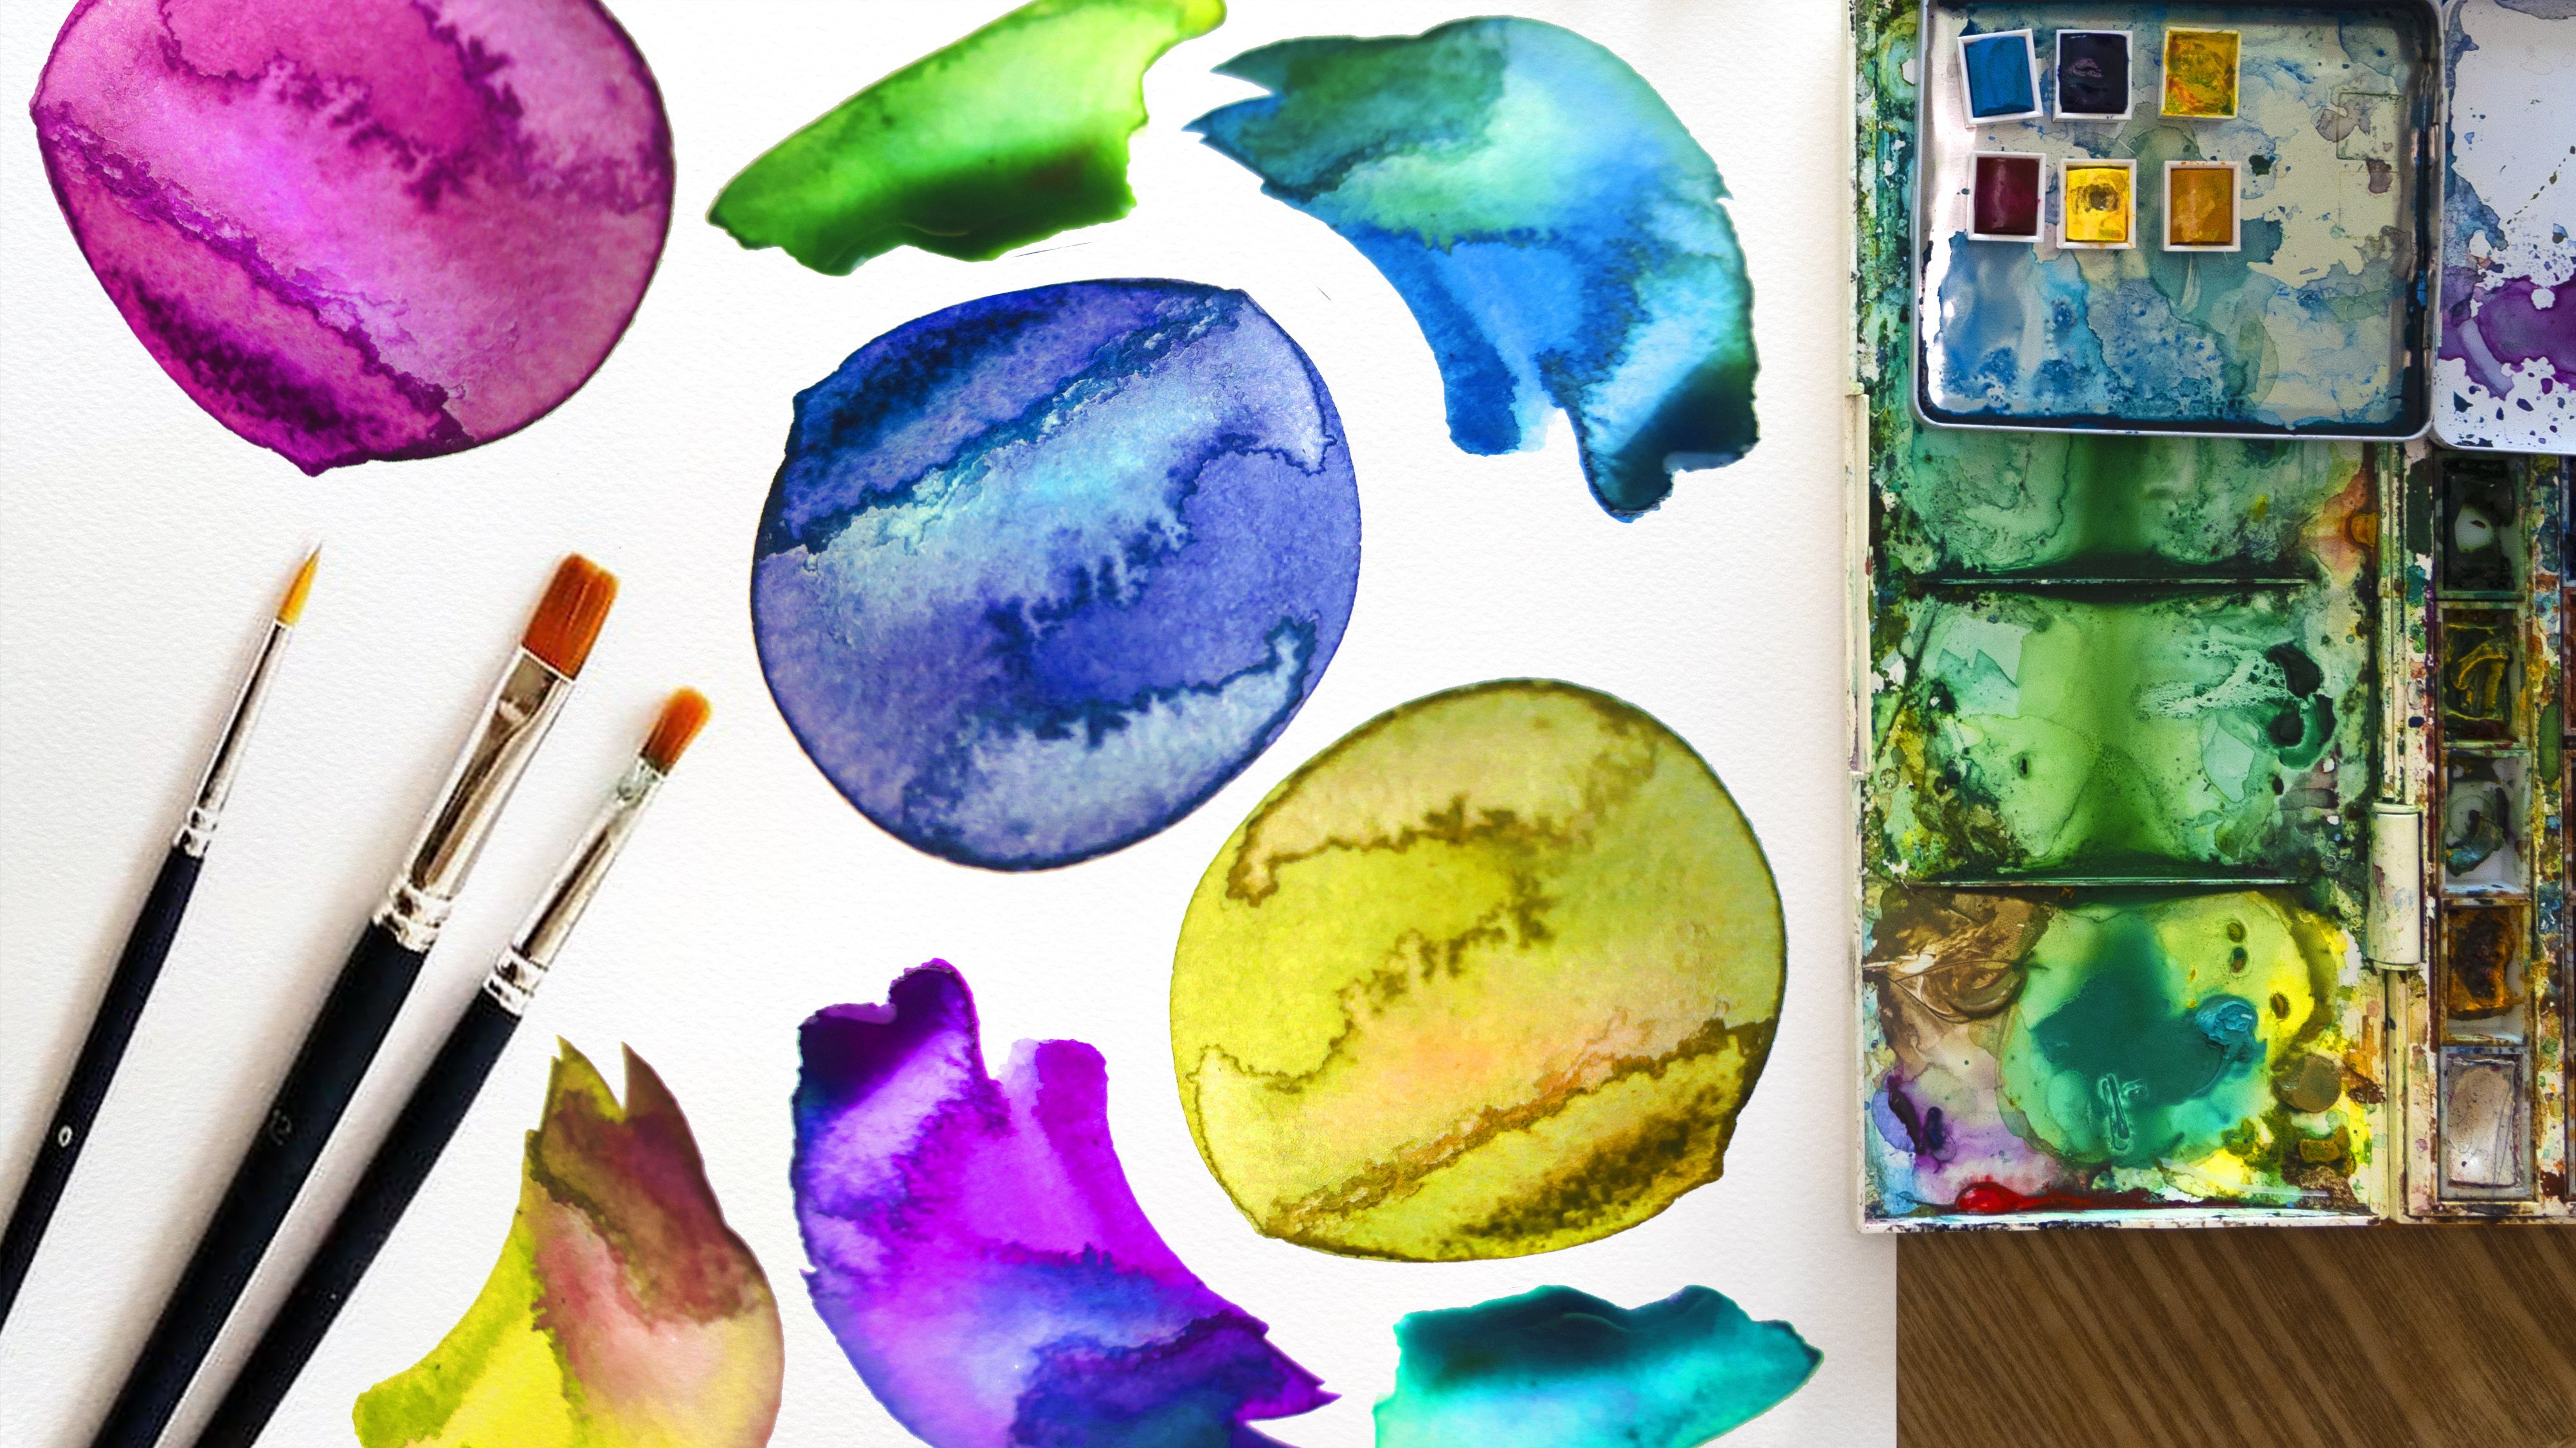
2. One Stroke Gradients : Hi, In this class, I wanted to share with you a very nice technique that allows you to blend two colors in one stroke. So let's get started. The first thing we're going to do is take a bit of water and put some water in your watercolor palette, like so. I'm going to use both sides as you can see. And now we'd our round paintbrush. We're going to take one color. You can choose the color you like. There's no problem with that. So I'm going to take a bit of yellow and I go into blend these colors. So you can see in one of the sections of my watercolor palette. Now we'll take out the excess water and pigment into fame brush. And you can select a different color. In this case, I'm going to select permanent magenta. So with the tip of your paintbrush, just tap on the permanent hand. Like so. And now we're going to praise weed or ambrosia into paper and lead the paintbrush, move to one side, to the other. There. We're going to do one more time. This time, I'm going to increase the amount of yellow in my paintbrush. So you can see they put more pigment in the water. Now to saying, I going to take some of them agenda, that now we are going to position or paint brush like this. We are going to lead the paintbrush, did the job that beautiful. Now with these two colors are combining and mixing with the water. This technique is really, really important when we wanted to create some effects in or water colors. We can clean this excess of painting one of the sides just with water there. And now let's do it with different types of colors. Let's take some orange. Let's put some orange in the water. I can to put them eat more orange like these to make it stronger. Because in the first sample was a very, very light color. So it's very difficult to, to see. Now we're blue in the tip of my paintbrush there. Now. We're ready. Let the paintbrush to seat and move it horizontally. As you can see. If we move very fast, we can avoid the situation that happened in the previous example. So just, just need to move fast and clean. We have very, very nice mixture of colors in one stroke. Now let's try it in the direction of the hair. For serving the TPP. Let's take more orange. And now we can make, for example, we'd red. Orange and red are harmony colors. They are close to each other. So the mixture of these colors is very, very police and let's have a look. Very nice. Now we can mix yellow with another color. For example, we blew. When we mix yellow with blue, not really. They create green. So let's take that as an advantage. For our technique. There is a very nice blue ones. Ultramarine blue. We can see some green there. Now we're going to try orange with some magenta. Here we go. Let the pain seat and then start moving the paint horizontally like so that you can also tap a tiny bit. Because sometimes the paintbrush gets a bit dry in the edges. So when you tap the paintbrush, seat in the paper and keep painting. Something that will be useful in this technique is when people paint petals of flowers and some plants. Sometimes there's some plants that combine two colors. So for example, yellow and green. And we can create some leaves like this. We can even reuse the painting more yellow. And now Ukraine, I hope you like this thing that I want to see your experimentations. We did technique on your color combination.
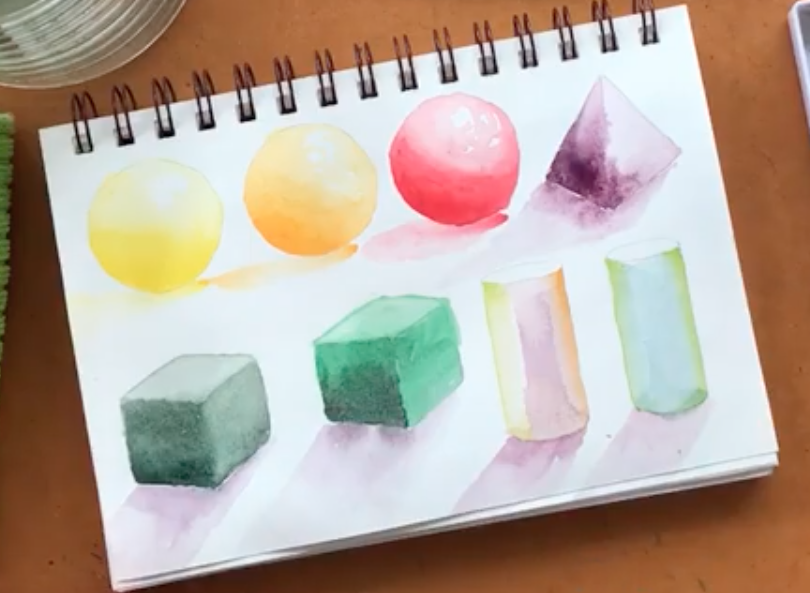
3. Three Dimensional Forms: Hi. In this class, I wanted to share with you some techniques to make three-dimensional figures with watercolor. The first thing we're going to do is draw with a pencil holder five years. We need the five years that we are going to use our circle, which will be an sphere, pyramid cubed on cylinder. This phi years represent all the shapes that we are able to feet into the nature. So for example, if we take an a sphere with a cylinder, we can represent a tree. So this exercise will help to us to use that previous techniques from previous classes to represent how delight and directs work in the natural world. We're going to start wheat are round paintbrush with the tip. We're going to tote or yellow watercolor. And now we need to test the intensity of this color. For this, we can use an extra piece of paper. And we can test to the intensity is right. So we're going to start imagining that delight hates in the mesosphere, more or less in this area. So we need to put the dark or intense part of the color and the opposite side, like so. Here we're going to apply basically a wash gradient where the dark part will be in this side and the lighter in this side of the sphere. Now, we're going to put some water on our paintbrush. And we're going to start to fade this color. In this direction. It's important to follow the shape of our sphere. Making this kind of circles in this way. With a bit more of water. We can make the color even lighter. And we can let tiny bit of white from the paper to create the illusion of a bright side here. There we have it. Now, we convert the circle into an sphere. Is important to taking counts that we can make the shades with the same color. So in this way, I going to top with my paintbrush and the yellow. And now we're going to apply some of the techniques we use in our previous classes. We're going to praise one stroke here and very intense color. And now with the water on our paintbrush, we're going to fade the color. We can clean this little amount of color. A bit intense. Like so. Now we have a perfect shadow. Here are going to paint with the next color, the second sphere. In the same way. We're going to top, just tap with your paintbrush. We can test with or second paper to the intensity is in the right amount. And we're going to do exactly the same. We are going to paint the darks in this direction like this. We can push the color. So you can see I'm pushing the color to the place. I want it to be darker. And we do older or paintbrush. I'm fading the color in this way. There. Now. We're going to add a tiny bit more water to fade the color even more. We're going to create these bright side of the sphere in this area, same area or previous sphere to create the same illusion. And now we can put more water like this. Now we're going to paint this third sphere. And we're going to wait until these orange sphere dries. We're going to paint the third sphere. We read. Because they're red is more intense. The range of color we can obtain these wider. Here, I'm tasting just the intensity of color I want to play. Now, I'm going to paint the darks. This way. We're going to push that color the other direction we want. And now, as you can see with the water or paint brush, I'm just expanding the color is important to avoid putting water immediately. If we need, for example, to create. Gradients vary in a very smooth way. I'm trying to do here. And as you can see, I'm just touching the water, tiny bit of water because I need just a little amount to create my gradient. Now I'm adding even more water. In the moment I reach the brighter side of my fear. Now we can create some over the shadows. For example, for the orange, we're going to just stop. And we are going to Praise with our paintbrush on one side and then move it to the other side and let the water on the brain brush work like this. Now we can do it with the red and the same way. Just stopping a red watercolor. Now, just a little gentle touch in the paper. And we, the water on the paintbrush. Let it do the job like this. We can add a tiny bit more water just to make a gradient in the side like this. And there, we have it. So shadow. Now we're going to apply another technique for the pyramid. I like this technique which is called males of colors. And what their color is very, very useful because watercolors are transparent. So the first thing we're going to do is Reaper or Kohler. One of the puddles like this. And we need, in this case, a very soft color. So I go into this in my paper. At the moment is still very dark. So you can see, okay, maybe adding a tiny bit more water will be enough. Let's try now. This is the quarter. Okay? The first thing we're going to do is just the same. We're going to paint the darks in the base of our pyramid like this. We're going to push the color to the places we want. That. Now I'm going to dry my paint brush and just add a bit of water. I'm going to expand this color to the top of the pyramid. As you can see, an eyelid the same in the other side. We can absorb some of the color and decide, for example, I can just dry my paint brush and absorb the color, as you can see here in the top of the pyramid. And now we're going to let it dry because this technique needs to be applied in dry layers. Now we can move to the next five-year. Why in the pyramid is drying? I'm going to use some green and I going to apply some water to make it very diluted. Now we're going to test this column. And we're going to paint the entire cube like so. And now I want to show you a very nice technique to create lighter areas. The only thing we need to do is clean or paintbrush. Dry it pretty well like these. We can wrap up paint brush like this to absorb more water. And now we can just absorb the color in the area we need to, for example, the top of the cube have to be lighter. So I'm just absorbing the color like this. This technique has to be applied when the watercolor and white. So you can see I'm absorbing all the color as I can. So we'd one layer of paint. I can create two tones of color. Now we're going to paint the mix. Here. I'm mixing some colors. For example, I'm, I'm mixing some green with some orange. As you can see. We're going to test and we're going to apply the color and the same way we did with previous Cuba. Now quickly, I'm going to wash my paintbrush and push out all the color from it. They're going to dry. We are going to absorb the color. This way. This technique is really easy for you to create the illusion of light. When we are painting with just one layer of color. And now for four cylinders, we're going to apply some of the techniques we use in the previous classes. So we're going to ease, for example, these clearer today already have here. You need to dump all the paintbrush with the scholar, as you can see. And now we just need to select a different color and put that color in the tip of your pen brush. Now, we're going to seat or paintbrush and the paper. As you can see, that it's seed and paint, paint, paint there and remove it quickly. Now we're going to clean the excess of painting that. Now we can do it in the opposite side. And we're going to take the color again, maybe a bit darker and more intense. And now I'm going to take a bit of orange. The other side. We can turn to the direction to these more comfortable. As you can see here. That now we can just adjust some of the borders. So you can see. I go into do it one more time. We didn't think cylinder isn't just one color. For example, bit of blue like this. Well, I'm mixing some blue with some green. As you can see. Feel free to mix all the colors and make more complex colors. And see the results. For example, here, it's a very nice color. We did tiny bit of green. We're going to just do exactly the same. They're now in their design. We need to move fast to make these colors blend in the center. It can absorb some of the color in the center. So you can see here. Now, we have two cylinders. We can move now again to our pyramid. And we can just use the same color we have been using. Little bit darker. We're going to test these polar. And now in one of the sides, the darker side of the pyramid, we're going to paint and create wash gradient. Now we're going to add some water and move with this paint like this. Remember that top left to be lighter. Then those are areas. You can perfect the borders of your pyramid as you can see. And that's it. Now, we need to let it dry and see how the colors seat in the pyramid. So we can now apply some of the darker sides. Keeps it the same way we did with the pyramid. So a party is, we're going to use the same color and this cube. Then maybe we can try a different color, the next cube. Now, for the next cube, we can use the same color we have been using for our pyramid. And watercolor when we use veils. The colors, because they are transparent, they mix in a very particular way. So I want to invite you to mix colors with veils and see how they react. Because he's very surprising and very policing sometimes some of the courses you can get are very, very beautiful and complex. Let's just go a tiny bit of this color in the other side. You can see. And I going to do a very soft gradient here. Here, as you can see, we need to clean this part as well. Sometimes when the paper is wet, this will happen. So we're going to do it. So I decided to keep it lighter, 10 digits, I said, good way to control the amount of water inside of or watercolors. And now for the shades, are going to use permanent magenta, which is a little touch of blue. And we're going to create these gradients as we did it. Those are five years. So the first thing we're going to do is just paint tiny Beta here, close, very close to the base of the cube. And now we're going to push these paint to the other side to make it more and more and more dilute it. Like so. And these will create the illusion of shadows. This is just an exercise, so feel free to put the shadows into place and the direction you want. You can also touch a tiny bit when the water carries weight to let this color pass through the shadow. This can create a very interesting effect, as you can see. Because sometimes the shadows content tiny bit of the color of the object. And now the cylinders, we're going to do exactly the same taking tend to be more pigment. And from the base, the darker. We're going to push tabby. And now we're going to expand this color. Like so. It's very important to paint the shadows because the shadows give the illusion of three-dimensional spaces. So I want to invite you to paint your own shadows as well and test how would they react. And finally, our pyramid. Let's take a bit more pigment. And with a bit of water, expand these pigment like so. If the paper is too wet, you can also dry the paper before the next wash. So you can see I'm applying now more water to create the illusion of shadows. There. I hope this class help you to paint three-dimensional shapes and also to put shadows in your paintings.
4. Thank you : Your assignment is to paint your own one stroke gradients with the colors you like and your two-dimensional figures.
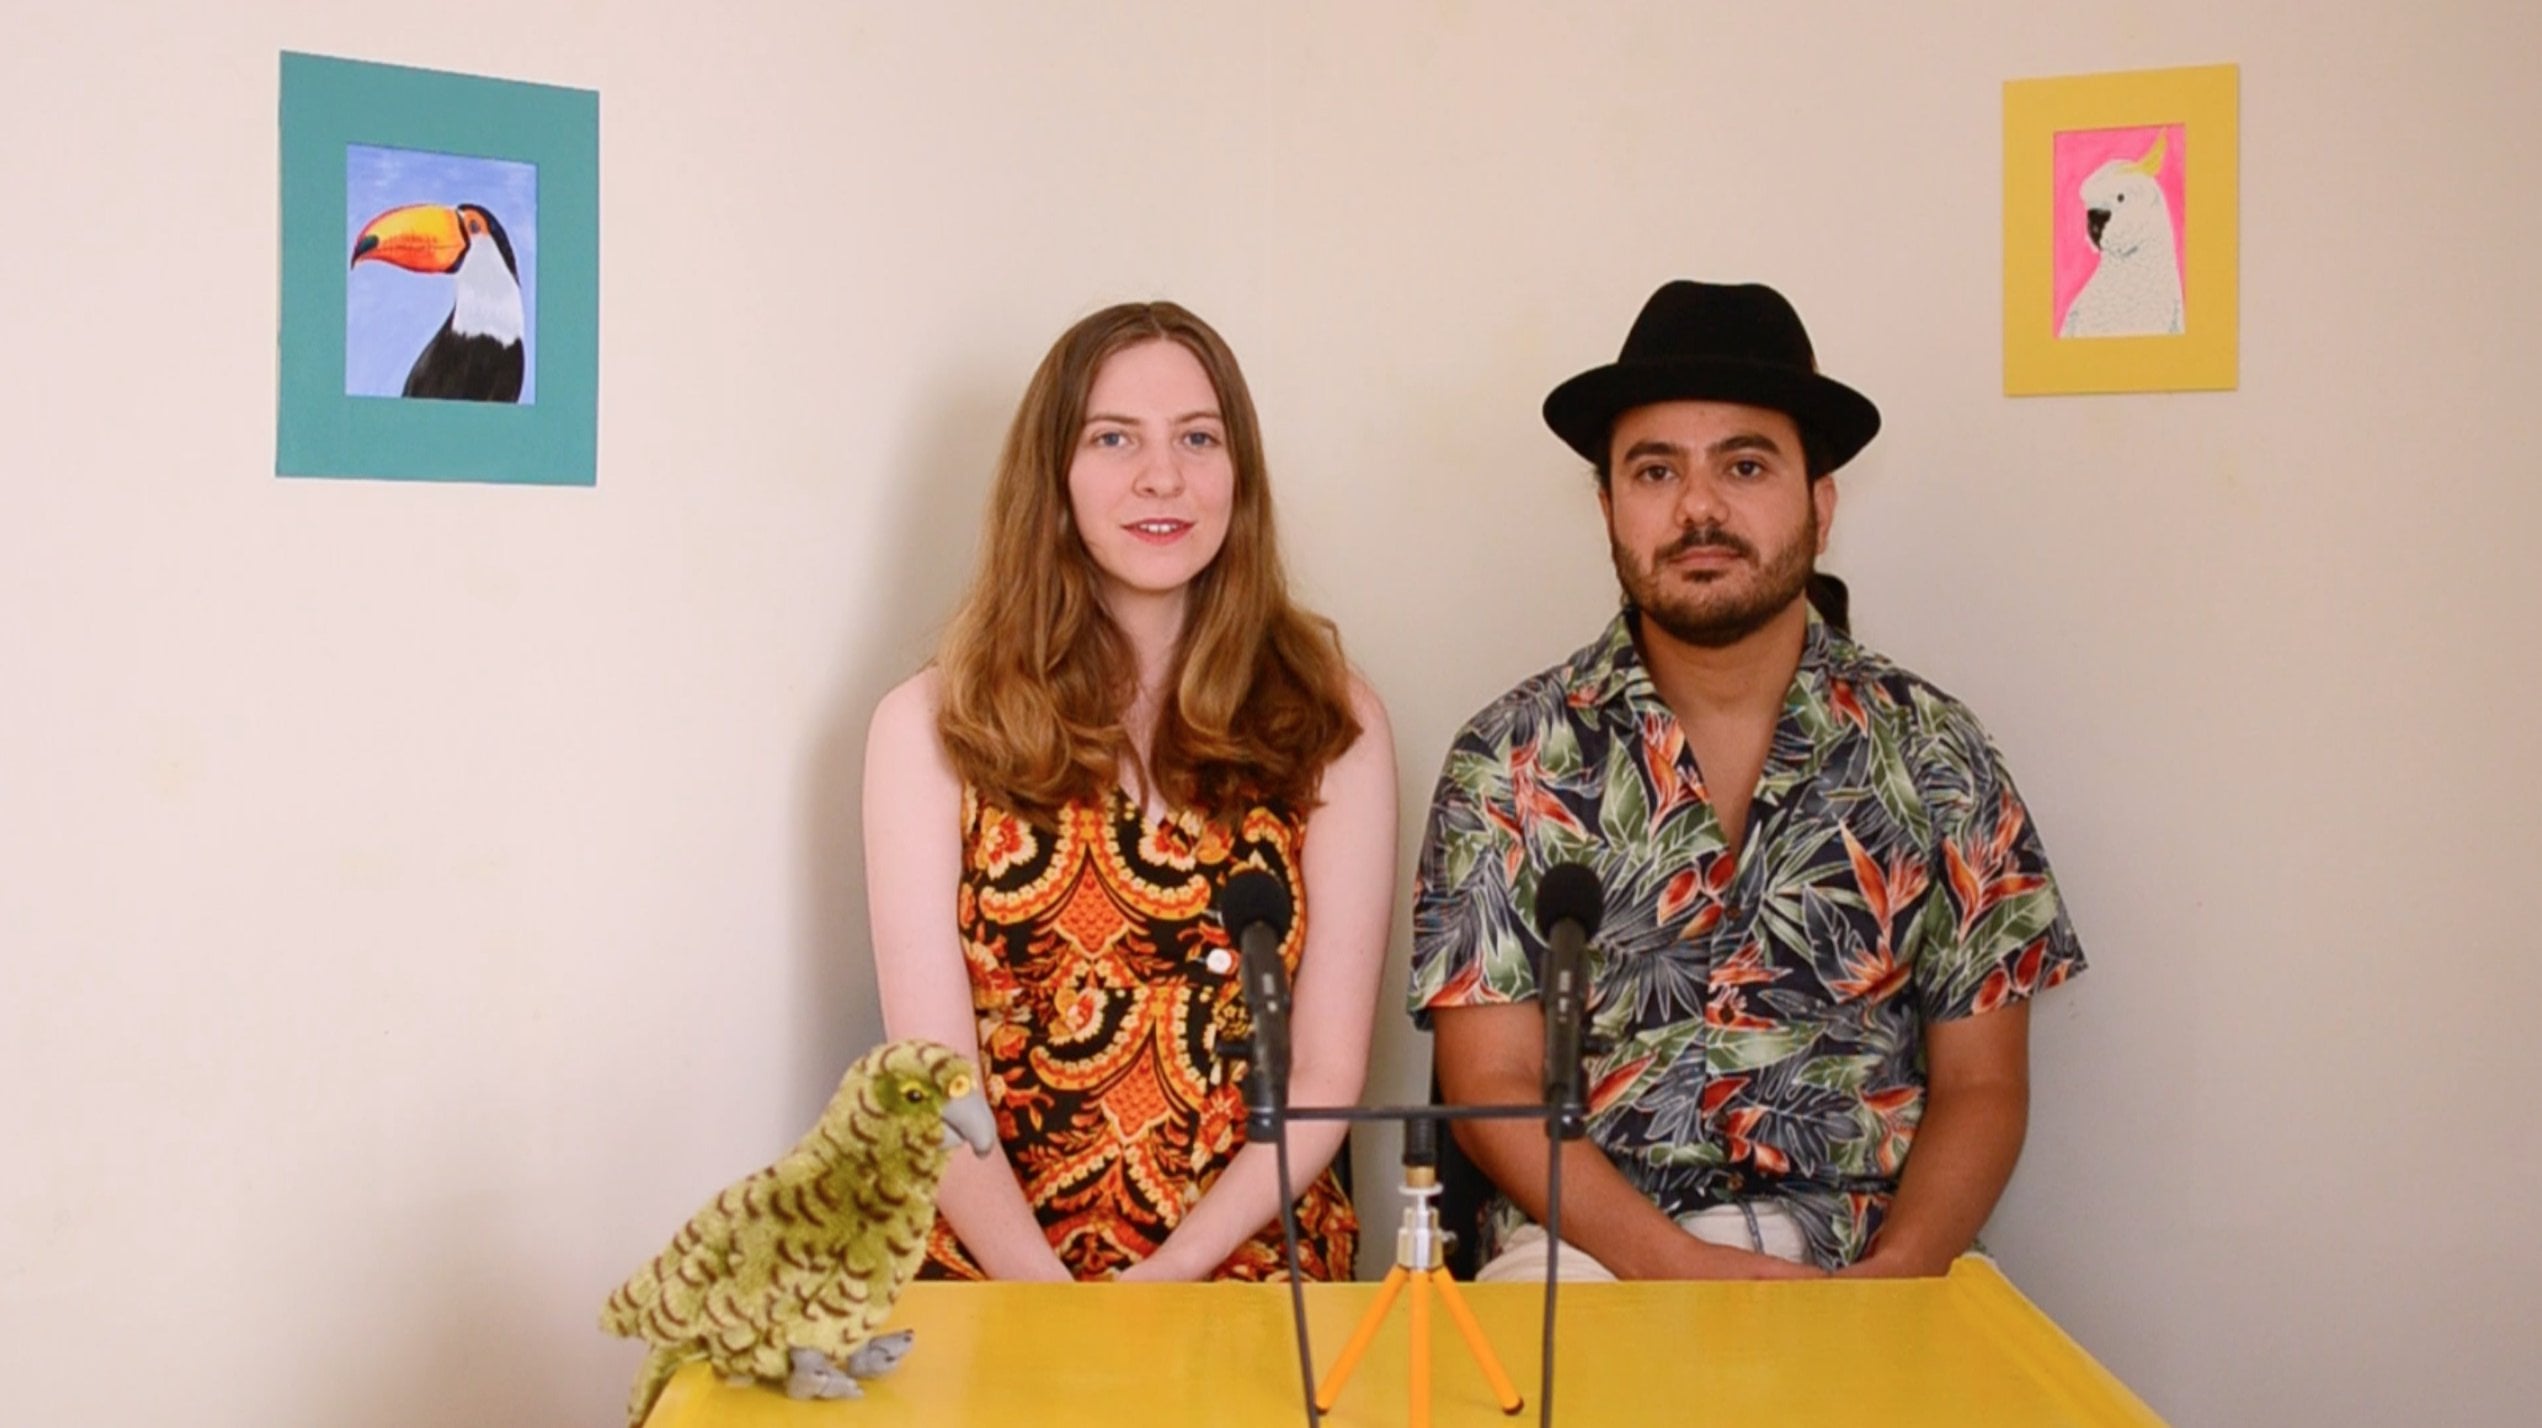
 Eleanor & Giovanni, Stop Motion, Animation, Music, Art