Transcripts
1. Welcome: Have you ever looked
at your kid wearing their favorite
outfit and thought, I never want to
forget the stage. The way their little hands
still reach for you. The way their laugh
fills the room, and the way they have to wear the same cozy sweater
every single day. Because it's their favorite. Now imagine you made that piece, turning a plain sweater into that beloved piece stitched with a memory you'll
treasure forever. That's exactly what we're
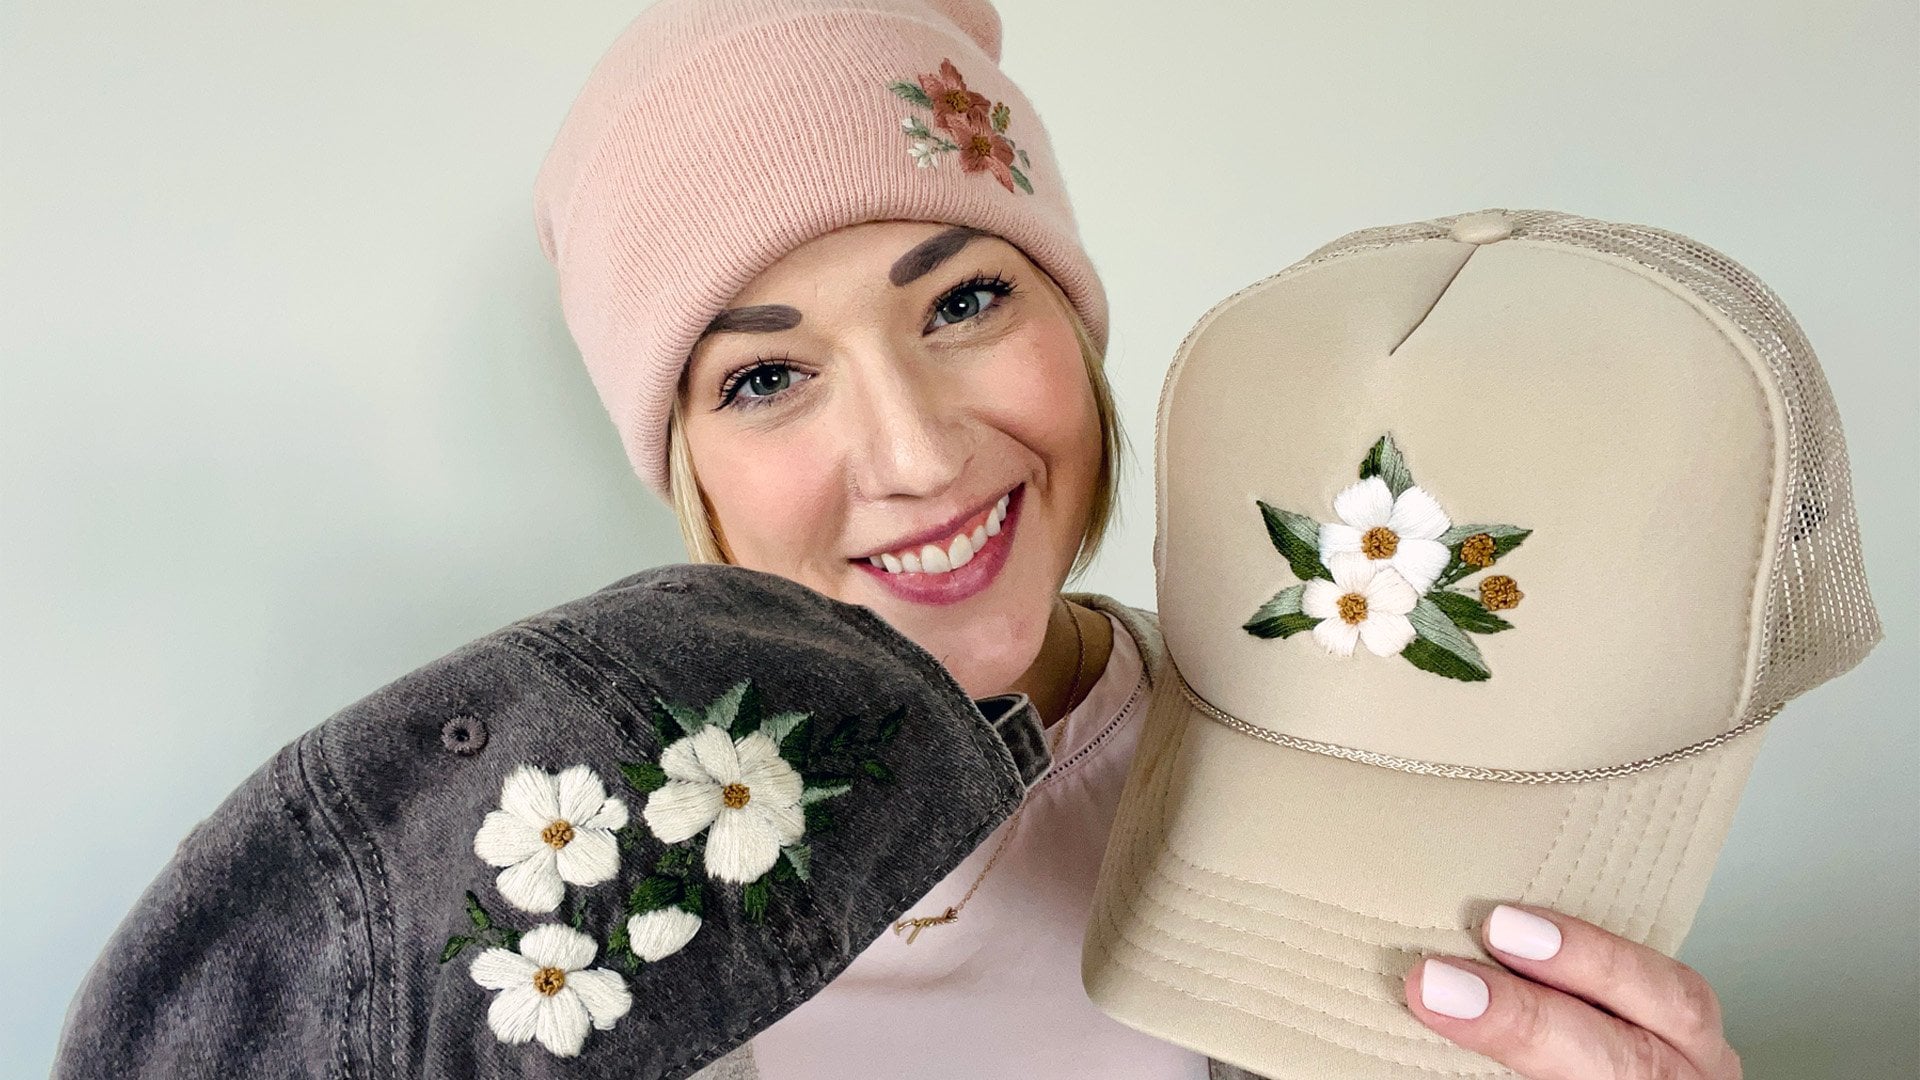
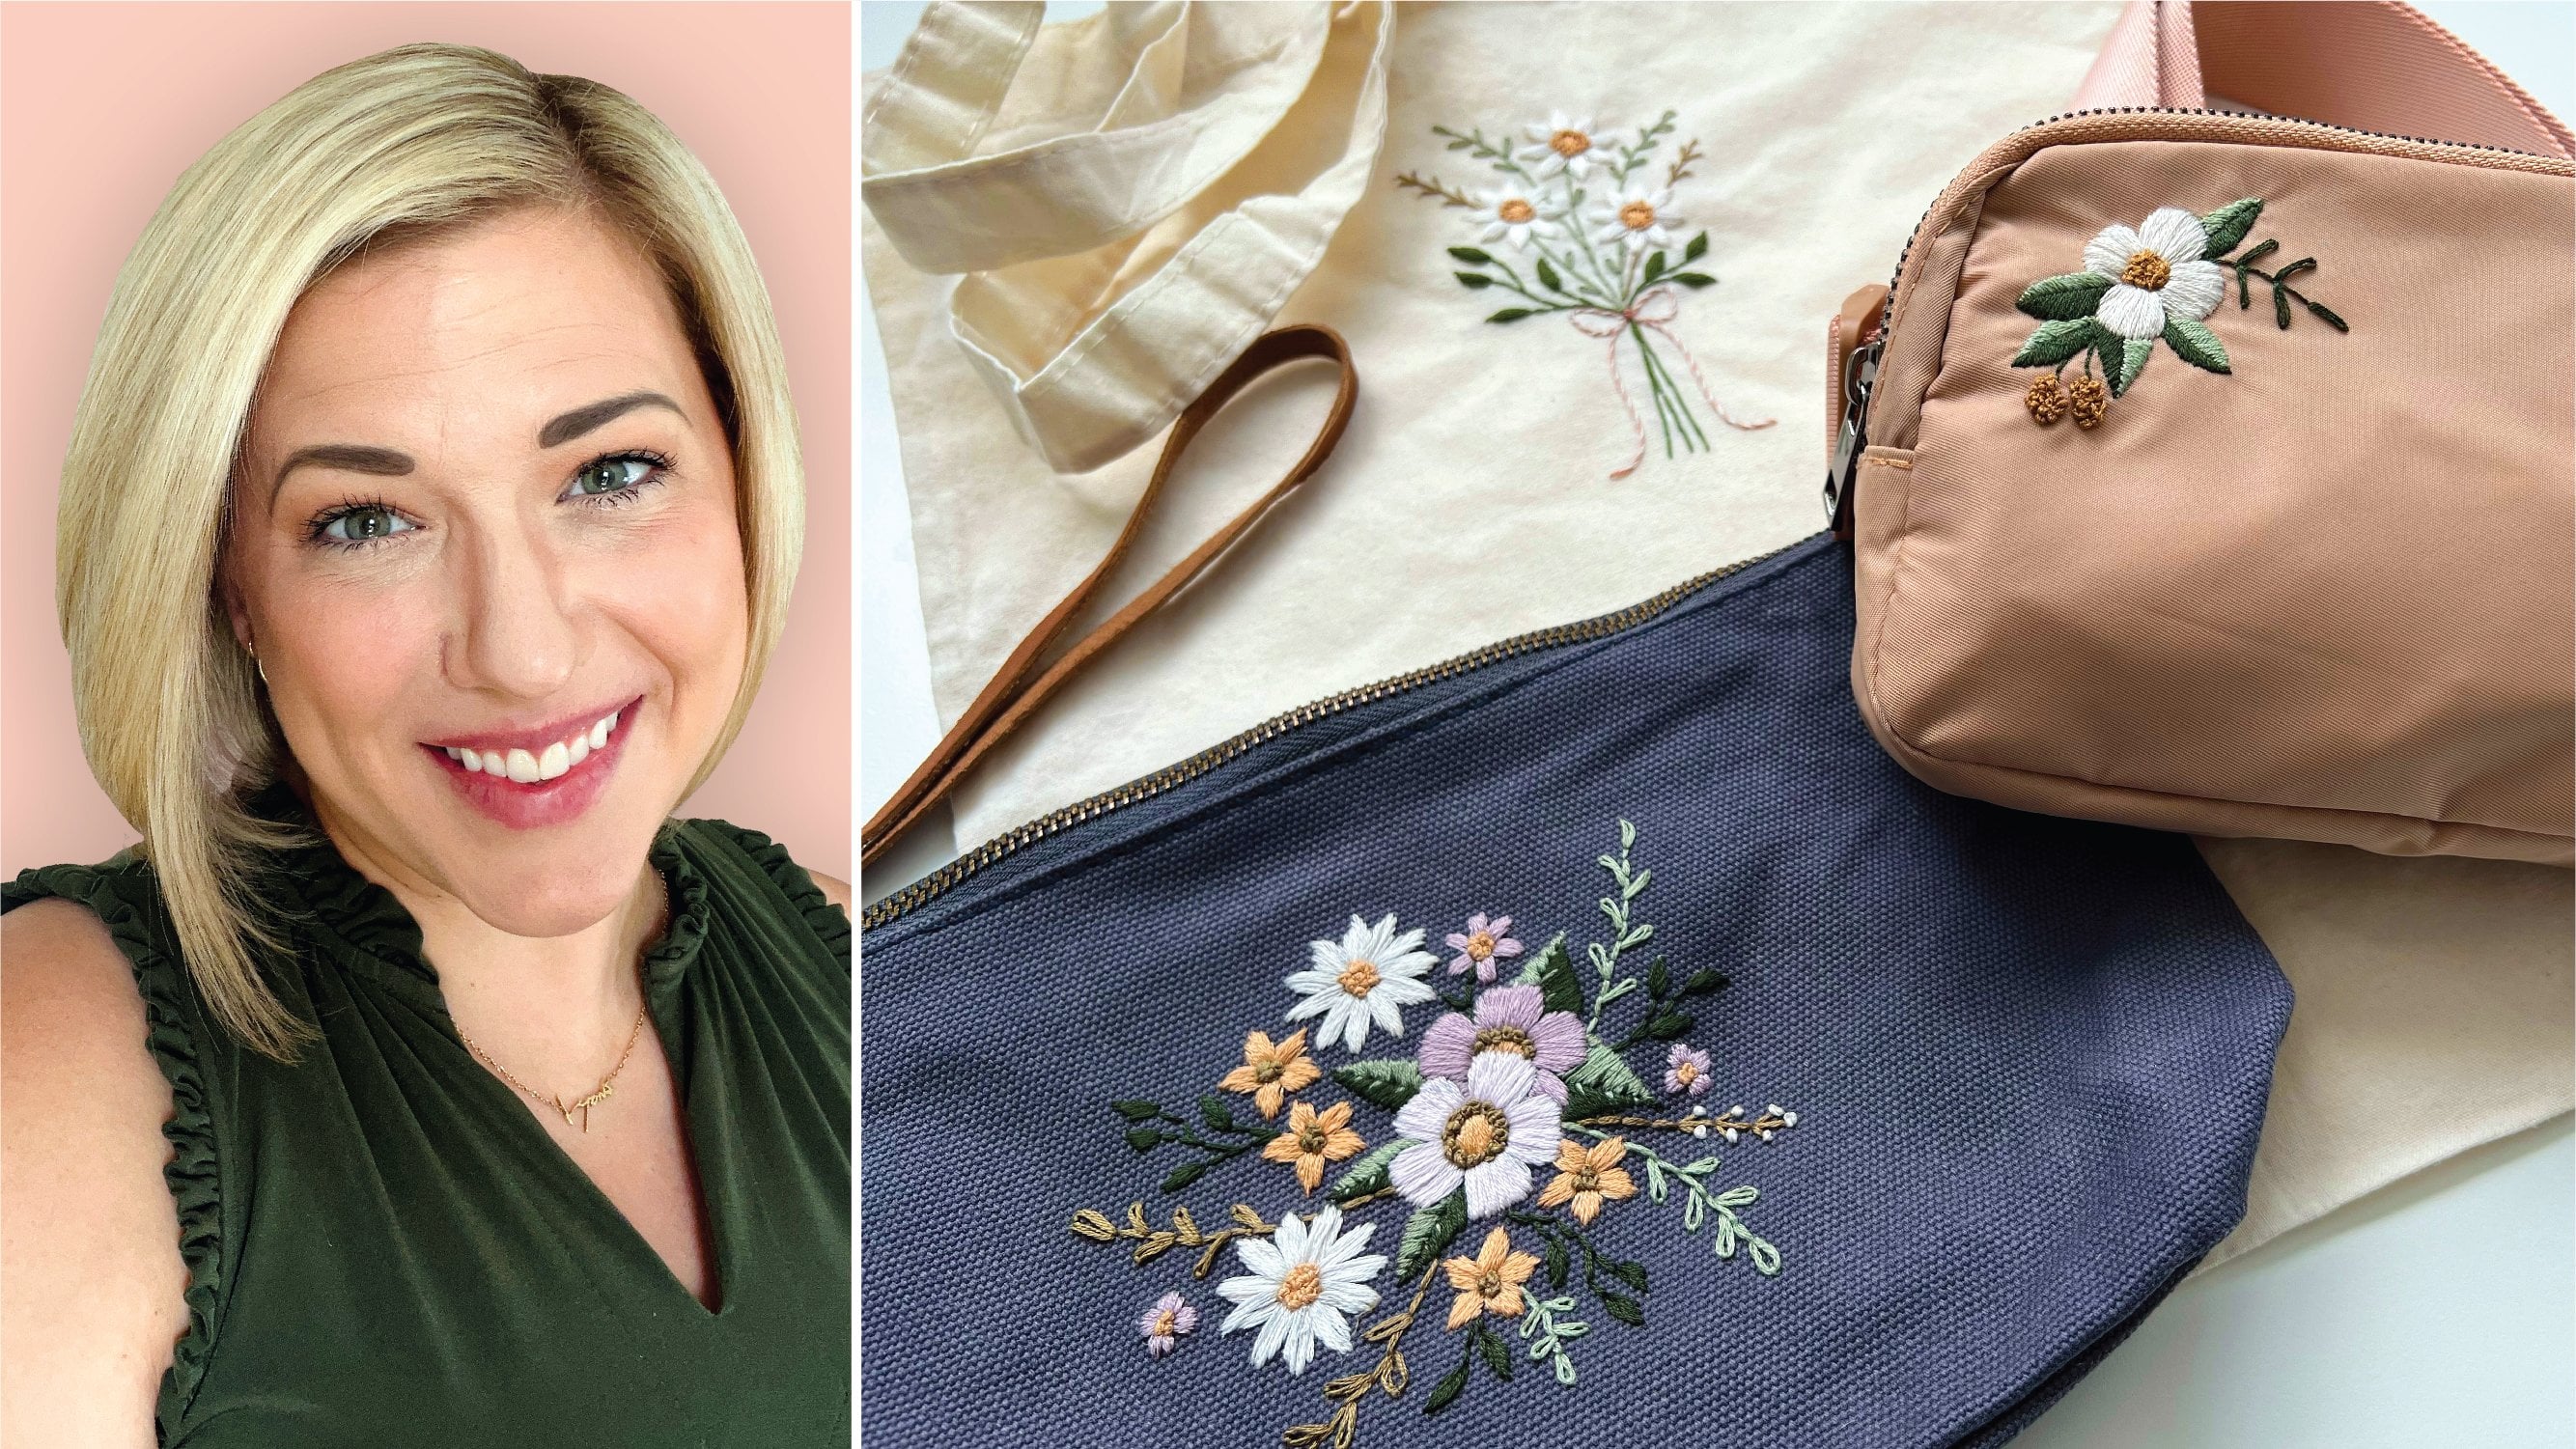
doing in this class. Hi, I'm Kathleen Lyons
and Handbrewy teacher, creative entrepreneur, and mama of two based in
Nashville, Tennessee. I studied art and design
at Anubin University and started my career as
a graphic designer working outside of Chicago. And now I split my time between the digital marketing world and pursuing my creative career
on nights and weekends. My embroidery journey began
with my daughter Ella. So we had a ton of gender neutral clothes
from big brother Kaden, and I wanted to find a way
to make them uniquely hers. So with a needle and a
little bit of thread, I was able to transform
some simple basics into something sweet and
girly that was uniquely hers. And I was hooked. That was it. So in this class, I'll actually be
showing you how to add some spooky floral charm to
some sweaters with yarn. So this is a little bit
different than my other classes. The stitches will be the same. But in this class, we don't need a we'll be creating
three spooky, but sweet Halloween design. So whether you're stitching
for your own little boo or making a keepsake gift, these designs are
meant to celebrate childhood imagination and the
magic of the spooky season. Whether you're new
to Hanombroidery or looking for that
special fall project, I'm glad you're here. Let's make something spooky, sweet, and stitch with love. Join me in class today,
and let's start stitching. I'll see you in the next lesson.
2. Class Project: It's class project time.
So for this class, you will be choosing one of
these spooky sweet designs and then embroidering it onto
a sweater of your choice. You'll need a few
things to get started, so we'll go over that and
the supply recommendations. But the basics are a sweater,
needle, yarn, scissors. You probably need a
threader for this one and your printer with your
water soluble stabilizer. And I'll have those
linked for you. Lastly, after you've finished, make sure you share your work. Add it to the project section, or if you're sharing on social, please remember to tag me. I'm at Art Lions on
cross platforms, and I love seeing your work. If you have questions or need help as you go along,
be sure to reach out. I'm always happy to help.
I'll see you the next lesson.
3. Supplies: Unless lesson, we'll be covering some supply
recommendations. Suggestions, along with links
are provided in the guide, so be sure to check
those out, but we're gonna walk through
them real quick. First things first, if you're printing, you need the printer. However, so we'll be using
the water soluble stabilizer. You can print
directly onto this. However, you can also trace. So if you print it
out on regular paper, and you put this over top
of it and trace with like a heat or rice bow pen,
you'll be just fine. So we'll print our
designs or trace them, and then we're going
to need a sweater. So pick a plain sweater. I got mine from Amazon. They were pretty quick to come, and then you're also
going to need yarns. Make sure that you choose
in colors that you like. This is the size four, and
I really liked that size, but feel free to experiment with some of those
and make sure that your needle matches whatever
size you get for your yarn. So this is a yarn needle. I recommend the middle one, and it's got to be
it has to be one of the sharp ones. Don't
get one that's dull. So be sure you're not getting the plastic or the dull ones. Again, I will have these
linked in your resources. I also really needed a threader. So I don't typically use these when I'm doing hand
embroidery with a floth, but with a yarn, it was
kind of a must have. So I'll link this as well. And then, lastly, scissors. We always need our scissors. So any pair will do. These are my embroidery scissors.
I'll link these as well. One last thing,
this is optional, but the sulky tender touch is nice to add to the
back of your sweater, so it's not rubbing
up against skin. Typically, they're
probably wearing a T shirt or
something under this, but it will help kind of keep your threads together
from any kind of pulls happening and just make it a nice soft
backing for the garment. So totally optional, but we'll go over
that at the end, too. So grab your supplies. It's time to start stitching. I'll see you in the next lesson.
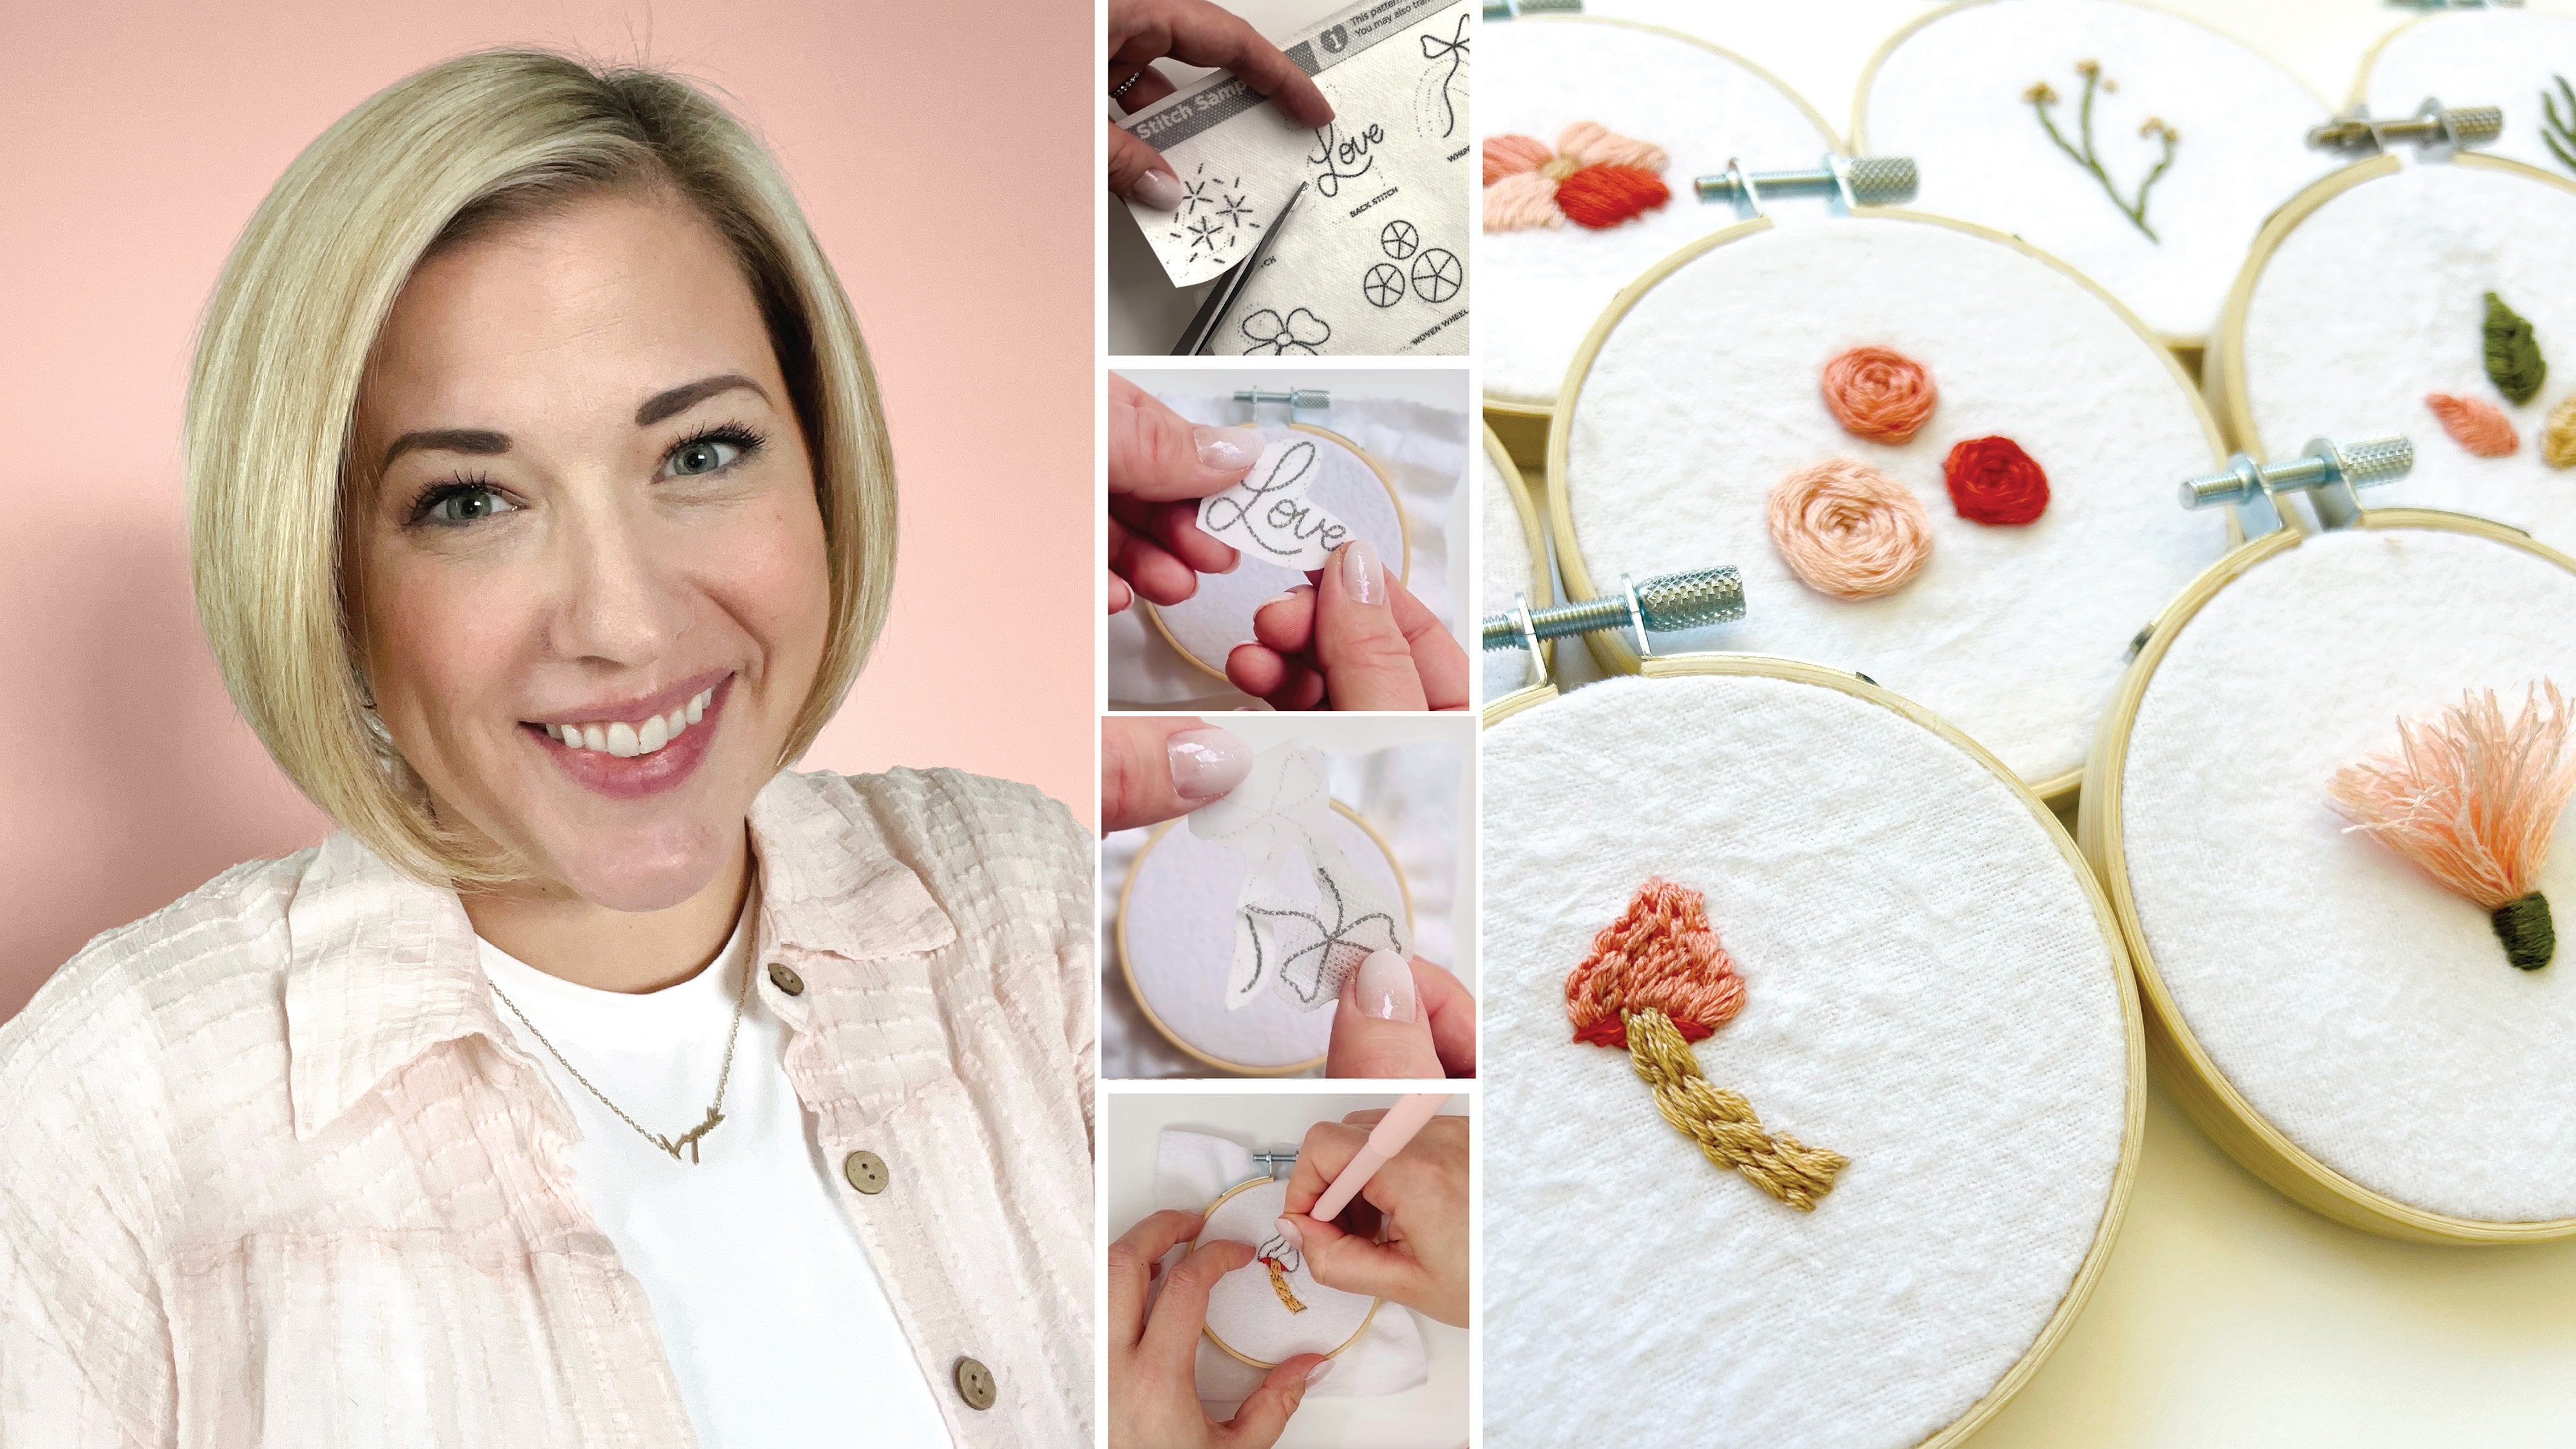
4. Stitches: You Okay, these are
for my newbies. If you're new to Hanna potere, I recommend going back
to my one oh one class. That way you can learn the
stitches, all of them, and it is with floss, but it'll apply
with yarn as well. But that way you
can mix and match if there's a different
style that you like, and you can just
make this your own. However, I will pull
the stitches from that class here so you
can stay right here. I'll pull just the
stitches I'm using. So again, it gives
you more flexibility if you know some
of the stitches, but I'll pull them
in here so you know exactly which stitches
we're going to go over. If you've already completed
the one oh one class, you can skip right
on into the designs. That being said, I'll meet you wherever you are.
Happy stitching. Hello, my R z friends. And this video,
we'll be learning the chain stitch. Let's dive in. Starting with a water
soluble stabilizer, I printed that and cut it out. I'm just sticking that
onto my fabric here and I'm going to come up through the back down through the front, and I'm actually
going to be coming down in the same hole
where I came up, and I'm going to
allow a loop to form. So I'm not going
to go all the way through I would just
take out my thread. And instead, I'm
going to come up a stitch length and come
up through the back again. And I'm going to kind
of hook that loop onto my needle and
then pull it through. And that is our chain stitch. We're gonna repeat
that I'm going to go down through that same hole. Up through the back, and again, about a stitch length and
allow my loop to hook onto my needle and go
ahead and pull that through and secure it
by pulling that tight. And I'm just going
to continue this. All the way around,
I'm going to secure it at the end with a
little straight stitch, which is similar to the lazy
daisy, if you're familiar. And we're going to
keep going around So once I finish
here at the end, I'm just going to come
up and then right back down to secure
it to end that line. So I'm gonna fill in
the other two lines. I'm going to speed this up. But again, it's up
through the back, down through the
front, create a loop, and then secure that loop coming up through the center
and back down. And that's it. That's
our chain stitch. Hello, my RT friends. Today, we're gonna be
learning the backstitch. Let's dipe in. So we're starting with a water
soluble stabilizer. I'm sticking that on, and then I'm just going to come
up through the mac with my needle and straight back down to start that
initial straight stitch. Now, for the backstitch, I'm going to come ahead
one stitch length. And then when I come back
down through the front, I'm going to be going into the same hole as my last stitch. So that ending hole of the initial stitch, I'm
going to go into that. And then I'm going to repeat
that all the way around. So that is the pattern
for the backstitch, going up a stitch length and
then coming back down and sharing that same hole
from my previous stitch. This is a great way to outline. It's great for hand lettering. And just keep in mind
as you have curves, you might need to go
a little bit smaller. So as you're determining
your stitch length, be sure to note that. And again, it doesn't
have to be perfect. Sometimes those
little imperfections are what make our work unique. And that's the backstitch.
Hello, my arty friends, in this video we'll be learning the satin stitch. Let's jump in. Starting with a water
soluble stabilizer, I printed on this
and I cut it out, so I'm just sticking
that on my fabric. I'm gonna come up through the back down through the front. I'm splitting this
centerpiece here. I do a lot with satin
stitches just to help keep me a little
more even as I'm working, and I'm going to come up
again through the back, down through the front, right
next to Matt first stitch. These are essentially
straight stitches that are side by side by side, and I'm going to keep
them as close as possible because my goal here
is to fill the shape. So the satin stitch is
great for filling shapes. I would advise keeping them on the smaller side if you
have some larger areas, maybe explore the long
and short stitch. But the satin stitch
is great for filling in small areas and doing
it fairly quickly. So I'm gonna speed this up here. Again, I do like to split my shapes just to help keep it a little more consistent and keep my stitches from
getting too wonky. And that's it. Quickly
filling this in, this is our satin
stitch. Check it out. Hello, my artie friends. Today, we're gonna be
learning the leaf stitch. Let's dive in. Starting with a water soluble
stabilizer, I printed this, cut it out, and I'm
just going to stick it here onto my fabric
and get started. It's gonna come up
through the back, down through the
front, and I'm gonna come up at the top of my leaf, and then I'm going to come about three quarters of the way down in the center and
push that back through. Now when I come
back up, I'm going to the left of my
initial stitch. And then I'm going
to go back down just over to the right
of that first line. So I'm going to
be crossing over. And that's the most
important part of this is to make sure that you're getting that crossover so that you're getting
the leaf effect. It's going to create this
seam down the middle. So I'm going to come up on
the other opposite side, so on the right side, and then back over and
cross over to the left. So I'm going to keep doing
this down the edge of my leaf. I'm gonna come up
and then cross over my center and just back
down to the opposite side. So again, I'm going to continue doing this through the leaf, and I'm going to go
all the way down until I hit the bottom and I
run out of space to fill, and I'm going to do that
for all three of these. So I'll speed this up so you
can see the final effect. But it's just up
down, crossover, and the crossover is the
most important piece to make sure that you're going to get that seam for the leaf stitch. And we're all done.
Check it out. Hello, my artsy friends. And this video we'll be learning the Lazy Daisy. Let's jump in. Starting with a water
soluble stabilizer. I printed this out, cut it, and now I'm just gonna
stick it onto my fabric. I'm gonna come up
through the back. I'm gonna go through the center, and then come back down
in that same home. If you're familiar
with the chain stitch, this is the same thing.
They're just detached. So I'm gonna come up through the middle there at
the end of my petal, and I'm gonna hook that loop onto my needle and
pull that tot. Now to secure it, I'm
going to go right back down just over that floss, and that creates
one of my petals. So I'm going to
repeat this. This is, again, the lazy daisy. It can be used for
obviously daisies, but it's also a great
stitch for leaves. So if you want to have a
couple of different leaves, I'm going to do some of these here to look more like leaves. But you can actually make a stem and then have these
shooting off of it, and that creates more of
a greenery type effect, or you can use it as
small flower accents. It's a really nice stitch to add some floral
elements to your work. Going to speed this
up, and like I said, I will go ahead and
fill in a couple of these so we get that
greenery effect. And this is our Lazy
Daisy. Check it out. Hello, my RS friends. And this video we'll be covering the French knot. Let's jump in. Starting with a water
soluble stabilizer. I printed on this, cut it
out. Going to attach it here. And I'm going to go ahead and do a backstitch for these stems, and then we'll get started
with a French knot. It's going to come
up through the back, go to wrap it two to
three times and then push it down right next
to where I came out. So this is going
to create a knot. I'm going to keep this
parallel to my hoop. Sorry, it's getting stuck. And then I'm just going to
pull that right on through. So we'll do that a
couple more times. Now, be patient with yourself. French knots are
notoriously difficult. So up through the back,
you wrap it two to three times and then come back down right next
to where I came out. Go ahead and keep the
other side taut with my other hand and let
that slide on through. Okay, one more
time. You'd notice I did goof up a
little bit there. So be kind to yourself
as you're wrapping. Sometimes it gets
a little tricky. So wrap two to three times, and then back down right
next to that initial stitch, Hold it out to the side and let that start going
through, and then let it go. And there's your French knot. So I'm going to
finish this up so you can see it all completed. But again, please be
kind to yourself. These are difficult
to get the hang of, but once you get
some wraps, they start coming a little
more naturally. Wrapping it up here. And this is our Brenchkt. Check it out.
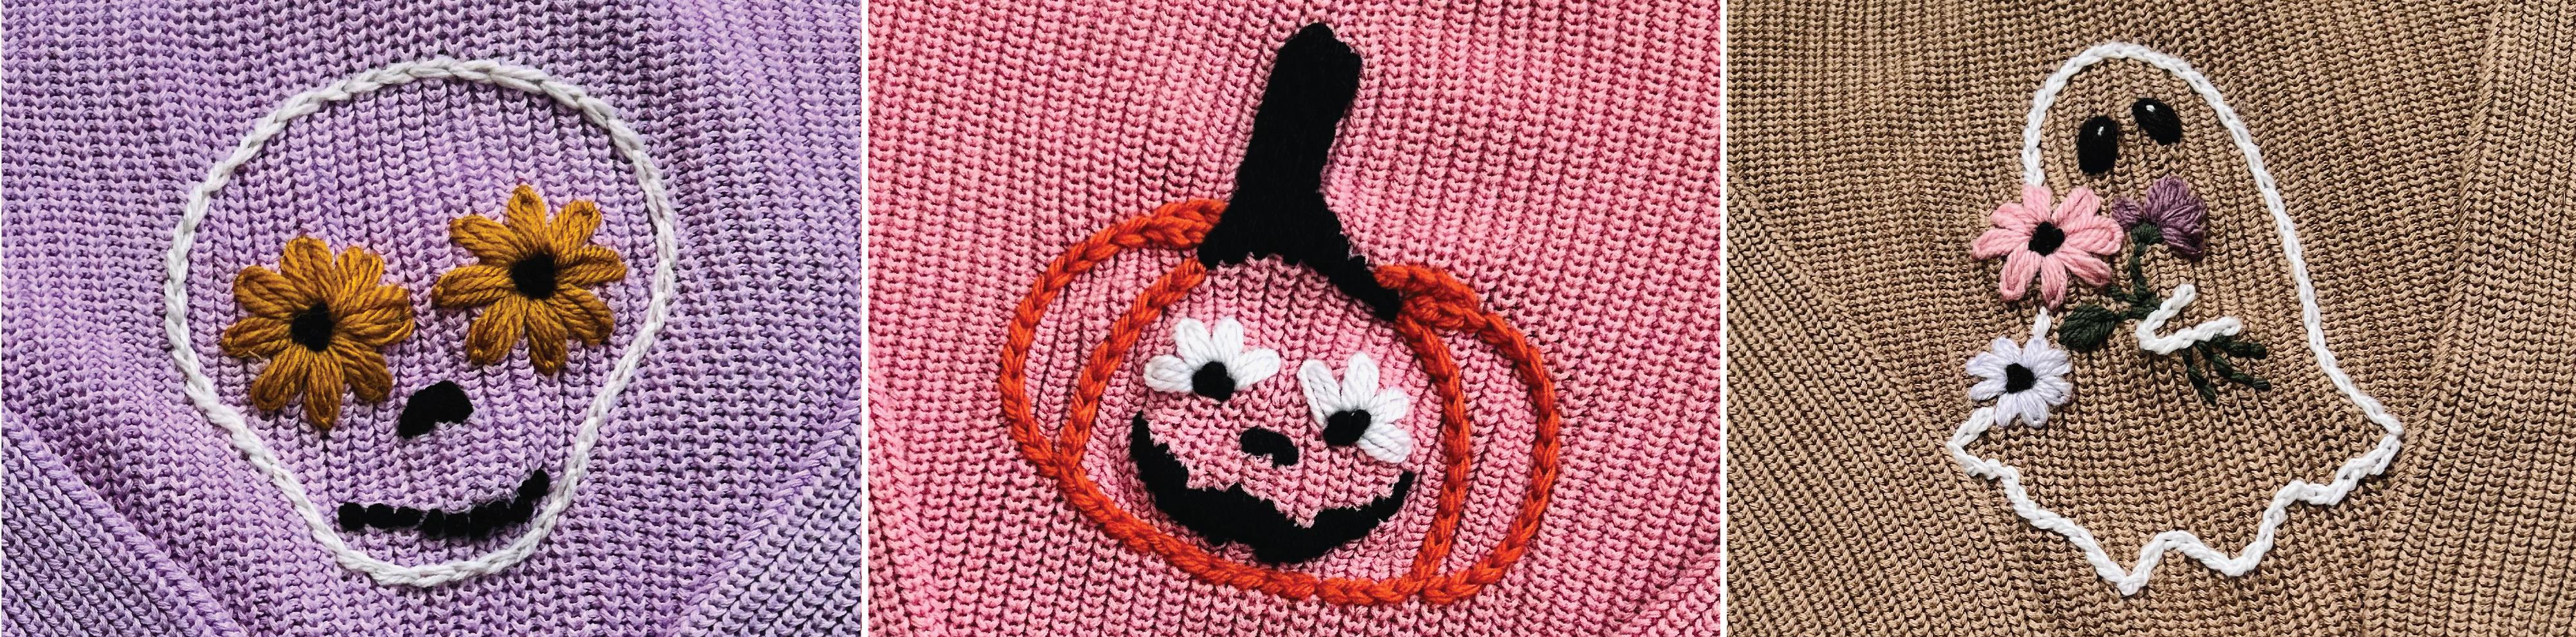
5. Ghost Sweater: Hello, my artsy friends. Today, we're going
to be stitching a spooky sweet ghost.
Let's get started. We're starting with a
water soluble stabilizer, so I'm gonna peel this and stick it right onto my garment. I'll be able to stitch
into this and then wash it away when I'm done. I
like to go centered. I kind of line it up
with the armpits. I like to have it a
little bit higher. I don't want a saggy ghost. So once I get that on there, I'm going to get my yarn going, so I'm going to
measure that from my fingertip to my elbow. I do that twice, and then I add just a little extra
so I can have a tail. So I'm gonna nop this and give myself maybe four
to 6 " of a tail. I like to weave that into the
back to help keep it neat. So now that I have that, I'm
going to use my threader. I'm gonna put that
through the needle and then go ahead and get
my arm pulled through. So once I have this started,
I'll be beginning with a chain stitch around
the outline of my ghost. So I'm going to do the chain stitch a little bit differently. If you'd like, you can use
the regular chain stitch, but I'm going to
show you a new one. So I'm going to
come up through the back and then I'm
going to go into that same home and then back out about a quarter inch away. And this is
kind of a cheat. You can go a little bit faster on the chain stitch this way. So now I'm going to
pull that through, and it's going to catch my loop, like you normally would
for a chain stitch. And then I'll be able to
do the same thing again. I'll go back down into
that last hole and then back out about a quarter inch
or a stitch length ahead. So this will go a
little bit faster. Like I said, this
is a chain stitch. You can go back to the
other stitch videos and just do the
regular chain stitch. This just helps go a little bit faster
around this outline. So I went through that same hole out again, about a
stitch length ahead. I'm going to make sure
that that loops around, and I'm just going to
pull that through. So I'm going to do this all the way around for my ghost outline. So I'll do that and I'll meet
you back for the flowers. So I did the outline of the
ghost and his little hand, and now I'm starting
on the stems. So I'm gonna be using
a back stitch here. So I'm coming up through the
back down through the front, and then I go up a stitch
length and then back down into the last hole
of my first stitch. So I'm going down, and that
is our straight stitch. And now I'm going to go
about a stitch length ahead. So these are all
about a quarter inch. And then I'm going to
come back down into that last hole of
my first stitch. And I'm just going to
repeat that pattern over and over again
and trace these stems. So now I'm going to
jump up to the leaf. So you could do this
with a satin stitch. I'm going to do a leaf stitch. So I'm coming up down
through the front, about three quarters
down my leaf, and then I'm going to come
up on one of the sides. So I'm going to come up
here on the left side, and then I'm going to
cross over to the right just below where I made
that initial stitch. That's going to help create
the vein of the leaf. So I'm going to do that on
the other side and keep alternating back and forth
until I filled the shape. Again, this is the leaf stitch. Now that I have the stems
and the leaves done, I'm going to start
on the flowers. So this first one, I'm going
to be doing a lazy daisy. So I'm coming up through the
back down through the front, and creating that loop,
similar to the chain stitch. This is just a detached
chain stitch, too. And then I'm going to
come up through the top of that to catch my loop, and then I'm going
to secure it by going over that and
right back down. Now, I did decide, as I was working on
this to fill these in. So you'll see that
in the next flower. So you could leave it
here as a lazy daisy, or you would come up
one more time and fill a stitch to give it a little more colour
and fill in that loop. So you'll see what I'm
talking about here. So you can see I filled
in that first one. So I'm still coming
up through the back, down through the front. I'm going to catch
that at the very top. So I'm going to get my loop up there and pull that through. And then once I've secured this, I just come back up with a straight stitch and
fill in that petal. So I'm going to secure it here and then come right back up. So I've made a nice little spot here right in the middle.
So I'm gonna come up there. And then where I'm going in, I'm sharing the same hole
where I secured that. So that's just going
to fill in my pedal. Like I said, it's just giving
it a little more color, giving it a little more volume. You could totally leave
these as little loops, too. I'm going to finish my last one and get going on the center. So I'm gonna be
doing French knot. So I'm coming up
through the back, wrapping two times, and then going right back
down next to that. Depending on how big
your yarn is and how big your sweater
is you may want to do, I think I do two
to three typically to fill these center pieces, but you can do as
many as you like. If you wrap it three times, you'll do less, but I like the
volume of about two wraps. This is also a size four
yarn for reference. And then I'm going to
come up and I'm going to do our little eyes here. So this is just a satin stitch coming up
through the back, down through the front
side by side by side. And I'm going to
fill this in pretty quickly with my yarn. Now that the eye is filled,
I'm gonna come back through. I'm just going to add a
little highlight here. So I'm just putting in a
quick little straight stitch. You could do a French
knot, a straight stitch, or you could just
leave it black. Just love that it gives them
a little more personality. And now that we're
all done stitching, it's time to wash off that
water soluble stabilizer. So I'm just gonna dip
this into a bowl. I did end up soaking it a little bit longer to make sure
I got all of it off. You can also pop
it in the washer. And if you want to
back it tender touch, is great for that, but you
don't necessarily have to. And this is our final product. I. Key takeaways. Always wash your garment or
fabric before stitching. Use the colors and stitches
that best reflect your style. To avoid dark lines, be sure to dissolve the water soluble
stabilizer completely. This may mean soaking
it overnight. Leave a long enough tail
that you're able to weave on the back of your garment and use a whipped stitch
technique to secure. For soft backing and to
reduce thread pools, try adding the sulky tender touch to the
back of your garment. Wash inside out in a delicate
bag to prevent damage. Laying flat to dry
will also help. Happy stitching. I'll see
you in the next lesson.
6. Skull Sweater: Hello, my artsy friends. Today, we're gonna be stitching a spooky floral skull.
Let's get started. We're gonna be starting with our water soluble stabilizer. I printed and cut this out. I'm just gonna stick
that onto my sweater, and then I'm going to move
on to select my needle. So I'm using one
that's a little bit sharper to go through
the stabilizer, and then I'm going
to put my handy dandy needle minder here, and I have my threader, as well. So I'm gonna get my yarn
going from the tip of my finger to about
where my elbow is. I do that twice and
then give myself a little extra room for a tail so I can weave
that into the back. So I'm gonna double
knot this, and then I'm going to get started
with our first stitch. So I am going to be
using a threader. I think this is actually
an embroidery threader. There are yarn threaders
that are metal. But this is what I had on hand, so I'm gonna stick that
right through there and then go ahead and get my
needle threaded with the yarn. I find that this is
a lot more necessary with yarn than working
with embroidery floss. We're gonna get started
by outlining our skull. So I'm going came up
through the back. I'm going to go
back down and then right back out about
a stitch length. And then this is going to
be kind of a shortcut. So we are ultimately
making a chain stitch. So if you'd like to
do the traditional chain stitch, go for it. This could work as a
backstitch, as well. But so what I did there, I went in and then back
out a stitch length, and I'm going to make sure
that loops and pull it out. So we'll do it again. And again, this is just kind
of a cheat code. It goes a little bit faster, I think, this way than
the traditional chain, but I'm going in
through the same hole and then back out about
a stitch length ahead. And then I'm going to make sure that my loop is going to form. So I'm going to wrap
that yarn around the needle just to make sure that I'm getting my proper loop, and I'm going to pull that
through and secure it there. And I'm just going to keep
doing this over and over again until I finish the
outline of the skull. So in through that
hole, back out about a stitch length
and then pull to close. Refer back to the
other stitches, if you want to do the
standard chain stitch, but I love this one, and it helps me go a
little bit faster. Next, we're going to start
working on the petals. So these are lazy daisies. So these are just
detached chain stitches. So up through the back,
down through the front, creating a loop,
and then I'm going to come up at the
top of that petal. I'm going to make
sure that my loop goes over my needle here, so
I'm gonna be catching it. Yeah. I catch that there, and
then I'm going to pull that till it's taut.
Not too tight. You don't want to
wrinkle the sweater, but just enough to make
sure that it's secure. And then to complete that. I'm gonna go right back down
over the yarn to secure it. So that's our first
petal. I'm going to come back up
through the middle. You do not have to
do this. You can leave them as open loops, but I decided I
liked filling them. So it came up through the
middle and then right back down right at the start
of where we secured that, and it just kind of fills
in the petals a bit. If you want a little more
color, feel free to do that. If you like the open
loop, leave it as it is. I'm gonna go around
and finish these, and then I'll meet you back
for some French knots. Now that we have the
petals complete, roots start on the center. So I'm gonna be
doing French knots. Now, how many you
do is up to you? I have a single thread of yarn, so I'm wrapping
that two or three times and I'm going
right back down. So we'll do a few of
these. If you double up, you may do less. So I have a single thread. I'm gonna wrap that two times, and I'm gonna go
right back down. And I'm gonna keep that
other piece of the thread in my other hand and keep
that taut to create the knot. So one more time, we're gonna
come up through the back. Again, this is the French knot. Gonna wrap my needle
a couple times and go right back down
next to that while keeping hold of that piece of yarn and letting that
knot go right through. So I'll finish the other
one really quickly. You could also fill this
in with a satin stitch if you're not feeling as
confident with the French knot. Speaking of satin stitches, let's go ahead and
fill in his nose. So I always like to split my shapes when I do
the satin stitch. So I'm going right
down the middle here, and then I'm going
to split the sides of this little heart nose, and then I'm going
to go in between and just fill in that shape. So again, satin stitch
up through the back, down through the front
side by side by side, we're just going to
fill in that shape. Now, for this one, I did
go at a little bit angle. I wanted to make sure that I got more of that heart
type of shape, but feel free to fill this in
however works best for you. And now we're ready
for the last piece. So I did French knots for these. Again, you could
do a satin stitch. You could do a back
stitch and just make a simple line for the smile,
however you want to work it. But I did a French knot,
so up through the back, wrapped it a couple of
times, and then right back down next to that to
let the knot form. There we go. And
I'm just gonna do this for the rest of these
little circles here, and then we're gonna have a cute little French knot smile. And lastly, we're gonna
wash off that stabilizer. So again, we've used that
water soluble stabilizer, so I'm just gonna soak this. I did put it face down and
let it soak overnight, and then all done. Check it out. Key takeaways. As always wash your garment or
fabric before stitching. Use the colors and stitches
that best reflect your style. To avoid dark lines, be sure to dissolve the water soluble
stabilizer completely. This may mean soaking
it overnight. Leave a long enough tail
that you're able to weave on the back of your garment and use a whip stitch
technique to secure. For a soft backing and
reduce thread pools, try adding the sulky tender touch to the
back of your garment. Wash inside out in a delicate
bag to prevent damage. Laying flat to dry will
also help. Happy stitching. I'll see you in the next lesson.
7. Pumpkin Sweater: Hello, my artsy friends. Today, we're gonna be stitching a spooky sweet pumpkin.
Let's get started. Starting with our water
soluble stabilizer. I printed this and cut it out. I'm just gonna peel this now and place it where I want
it on the sweater. So I'm going a little
higher with this one. I try to line it up
with the armpits. Feel free to get creative
with your placement, but I'm going to put this
right in the center here, and then we're going to get
started threading our needle. So I'm going for orange,
going literal here, but I'm going from the
tip of my finger to my elbow a couple of times
and then giving myself a little extra tail
so that I'm able to thread that in the back and keep my back a
little bit neater. So I'm gonna double knot this and then go ahead and thread it. But again, make sure that you're using the
colors that you like. You could do a total silhouette. You could have a
different color sweater. Whatever combination
you like, go for it. So I've got my threader here. I'm gonna put that through
the eye of my needle, and then I'm going to
thread in the yarn. So I'm working with
one strand of yarn. You can double this
up too if you want to chunk your look and feel, be sure that you're
using the correct needle for your yarn. Okay, now that I
have that threaded, we are going to start
with a chain stitch. So I'm going to
outline the pumpkin. You could also fill
it in. But I'm gonna be outlining it
with a chain stitch, but I'm going to do a
little twist on it. So I'm gonna come up
through the back. And once I pull that through,
I'm gonna go down into the same hole and then right back out about
a stitch the head. I am going to have
to make sure that my yarn is looped over, and then I'm just
going to pull that to create my loop and secure. So this is a little
bit faster way to do the chain stitch. You can also do the
traditional chain stitch. You could do a backstitch
to outline this. Feel free to mix it
up however you like. So again, I'm going
backbound through that same hole out about
a stitch length the head. I'm going to make
sure that my yarn wraps around my needle
to create that loop, and then I'm going
to pull it through. So I'm gonna keep going around. I'm going to finish the
outline of this pumpkin, and then I'll meet you
back for the stem. So now I've gotten
the pupkin outline completed, and I
started my stem. I initially started
with backstitch. I decided to go with the
chain stitch for this one, so feel free to mix it up. But again, same
technique where I'm coming up and then I'm back
down in the same hole, stitch length out ahead
and pulling it through. Next, we're gonna be
working through the eyes. So these are little floral eyes, little eyelashes, however
you want to treat these. I'm gonna be doing lazy Desi so I'm coming
up through the back, down through the front in the same hole to
create that loop. And then I'm gonna catch that
at the top of the petal. So I'm gonna bring my needle
through at the top of that petal and hook that just like we were doing
for the chain stitch. This is just a detached version of that, the lazy Dezi is. So I'm gonna come up
through and then right back down just over that
yarn to secure it. And I'm going to do
this for the rest of the eyelashes or flowers. I've also been filling
in the center. Feel free to leave it as a loop. I just come up through
the middle and then back down right where I secured
that initial petal, and I put that down
just to give it a little more filler and
just a little more color. Now for the eyes, I'm
doing French knot. I do three for each of these. So I'm coming up
through the back, and wrapping a couple of times, and then right back down and
keeping that yarn tight in my other hand as the knot
forms. So I do a few of these. You could also do a
satin stitch here if you're not feeling great
with a French knot. The French knot just gives it a little more texture and a little bit of variety
with our stitches. So I'm gonna finish these up, and then I will meet you back
for our little heart nose. But now for the nose, I'm
gonna be doing a satin stitch. I'm gonna do the same
for his little smile. I like to split my shape, so
it come up through the back, down through the front, side by side by side to fill it in. I do try to split it to
keep it a little more even and to make my shape
the way that I want. So I try to angle these to
create that heart shape, and then I'm just
filling in from there. Oh. Now for the smile, I'll
be doing the same thing. And again, I'm
splitting my shapes. I do it because otherwise, I get very wonky, and it just helps me
stay a little more even. So I'm going up through the
back, down through the front, gonna split these,
and then I'm going to fill in in the middle. So like, I'll split that and then I'll come
up in the middle and just keep filling that
in until it's nice and full. Again, this is our satin stitch. Alright, now we've got
our stitching done. It's time to rinse this
water soluble stabilizer. So I ended up soaking
this overnight. I put it face down, but
it takes a little while. It will come off. You could also just throw it in the wash. Here it is. Our happy
little pumpkin. Key takeaways. Always wash your garment or fabric
before stitching. Use the colors and stitches
that best reflect your style. To avoid dark lines, be sure to dissolve the water soluble
stabilizer completely. This may mean soaking
it overnight. Leave a long enough tail
that you're able to weave on the back of your garment and use a whip stitch
technique to secure. For soft backing and
reduce thread pools, try adding the sulky tender touch to the
back of your garment. Wash inside out in a delicate
bag to prevent damage. Laying flat to dry will
also help. Happy stitching. I'll see you in the next lesson.
8. Final Touches: Hello, my Arnti friends. Today, we're gonna be putting
the finishing touches on our sweaters.
Let's get started. Starting with a
sulky, tender touch. So I already have
some. I'm gonna lay this out about the
size of my host here. Now, you want to leave
about half an inch around, so it has enough to
kind of grab on, too. But go ahead and tut that out. I'm gonna cut a little square. You can make it closer to
the shape if you like. I just go for a simple square. My daughter doesn't
care. But again, leave about half an inch
outside of your actual shape. And then we're gonna
turn that inside out. So there are two sides of the sulky touch, you're
gonna want to find them. So there's one side
that's very rough and kind of tacky and another
side that's super soft. The side that is rough
is what's gonna go on. That's what's gonna
adhere to your garment. So go ahead and outline
that with your shape, make sure that the soft side
would be facing your child, and the inside would be the kind of rough part that's
gonna adhere. And then you're just gonna
take the iron over it, about 10 seconds in each spot, check your edges, make
sure everything's ironed down, and that's it. You've got a nice way to
keep your threads in place and a nice soft touch
against any skin. And that's it. We're all done.
9. Closing Thoughts: Thank you so much for
stitching with me today. I hope this class gave
you some spooky fun and a few new keepsakes that you'll be able to treasure
for years to come. And be sure to share
your final pieces. I love seeing your work. If you're sharing on social,
please be sure to tag me. I am at Artsy Lions
across all the platforms. If you enjoyed
this class and you want more creative inspiration, behind the scenes peaks, and maybe some helpful tips, be sure to check out the blog. It's artions.com forwardslash
blog or join me weekly. I have a podcast.
It's art ambition. Again, you can find
that at rtllis.com, forwardslash podcast,
or you can look up Rt Ambition wherever you
listen to your podcast. And if you want first
dibs on new classes, freebies, and
creative resources, be sure to join my newsletter. Again, if you go
to artilions.com, you'll be able to
find everything. Thanks again for being here. It means way more than you know. I'll see you in the next class. And until then, happy
Stitching my rt friends.
 Kat Lyons, Artist + Educator + Entrepreneur