Transcripts
1. Sourdough French Baguette Intro: Hello, everyone, and welcome for this training where
we're going to make some baguette on Sourdo some French baguet
on Sodo at home. And for this video, I guess you have pretty
much some equipment, at least a mixer, scrapper, maybe a few more things, and at least an oven, hopefully. I'm incent the French
baker on YouTube, and I'm a baker since 2009. So for more than 15 years, I worked in many different
countries in the world, had my business, and now
I'm a teacher for bakers. Let's dive into the video.
2. Ingredients needed: For this recipe, you're
going to need some flour, T 65 500 gram of flour. T 65 means the type of flour. So what is the type of flour? In France, you have different
type from the white flour, refined one till the
whole mil grain flour, which is T 170, 150. But because in most
English country, you don't have this
type of flour, you mostly have white
flour and wholemflour. So what we want for this recipe, it's not the very,
very white flour, the one you would use
for pastry or cake. It's the one for bread,
the one just after. So T 65 is the white flour
for bread, not pastry. Then we're going to need water. Water, 340 grams of water. We're going to need
van sour dough that of course you
prepared before. You're gonna need
100 gram of levin, and finally, you're going
to need 10 grams of salt.
3. Kneading: So basically, we're
going to start the recipe with weighing
the ingredients. So you're going to
weigh the flour, sour dough, water, and salt
in different container. Then you can use the bowl of your mixer. I don't
know what you have. I use a kitchenette mixer,
which is not the best one. But first, I mix together
the water and the flour. I mix the flour and the
water only at the beginning. And what you're going to do for this recipe is the same thing. You're going to mix this for pretty much three to 5
minutes at slow speed. And when everything is mixed
together, you stop it. You let it rest for
at least 30 minutes. You can go up to 2
hours if you want. It's called the otolse. The otoli is very important
when you make bread, especially bread, because it's going to develop the flavor. It's going to improve
the gluten network, and it's going to give
a little bit of color. And also, after, you're going
to mix it in second speed, fast speed a little bit less longer because the
gluten network is made. So this is a very
important step, and you should all do this step. So for my kitchen end,
I have a special hook, a hook for the bread, but well, I don't recommend people to
buy the kitchen end because it's not really good
for mixing bread dough, but well, anyway,
as you can see, my dough is mixed. I just cover the ball and leave it for 30
minutes to 1 hour, maybe 2 hours, if you
want, and it's fine.
4. Autolyse explanation: Then you take your
other ingredients, and after this time of resting, you're going to put the
sour dough into the dough, and then you're
going to mix again the dough in slow speed again, just until the sv dough is
incorporated to the dough. So it can take a
little bit of time to incorporate the
sourdough, but don't worry. Add the salt just when your sourdough is completely
incorporated to the dough. Then when you add the salt, you go for the fast speed. So on my kitchenette
it's pretty much five to six out of ten, and you're going to stop the mixing of your dough
when it's like this. It means when it's smooth, it's like, beautiful
dough ball of plastic. You know, it's like,
perfectly smooth. And that's when you
know your dough ready.
5. TIP 1: And that's a very
important thing when you need your dough. At the end of mixing, your dough should be pretty
much 24 degrees. It can be 24 to 26
degrees. It's right. But less is not very good. It's going to take
much longer time to develop and more it's
going to develop too fast. What you need to do is when you pour the water
with the flour, you need to calculate the
degrees of the water. And for this, it's quite simple. You're going to
take this number. If it's in summer, you have to have water pretty
much ten degrees. If you're in winter, you can pour the water at 30 degrees. No problem. And if
you're between between.
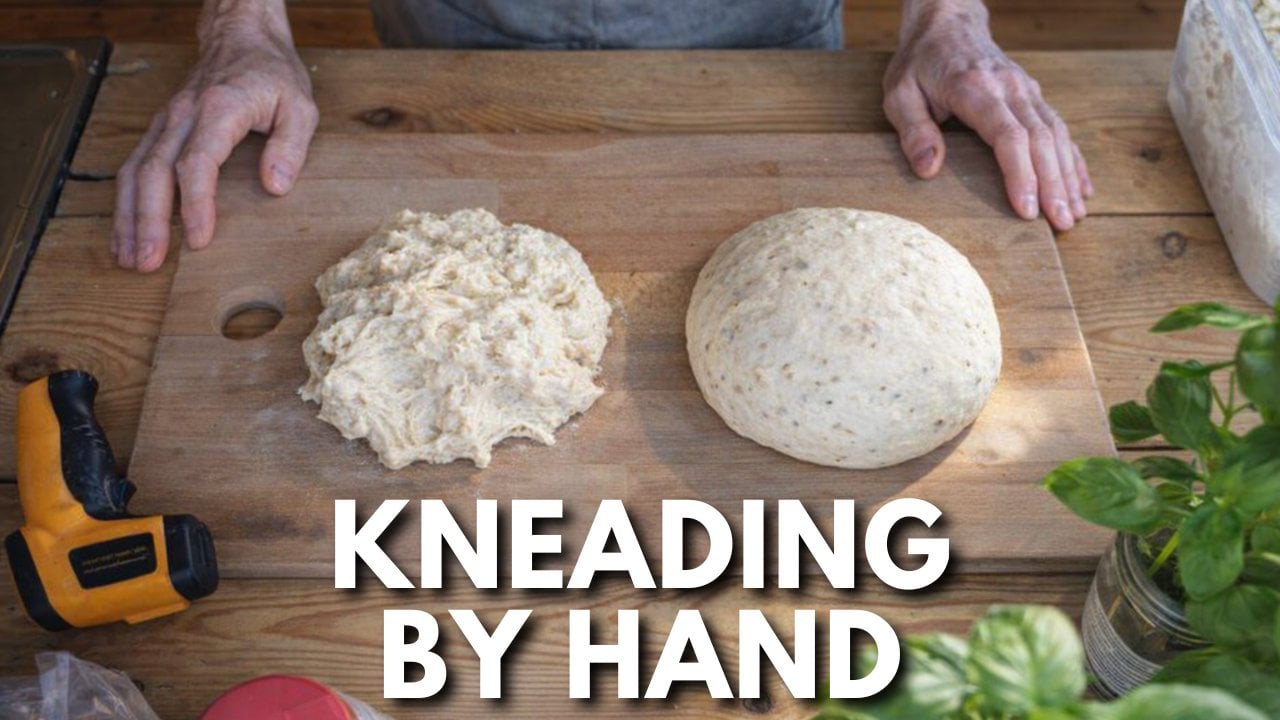
6. TIP 2: So once you knead your dough, you can control the
gluten network. It means you take your dough and you stretch it
and you stretch it, stretch it slowly and gently. And at some point, you have
to get a very thin layer. You can see through. If you do, perfect. If it break if it's really hard, it's not mixed enough. And if it just break, like, very easily and very sticky,
it's mixed too much.
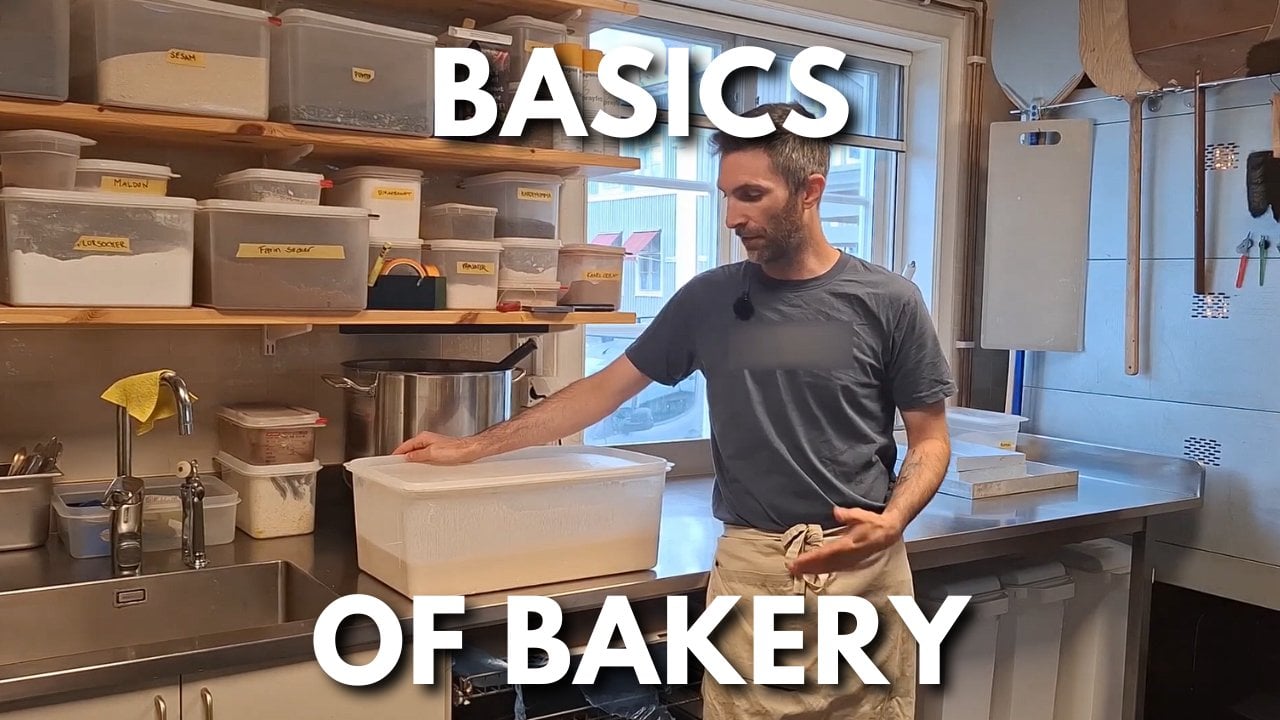
7. Bulk fermentation technique: I take out the dough. I give it a little bit extra
strength because I fold it on itself on the table and put it in
a different container. You, if you want, you can
also leave it in a bowl. Just cover the bowl with
a plastic or even tissue like this and leave it for the
time needed. It's alright. Me, I put it in a container
and close the container. But if you put in a container, I recommend you to
spray with oil. Or if you don't have oil spray, you put a little bit
of oil and with paper, you just spread it everywhere. Like this, your dough is
not going to be sticky. On my dough here, you can
see it's 23.2 degrees, which is a little bit lower,
but it's still right. It will need a little bit
longer time to prove. So the first time,
you're going to put your dough into the
container or into the bowl and leave it for rest
for 15 minutes to 1 hour.
8. Stretch & fold: After 1 hour, 15 minute, you just stretch and fold. Stretch and fold is just you
take the dog you stretch it, and you fold it on
itself a few time. This is very important to
give strength to the dog. Then you let it
rest another hour. After 1 hour, you do this
again, stretch and fold. Your dog should be a little bit bigger than before and should get a little bit more
strength also than before. So this time, the second
time you do the same, stretch and fold your
dough on itself. This is a very important
movement you have to do here. You have to feel
the strength given. Then I close the lid and
leave it for another hour. On the third time, as you
can see on this dough, it's already much bigger, and there's a little bit of bubble you can see
on top of the dough. So for the third time, same
story, stretch and fold. And you can see here
when I stretch it, the dough, it doesn't stretch
that much, not that long. It's a little bit more elastic, so it comes back and I fold it, again, give more strength, make a nice ball, cover,
and leave it to rest. Of course, I leave
it for another hour.
9. Dividing: After this last hour, so
it's like 3 hours total. You see my dough is very big, and now it's time to divide. For this recipe, I just
divide the dough into parts. Trying to make pretty
much same weight. I'm going to make a
big, nice round with each just to give it a
little bit extra strength. You can do like I did, make
a shape like more oval. It's totally alright,
or just make a round. Make it oval, will be easier
to shape packet after. Then you cover it and you
leave it for 20 minutes.
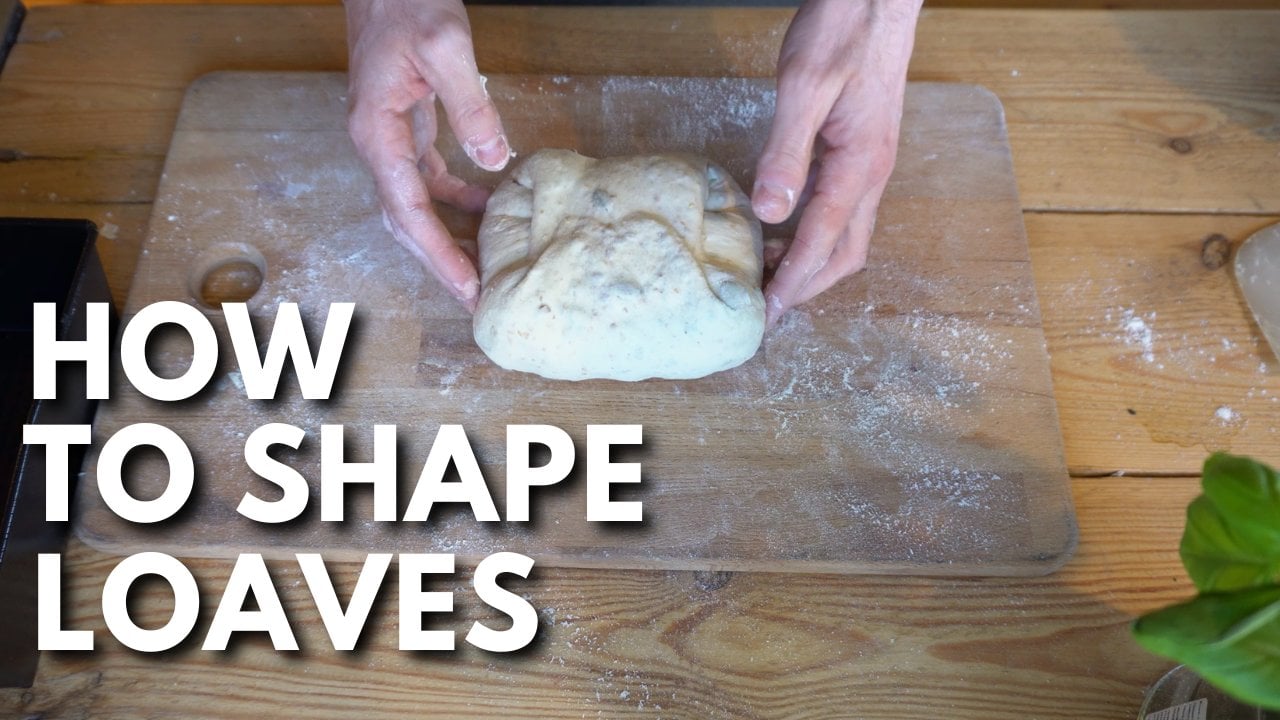
10. Shaping: For the shaping.
After 20 minutes, put a little bit of
flour on your table. Then you're going
to take your dough, flip it over, and that's when you're
going to start shaping. So there's many
different techniques. For this one, I just fold a first time the dough on
itself, and then with my hand, I take it with a movement
like this where I just want to make
it tight on itself. You know? You need to feel that the dough is getting
a little bit longer, like a shape of a baguet and in the same time that
you fold under, and you need to feel in your hand that the dough
is getting harder. See you fold, fold, fold itself. And then once you have
something quite strong, you go from the middle and
you stretch it to the edge. For this one, I
make a little bit pointed bagget
because I want it. Then you put it on a tissue, fold the side, otherwise, the dough is going
to touch each other. And the second one, I fold it. First, fold one side, then you fold the
other side on top, and then you fold the
whole thing on two part. So for this, you just
fold, you take your dough, you fold into, and you use this part of
your hand to close. That's what we call the seal. And you close it, you
close the dough together. And then you go from the
middle to the exterior, again, to shape it a
little bit longer shape. You see, from the middle
till the exterior, and you have a nice baguet. This one is quite
short. I couldn't make longer baguette because
my oven is quite short, so I couldn't make
too long baguet. Then you put the baguette
with the other one, you cover it with the tissue, and you leave it for
1 hour up to 2 hours. You need to check. From 1
hour, you need to check.
11. TIP 3: The technique to
know when your dough is going to be ready,
it's very simple. You take your finger and
you push into the dough. If it's too hard, nothing
pretty much happened, it's not ready, so you
leave it a longer time. If you push, you take
out your finger, and then the whole stays and nothing happens, it's too much. So it's overproof. It's time to bake, but it's
going to be flat. But if you push, take out your finger and
come back slowly, slowly, like in two, 3 seconds
to the initial position, then it's the time
it's ready to bake.
12. Baking: So for you, you can
take the dough with your hand to put it on the
surface that you want to bake. Me, I use the wooden board because I'm going to put
on another wooden board, and then I'm going to throw them into the oven like
this, you will see. But once I put
them on the board, just before baking,
I score them. To score baguetV
important Baggett or any other bread. You
don't score like this. Otherwise, your bread is
gonna open like this. You score 45 degrees, and then you will have a
beautiful ear like this. But not too deep, 1
millimeter is the best. So I score three
times each baguette. I throw them into the oven. In this oven, I
used a pizza stone. It's a little bit better for the baking, but
you don't have to. The very important
thing when you bake bread with an
oven from home, at least, you need to
humidify inside the oven. So for this, the easiest
technique I usually do, you know, you always
have this tray, like the black tray, this shape. When I preheat my oven,
I leave it inside. And when it's time
to bake my bread, I just put the
bread inside and I pour a glass of
water in this tray. It's going to make
a lot of humidity. And at this time, very
quickly, you close the oven. You see? I put the water and
straight, I close the oven.
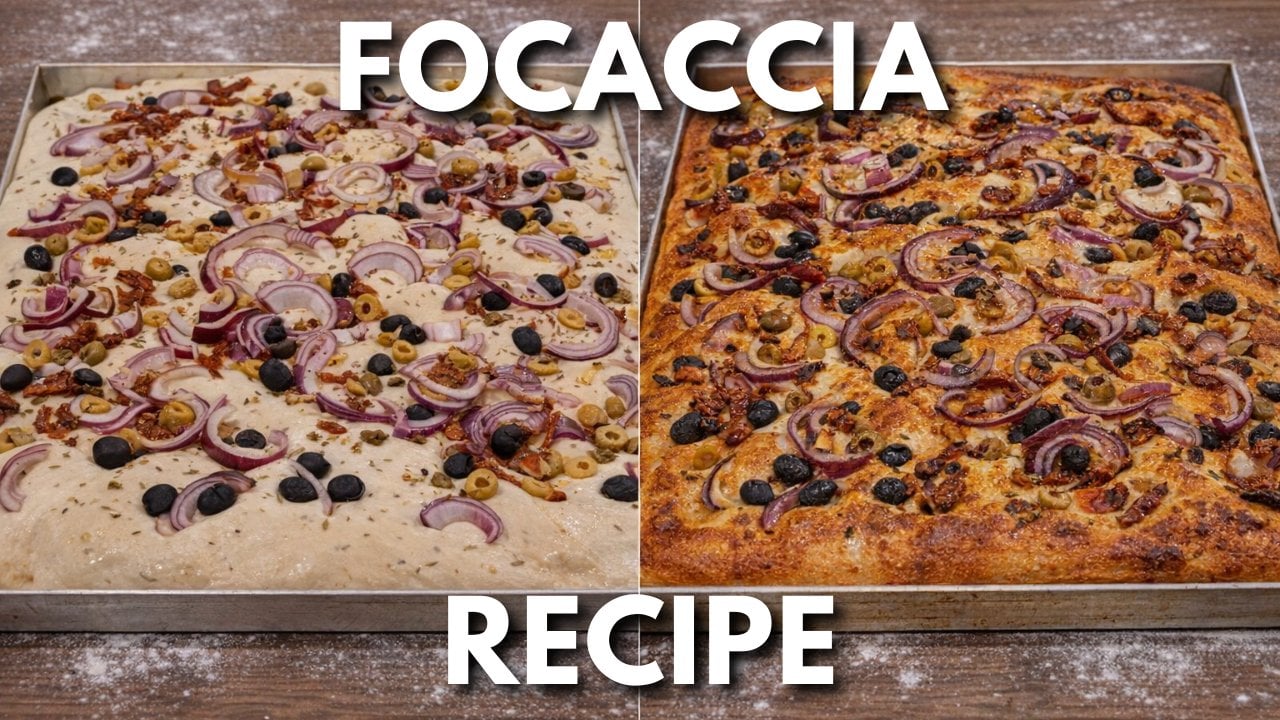
13. Let's check: The baking time is going to be pretty much 20
minutes to 30 minute. It depends on your oven. It depends on your dough. The preheating of your oven, it's 250 degrees or 240 degrees. It's right. So for 20
minutes to 30 minute. You know when it's baked when you have this beautiful color. So you can make a baguet a little bit more
white if you want, or a little bit more black. It's depending on
your choice, really. But for me, I like this color, like golden color, brownish,
to me, it's the perfect. To know if you have
a nice sour baguet, you need to cut
your baguet in two, open it, and check the bubbles. If you have many bubbles. It's a beautiful
bread. If you have some very big bubbles,
it's nice too. If everything is very, very
compact without bubble, it's not so good, but
of course, it's edible.
14. Thanks my friend: Anyway, this video is made to help you to make sort of
French baguet at home. It's quite easy.
It's quite easy. And with the extra
technique I give you now, you shouldn't miss
any step to have a beautiful bread and
enjoy a beautiful meal. Thank you for
watching this video and see you in the next recipe.
 Vincent Baker, Artisan Baker & Home Bakery Mentor