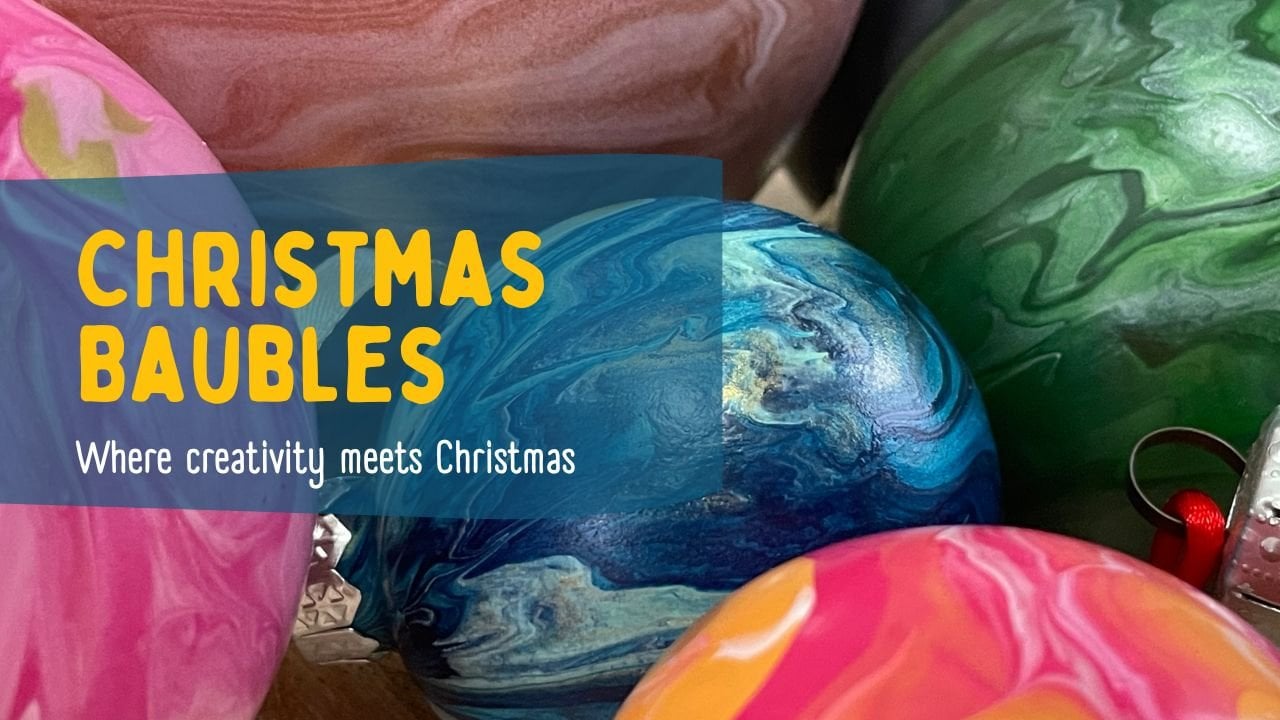
Solar Ink: Create natural Ink with Sun & Flowers
 Anna Berends van Loenen, Professional Messmaker
Watch this class and thousands more
Watch this class and thousands more
Lessons in This Class
-
-
1.
Introduction
0:53
-
2.
Supplies
0:49
-
3.
Making Ink
5:10
-
4.
Modifying Colors
5:37
-
5.
Final Thoughts
0:53
-
-
- --
- Beginner level
- Intermediate level
- Advanced level
- All levels
Community Generated
The level is determined by a majority opinion of students who have reviewed this class. The teacher's recommendation is shown until at least 5 student responses are collected.
28
Students
--
Projects
About This Class
Overview
Discover the magic of Solar Ink—a natural and experimental way to create your own unique colors using sunlight and simple household ingredients. In this short and engaging class, you’ll learn how to extract pigments from natural materials and harness the power of the sun to transform them into vibrant, one-of-a-kind inks.
Perfect for artists, DIY enthusiasts, and curious creatives, this process is both fun and unpredictable, offering surprising and beautiful results. After years of applying this method, I still get surprised.
The class is for beginners and experienced artists alike—no prior experience is needed
In this class, you will learn:
- How to create your own solar ink using natural materials.
- The science behind color changes in solar ink.
- How to test and document your ink colors with swatches.
- Tips for experimenting and refining your process.
Why should you take this class?
- Explore a creative and eco-friendly way to make ink.
- Experiment with natural color shifts and organic textures.
- Add a unique and personal touch to your artwork.
- Have fun with an easy, low-cost, and unpredictable process.
BONUS: Download the illustrated Solar Ink Recipe in the Class Resources section to recreate the process anytime.
Let’s dive in and start making color with sunlight! ☀️✨
p.s. Wanna dive deeper into inkmaking? Check out the talented Adeline-Julie and her class https://skl.sh/4iaMrsU Want to get more inspired with creativity, experimenting, messmaking, and playfulness? Just follow me on Instagram or here on Skillshare because there is more to come ;)
Meet Your Teacher

Hi, I'm Anna. I'm an artist, creative guide, professional messmaker, and a teacher here on Skillshare.
After years in management and personal development, I found my way back to what always brought me joy: making art. Being chronically ill helped me reconnect with that part of myself and reminded me how healing creativity can be.
I now create layered, intuitive mixed media art and design playful, accessible classes to help others do the same. I believe creativity starts with curiosity, and that the process matters more than the end result. You don't need to be "good". You just need to start.
In my classes, I share tips, tools, and techniques to help you loosen up, experiment, and rediscover your creative flow. You'll often... See full profile
Hands-on Class Project
For this class project, I invite you to create a beautiful swatch card showcasing the solar inks you’ve made during the class. This will help you explore the range of colors you can achieve and serve as a reference for future projects.
Project Steps:
-
Follow the solar ink-making process explained in the class to create your own natural inks.
-
Create a swatch card on (watercolor) paper by painting samples of each color,
-
Label the inks if desired.
-
Optional: Observe how the colors change over time and note any interesting results.
-
Please upload a photo of your swatch card to the project section. I’d love to be inspired by your unique color creations.
BONUS RESOURCE
You can download the Solar Ink Recipe in the Class Resources section as a special bonus. This illustrated guide will help you recreate the process anytime. Enjoy experimenting with nature’s colors!
Class Ratings
Why Join Skillshare?
Take award-winning Skillshare Original Classes
Each class has short lessons, hands-on projects
Your membership supports Skillshare teachers
Learn From Anywhere
Take classes on the go with the Skillshare app. Stream or download to watch on the plane, the subway, or wherever you learn best.