Transcripts
1. Soft Slab Pottery Intro: Hi, welcome to opinion on pottery. My name is Vicki Conley. I live in radio, so Downs, New Mexico, where I'd been a potter since 1982. During most of the first 20 years of my career, I sold my work at lots of arts and crafts fairs throughout, throughout those Southwestern United States. In the year 2000, I opened finial on pottery studio and gallery where I work now. I'm most known for functional work, especially with the hummingbird design. I'm always have made seven different glaze patterns to appeal to lots of people. I've also made work in architectural tile, horse hair and raccoon pottery, and lots of hand-built pottery. Today, I'm going to be teaching you soft slab pottery. It's a hand building technique using very soft clay. And it's very easy to do with little or no work, no equipment. Join me in the lessons.
2. Materials and Clay: Lesson 1, we'll cover all the materials that you're going to need to get started in soft slab pottery. Going to need a piece of one inch thick Styrofoam that we're going to cut the plate moles out of variety of pieces of lays for texture. Rolling pins, bunch, small rolling pin, if you have it. A needle tool and nice and a little serrated blade saw. We don't really need too many things to do. Soft slab pottery. Let's talk about clay and firing. The clay I use is a white stone where clay that fires to contin I never cared for red clay much. I prefer the white. This clay that I'm using is about two years old because I buy it in bulk. And so by the end of the time, it gets pretty stiff. And so you can see it's a little bit hard for me to push my finger in. So for the Sauce Lab technique, I will wrap that block of clay in a very wet terry cloth towel and leave it for two or three days. And now you see that this is very soft, is, is too soft really to throw on the wheel, but it's just right for our soft slab pottery class. One of the things that you're going to have to investigate with the pieces that you make is finding a place that can fire your pottery. And you have to find the place first and find out what cone temperature they fire to. And Dan, by the correct kind of clay that will fire to the temperature that your location fire's too. You can't fire a low fire clay in a high Firestone where kiln, because it will just slump, warp, or even melt and stick to their shelves. You've got to get the right kind of clay for whatever location you're going to take your pieces for firing. So you want to check that out before you buy your clay. Then when you buy your clay, if you find that it doesn't roll out very easily with the rolling pin, you can wrap it in the wet towel and roll it out. The next lesson, I will demonstrate how we make a simple plate mold using Styrofoam as the armature.
3. Cutting the Plate Mold : In this lesson, I'm going to show you how to make a simple mold for making plates or platters. You need one inch thick Styrofoam. And sometimes you can just get it as packing material in boxes that come to you, or you can buy a whole sheet at your big box lumberyard. And for this one I'm going to use just the width of the ruler. This is a pretty rectangularly square piece. And so I think I'm just going to take a pencil and draw. So I have about the ruler's width from the edge. We can make these any size you want. You can make a template and make an oval one. So now that I have this drawn, I'm going to use a little saw like this with small serrations to cut out the inside. But I'm gonna stop for a second and move over to the trash can because it does make a lot of mess. When you start to cut, you get lots of tiny little styrofoam bits. Now I just stick the song there. Try to hold an overdraft, can styrofoam cups really easily. I think that that's enough. I think. You can also get your molds area of plywood in. I'll show you in another lesson, a plate plates that I do with them, round plywood, more deeply implicated. And then there we have it in standard form all over me. Kinda take your hand and rub up along the edge and you'll rub a lot of the loose stuff off. And as you use these over and over throughout the years, it will get smoother and more worn and won't leak out quite as much of this little styrofoam stuff. Really won't hurt anything because it'll always be on the back or the underneath side of your, of your piece and it will just burn up in the firing. So there we have it. There's our mold for making our first plate.
4. Making Plates and Platters: Okay, in this first lesson, we're going to talk about all of the different things that you might need to make your plate and decorate your plate. We've already made our mold at a Styrofoam. One of the things I like to roll out onto the clay is lace. And I have this really fine piece of lace that has the sunflowers on it that makes a really pretty texture on the slab. I also have some thicker, heavier lace that I sometimes use in this lab or sometimes along the edges to decorate the edges. Anything that you find around in the kitchen, some of this stretchy mesh stuff with the diagonal pattern is good. Here's another lace oily. Or if you wanted this whole shape to be in the middle of your planner, that would make an interesting shape. Then I have some things that I've actually purchased. Here's a bumpy rock wall kind of texture. Here's a little rolling device that sometimes I use on things that are spinning on the potter's wheel, but you could also use it on a slab if you wanted a really rough texture. And then of course there's all these stamps that I have made out of clay and then just Bisk fired them in like this one was probably the end of a screwdriver, just pushed over and over to make a pattern. This, I used a screwdriver all over the ball and then fired it. And I've used this probably the most of anything for years. Pieces of rock this here, some lava rock. Here's a piece of stump or stick, I guess it's bark. Most of these are stamps I made. You can also get stamps like stamps from kids, toys or that kind of stuff. Well, here's some buttons down here at the bottom. Buttons a lot of times make really nice stamps. Here's one that's really nice that I've just carved those rings into. So there's lots of fun things to use for stamps or for you to make stamps to add texture to your slab. You're also going to need a rolling pin. You may want a ruler. I have this smaller rolling pin that is called a pony roller, that's got two smaller ones. Then the great big win and I like this one a lot. Body data, pottery supply store. Of course, a, some kind of probe or needle tool that's sharp or a knife and a slightly damp sponge. And you want to start with your mold on some kind of board that you can move around. Now here's a little hint, a little tip. You can buy a cutting wire to cut your clay at the ceramic supply place where you buy your other tools. But I've found over the years that if you by 18 inch fishing leader and use some old key rings or old dog tags. You can put the end on those rings and these wires will really, really last. Very inexpensive, easy to use and replace. And I like them much better than the cutting wires that you buy. So you wanna make sure that clay is nice and soft. Cut off a piece. And then if you're rolling it out by hand, instead of starting with the great big blob, it's better and easier if you just slam it a few times to try to thin it out. This also serves to compress the clay and align the particles which will help prevent cracking. I'm working on a piece of canvas here, which is a great surface to work on for hand building. Okay, now that I have thrown it a few times, you can take your rolling pin and I have different sizes. But if you're just you start doing your slab, you'd probably want a bigger rolling pins. And again, it's just like this, this slapping. I'll just go ahead and turn it over and give it a quarter of a turn 90 degrees and enroll it some more. It's still a little over a quarter of an inch right now. Roll a little bit more. I want him about my slabs about a quarter of an inch, kind of running out of room. I'm going to take it to the other side of the table. So now I've cut my slab just a little bit bigger than the mold I'm going to use. And I'm going to use this layer with the sunflower design. Make my plate. It's going to take the larger rolling pan. Make sure that it is roll down until it looks duck. It doesn't look stuck. You won't get a very good impression when you pull it off. We started with about a quarter inch thick piece of slab, and of course it thins out just a little bit when you when you roll the lace onto it. Now I'm going to carefully pick it up, drape it over my arm, and pull my mold over here. I'm going to lay it down. Make sure I'm covering all the edges. And we don't want to disturb that lace pattern very much so the best way to get it into the mold is to drop it a couple of times. And you see it just goes right down in. You want to raise up the sides a little bit more and you could drop it again, then we don't even need to push it into that mold. So this particular mold is a plaster mold that I made using a mold, a plastic mold that you could pour plaster in to make a plaster mold. And with the plaster mold, you can use it over and over for many, many years. And I've made quite a few different oval molds and rectangular molds for baking dishes. So with this one, this is what I would call my cheese and crackers tray. And i with the plaster molds, you can't drop them like we did with the either the wooden plate mold or the Styrofoam plate mold. You have to ease the clay in and then you just have to use the slightly damp sponge to push it in the rest of the way. If you dropped your plaster mold, it would probably crack and break. So now I'm going to do my classic free form cut edge and knock the birds off. See, it's very, very soft. We're that truck is. But it's got the dogs all excited. Okay. Now that I've got my dish in there and the birds knocked off, like to take my very textured piece of lace and roll that on the edge. And so make a nice little oval platter for cheese and crackers. One of the things I do with my pottery as well, did I sell is I always include recipes. I have a really good recipe for a cheese ball that I include with this particular item. Let me set this out of the way for a minute. I'm going to make another set of those handles I showed you in another lesson to put on the tray. So I'm going to thin this out a little bit. We don't want it quite as thick. And then we're going to roll the lace on it. Get a really nice pattern, and then cut it into two pieces. I don't really have any exact size. I just sort of know this area. I'm going to put the handle and that's how long I cut it. This lab is so soft. Is just a little hard to get them apart. Okay, so now I've got the texture on one side and turn it over in my hand, gently push it with my thumb to kind of round it, poke it out, and then pinch it together. The soft slab technique just allows you, for the most part not to have to slip in score. And it immediately melts and binds together with just a little bit of smearing. So there's one handle, push it in my hand. Curve it over into a tube. Pinch the edges closed, smooth out the seam. Pinch the other end close. Now I have trapped air in there and you might be saying, well, does she need to put a hole in it? And I will tell you no. When you Bisk fire, you Bisk fire pretty slowly and that's a pretty small space. So there isn't going to be a lot of moisture that's getting trapped in that space that can't get out. If you put a hole in it, then eventually over the years of putting it in the dishwasher and using it, water may go inside that hole. And then over the course of using the peace, if people put it in the oven, then or the microwave, then that water in there, we'll turn to steam and cause either it to get hot in the microwave or perhaps cracking down the way I find that the amount of air that I have trapped in here and the amount of water that would be released during the Bisk firing is very small and I don't feel like I have to put a hole in the in these little handles if I just leave them the way they are. So I'm just I just dampen those slip and score spots, just a little dab with a wet sponge and do not, I will push that down into the clay. And let's do the other side score just a little bit where I think I'm going to attach it. Score those flat ends, dampen them just a tad. Put the scores right together and get pieces of the lace and push it right in. Now I find sometimes it places where you've added a handle might be a little bit of a stress area for cracking. And I don't know exactly why this works, but if you take tiny little balls of clay and push it right back there at the back corner where the handle hits the rim of the plate. A lot of times that will prevent a crack from occurring at that little joint. So I look forward to showing you these when they are, when it's finished. In the next lesson, we're going to make a simple cup, again using a decorated soft slab.
5. Making the Glass : Okay, In this lesson, we're going to make a glass or cup. And we're going to put some good texture on our slab here. Try this piece of lace here. It's really fun to try different kinds of texture. These bumpy or textures are good for the outside of pieces, whereas the smooth ER, laces are better for the inside like a bowl or plate. And so now I'm going to cut that right along the bottom. You can always fix up the top when, after you get it done. Okay, so now I have this beautiful textured slab and I'm going to stand it up. And because it's soft slab, I don't really do much scoring or slipping. Didn't have quite enough slab there. So I'm just going to piece it a little bit there because I wanted the cup to be this big, but I didn't want it role at another piece of clay, so I'm just gonna do a little patch there. Remember this pottery is handmade. It has the hand of the artist. It doesn't have to be perfect. So I've just added a little piece there so we can have finished RAM of about the same height. Okay, so now I can get my hand under there. I'm just going to smooth this, just push it together along that join there. Let me find a piece of clay that's big enough for the base. All right. So you need another little scrap of clay. You can roll your clay out with your rolling pin. But for me, of course I have a slab roller, so I get a large slab to start with and I don't have to keep making slabs over and over. If you're using a rolling pin, you probably have to make a smaller slab. So now I'm going to trace around this base. Oh, men, I think for the attaching the base, I'll go ahead and do just a little bit of scoring. Score around the bottom here. I've scored around the base of a piece. This little container contains some clay slip, which is just clay and water until it's about the consistency of heavy cream. So that's the kind of slip I use. Not too much. You don't want too much with just a little bit of glue there. And then the main thing when you make it glass like this, you kinda need something that will reach inside. Your hand, won't reach inside, you can find some kinda tool. I'm just going to credit push up that bottom till it kind of matches. And I can also use the roundness of this knife to smooth out that inner seem just a little bit. And I'm going to pick it up and just tap it and hold it in my hand and smooth out that seam on the outside. Or I've added the slip. The soft slab technique, the clay is still so soft, supple and moist that it really does stick together much better than if you have stiffer leather hard slabs. And I always found it very difficult to do Slab Building with those stiff leather hard slabs because I always found that they would crack and fall apart. But I have really good luck with this soft slab technique. There we have a pretty nice little cup. Can just kinda smooth edge now what the glass or a cup? I don't really like the rim to be a quarter of an inch thick like the slab was. So I'm using my hand kind of as a potter's wheel and turning it quarter of a turn in, thinning using cupping my hand on the outside and using my thumb to thin the RAM. And as I go around to kinda thin it and flare it out a little bit. Usually what you would throw coffee mugs, you would probably have a little bit of a layered RAM Anyway. So that'll make a much more pleasant type of glass to drink out of. It doesn't bother me that it's a little bit uneven at the top, but if that bothered you, if you would let it stiffened up till it's leather hard, then you could take a knife and actually cut that off straight and smooth it out. But I like the hand of the potter. And I think the interaction with people's lips with handmade work and little imperfections is a real important part of making the pottery. This would be a good time to pick it up and sign your name on the bottom. The end of uh, of UDL. Little paint brush works great. And now I have a fabulous glass. Join me in the next lesson, where we will take our soft slab and learn to make a little bowl. Eventually, you will have three pieces of a simple dinner ware set.
6. Making a Bowl : In this lesson, we're going to make a bowl to go with our dinner ware set. And in this particular bowl, I think I will put the texture on the outside of the bowl. So I'm going to use the, the big heavy lays. This is the ball we're going to work in. And we have to cover the bowl with plastic in order for it to pop out of there, you can find any bowl in your kitchen. Use for this technique. You just have to line it with a piece of plastic and Linda ball will come right out. Alright, so now we've got a nice textured slab and we wouldn't want that much tech texture on the inside of the bowl. So on this one we're going to have it be on the outside of the bowl, so I'm going to drop it into the bowl mold. And this time we have to kind of coke sit down in there. Try not to get a fold. If possible. This is a fairly steep sided bowl. A shallow bowl will be easier for you, but you can see that I am coaxing it down without getting a full. Now the crumpled up plastic will leave a little bit of its own texture on the outside as well. Now that I've got it all pushed in there. Okay, Now that I have just eased it down into the bowl, maybe smooth out some of those little wrinkled areas. I'm going to take the lace. The small roller, give a nice texture to the RAM. You don't want all that deep texture in the inside of the bowl. But we could certainly have a matching RAM. Can take and use the rim of this particular bowl. If it does get kinda tangled up in the plastic. I'll leave it in the bowl to stiffen up some till it's about leather hard and then it'll pop right out. Just pull up the plastic, it'll come right out. And then the plastic will peel right off. If you built it directly in that glass or ceramic bowl, it would just stick and you'd never get it out of there. So I'm just going to compress the edge a little bit. That's going to give us a really pretty bold to go with our dinnerware. Now that the bowl is stiffened up a little bit, I can pull it right out of the dish. And I can feel the plastic off. And you can see this beautiful texture on the bowl. Now this has a little bit of a rough edge underneath it because of when it was sitting on the plastic, we really couldn't clean up that edge. So I have a little tool here. This is called assure form. And it's like a little, a little rasp. And I can take this and carve the the rough part off of that edge from right underneath at part that was down on the plastic. And it's a really nice way for shaping with this little rasp. Once I get the really big overhang off, I'll just use my finger and smooth it out. There we go. That's a lot better. So now that edge is nice and smooth. We've got it nice texture around the RAM. You've got a nice texture on the outside. If that bowl was really round, we can kinda tap it a little bit to make sure that the bottom is nice and flat because you wouldn't want your bowl to be tippy. So I'm going to tap it on the board a little bit. So now here we have a little Serving Tray as a rectangular plate and a bowl. And display also has stiffened up and is now leather hard and you see that comes it comes right out of that mold. And now I can just let it dry on the wall board. And also our little sushi tray also comes right out. And I think all three can sit here on the wall board. Wallboard is an excellent drawing, kind of bored. And so these are pieces that I cut from wallboard probably 40 years ago and I'm still using them. They're a little ragged around the edge, but I would cut them into usable sections and then cover the edges with duct tape because he course, wallboard is kind of a chalk interior and you wouldn't want that chalky stuff all over your studio or your into your clay. But they make great drawing boards to dry things very flat and they are very absorbent, so they absorbed the water out of the clay. Please join me in the next lesson where I'm going to demonstrate an advanced technique for making a plate from a soft slab.
7. Bonus Plate Demo: Now we're going to show you a bonus lesson for another way to make a plate and make the texture on the plate. This is a piece of battleship linoleum block printers would use. And I carve this design years ago when I was in printmaking classes. And I've used this piece of linoleum that was carved plus some others for years and years. To make plates. For these plates I have cut my mold instead of Styrofoam. I've cut it out of plywood and cut these round circles. So now I'm going to take this last little piece of slab and lay it over my piece of linoleum. Really roll it in good. And I can turn it over and use the linoleum to cut around it. I'm going to put my round mold on a board. Carefully peel the piece off and you can see what a beautiful raised design that is going to try to lay it, center it over the hole in the mold as best I can. Not worried about these uneven edges because I'm going to cut my free form edge here in a minute. Just wanted to make sure I'm fairly centered. And then I'm gonna do the little dropping technique. When you see it drops right in there. I'll take it and cook my kinda my signature decorative shaped edge. Going to take my fingers and go around the edge. No water. Just a little bit of compression, just trying to rub off those little burrs. And there it is ready to dry. And these make really unique, unique plates. So you could take any kind of design that you made, do a linoleum carving, and then make a whole series of dinnerware. Now if we wanted a matching cup, I could just about have enough here. Since it's a little short, I'm going to try to piece it together. Again. We've got the soft slab so I can make this a little longer. Just smeared across on this side. Smeared across on this side. And I think I'll put it across just two of those. One side, they're going to peel it up. And we've got a beautiful little slab there. I think I will. We'll use the ruler here and try to get a nice edge on the top of this one. Okay, Now I can take this with goes nice designs. And again, push it together with a mask. And a lot of customers this morning the mass comes on, the mass goes off. It's just kind of smooth that little seam together. And then we'll stand it up on a base. And again, I think because of the base, we want to make sure we have a good seal. I'm going to score it a little bit. Scored around the base. And you can see the big slab that I rolled out to start with. I've used up almost all of it. If you don't have a slab roller, you would have to just roll out probably for each project that you can do it with a rolling pin, just roll it out to about a quarter of an inch. Little bit of slip on their stand it up, put something inside and make sure I've pushed the bottom all the way out to where my base is. Look it up and tap it. I'll pick it up. Now if you wanted, you could put some newspaper in here. If you thought it was getting just a little bit saggy and you could put some newspaper inside and use that as an armature. Mostly you want to try to smear that. It'll seem together at the bottom without pushing or distorting too much on the Yoram relief design. Now I'm going to do what I did at the very beginning. On the other cup. I'm going to try this then and smooth out the RAM. Just pushing it against my hand, giving it just a little tad of water. Just trying to thin it out just a little bit so it'll be a little bit more comfortable for drinking. And there we have a little cup to match on our plate. I hope you've enjoyed this first session of soft slab hand building techniques and that you will try some of these projects out at home. I'm can hardly wait to see what you guys post in the project section. The assignment for your project is to try to make one or all three of the items, cup plate in bold that I've demonstrated in this class. And then post a picture in the project area. I can just hardly wait to see what you do.
8. Class Project: Your class project will be to make at least one of the three projects demonstrated in these lessons. Either the soft slab plate, the soft slab cup, or the soft slab bolt. Hopefully you'll get a chance to make all three and you'll have your own personalized dinner ware set.
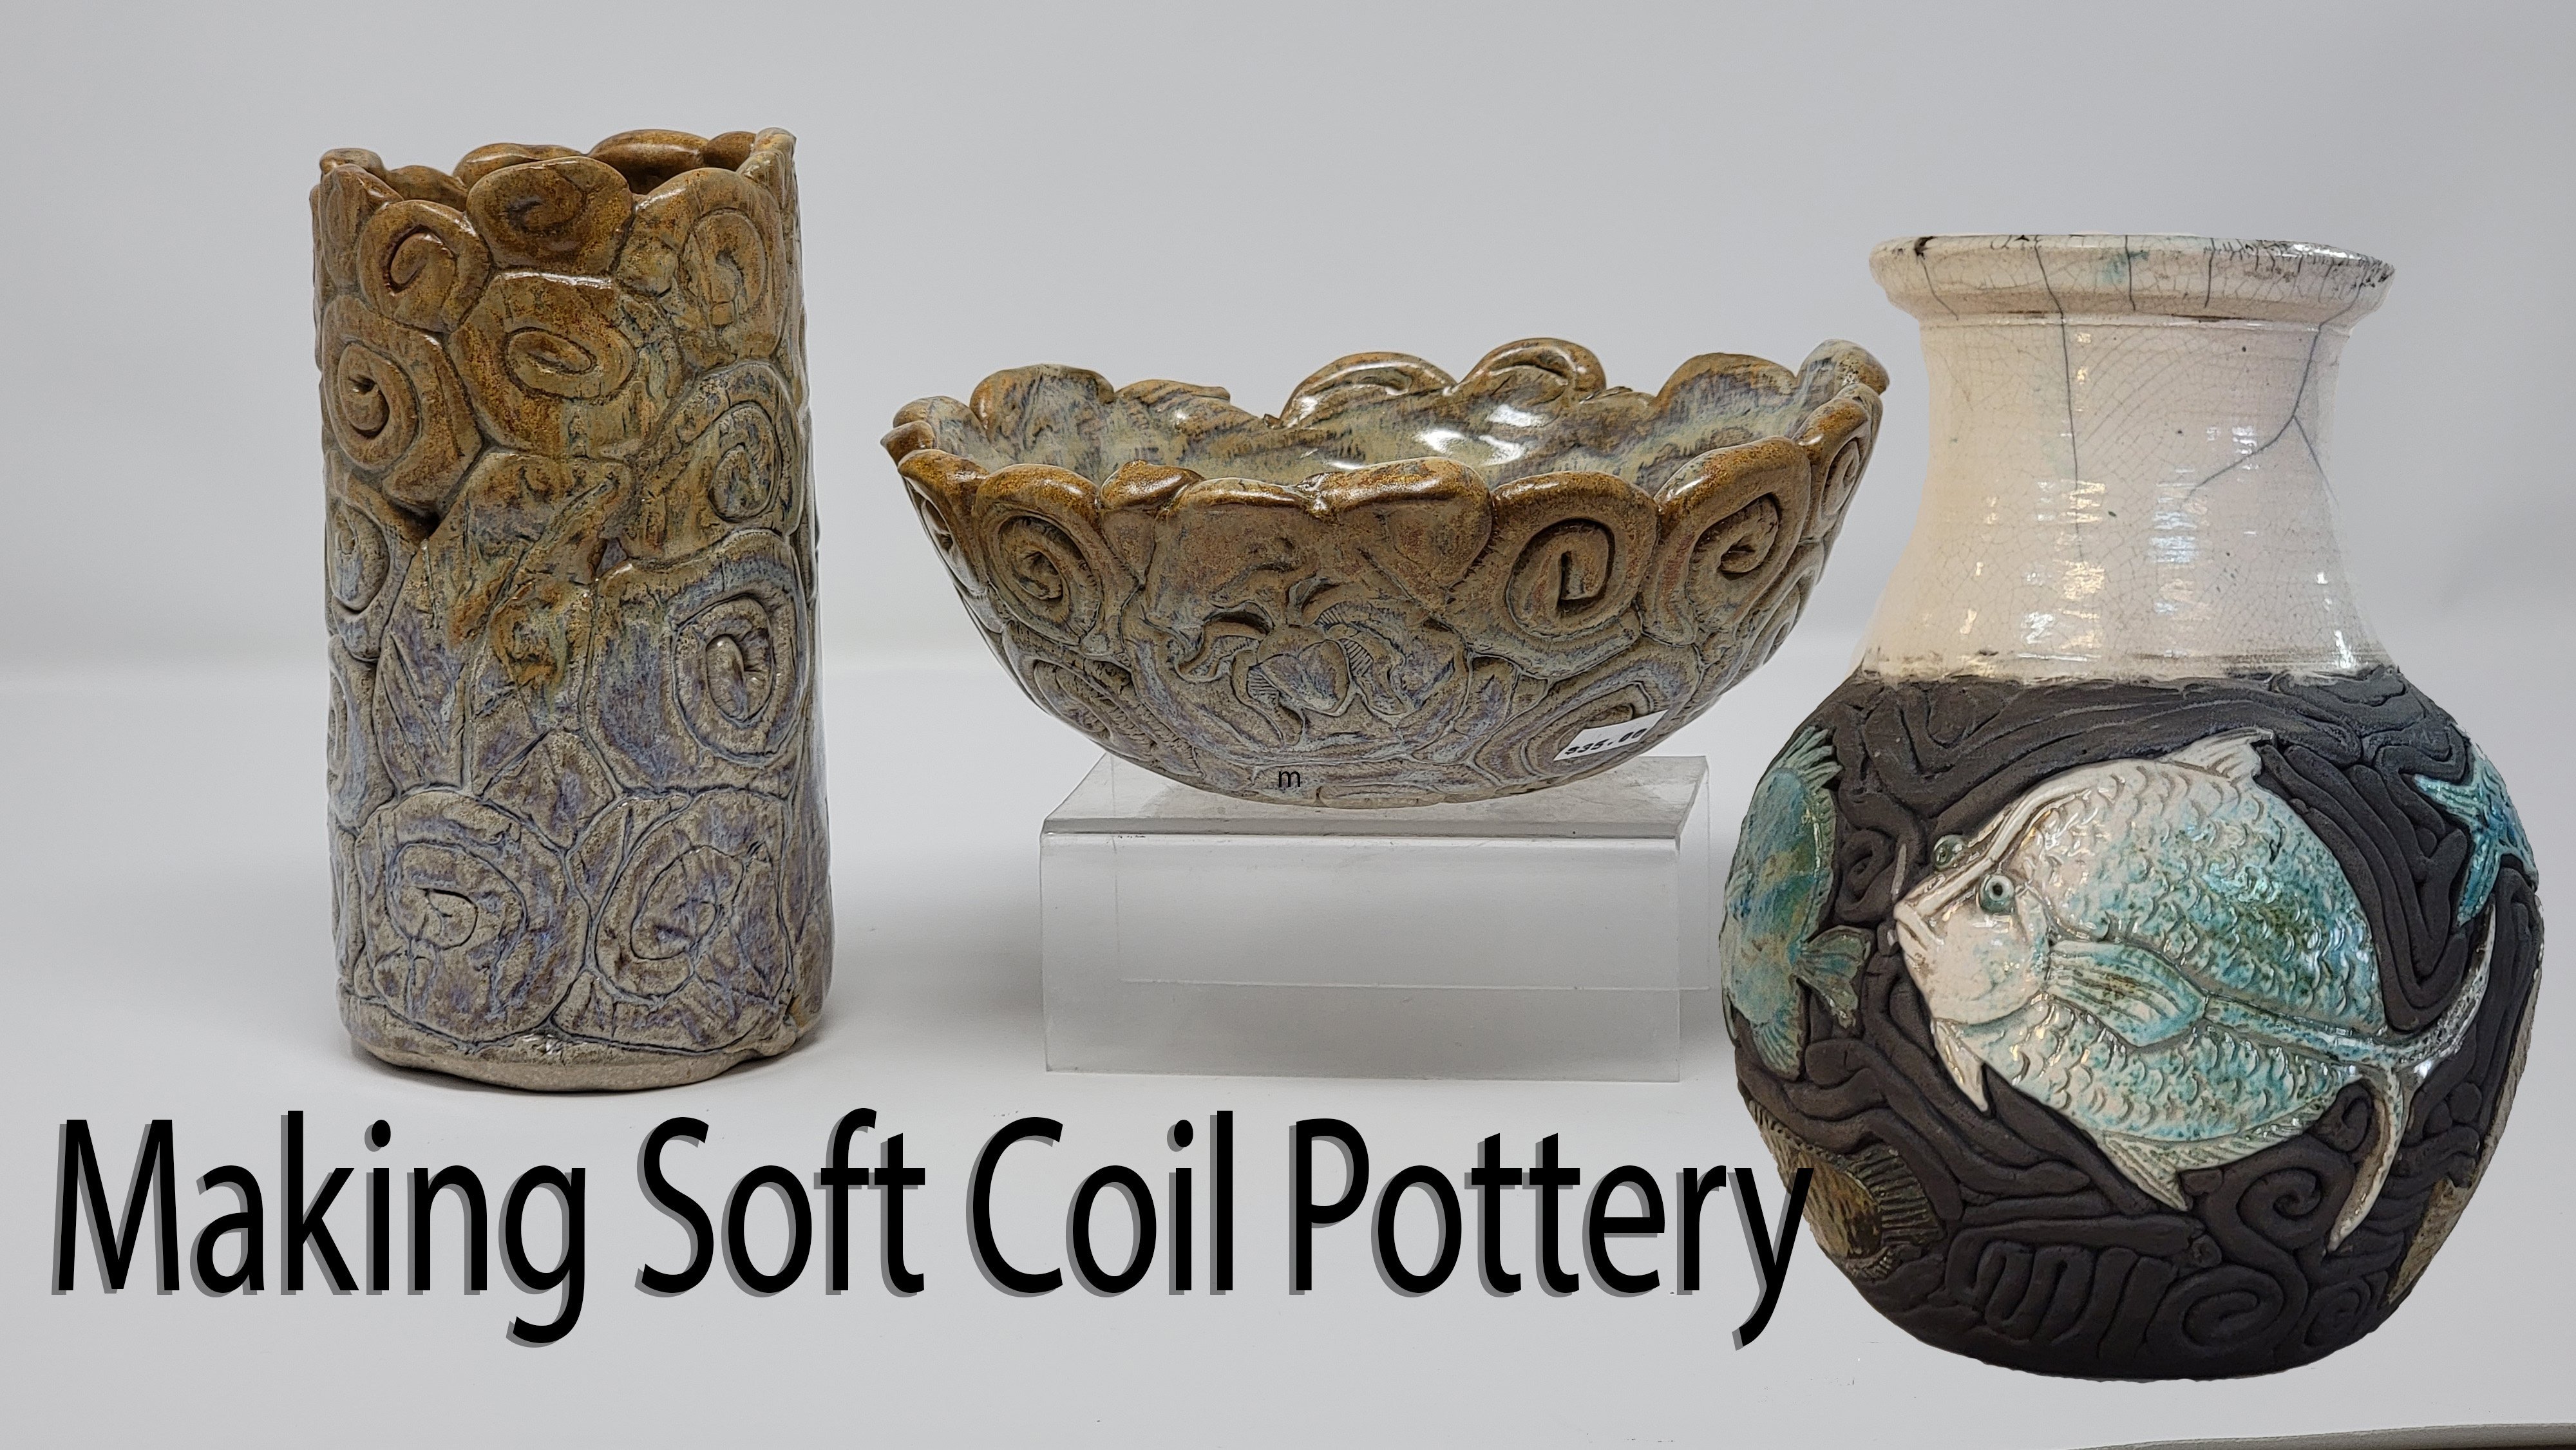
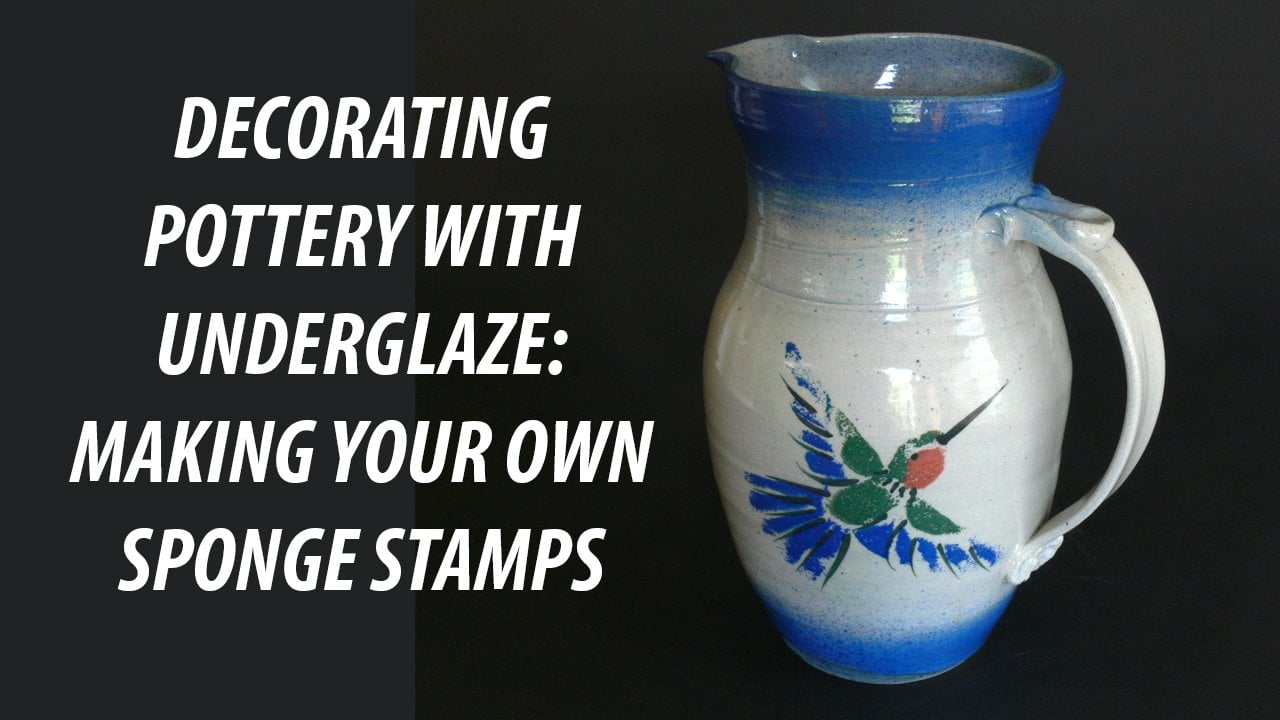
9. Final Wrap-up: Thanks so much for watching soft slab pottery, making your dinner, where I look forward to seeing what you've done. Please watch for another class where I teach you a soft coil technique for making really cool bowls and vases. I also have a class coming up, or I will demonstrate this hummingbird design that I do with sponge carved stamps and under glaze. You can keep up with me on Facebook or Instagram, shoot me an email, check out my website. I'd love to hear you. Thanks for watching. Hi. Hi.
 Vicki Conley, Art and Design