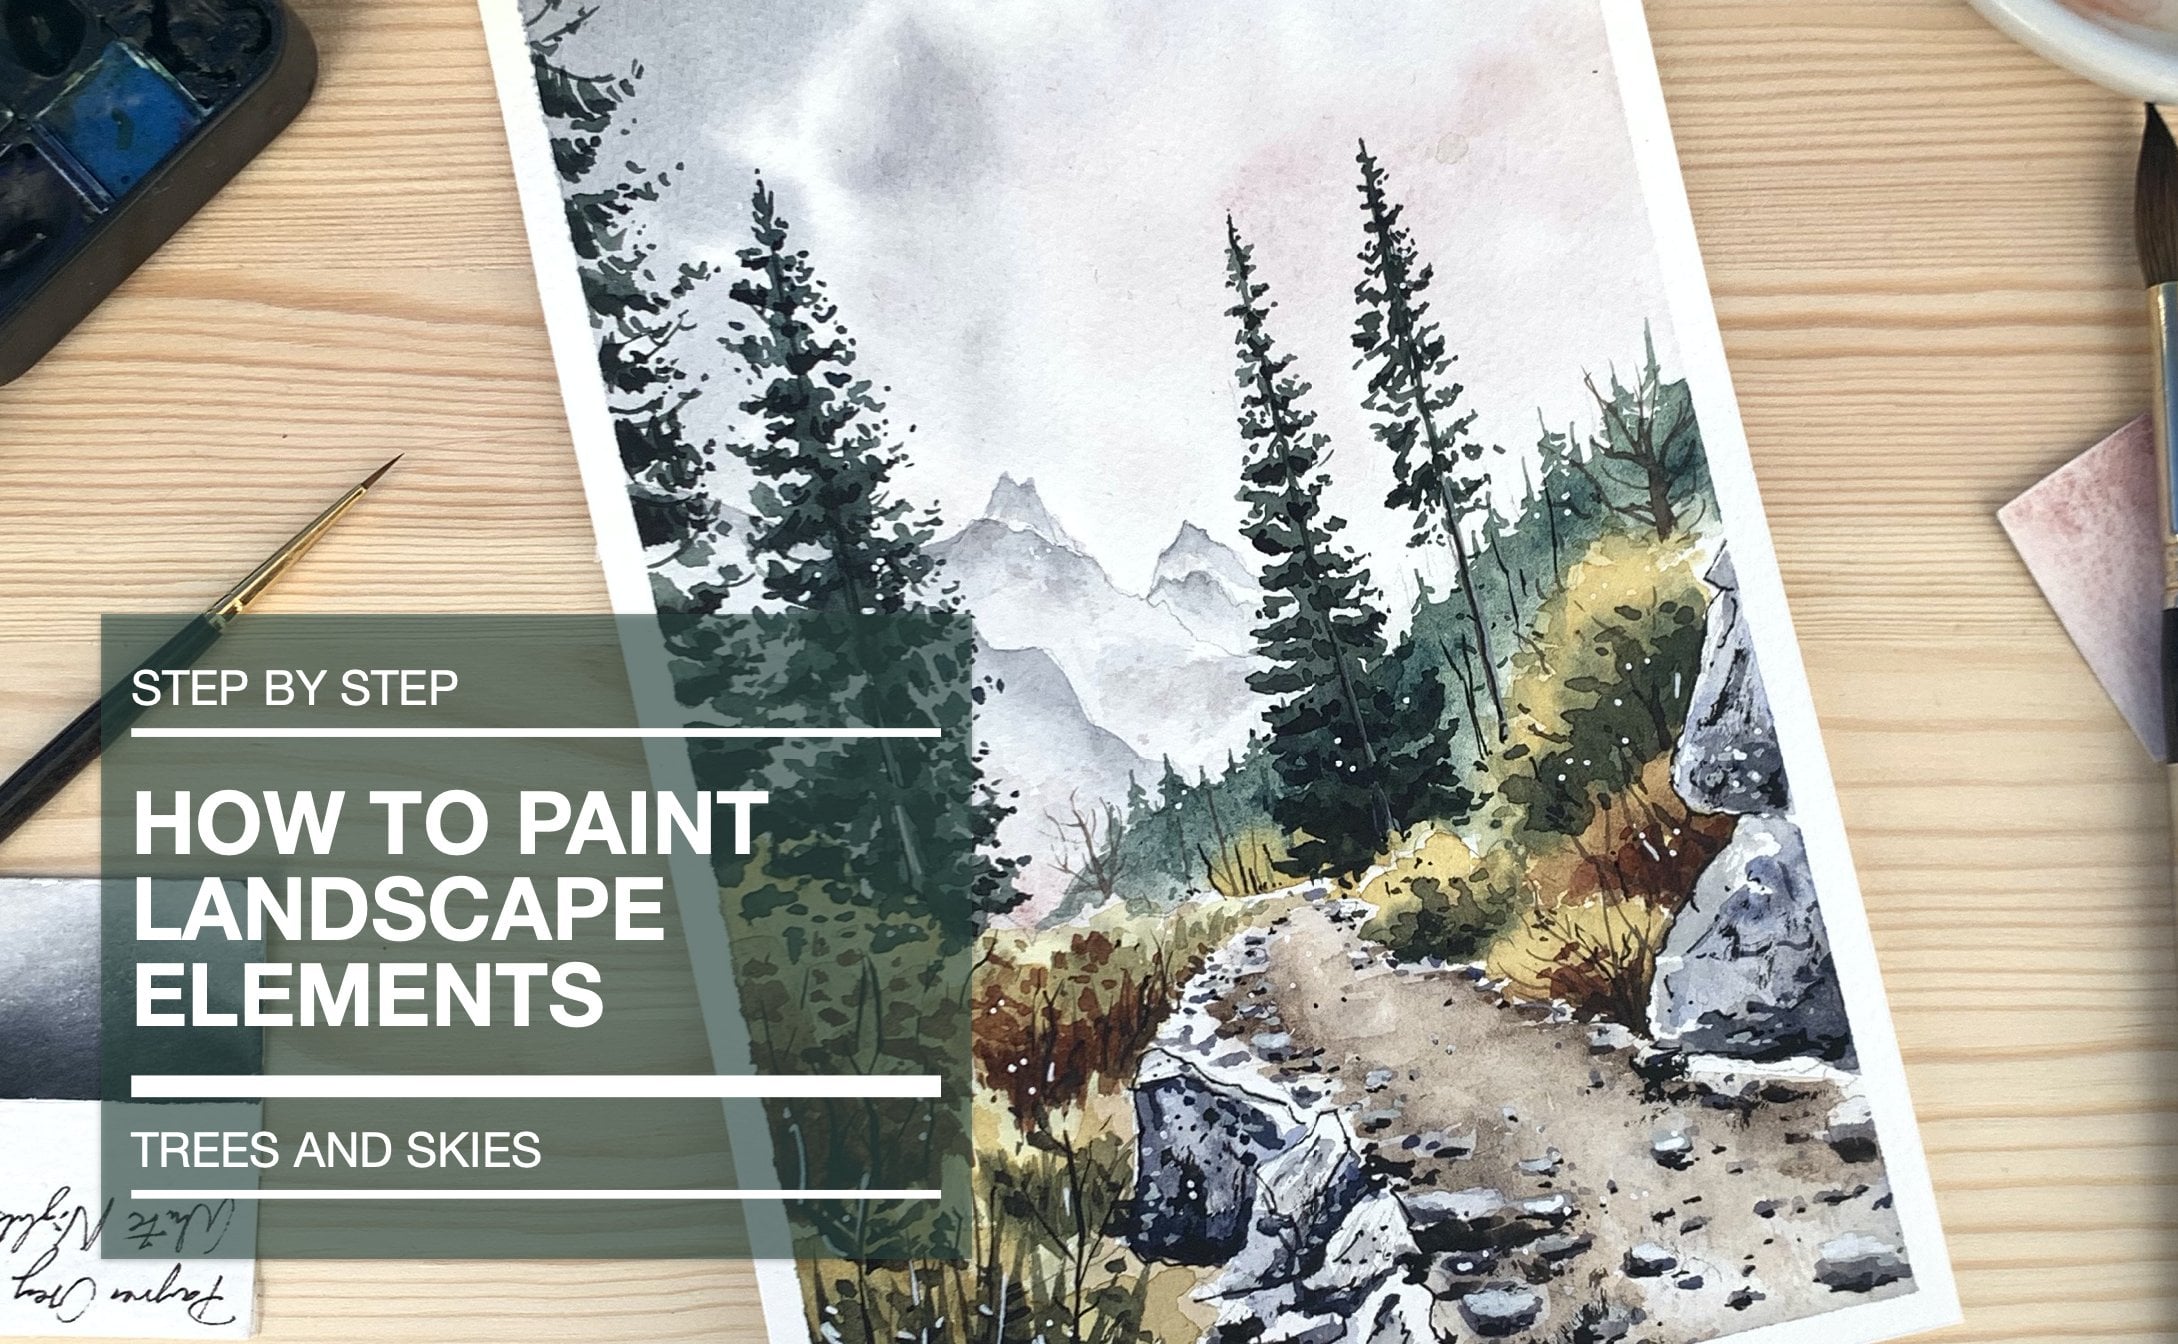
Transcripts
1. Sketchbook Series - Welcome: Hello and welcome to my class about watercolors studies. My name is UV eta, and today I will show you how to create your own sketchbook with watercolor, landscapes studies. I will show you what kind of sketchbooks I use for my genres. We will also talk about how you can arrange the layout. What are the principles for hormone use composition of the pages. I will show you what is important when choosing colors and what you have to do to create a harmonious over a periods. We will also talk about templates selection. Some of my campaigns I will provide for you. I will show you how to quickly create convincing studies by simplifying shapes, setting, contrasts in the right places, and creating textures quickly. I love to include buildings as focal points in my studies. So you will learn how to create buildings without having to draw all the details. At the end, we will design a double-page in the sketch book together, and you are welcome to join me to this class project. So let's get started. Have fun.
2. Sketchbook Series - Materials: We start with the materials we will need. Some of them are optional. At the end of this lesson, I will show you a list of materials where the optional ones are marked. You can take a screenshot and then if you want, I use a covers sketchbook of participator. It has 300 years m, and I find this a good thickness for sketchbook paper. It hardly corrodes. I can fix it well, and I like the texture. You can use your own sketchbook or a sheet of watercolor paper for practice. I prefer around brushes for the watercolor studies. I currently like to use three sizes that are Vinci casino number four, da Vinci mix B, size two to Vinci pitied gree, size three slash 0. They are all French wash brushes. You could also use the routers you have at home. It is important that you have one for the larger areas and one of the smaller ones to paint in detail. Sometimes I use another Chinese brush here and I sometimes use a flat brush to pavement pellets on the spread of my sketchbook. Furthermore, I use such clips here to fix the page in this sketch book. You also need a water container, tissues, a pencil mask include in a cart that you don't need anymore and can cut to size. I divided these ones Giving 2.08 sides and cutting two diagonally. I used this posco marker for highlights and for some contours, I use my pen from blood move and extra fine nip. Then you need an eraser. Watch the tape and his prey budget. I would like to show you the colors at the end with the rest of the summary. Substances.
3. Sketchbook Series - Sketchbooks and Papers: There are plenty of scattered watercolor books on the market. I nowadays almost use books with real cotton paper, or at least 50% cotton for my watercolor studies. The papers perfect for working wet in wet, and their gradients are much better. The color can run by itself without the need of a great edition. I have different formats. Mostly I use a portrait form. It's something about a five. This is not too big, not too small, just perfect. Sometimes I use this landscape format here. I call up these pages with a glaze Before I started painting. There also tended sketchbooks. I like to use this one for pencil sketches. Offer sketches with watercolor crayons. For wet and wet. I don't like it because the paper doesn't absorb the water as well as the cotton paper. This is a very large format here of something about 25 centimeters. I like this, especially because then I don't have to paint over or binding like with the smaller form. But here I have a manifold that it's an, a six size sketchbook. I haven't used it very often, but I think it can be very useful if you want to sketch outside a lot. For the sake of completeness, I want to give you an overview of the different structures of watercolor paper. There is rough, cold pressed and hard-pressed paper. They behave differently in terms of water absorption and coloration. Graph paper is independent of the manufacturer known for its characteristic structure. It consists of small hills and valleys, which could almost look like earlier. The herds can be used very well, for example, with a dry brush technique, which I will show you later. The medium grain is called cold pressed paper. It also has this hairy structure, but it is less prominent than the rough paper. Last but not least, there's hard-pressed paper at the surface is very smooth on this paper, colors appear particularly bright. Here you can see the direct comparison, again.
4. Sketchbook Series - Layouts: I don't follow any specific rules when it comes to the layout of a page. Most of the time, I paint the largest study first and arrange the page with very fast to study smaller in size using the same colors. So I start with the big painting. Think about how large it should be scattered out and start painting. When the first layers of finish, I worry about the rest. The distances between the drawings and the border should be about the same. You could use Washi tape at the beginning or draw a rough outline of the drawing. Here is an example with washy claimed borders. It looks very orderly. I think. I generally like it better if I can draw the frame roughly and then start painting on it. You are more spontaneous and free. But you can also combine the two like I did here. For the upper pictures are used washy tape and then edit oval freehand form texts and pellets. I like to complete my studies with texts and color palettes that I have used. The pellets have the advantage that they are a client of diary. When I flip through my sketch books and find a nice combination, I know it kali used. You can paint them on the side with a flat brush. The texts are mostly information about the place or descriptions of how I proceeded with the painting. I also try to see the text as an element of the layout and placed it appropriately. But you could even write what you experienced today, maybe what the weather was like. There are no limits to one's creativity. Another additional element, a pure lines sketches. For example, you can combine pure pen or pencil sketches with watercolor studies like I did here. I think that brings a nice diversity. This captures can also be used to bridge the drying time of the watercourse catch and your practice sketching at the same time. I would like to draw some layered ideas with you now. You can download them as PDF and orientate yourself at the beginning if you like. So this is my double-page. I first draw the frame of the main motive of a two pages. Then I add a smaller image on the side and underneath I place my pellet with DTT inscription is in line with the lower edge of the main drawing. I add a further drawing and pellets and make sure that the distances between the individual elements and 2D edge at approximately the same. The next two pages, I start with a very long format. The motif could be a wheat field, for example. I complete it with rectangular format and some pellets. I could go on like this endlessly. But I think you have understood the principle. I add diagonals through the frame so you can see them better in this camp.
5. Sketchbook Series - References: I've gotten into the habit of moving away from templates. I usually take them as an inspiration, changed paths, or give the picture different mood. That's the beauty of painting. You can use a photo reference taken in spring and give it an auto no, or gloomy mood. I photographed this three on a walk and then paint it in a few months later in my sketch book. The colors are very similar to the original, but I simplified the background to bring the actual modal in the foreground. In this example, as you can see, I simplified everything strongly. With time. You will learn to limit yourself to the essential and to work more freely with your templates. You can also combine several templates. You like this guy in one photo in the foreground and another. There is nothing to stop you from combining these templates. After a while. You don't need templates anymore and you paint from memory. I will provide you some of my own photos as templates. You are welcome to use them, but you can of course, use your own templates as well.
6. Sketchbook Series- Mixing Colors: I will keep the color theory part shot and limit it to what I use in my sketches. I think there are many great tutorials on color theory at Scotia already. You're welcome to have a look at some of them. If you want to learn the basics, I will really limit myself to just a few points here. Principle number one is to use a limited palette. The advantage is that it automatically brings harmony to the picture. A limited palette means to me to use three to five colors and maybe one or two additional colors, too, dark and new shades. You randomly used the color from the pellet and don't think about it before the picture. We'll quickly look arbitrary and not matching. The secret is not to use them directly from the pans, but to mix them with each other to relate and connect them. I would like to show you this with an example pellet. In this picture here, I used the pellet overall Sienna under screen and painters grave with raw Sienna. I first paint and the area of the metal and then apply it wet and wet undersea screen. Then I edit painless grade and indicate the dark area in the grass. Then I added more pi1 is gray and with this darkest mixture, I painted single blades of grass, wet and dry. I use the same mixture from the trees on the horizon. In the next example, I did the same instead of raw Sienna I use early in the yellow. Call us directly from the pan are usually way too bright for me. This makes the picture look unnatural. Assured. There are cases where you want to use contrast and use the glaring. But I, for my part, prefer muted colors. So I want to show you how to neutralize clause first. It's actually quite simple. You only have to use the color that is opposite the color to be neutralized in the color circle. I have such a color circle here. I don't need it often anymore, but I still get it out now. And then when I use new colors, for example, for the color green and the color circle of a citrus. Read. First I show you here the undersea green and then the Alizarin unmixed. I mix a bit of Alizarin crimson with my green to make the green a more muted color. Of course, this also works the other way around. When I increase the amount of red, it becomes a huge red. I show you this again with another green, which is olive green, yellowish, and cadmium red light blue is in the color circle opposite orange. Here are the unmixed pigments are French ultramarine and transparent pyrrole orange. With a little orange, we neutralize the blue a little bit with more orange and becomes a blue-gray. Next, I use yellow and purple. The yellow in this case is not a pure yellow, but light occur. For purple, I use a very pure palpate. Mixing the two pigments together will give an impure versions of opera or an impure version of purple, depending on which color predominates. Today, Jack and colors, I have two favorite colors, CPR and painless grey, with CPI like too dark and warm, earthy tones like brown, yellow and okra IS paid as great a diagonal, all call greens and blue tones. The important thing is that you take a dark color from the same color family. This watches on the left-hand side are a pigment mixture and the right ones here, mixture with lots of water. First, I want to darken the opera. So I take a camera on the pellet at some sepia to the mix, the opera will automatically get darker. As another example, I like French ultramarine and mix it with pain is great. The result is an incredibly beautiful deep blue, which is good for dark skies are clouds. When you mix undersea green with painters grey, you get a very deep, rich dark green. Now, I want to share with you some of my favorite mixes which I use very often. There's French ultramarine blue and depend on Bob, which is my favorite gray mix. I use it for clouds, tree trunks, crusades and shadows. It can need towards brown with more burnt umber and towards blue if more French ultramarine. Under sea green darkened with Payne's gray for distant regroups or shadows increase and disagreement occur or yellow for fields, meadows and trees. Ultramarine with sertraline for these guys. And yellow okra and Alizarin for roofs of Luther bit of burnt umber. I will scandalous paid and make it available in the class section, including caption.
7. Sketchbook Series - Picture Structure: In this lesson, I would like to introduce you to a few rules of composition. These should help you to arrange your painting to place the objects correctly, and to guide the eye of the viewer. I always divide my sketches mentally into three levels. I paint the background with very simple shapes. Often paint wet and wet, including this guy. No details are worked out. The colors are quite cool. In the middle ground. Individual trees and buildings are hinted and sometimes more elaborated. Slowly warm colors are introduced. In the foreground. Areas like Meadows, paths with texture are worked out. Details like fancies guide the viewer's eyes. The colors are warmer and gain saturation. The closer to the viewer. I make sure that the surfaces have a varied underwater. That means that there are places where the wash is a bit lighter or darker. I will show you in the product class how I apply these principles. They help to increase the depth of the image and make the picture interesting. You should definitely consider what your main motive is. It can be a single three, a person or a building. It should always be clear to the viewer what exactly you want to focus on. Next, you need to make sure that you set the main motive correctly. The main motive should not be placed in the metal. This is probably the first rule you have ever heard. If you have ever dealt with image composition. If you place your subject in the center, the picture can quickly become borrowing. It is better to position your motive of center to good basic rules are the rule of thirds and the golden ratio. The positioning of the horizon line is one of the most important decisions in image composition. Fortunately, there is a guideline that makes the decision quite easy. The rule of thirds is perfect for landscape. Basically, the center of the image is usually the worst place for the horizon line. This is not only true for horizon lines, totally centered usually means totally boring as I meant before. But it's even more true for the horizon. The rules of thirds says that horizon lines should be placed either in the lower, in the upper part of the image to find out if you should place them at the top of bottom. You just have to decide which part of the image is most interesting. For example, say you have an interesting flora meadow in the foreground, or a feud with patterns. But this guy is colonise. The foreground is more interesting. So let put the horizon line and the upper third of the image. Then you see more of the flowering meadow and less of the boring cloudless sky. However, if you want to make a spectacular sky, the highlight of the image just show more sky and less foreground by placing the horizon line about the lower third of the image. By the way, there's a third does not have to be exact. So don't try too hard to get a perfect third, it's a guideline and a tool, not a law. So have some flexibility. The rule of thirds is continued in the rule of golden ratio. If the picture is also divided vertically into three pods, there are total of four crossing points. One of the points is chosen as the intersection point, which means that depending on the mode of the main object is placed there. A very popular technique and landscape painting is to guide the viewer's glands to their desired support. With guidelines. A path leads the gaze naturally towards the mold. And that is exactly what you should aim for. For example, with a river that band AS true of the landscape or offense, that leads to a lighthouse. Of course, that is also applies to other natural objects, such as a row of trees. Throws in a field or a shoreline. These lines should lead the viewer to the main motive, while another interesting part of the picture. Another advantage is that the perspective effect further enhances the depth effect of the picture. By overlapping objects in the image, you can enhance the depth effect of the image. If objects are simply pay, placed next to each other without overlapping, they appear in the row. As soon as one object is hidden by another, it is obvious that is behind the other. When arranging objects, you have to make sure that the object behind is placed higher in the image. To simulate the impression of depth. On a two-dimensional sheet of paper. Perspective rules are essential. The size of objects decreases the further away they are from the viewer. Like these threes here, they are the same size, but because they are placed further and further away from the viewer, they appear smaller and therefore give the image more death. To guide the eye of the observer, I like to use the light, dark contrast. I highlight this part that is to be an eye-catching by increasing the contrast between a light and a darker tone. At this point. You can see this year in this example. This cabinet does accented by the very dark green of Bosch's in relation to the light color of the metal and the house, the view automatically goes to the main eye catcher, in this case the cabin. Another advice is to get more depth by adding more details to the foreground and to the main motive. The key is to easily break down all other shapes you see in the symbol surfaces. You shouldn't give the same importance to every level of your drawing by working everything out. Things you want. The ring in the foreground. You can detail as much as you want, everything else and everything in the background, you can only indicate with surfaces. Another point is that the further in the foreground, the more detailed and object should be elaborated or the more texture and CTO should be added. In this example, you can see that this guy, as well as the distance trees, are painted wet into wet without any detail. The trees in the Middleground have a letter, more plasticity because of the shadow, but are still pendant very flat in the foreground. More textures edit by dry brush work. Please keep in mind that never one principle alone is effective. Only by combining several rules. Your picture becomes believable and realistic.
8. Sketchbook Series - Textures: Since these studies we don't have much time to work out complex textures. It is important to know that you don't have to paint everything in detail. For this, I would like to show you some techniques. Here you can see two types of soil technique in the EPA. One, I put salt into a damp wash. In the lower one, the wash is still wet. So as long as the PayPal sweat bring her normal table salt on the surface. The salt leaves blooming in the column. If the paper's very wet, the Bloomingdale's or more irregular and not predictable. If the papers only damp, the Bluemix becomes more controllable, but there is grain of salt about as created. While the paint dries. We continue with the other techniques. I will show you the result later. Let's continue with the dry brush technique. I have already prepared a base layer, it is already dried. I use light Akram tended to have done on, but at the bottom edge, wet into it. An almost striped rush. I stroke hobos, surveys of the paper up make use of the cold pressed structural color remains on the bumps and creates a texture. I built up depth here gradually by working with a brighter mixture ones and then adding a stroma mixture, little violative. As soon as the first dry brush layer has dried. I enhance the depth effect by painting with an even darker color in the foreground. The next technique I would like to show you is to make splashes with water wet into wet. First, I prepared the base layer with undersea green. As long as the paint is wet, you can feel the brush with water and spray it on the surface. The water then displaces the pigments and blooms appear, which are slightly softer than those you can make with salt. I like to use this texture to make flat washes. Interesting. Here, I had a little more water on the brush. The belongings became a little pick up. On the second try, I take a little less water. So you can vary the size of flowering depending on how much water you have on the brush. The smaller the brush and the less water the smaller are usually the water splashes. This time I have less water underbrush. Who does pleasures are smaller and displace less pigment. Another way to make surfaces more exciting is to make splashes of paint. You can do this on a wet surface. Then this pleasures mix with the unwashed or an automatic dried paint application. Then the edges of this pledges are shop. First, I will show you how to do the wet and wet technique. I apply an undercoat of undersea green and yellow and splash adopt mixture of under screen and pain is great directly onto the cell phase. To bring in my variation, I add a splash of pure magazine yellow. When you work later in the sketch book, cover the areas you want to avoid splashes. You can use a sheet of paper or a tissue. Do not overdo it with this lattice, it would look clumsy. I quickly prepare the background for the wet and dry technique and let it dry. Afterwards, I splashed the paint on the paper by hitting the brush with the paint on another brush. You can also try to hit the brush on the thinner and watch how this pleasures behave. Another possibility is to try different brushes. First, I use the French wash brush. Here, I used a goat hair brush. Do you see the difference? Does pleasures are a bit more irregular and have different sizes. We continue with the next technique which is scratching. First of all, I prepare the under wash. Here. I have cut up an old card and use it to make scratches into the still wet paper surface. If the paper still wet, this Gretchen leafs, Dhaka scriptures, the pigment collects on the spot where the paper was roughly. You can then even bring pigment out of the wash. For the next scratching technique, I prepare a gun, the underlaid, let it soak into the paper a bit. It should be moist but not wet. Next, I take another corner of the card, I cut a little bit diagonally. The washing is a little more dry. It, you can see that the paper is not as wet as before. Crouching leaves white marks because you pick up the pigment with the object. You can use different objects was scratching, for example, a painting knife through law or even the back of your brush. Let see what has happened to the salt method. It pushed the pigment to the outer edges because the Joash was very wet even through the outer edges. You can see this technique is always good for a surprise, but that's what I like about water column. Sometimes you don't know what will come out at the end.
9. Sketchbook Series - Grasses: Now I want to show you how I paint grasses. I prepare the base layer. Therefore, I paint the horizon with a light mixture of yellow opera and strengthen it towards the foreground and also bring in darker colors, in this case, burnt umber. Next, I suggests wet on wet the first grasses in the foreground and let it dry with the almost dry brush into creamy consistency of burnt umber. I bring the color to the foreground. To achieve the perspective effect. Grasses in the foreground should be larger than those in the background. The further away, the smaller the blades are. If they are far away from the viewer. That they can also be indicated with a horizontal line or small dots. I leave it dry and then continue working wet and dry, suggesting more grasses, smile flowers and bots. I use the dry brush again in the foreground. Another possibility to indicate blades of grass is to cover them with masking fluid before I use the masking pen. But you could also use normal masking fluid and apply it with a brush. Makes sure that the blades are applied with a quick movement. They should be a thinner at the top end point at after the masking fluid has dried completely. You can start with the under painting. I used undersea green and yellow. Again. When the first layer is dried, you can easily remove the masking fluid with an eraser. We can also use your fingers, but I prefer the solution with the erase. What I often like to do is to add the surface with such a sprite Butler. Afterwards you can lead paint fall in and it will run a bit uncontrolled. If it runs too much to your side, you can pick up the excessive Colo with a paper tissue sections. A few splashes wet into wet, and I let the application dry. Then I continued to work out the grasses. I start with a watery mixed job and strengthened it bit by bit and work my way forward. In this way, I tried to give the blades most shadows in this close up. You should pay attention to vary the shapes. In general, you can add as much as you like in such close ups. You could add leafs, other plans and branches. I leave it at blades of grass here. Finally, I add some stocks to the lashes with the scratching textures.
10. Sketchbook Series - Depict Buildings: I love to include old bonds and cottages in my studies. I limit myself to simple forms, nothing complicated. These buildings, if they are intact, obviously have four walls, usually with overhang and in some way or other openings like windows and doors. The roof is usually made of changes or sheet metal. The walls are covered with wood. R plus dot. The right perspective is important in your preliminary drawing. It's important because only with the right perspective your picture becomes authentic. Shoulder move over incorrectly so that the building with the shadow cast by the roof overhead gets three-dimensionality. Because perspective is so important, I don't want to miss the opportunity to show you quickly how you can easily represent a house in 2 perspective. First, you choose a horizon, which is also your ILS. I choose two random vanishing points. They are both on the horizon line. All lines that are parallel to each other, in reality will run towards these vanishing points. In complex scenes, you can have several vanishing points, but you always have one eye level. Next you draw the corner of the building as a vertical line. Like this. This line is directed to the viewer. Connect the ends of the line with the first vanishing point. And then with the second vanishing point, it's best to do this with a pencil so that you can erase some of the lines later. Then mark the end of the building with two more lines. Most buildings are short-term under gable side than on the long side. Take the middle of the shorter side and develop the roof. The upper edge of the building also goes towards the right vanishing point. Then you can add doors and windows. Here I show you a time-lapse how I draw it without vanishing points. I will now show you an example of how this is all men. I have already prepared a picture here and I will show you how I paint the building. First, draw the building and pay attention to the perspective. Do not draw any details except the roof overhang and maybe some windows. Decide already at this stage where the light should come from, in my case is from the right side. Start paging through who? Alizarin crimson and transparency anime, and start filling the area of strokes. In any case, leave some space free. It looks like some shingles on the shelf reflect the light. While the area is still wet. I use burnt on but indicates some shadow at the bottom of through. Then I start to create a clear light situation by adding shadows with a mixture of tennis gray and some of them. The light comes from the top right. So the roof cast shadows on the food side to the left. The left side of the house is turned away from the light. So it is painted. Doc, I still collect the shadows together. Move and leave the overhang. The wall is darkest. So I add more pigment that mixture. I connect the shadow of the wall would prove by carefully putting some paint and put a dried paint of through. I let it dry now. Wet over dry as strangle the shadow effect again, also the windows. It up the shadows one-by-one to create the DEP by strangling, you'll mix a bit with each step. By adding more pigment. You don't need to paint the Windows is rectangles. It is enough to indicate to a three sides. This usually looks a bit more exciting as if you would pay them completely. With the fountain pen. I add some more details. Now we are ready to move on to the big class project. I hope you have fun.
11. Sketchbook Series - Class Project Part 1: So we start with our spread. I fix the page with such clips here with the thickness of the paper that is quite enough. First, redraw the frame of our main drawing. Then we develop the rest of the spread around destroying. My main colors will be under screen print, ultramarine, yellow accrue, burnt, umber, and Alizarin. I'm also part in colors for darkening. I use painter's gray. Before I start, I look for template that inspires me and think about the formula I want to paint it in. I will show you the template, but also added a stint attachment to the class. I think I will orientate myself to the sky and adapt it, but make it a little darker. Cloudy skies always seems a bit more atmospheric to me than a cloudless sky. I will also use the path, but leave out the pellets and threes in front of the building. For the spread EIS taught, I think with a classic rectangular format over two pages, I create the rough sketch. I mark the individual image layers and image elements without hitting the path here leads the viewer's gaze to the cabin. I draw the outlines of the cabin and make sure the perspective is correct. This is my base for the water column because I cannot correct perspectively wrong lines later. I easily indicate with there should be groups of threes and whether our windows and those in the building. So we start with this guy. If you want to know more about how I paint different skies, I can recommend my other class how to paint landscape elements. That I will show you, a cloudless, a cloudy or rainy, and a more dramatic sky. So let's start by wetting the sheet in the area of the sky, Iran over the paper several times and let the water salt in a letter. I also activate my color palette by spraying it with water. Then I start with quick movements to bring the column mixture of French ultramarine and painless grade on the paper by painting around the clouds. The PayPal wide will be my clouds later. I'm using here that are Vinci mix B, size number two. Darken the sky above by adding more painters grade. That makes this increases the perspective effect. The French ultramarine green relates beautifully and gives this guy additional texture. If you don't like the granulation, you can also use normal ultramarine. I continue of the shadows of the individual clouds. For these, I use a mixture of ultra marine and burnt umber. The closer the clouds are total horizon that the further away they are from the viewer and the smaller they appear. You can indicate this with narrower shadows. You can influence the spread of the color a bit by tilting the sketchbook up or down. I like the pain, the groups of threes of the horizon, as long as the sky is wet, the color I will use will be undersea green, some Alizarin and some painters gray. First, I'll mix the cause and the pellet. But at the end, I will put in small sweatshops with the individual colors. Again, either wet on wet or wet and dry. We will see at the lower part of the group of trees. And directly at the building, I add some darker pigment from under secrete and painless gray. If the color accidentally gets into areas where I don't want it, I simply wipe it away with a paper tissue. I'm editing the mall pigmented mix to the area around the house to increase the contrast. I'm varying the proportions of Alizarin and pandas gray in the mix and adding them to the wet mix in some parts of the three grew. I like this brush very much with the fine tip. You can pay in very fine details. It carries a lot of water and you can paint larger areas with it, really and around them.
12. Sketchbook Series - Class Project Part 2: The group of 3s is still wet, but I continue painting the foreground. I leave a small gap between the green and the fresh color. So I start with less pigment and a lot of water in the distance and gradually add some more pigment. I paint the path with allied mixture of both umber, French entrepreneur in. At the edge of the grassland. At the front, I enhance the contrast with a darker mixture. Most pieces. I also add some undersea green could a yellow and the large wet on wet, which makes the entourage look a bit more interesting. Still walking wet into wet, I add some blades in the foreground. With my car. I scraped some trunks from the roles of the trees in the back with a strong mix of gun onBind, ultramarine blue. This time, a little bit cooler. I suggest some boss tones in the foreground by splashing, paint it with a web application. The foreground starts surprise. So I begin to scrape out a few spots to indicate blades of grass. Why the paint dries. You can focus on the first decorated elements. In this case, I note down so mixed Joe's, I use substances. I continue with a loose study that I do about any preliminary drawing. This kind of studies mostly consists of sky and simple foregrounds. In this way you can practice to get the watercolor work because there's no sketch. You are free and you can see how the color gradients developed. So it is a kind of learning by doing, I begin by what think this cake, and then I begin to drop in a mix of French ultramarine and burnt umber. I told him the sketchbook, you can control the gradient a bit. Again, I darken the blue at the top. With a clean dry brush. You can also pick up some pain to self-fund the transitions. 6.66666 times six. Then I start to paint the foreground directly without waiting until this guy Dries. At the bottom, I enhance the contrast to unlisted green and some Alizarin. As long as the paint is wet, I sprinkle some table salt on the surface and let it dry.
13. Sketchbook Series - Class Project Part 3: With a small brush, I paint the roof of the building of Alizarin, light acquit and some burnt umber, leaving some spots. Three. If I noticed that the pain application is to APOC, I take out the picnic and again with a paint dry brush, as long as the paint is wet. The light comes from the left. This Gable side of the building is for this reason in the Shuttle. For the war, I first use a mixture of ultramarine blue and bone on bone. Then I add some Alizarin. I increased the shadow cost under the roof over hang with strong mixture. Take Canada to make the mixture monotone. Use. Set an accent here and there by varying the mixing ratio of your pigments, you should already indicate where the dark spots are on the phosphate. This is, for example, that all because it reassesses S8. You see I am approaching the reside step-by-step. If a brushstroke was not sitting as it should, I can simply debit away. I feel that if I say it is a bit too dark in that area. So I take up the pigment with a clean, dry brush. Now, I continue with the foreground. I suggest more blades of grass in the foreground. The further into the background, the smaller the blades become. And at some point they are only hindered as horizontal strokes. And you'll see I wrote up the studies layer by layer. We started to work out the surfaces wet on wet. And now we work with and tried to create a contrast to the soft transitions, namely with defined contests. On the path, I make the foreground even darker to give the image more deaf. I will let out the Paul FERPA, but I have to work my way flawed piece by piece. Why are the application dries? I start with the last preliminary drawing for this two-page spread. I also want to add some texts. I leave some space below the drawing. With such a size I work with the smallest brush. Again, I start with this chi in the same colors as before, varying only the mixing ratio if desired. I paint the trapeze again wet into wet. Let them do they work in some places or use a pigment had been Docker makes chimp. Plo okra in the foreground.
14. Sketchbook Series Class Project Part 4: I add context to the double page. Basically, it doesn't matter what you write and just find the combination of text and image very appealing. After that, I will continue if through I darken the edges have the same mixture of ice arena and okra, but this time it's more pigment ID. Then I deepened the shadows on the building was suggesting the windows and indicate the crusade were vertical strokes. I usually start with the darkest spots and apply the pigment there. Then I pull the pigments with a brush into the lighter areas. Sometimes. Just paint the structure of the wall using download strokes created the texture, afford whelk. Yes. The contrast is not yet deep enough for me. So I applied another layer of undressing green painters and illiterate ls, sorry. I hold the brush horizontally through their paper surveys to suggest the structure of treetops. The overlapping of wet into wet and wet on DWI also enhances the depth effect. What is blood seems to be further away, what you are now overlaying and what has sharp edges appears close up. I add some more shadows on the building. I never paint the doors and windows a straight rectangular, but always leave a cone o. It is enough to indicate only two straight sides. For example. On the facade, I suggest a wood paneling by painting vertical lines. In some areas. I don't want the three tops to be defined like this. I want a softer transition. Therefore, a spray, some clean water with my spray button on the surface and cover the remaining areas with my hand. The paint application should still be wet for this to work. I add some grass in the foreground and the background is small and the blades of grass. To draw more attention to the bedding, they add a dash of okra and Alizarin spread this layer of paint with water collected around a bit. So we remove the solid from the small drawing in the lower left before we move on to the next step.
15. Sketchbook Series - Class Project Part 5: I am less than the law part of the picture. If p new auto and paint some blades of grass wet in wet. Well, if the card I pull the pigments from the to the dry area. This way the blades of grass look fine, a thinner than if I would paint them with a brush. Then they add some darker areas for contrast. Wet and dry ice pledged the path of the large study in the front aria and indicate individual stones are gravels. Again, I make sure that the further away the stones are, the smaller they are painted. And heading more details concentrating on the foreground and also indicate a few pebbles outside the frame. This loosens up the image a bit. With the mini drawing, I proceed in the same way. I indicate the foreground with a cleaner mixture and intensify the contrast. Wet and dry. I still point out some trees. For this. I first apply the paint that allow a bot up and work my way up with why the movement and an almost dry brush. Here, I am slightly a hinting some kinda Fox. The building gets a red roof here as well. Try not to make the brush stroke to perfect constraint. It may be a little crook and uneven. I add some more blossoms and flowers. Olympic Study in the colors are either in an outcrop and let everything dry well. He, and a small sketch, I suggest the shadow of the moon overhang of a very dark mixture using litre water, a lot of pigment, and the tip of my brush.
16. Sketchbook Series - Class Project Part 6: Last but not least, I at last details of infinite beige mako. I also often use a wipe molecule, but sometimes it is a big toast, strong foamy. The Bei Xuan is a little less eye-catching, I think. Well, if the fountain pen, I had some contours, not too many. I just want to emphasize a few edges. Well, if the beige marker, I worked out some spots and ends up some points at different places. I don't know exactly what it is. It could be leaves reflecting the sunlight, for example, does make two or three dots here and there. So this is what our double-page looks like. We have a main drawing, what is supplemented by smaller and experimental sketches. Because of the painted pellet, we will know in several weeks or even in years, which colors we have used and can reuse them in paintings. I hope you had fun and can use some things for your creative journey. Let me hear how you like this class. I would be happy. Also, all results are welcome. Here in the class projects section. I can't wait to see you next time, and thanks for watching.
 JowishkaArt, Architect and Artist