Sketch to Scarf: Sublimation Printing Basics | Vinita Upadhya | Skillshare

Playback Speed


1.0x


  • 0.5x
  • 0.75x
  • 1x (Normal)
  • 1.25x
  • 1.5x
  • 1.75x
  • 2x

Sketch to Scarf: Sublimation Printing Basics

teacher avatar Vinita Upadhya, Illustrator & Pattern Designer

Watch this class and thousands more

Get unlimited access to every class
Taught by industry leaders & working professionals
Topics include illustration, design, photography, and more

Watch this class and thousands more

Get unlimited access to every class
Taught by industry leaders & working professionals
Topics include illustration, design, photography, and more

Lessons in This Class

    • 1.

      Introduction

      0:41

    • 2.

      Sublimation Printing Process

      7:34

  • --
  • Beginner level
  • Intermediate level
  • Advanced level
  • All levels

Community Generated

The level is determined by a majority opinion of students who have reviewed this class. The teacher's recommendation is shown until at least 5 student responses are collected.

61

Students

--

Projects

About This Class

In this class, you’ll learn the complete process of creating a hand-drawn design and transforming it into a finished sublimation-printed scarf, from concept to final product.

I’ll guide you step by step through my creative and production workflow, covering these key stages:

  1. Moodboard & Inspiration

  2. Sketching & Illustration

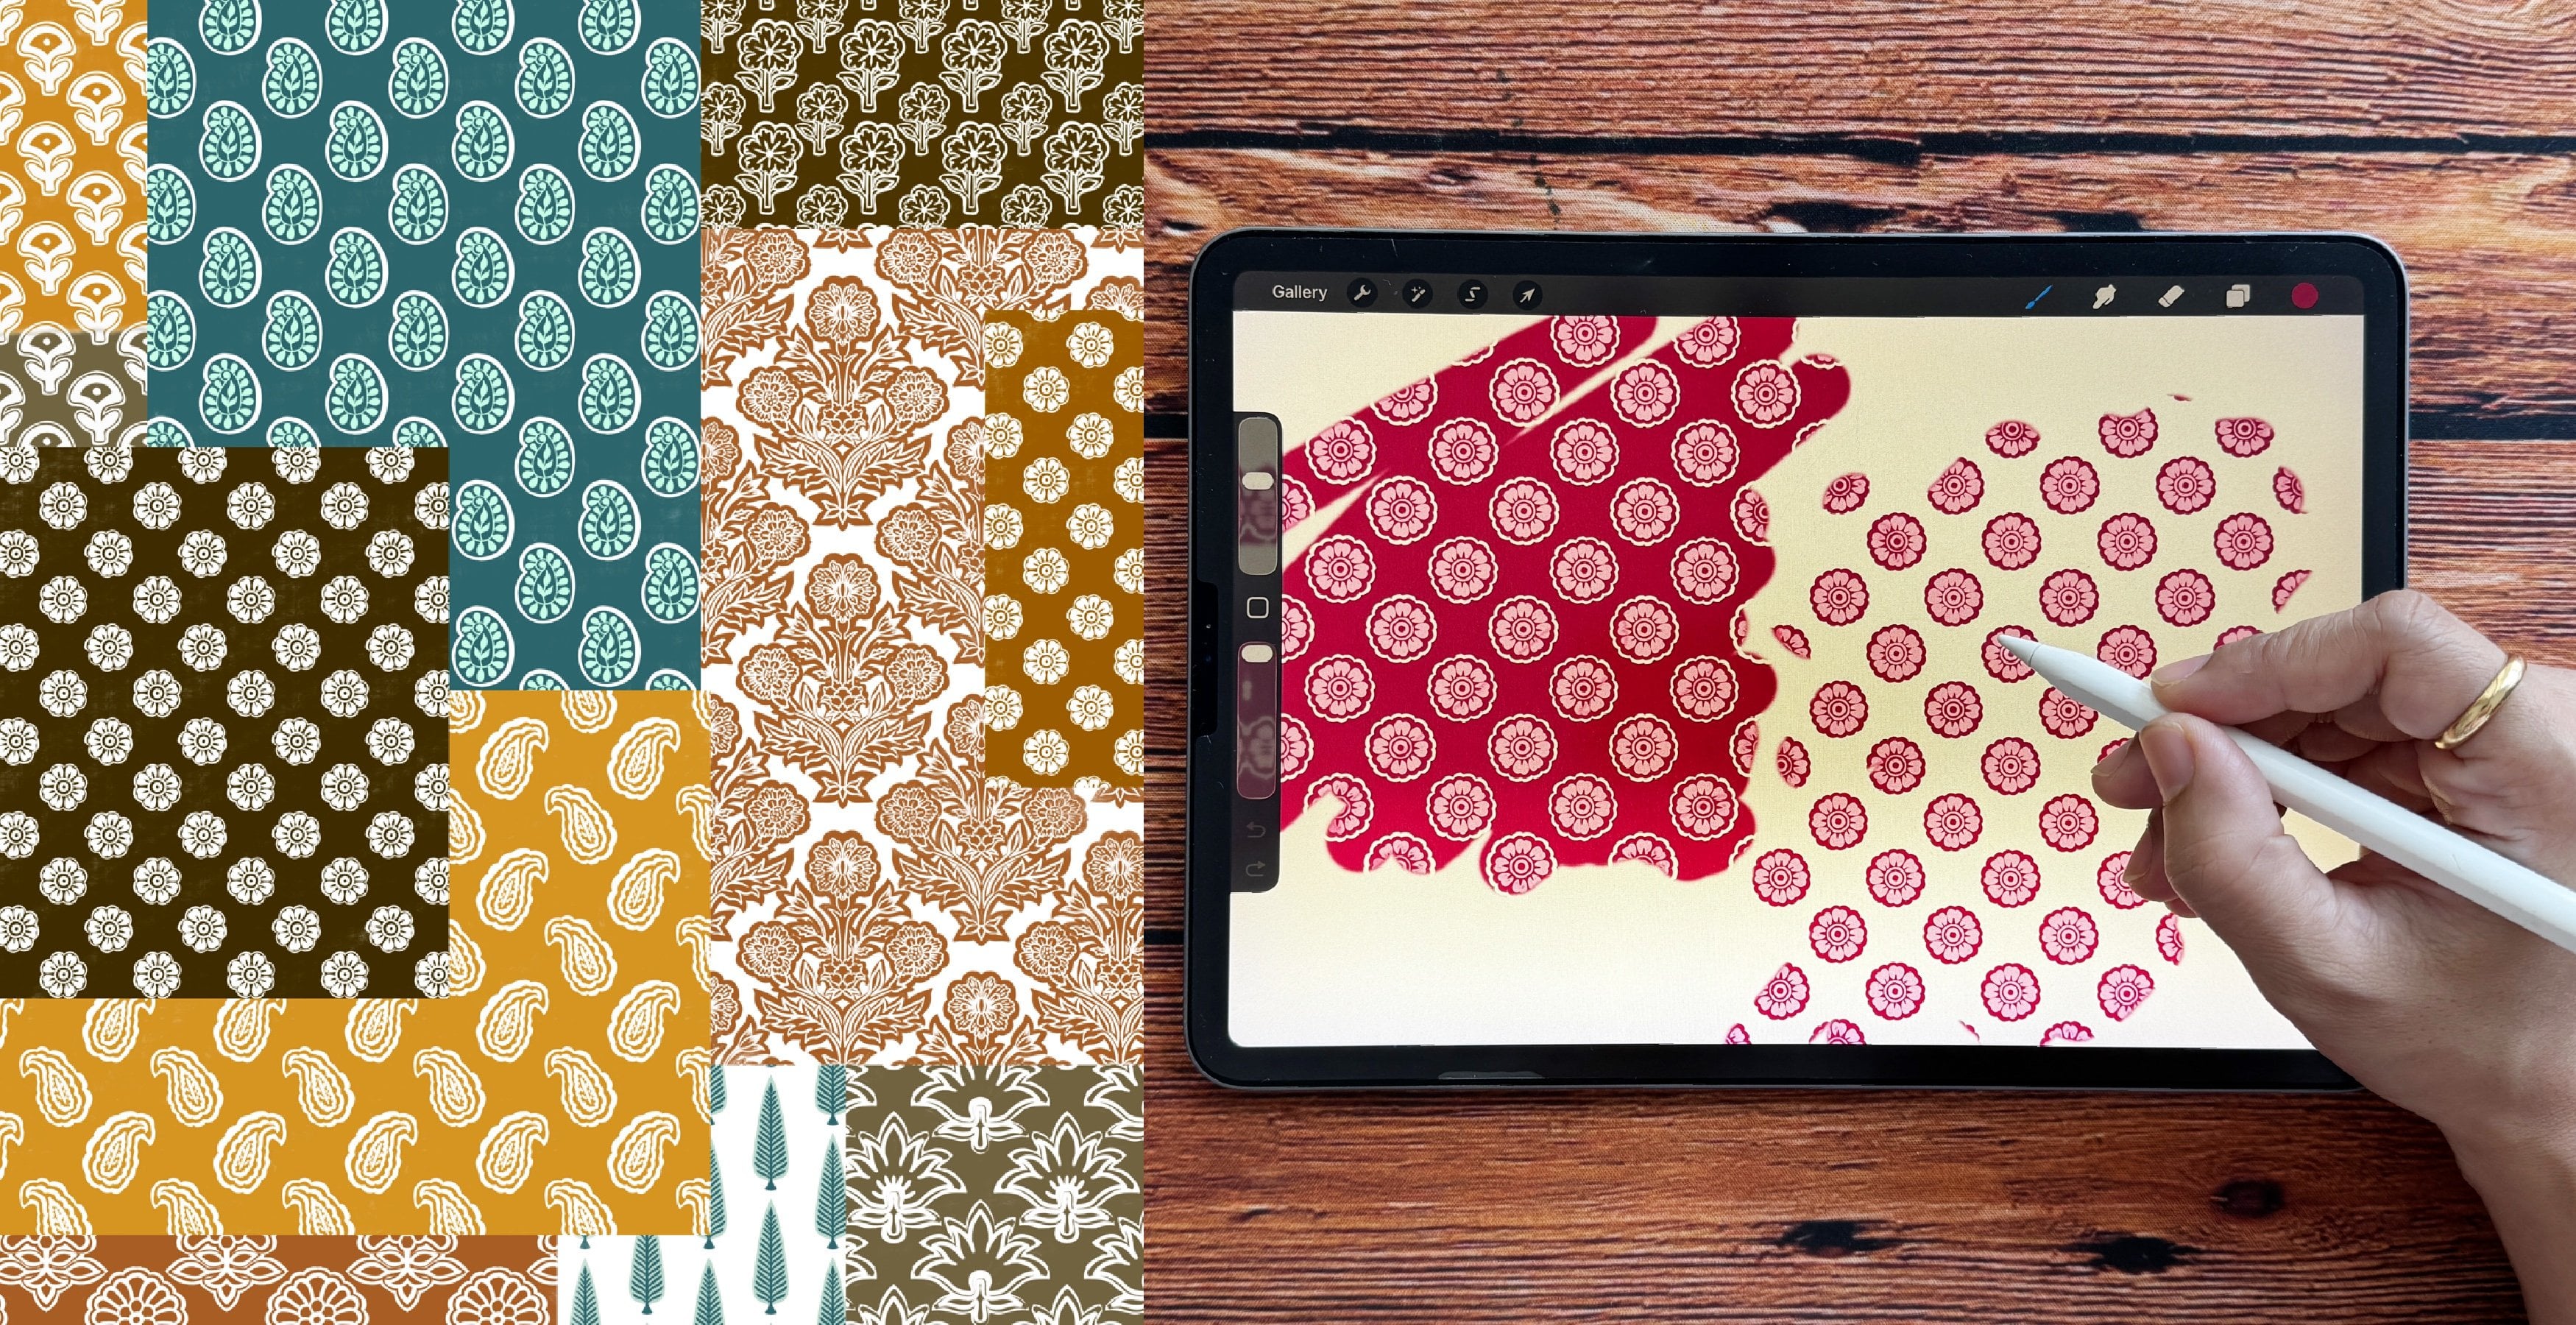
  3. Scanning & Refining Artwork

  4. Preparing the Design for Sublimation in Photoshop

  5. Sublimation Printing & Fabric Transfer

  6. Laser Cutting & Final Scarf Finish

By the end of this class, you’ll learn how to:

  • Build a simple moodboard to gather inspiration for your scarf design

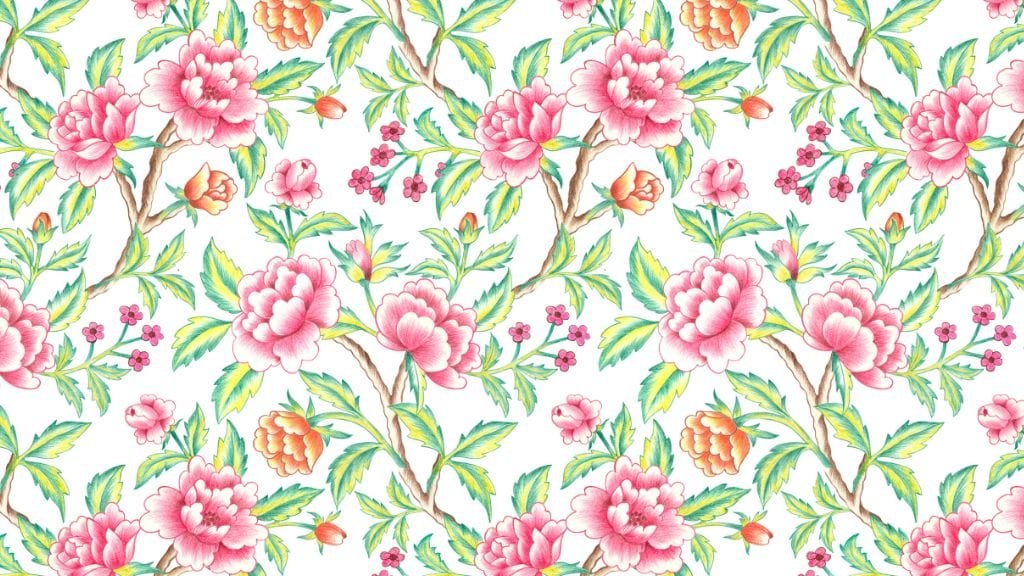
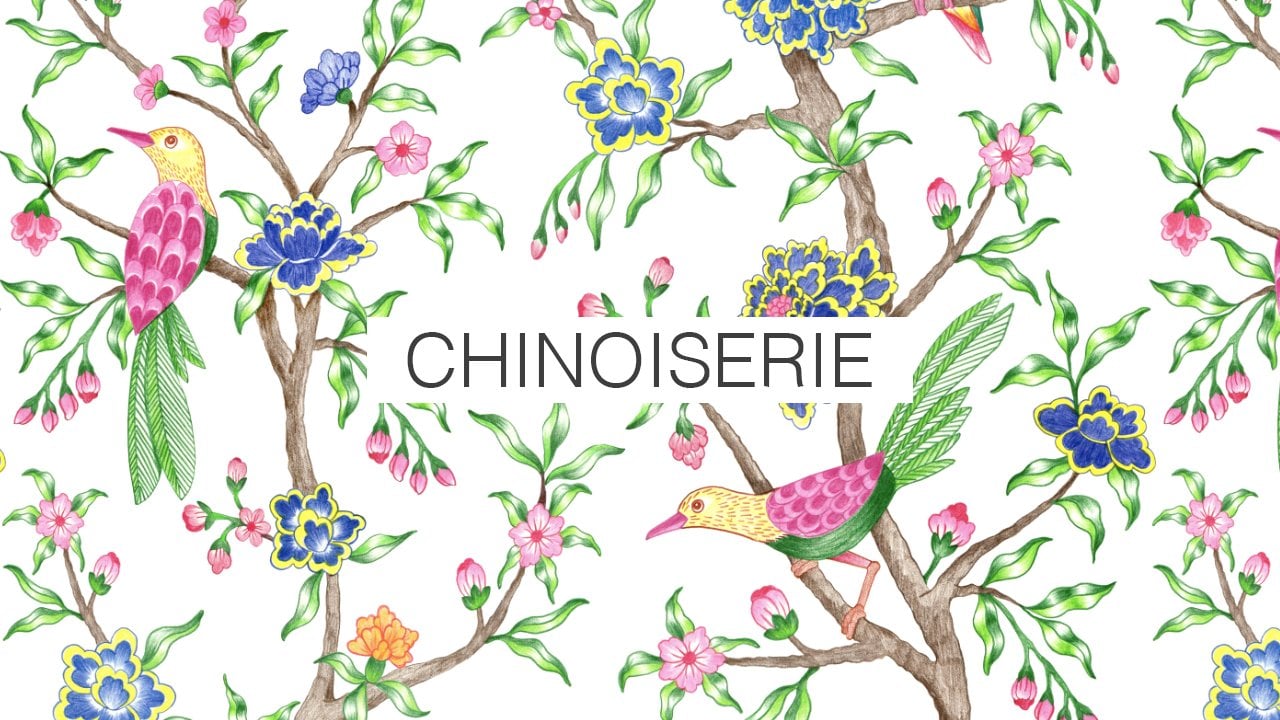
  • Sketch and illustrate botanical and nature-inspired elements by hand

  • Refine and prepare your artwork in Photoshop specifically for sublimation printing

  • Print your design on sublimation paper and transfer it onto fabric using a heat press machine

  • Understand the basics of laser cutting to achieve clean, professional scarf edges

  • Turn your illustrated print into a polished, wearable final product

You’ll need:

  • Digital or traditional tools for illustration

  • A scanner or any device to scan or photograph your artwork

  • Adobe Photoshop

  • Access to sublimation paper, inks, a heat press machine, and fabric

My drawing tools used in class:

  • 300 GSM mixed-media A3 size paper

  • Steadler Watercolour Markers
  • Camel Artist Watercolour Cakes

  • Round Brush (Omni)

Meet Your Teacher

Teacher Profile Image

Vinita Upadhya

Illustrator & Pattern Designer

Teacher

These premium brushes are designed to add stunning detail and value to your work, making your creative process effortless and your designs stand out. Perfect for leaves, petals, and intricate florals, they deliver exceptional quality and realism.

Buy these Procreate brushes now at the link below:

https://www.skillshare.com/shop/digital-products/creative-tools/177983487/procreate-embroidery-brushset

https://www.skillshare.com/shop/digital-products/creative-tools/177983487/procreate-sequin-brushset

https://www.skillshare.com/shop/digital-products/creative-tools/177983487/procreate-botanical-dual-colour-brushset

https://www.skillshare.com/shop/digital-products/creative-tools/177983487/pr... See full profile

Level: All Levels

Class Ratings

Expectations Met?
    Exceeded!
  • 0%
  • Yes
  • 0%
  • Somewhat
  • 0%
  • Not really
  • 0%

Why Join Skillshare?

Take award-winning Skillshare Original Classes

Each class has short lessons, hands-on projects

Your membership supports Skillshare teachers

Learn From Anywhere

Take classes on the go with the Skillshare app. Stream or download to watch on the plane, the subway, or wherever you learn best.

Transcripts

1. Introduction: In this short class, I'll be sharing my process of creating a crab inspired print and turning it into a beautiful scarf using the sublimation printing technique. Hi, my name is Vanita. I'm an illustrator and a designer based in Singapore. Sublimation printing is a great way to turn your hand painted artwork into fabrics with long lasting vibrant colors, making it ideal for both personal and commercial products. So see you in the class. 2. Sublimation Printing Process: Inspiration for this print came from underwater creatures. As I started putting together my reference images and the trend board, I really loved how playful and vibrant the colors felt that inspired me to carry the same bright, lively color palette into the final print. Our first step is sketching. I begin by loosely sketching the elements, focusing on the natural shapes, movement and the proportions. To add more visual interest, I wanted to include elements with interesting patterns and vibrant colors. So I chose different types of crabs and peacock mentis as their bold forms and natural detailing makes them perfect to create a playful pattern. Once I finish sketching all my elements, I use a needed eraser to gently lighten the lines. Our next step is to add colors to these elements. You can choose any medium of your choice. I am using watercolor to add color to all my elements. While I'm painting, I'm also using reference images to guide my color choices while also adding my own playful touches. Wanted the print to feel light and airy, so I avoided adding too much details. Instead, the pattern on the creatures just add enough interest without making the design feel heavy. I also love the natural watercolor bleeds and textures which help keep the artwork soft and organic. I have listed all the art supplies used in this class in the project section. Next, I scan the painted elements at a high resolution of 300 DPI or higher to make sure all the details are captured clearly for printing. After scanning, I clean the artwork digitally by simply erasing the background using the eraser tool. After cleaning the scanned elements, I bring them into Photoshop and arrange them to create a seamless pattern. If needed at this stage, I also make small colour adjustments. Next, we prepare the file for printing by saving it as PNG in the required scarf size. Mine is 75 by 75 centimeter. When choosing paper for sublimation, it is important to match your paper size to both your printer and the heat press machine, as well as the product you are going to print on. Smaller product can be printed on A four, while the larger products might need A three size. The machine I used here is quite large with a width of 30 ". Because of its size, it uses sublimation paper in roll form rather than in sheets, and the paper weight here is 100 GSM. This is how the print looks like on the sublimation paper. The colors might look a little lighter at this stage, but once it's heat pressed onto the fabric, they become much more vibrant and clearer. Once you have finalized your fabric, you can measure and cut it to the required scarf size. We'll start by placing the fabric on the heat press machine and then position the printed sublimation paper on top of it. You will need to apply the correct temperature, pressure, and timing to transfer the design smoothly onto the fabric. Here I'm setting the heat press to 200 degrees Celsius and pressing for 35 seconds. And this is what it looks like after the print is transferred on the fabric. For the laser process, we begin by placing the fabric and setting the required measurements. The laser machine then follows those measurements to neatly seal the edges. This step ensures the fabric doesn't fray and gives the scarf a clean professional finish. It also helps achieve accurate sizing and smooth edges, which is especially important when the fabric is lightweight. I tried the same print on two different fabrics. The first one is poly cootton with 60 40 blend. It's a light weight, 60 GSM feel. You can see the fabric grain clearly, and it has a slightly textured linen like finish. This is my preferred choice for scarves, since it's lightweight, soft and easy to handle. The second fabric is satin, which is quite thicker with a soft sheen. Since satin has a higher polyester content, the print appears more vibrant. Because it's heavier, it's a good option for home decor projects like cushion cover or curtains. You can use this same process and experiment with different art styles to create scarf for personal use or even for professional and commercial projects.