Transcripts
1. Introduction & What You'll Learn: This project can be
a great way to learn about an Indian
tribal art through mindful and relaxing
drawing experience while creating an artwork that can be sold
as an art print, or you can even use it for
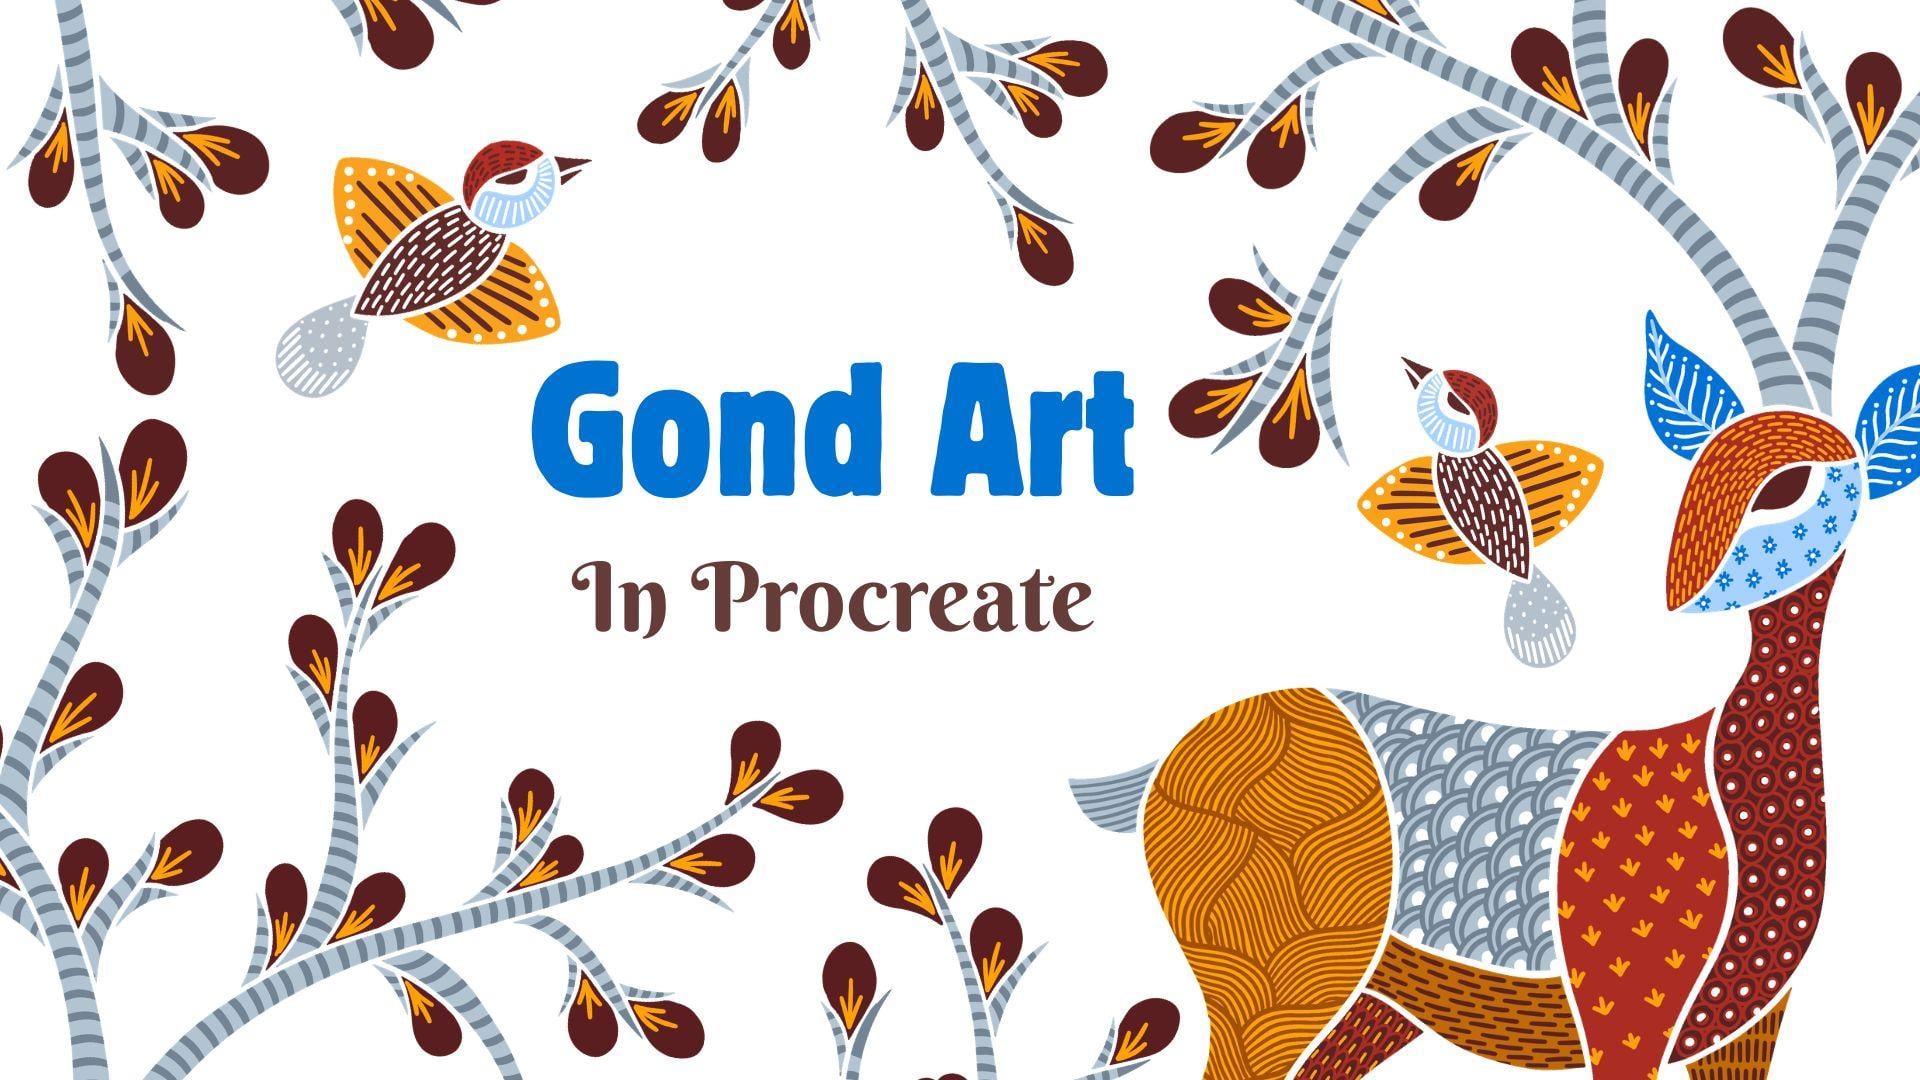
your surface pattern design. Hi, my name is Vinita. I'm an illustrator and a
designer based in Singapore. Goth art originated from the
Gond tribe of Central India, mainly in the state
of Madhya Pradesh, known for its
intricate patterns, fine lines, dots
and vibrant colors. This art style beautifully
depicts nature, animals, birds, and everyday life through storytelling
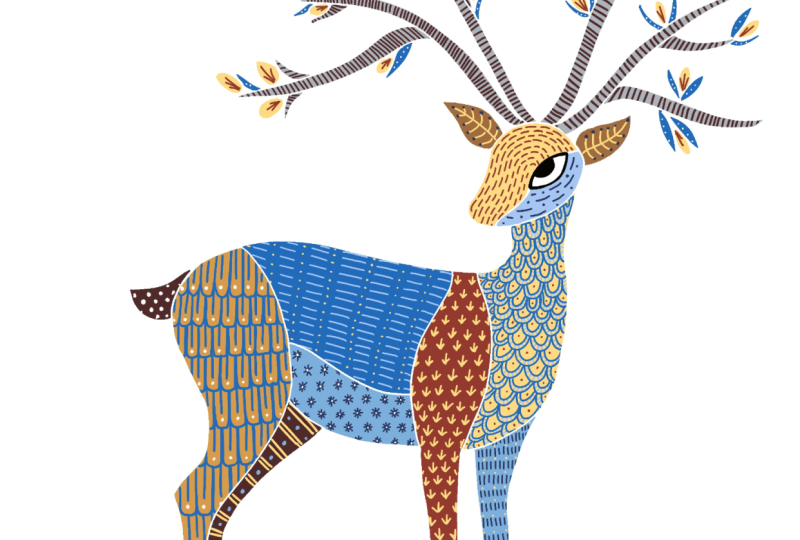
and decorative details. In this class, we'll
take inspiration from goth art to create a
beautiful deer artwork. We'll begin by exploring
and practicing a few traditional
patterns and then move step by step through the entire process of creating
the artwork from scratch. We'll be dividing the artwork
into different sections, then filling them with
colors and enhancing them with beautiful
patterns and details. There are also few examples that can help you decide
on your next project. I hope this class adds value to your creative journey
and inspires you to explore the beauty of traditional Indian folk art
in your own unique style. So see you in the class.
2. Project, Examples & Inspiration: For your class project, you
can follow along and create the same artwork we are
working on in the class today, or you can use the
techniques and patterns to create
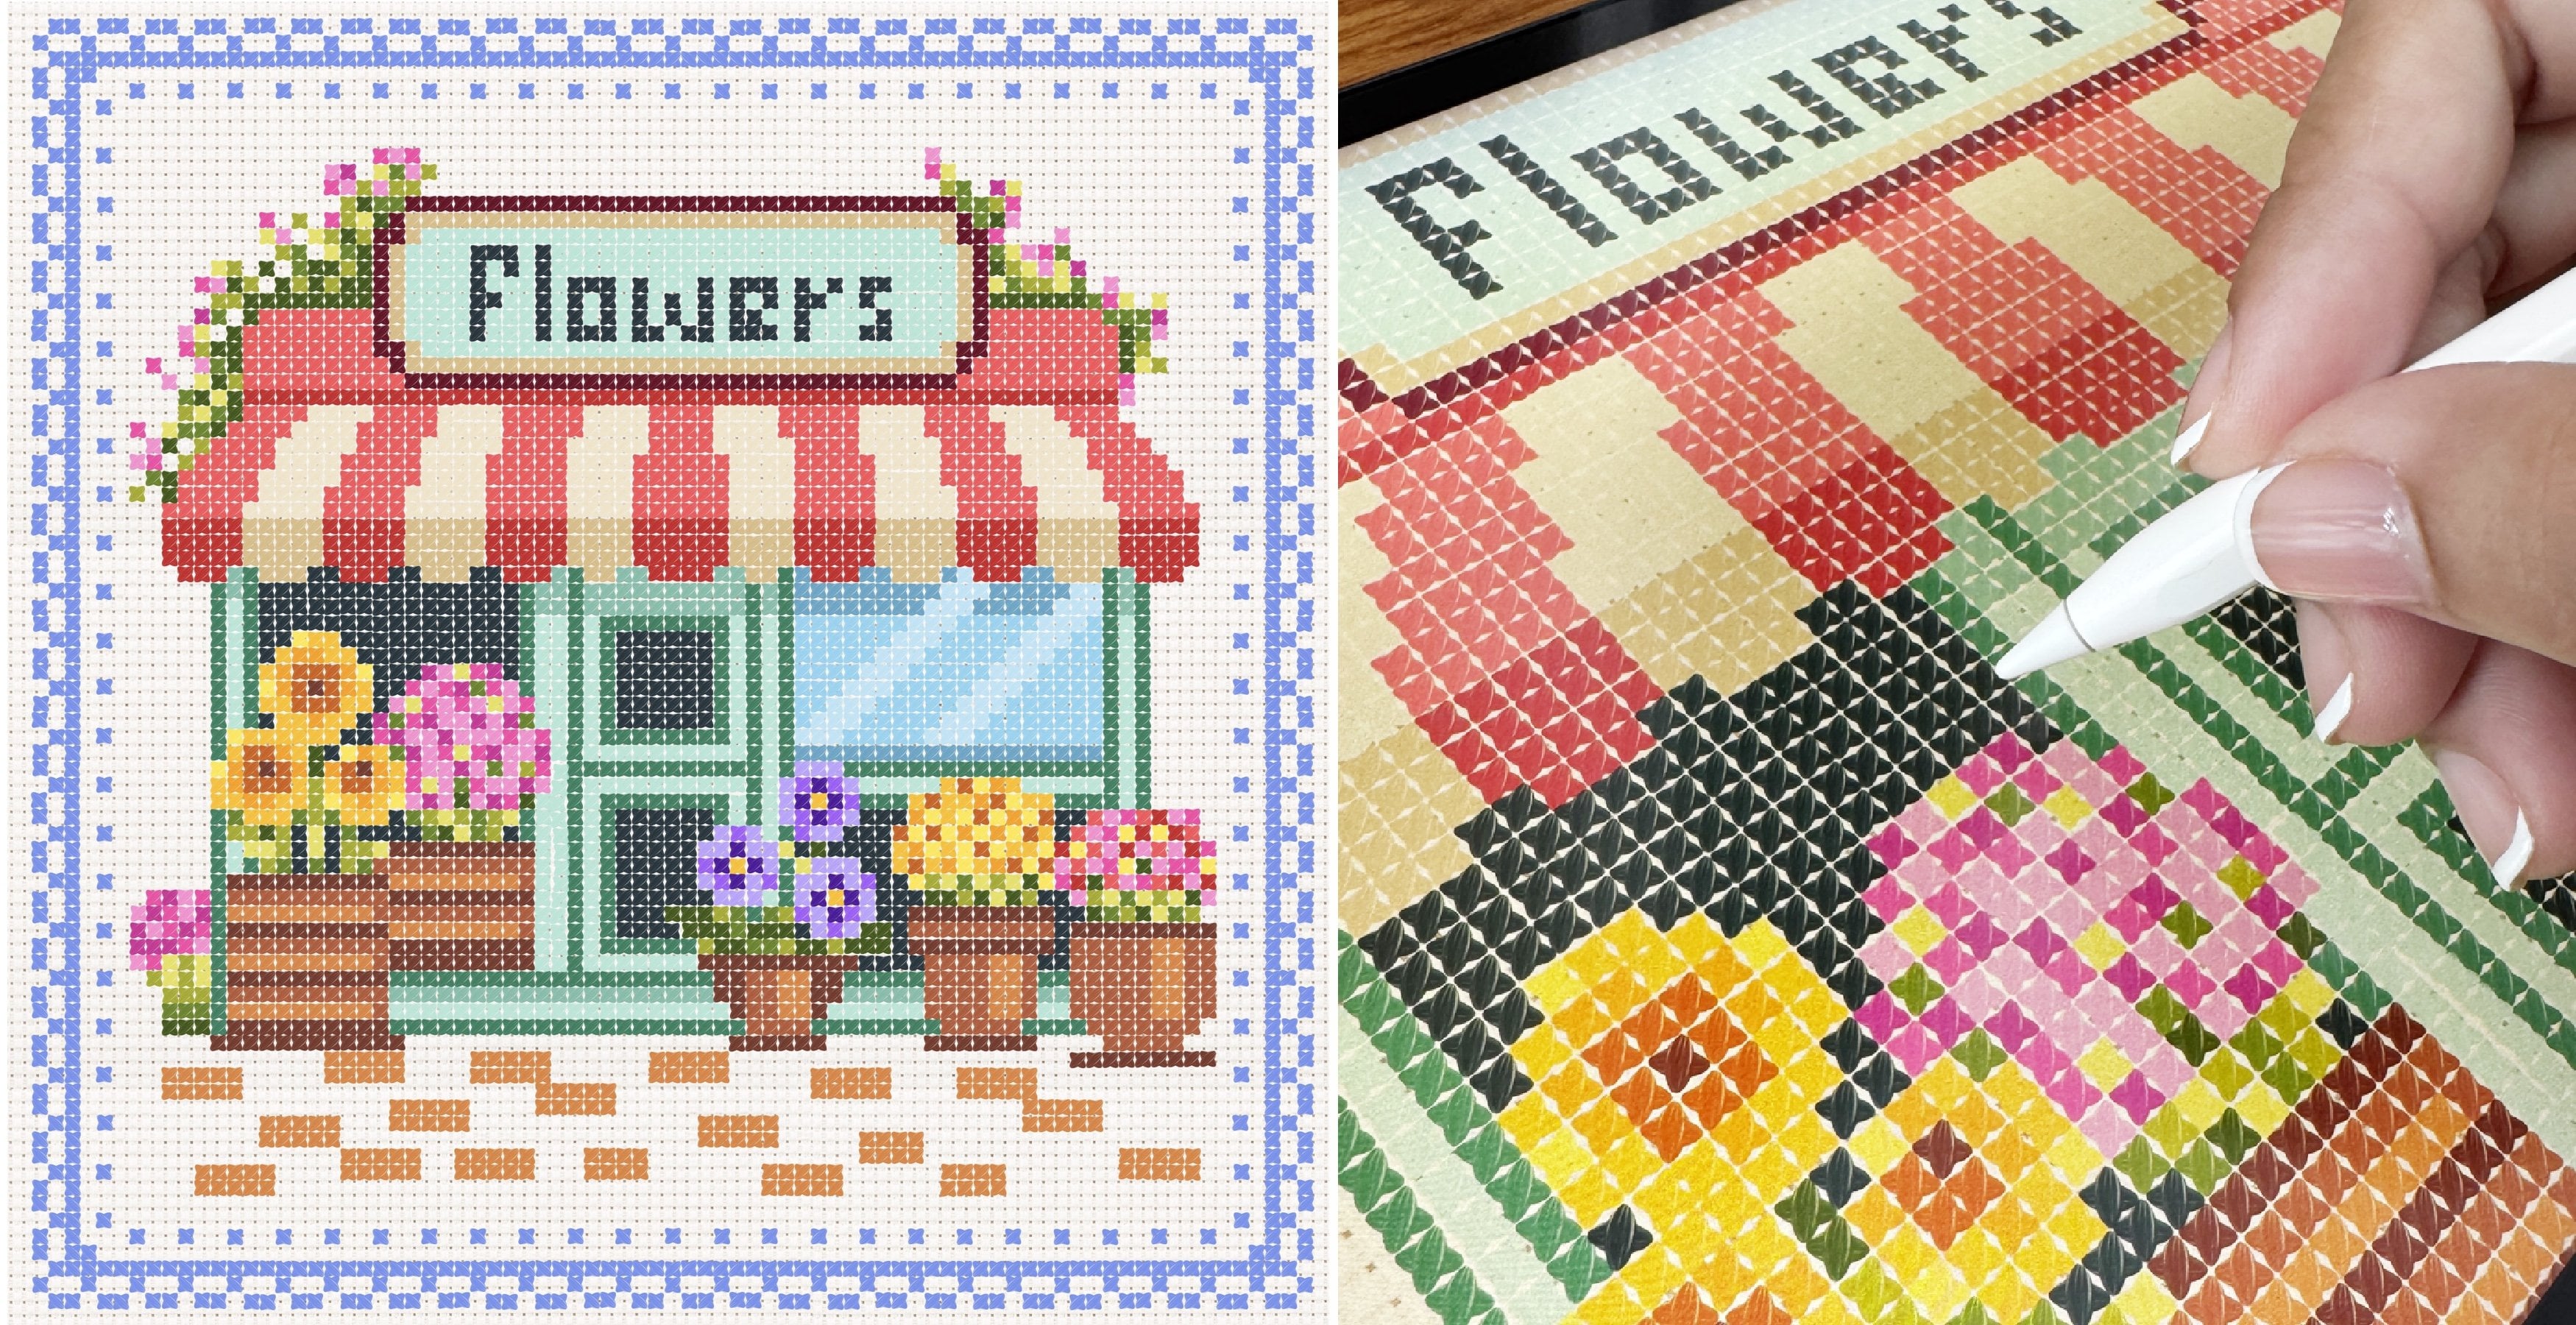
your own unique piece. I have included this
Pintres board link in the resource section, where you'll find plenty
of inspiring examples, techniques, and different
artist approaches to explore. You'll notice artworks with
limited color palettes, abstract compositions,
and unique shapes and pattern style used
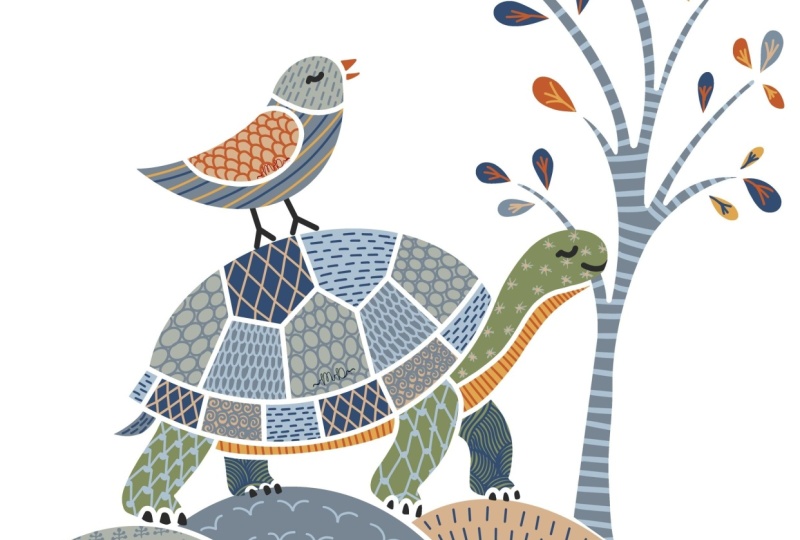
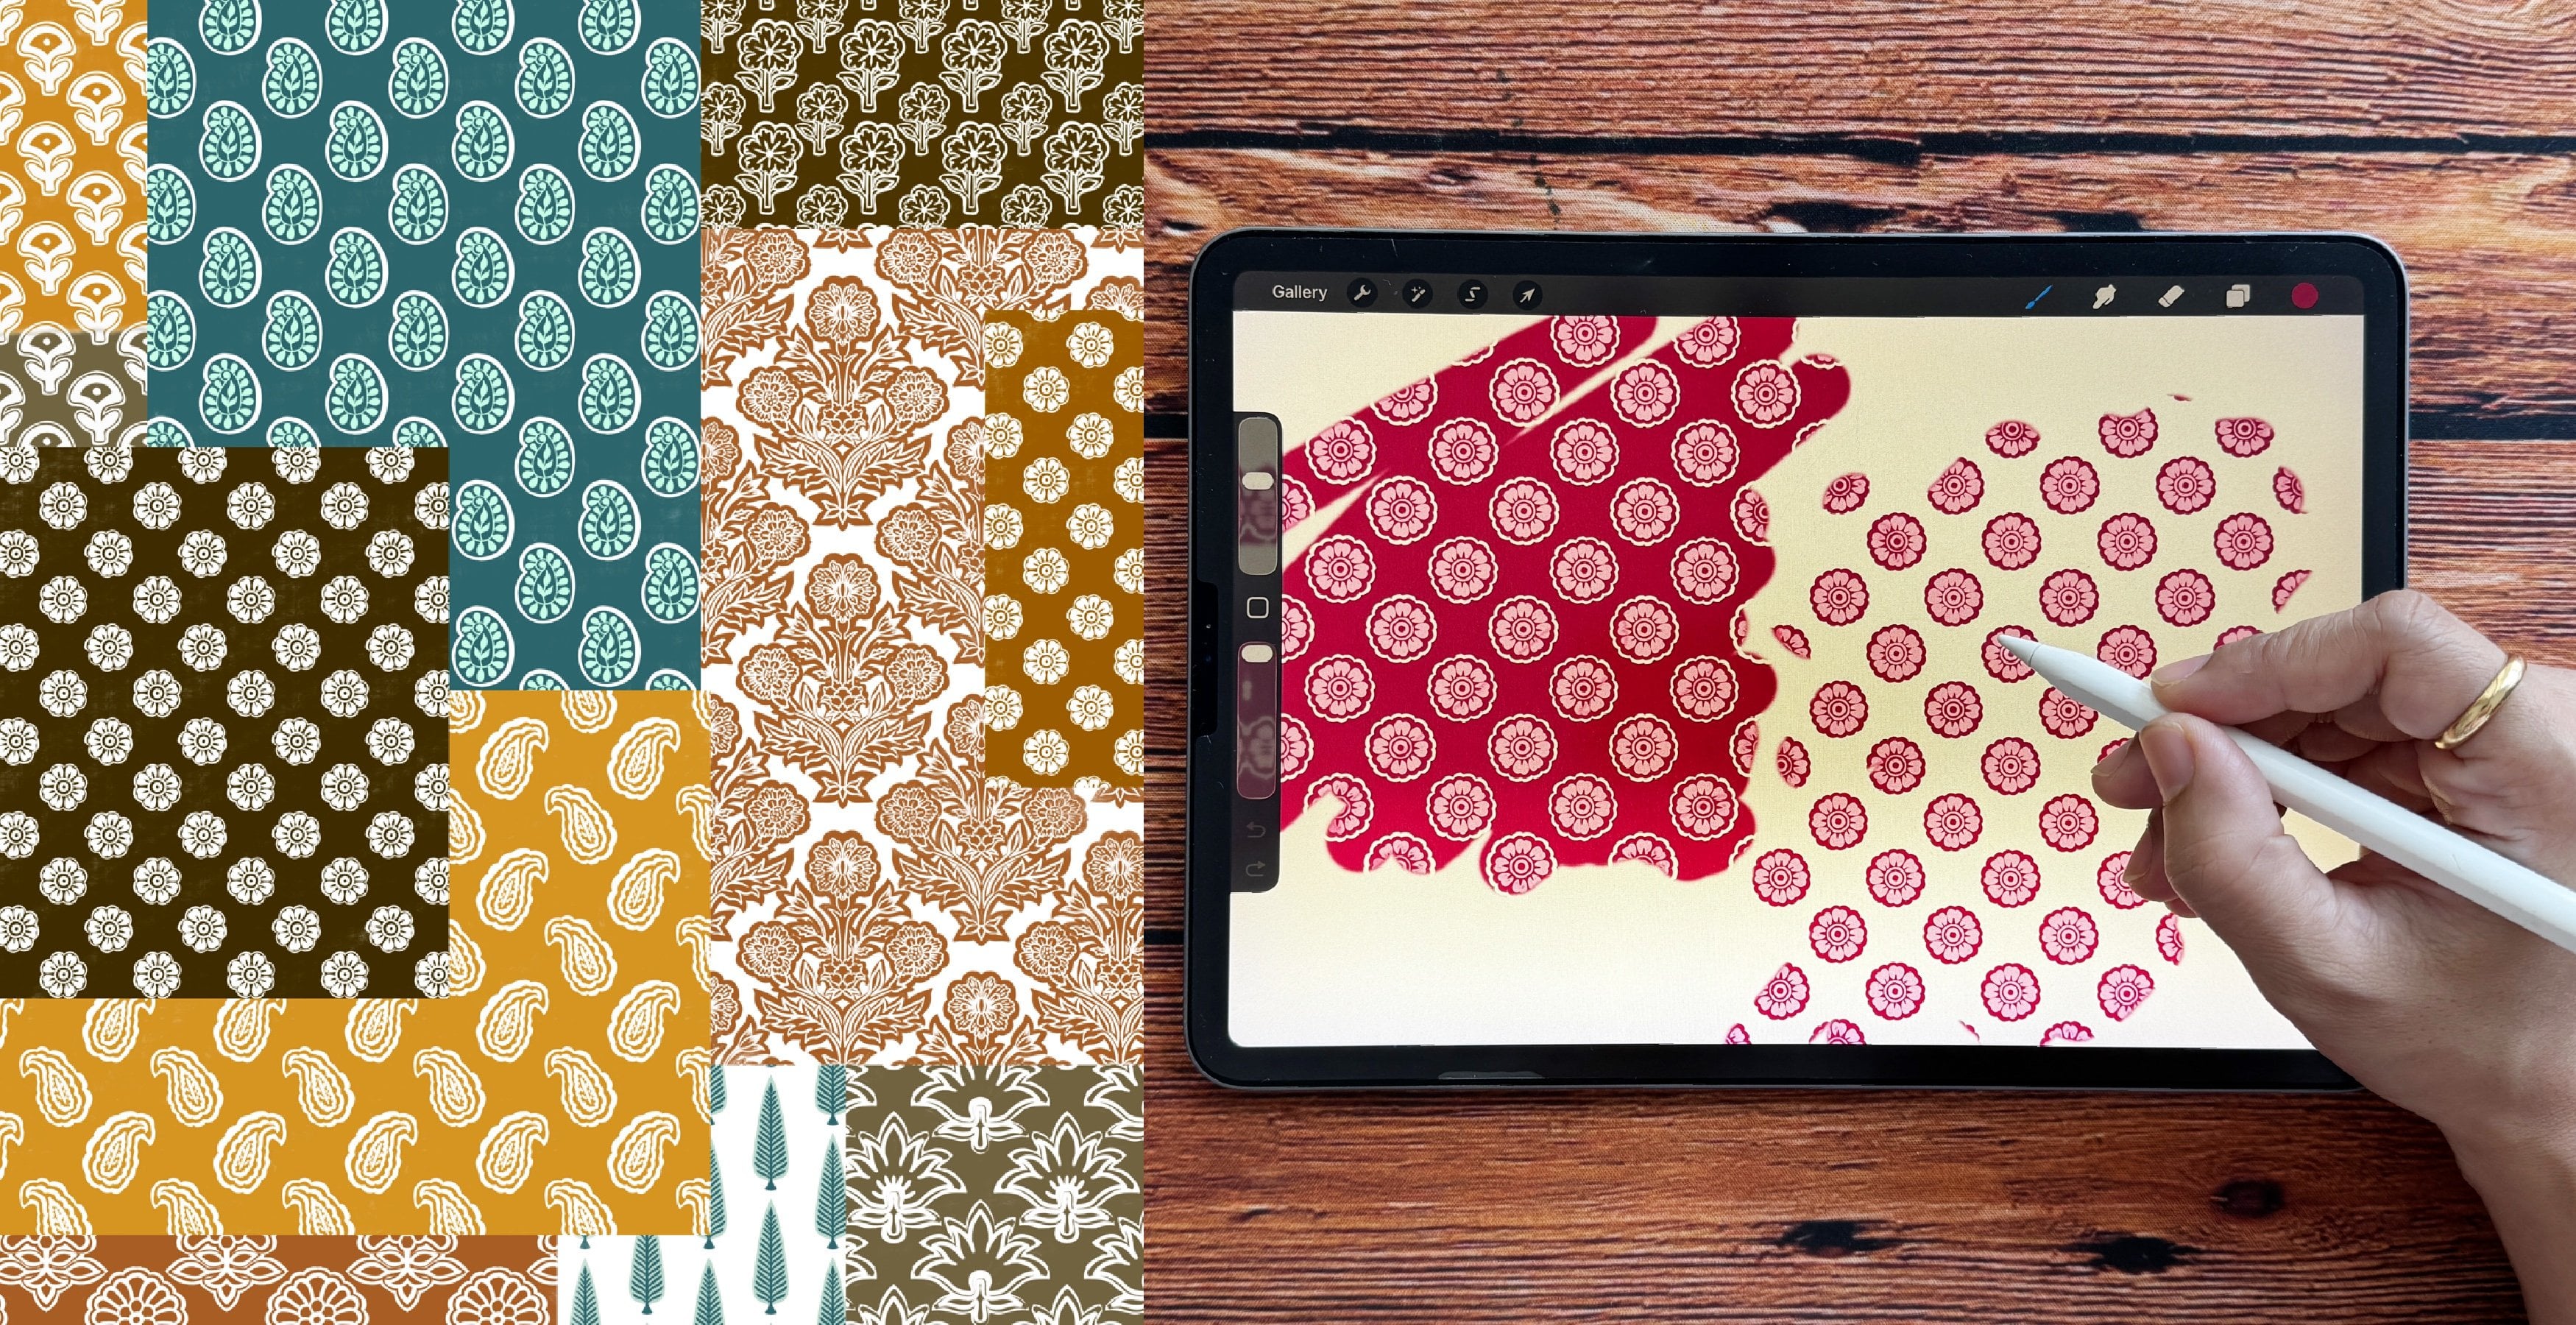
by various artists. I have also created my own collection
inspired by Gond Art, where I have used a consistent
limited color palette that I have followed
across the series. These artworks were quite
detailed and time intensive. Each piece took me around
15 hours to complete. One of the things I
truly enjoyed about this art style is how calming and meditative
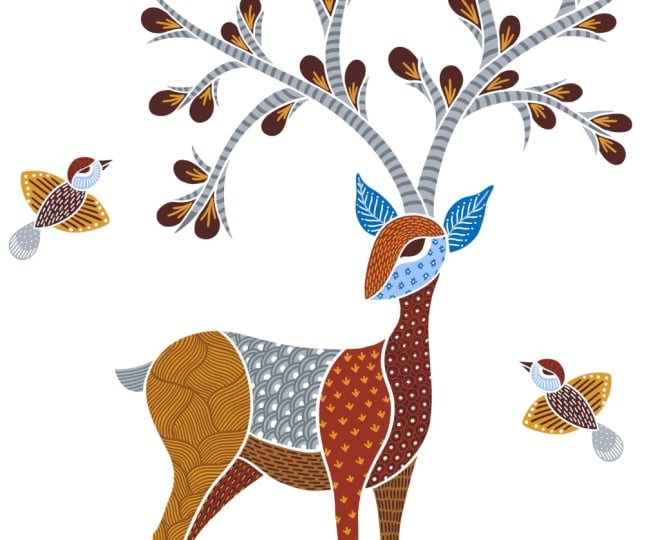
the process feels. The artwork we will
be illustrating in the class is very similar
to this deer artwork. We will be illustrating one of the deer from this artwork. I chose Ader as the subject
because it is one of the most common and
recognizable forms featured in this art style. You can also choose
your own subject and color palette and follow the same steps and techniques
shown in this class. So let's move on to the
next lesson where we will be practicing all of
these intricate patterns. I cannot wait to see
your beautiful Gonth art inspired print in the project
section of this class.
3. Patterns Practice: I goth art, patterns are
not just decorative, they carry symbolic meaning
and help bring life, movement, rhythm, and
storytelling into the artwork. In this lesson, we are going
to explore and practice different goth art patterns while learning the
meaning behind each one. You will be able to find this file in the resource
section of this class, tap and open this canvas. I have created
these small squares and labeled each one with
a different pattern type. This will help us learn and
practice at the same time. Now, let's start with our
first pattern that is dashes. Before we begin, let's take
a look at the brushes. I have attached this brush
in the resource section of this class that you
can download and use. I have customized
this default brush to suit our needs
for this lesson. However, feel free to use any other brush that you
are comfortable with. Now for this practice, you can select any
bright vibrant color. I'm going to select
this bright green next, make sure you are on
the draw here layer. There is a layer
that says draw here. This is very simple,
just basic dashes. I'm going to completely fill the entire square
with this pattern. Tiny dashes or short strokes are commonly used
to create texture, rhythm, and movement
within a motive. Their meaning can vary depending on the
artist and subject, but they often symbolize
energy and life, making the animal, bird, or tree feel alive. These tiny dashes are also an important storytelling
element in gon painting. Instead of leaving flat colors, artists fill shapes with
repetd marks to give depth, emotion, and character
to the artwork. Now let's move on
to the next one. Here we'll combine
dashes and dots together to create a
more detailed pattern. This is a connection of
movement and energy. The dashes suggest flow
and direction while the dots represent pulse
of life or vitality. This can also mean
rain falling into flowing water or wind moving
through seeds and soil, combining two
visual languages to show harmony and
interconnectedness. Next is lines and waves. Before you begin this pattern, the first step is to
divide the shape you want to fill in into
a few sections. Try to break it in a way that
feels natural and flowing, so the shape looks soft, balanced, and organic
rather than rigid. Once the structure feels right, start adding parallel lines that follow the direction of the
section you created first. This pattern symbolizes
the continuous flow of life and nature. Straight and curve
lines represent movement, direction,
and connection, while waves often reflect
elements like water, wind, and natural rhythms. Thanks. Next, we'll move on to a pattern made of circles. I like to call this
as seed pattern, but it can also represent many other ideas depending
on the interpretation, such as growth potential, and the beginning of life. You can also explore many other variations
of these patterns. For example, you
could transform this into small delicate
spirals as well. Circles and spirals are
powerful symbol of continuity, growth, and the cycle of life. Circle often represents
wholeness, unity, and natural rhythm of the universe with no
beginning or end. Spiral on the other hand, reflects expansion, evolution, and the ongoing
movement of energy. The next one is fish scale. While researching and
developing my own artwork, I noticed that the fish scale
pattern appears as one of the most frequently used
and widely repeated motif across many tribes. This pattern is created
using repeating curved shapes that resemble
overlapping scales of a fish. It often symbolizes water, abundance, fertility,
and the flow of life. This pattern reflects the
community's close connection with rivers and nature, and it brings a sense
of rhythm, movement, and continuity to the artwork, more like water gently flowing or fish moving
together in harmony. There can be two
variations to this. You can either leave
the pattern as it is, or you can add dots. For that, I'll add a new
layer and pull this layer below our pattern layer and
with a different color. I'm just going to add tiny
dots in between these scales. Et's move on to the next one. This is a feather
inspired pattern. I'll go back to my
first pattern layer. Start by drawing elongated
curve shapes and continue building the
pattern by placing and stacking them
one after another, allowing them to rest and
align naturally as you go. In goth art, feather shaped patterns often
symbolizes lightness, freedom, and a deep connection to birds and the natural world. Feathers are seen as a representation of
movement through air, gray, and reflecting how life moves between
Earth and sky. When used in patterns, they also add a
sense of softness, rhythm and flow to
the composition, making the artwork feel
more dynamic and alive. Next is star and
sun shaped pattern. I found this pattern
to be the easiest and the least time consuming
to fill in a shape. Star and sun shaped pattern
often symbolize light, energy, and life giving force. These shapes bring a
sense of brightness, vitality, and spiritual
energy to the artwork. Either you can leave
this pattern as it is, or you can enhance it by
adding a.in the center. Now let's move on to our last pattern that is
the grass inspired pattern. This is again, one
of the simplest and the fastest pattern to use
when filling in the shape. So now we have built a collection
of patterns that we can refer to and use while
creating our final artwork. You can also use the
same template as a base to develop your
own set of patterns, which you can then follow and adapt while creating
your final artwork. This is another set of
patterns that I created, along with few example
for the branches that you can use while
creating trees or plants. Now in the next lesson, we'll begin sketching
our final artwork.
4. Deer Artwork - Outline: In this lesson, we
are going to create the outline for
our dear artwork. If you don't prefer to
use a reference image, you can also sketch
your own subject on paper and trace it in Procreate. We'll start by
creating a new canvas, tap on this plus icon, again, on this tiny plus icon. I'm going to keep my canvas as 4,800 pixel by 6,000 pixel. This size can depend on the
project you're working on. The DPI will be
300 and tab okay. This is a large canvas, and one of the standard
printable size commonly used on Etsy is this. We can always scale
the artwork down, but we cannot enlarge it as
it reduces the image quality. Now our next step is to
import our reference image. For that, we'll tap on
the wrench icon menu. Here under Ad, there is an
option called Insert a photo, swipe left and insert
a private photo. This will take you to
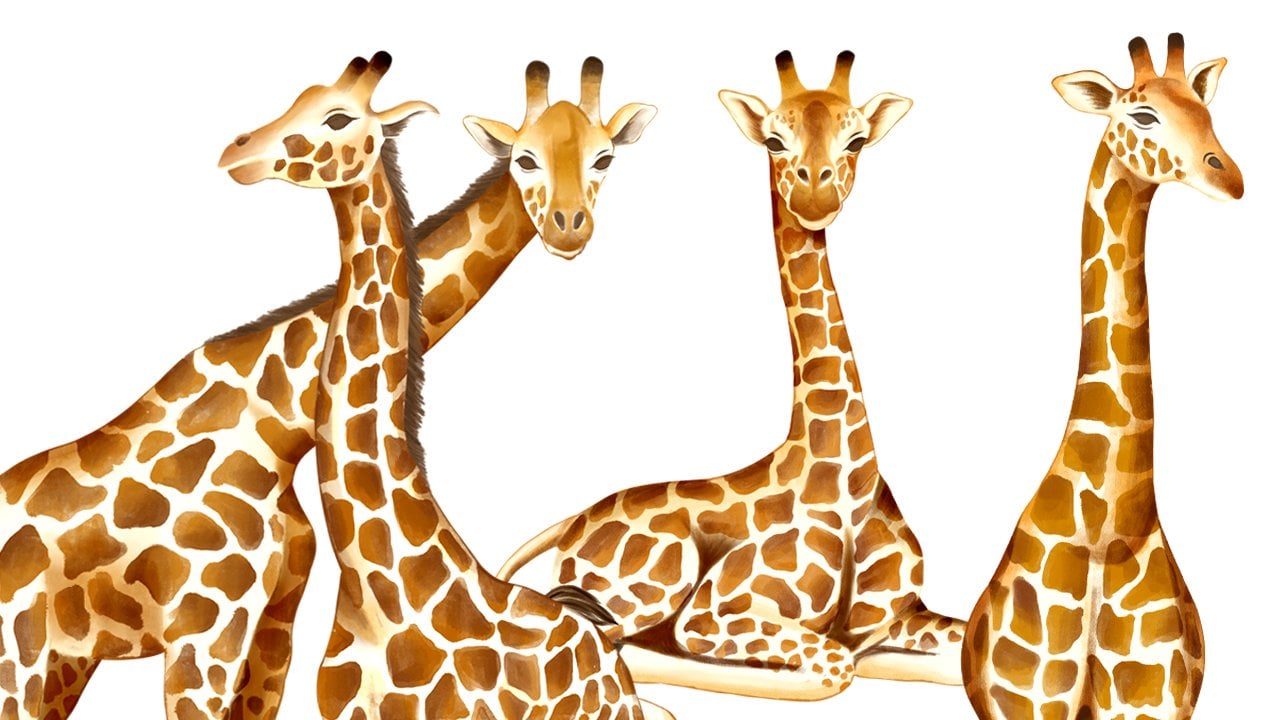
the photo gallery, and I have this image in the resource section of this
class so you can download. I will stretch this image
to fit into my Canvas. We will be using one
of the deer from this reference image
to create our outline. Once you have your deer
in the center, deselect. So this is the deer that we will be using as our reference. Next, let's go to layers. Here you'll find the image, and there is one empty layer. I'll pull this empty
layer on the top, and we can reduce the opacity
of our reference image. And from the color palette, I'm going to select a nice
dark charcoal black color. When creating an outline, the first step is to
focus on building a simple outer shape that defines the overall
form of the subject. Whether it's an
animal, bird, tree, or any other element, start with smooth
and flowing lines. There are many elements in
this artwork style that can be customized or personalized to reflect your own artistic voice. For example, you can experiment with different
outline colors, unique patterns, or
even the overall shape and form of the subject itself. Some artists may prefer a more abstract and
stylized approach, while others may lean
towards realism and detailed forms like my artwork, which is more on
the realistic side, even within Gond Art, each artist develops their own signature style
through specific shapes, textures and patterns that
make their work recognizable. Now, here I cannot see the ends, but I'll just make a basic
shape of these dear legs. Now, we are done with a
basic shape of the deer. I'll hide the reference image. Once the outer
outline is complete, the next step is to
divide the shape into smaller sections that can later be filled with
different patterns. You can also look at the
Pinterest board that I have linked in the resource
section for more examples, inspiration and to see
what feels closer to your own style and how other artists
approach their artwork. Now while drawing the eyes, I want them to feel
unique and remain consistent across
all my subjects. Keeping certain features
consistent helps create a more cohesive body of work and visually ties
all the pieces together. I want to make a few adjustments to the shape of the head. I'll go back to the
body outline layer. Under selection, make sure
your free hand is selected, and I'll carefully
select only the head. Now with the help
of the warp tool, I'll adjust the
shape of the head. You can also try the
advanced mesh option. Since this is our
initial outline layer, this is the best age to make
any adjustments you need. The next step is optional. Since I have made a few
changes and use the Warp tool, I'll be retracing the entire
artwork on a new layer. However, if you're happy
with your current version, you don't need to
follow this step. Also, I'll skip the
process here as it would make the lesson
unnecessarily long. I'm done with the tracing here. I'm going to hide
the previous layer. Next, we can add a new layer
below this deer layer. Here we need a base that
the deer is standing on. This can be a piece of land, grass, or maybe a mountain. Next, I'll add another new layer on top of this mountain layer. And this can be for the branches or for the antler on
the head of this deer. I'll start by loosely
sketching these lines first before drawing
the final branches. So I have a guide to follow as I build the shape and flow. I'll reduce the opacity of this guideline and we'll add a new layer below
this guideline layer. Now I can start drawing
these branches, which at the same time also resembles the
antler of the deer. I don't like the
shape of this stem, so I'm going to select this swipe down with three
finger and tap on cut paste. That will take the
stem on a new layer. I'll delete the layer
and draw again. Now we can delete
the guideline layer. Now I'm adding some tiny
branches and stems. How much you choose to fill the artwork is
completely up to you. You can keep it minimal with just a few branches or make it much more detailed and dense. Some of these steps can
be quite time consuming. So for this class, I'll keep the designs simpler
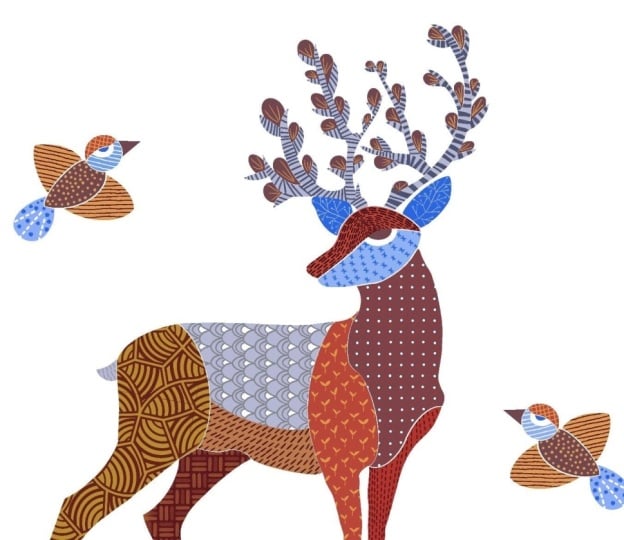
and easier to follow. However, if you look at
my example Deer project, you'll notice that
it is much busier, fuller and more
heavily detailed. Now for the leaves,
let's add a new layer. You can also experiment with different leaf
shapes and styles. Different trees can carry
different meanings depending on their cultural and environmental importance
to the community. One of the most
commonly depicted trees in goth Art is the Mahua tree, as it holds great cultural
and everyday importance in tribal life. Now, let's go to layers, and I'll delete my
first rough sketch that we don't need anymore. I'll keep the reference
image for now, and I'll select all
the other outlined layer and group them. Close this group, swipe
left and duplicate. I'll hide my first group, tap on the second group, and there's an option called flatten that will
merge all your layers. Now we have the final
outline on one layer. I'll select my eraser tool
and erase this on the legs. This overlapping
will not look very neat while we are
filling the colors. I feel the artwork looks slightly empty on
both the sides. You can fill in some
birds or butterfly. I'm going to add a new layer, select my brush, and I'll
quickly draw a bird. I want the eyes to be very similar to the one
done on the deer. So it looks cohesive and looks like it is coming
from one collection. I feel this tail also matches the leaves
fitted for the tree. Now for the other
side of the deer, I'll simply duplicate
this same bird, swipe left and duplicate
the bird layer, select this bird, and I'll
drag and flip horizontal. Once you're happy
with the position of the bird, deselect. We are ready with
our outline here. Now in the next lesson, let's fill in some colors and
patterns to this artwork.
5. Deer Artwork - Part 1: Et's fill in some colors and
patterns to the artwork. Now, before we start, we need to merge all our outline layers. You should have
three layers here, pinch and merge them. Now we have all our
elements on one layer. Our next step is to
add a new layer. Now pull this layer
below our outline layer. Next, we need to switch
on our reference option. So I'll go back to
the outline layer, tap on the layer and
tap on reference. Next, tap on the empty layer, the layer below,
the outline layer. So whenever we are
filling the colors, it is going to be on
that empty layer. Next for the color palette, I have this color palette
in the resource section. When you download, I have
renamed this as Goth art, tap on this three dot
and set as active. So you will be able to see
under the disc section here. I'm going to start by selecting this bright mustard color. I'll just drag and drop
this color into a shape, and I'll continue
dropping the colors. There are no strict
rules to follow here, and the process can be very
intuitive and experimental. These shades of brown and blue are among the traditional
colors commonly associated with goth art and are often seen in many goth
art inspired artworks. Try to create a sense of balance and cohesiveness
in your artwork. For example, you
might want to keep the faces of all
your subjects in similar tones or use the same color family for
the plants and leaves. Like in this artwork, I'm going to keep the face for the deer and the birds
in the same colors. I'll select light blue for the face and the darker
blue for the years. Now for the branches, I can show you how to use the
color drop feature. This feature makes the process
easier and saves time. Drag and drop. And because you still have these other places to fill and you don't want
to keep filling in, so what you can do is drag and drop your color and tap
on continue filling. And now all you need
to do is tap on the area that you need
to fill in the color. Also one important point
I forgot to mention in the previous class is
while drawing the outline, you should avoid
leaving any open ends. Since we'll be filling
the shapes with color, any gap in the outline can cause the color to spill
all over the canvas. So I'm done with
the branches here. I'll tap okay. Now I'll follow the same steps
for the leaves, too. But for the leaves, we can
add it on a new layer. Even branches, we can
add it on a new layer. Adding elements
on separate layer can give you more flexibility. In future, it can
make your editing easier to adjust colors, resize, or even
move the elements. For the leaves, I'll be
selecting this dark maroon. I'll drop in one leaf and
tap on continue filling. And now I can just keep
tapping on rest of the leaves. And once you're done, tap okay. Next, we can add a new
layer for the base, the little mountain that
the deer is tanning on. I'll keep them in
the shades of blues. But if you want, you can even have a color of your choice. Adding different
values and tones of these colors can help create
more visual interest and depth And here we are done filling all the
section for the deer. Now let's move on to the bird. For the bird, we can
add a new layer. Let's start with the head first. I want to add very similar
colors to the deer. You can also keep your
colors in the card format. Just go to the
palette, tap on cards. You can also pull out
this little window. It is easier to pick and
drop with this format. You can also have the
birds in different colors. I'm going to keep both of
them same for this class. You now have two options here. You can either keep the outline visible or hide it depending
on your preference. When you hide the outline, because we use the reference
feature to fill the colors, it creates this clean and crisp
white outline separation. This helps define each
shape more clearly. I prefer it without the outline, so I'll go with this version. But before that, we need the
eyes on a separate layer. So I'll add a new layer, and with the same
dark maroon color, I'll also reduce the opacity
of my outline layer. I'll follow my outline layer
and I'll draw the eyes. We'll do that for all
the three elements. Okay. Now I can completely
hide my outline layer, and now we are done with
our color filling step. Our next step is to add
pattern to these colors. For that, we'll go to our first layer with
the deer on it, the color fill layer, and
we'll add a new layer, tap on this layer and
add clipping mask. My brush size is around 20%. We can start with
the head first. I'll select this
dark maroon color. I'll keep a very simple
dash pattern for this filling the whole red area. You don't have to follow the exact same pattern or the color palette
that I am using. Feel free to explore
your own patterns, colors, and creative
style as well. I'll be adding each pattern
on separate layers, but some iPads have
layer limitations, so you can also keep multiple patterns on the
same layer if needed. Thank Now, let's move on to the years. I want the years to have
this very leaf like pattern. Next, we can move to this
light blue area on the face. For this, I'll select the
darker blue from the years. I'll fill it with the sun
and star like pattern. Either we can leave
it like this or add dots in the center
of these stars. For the dot, I'll select a white colour and
add a new layer. I'll just add these dots in
the center of these stars. H. Next is for the neck area. I'll add a new layer. But if you want, you can even
have it on the same layer. Add clipping mask to this layer. I'll select this bright red. For this, I'll be
adding the seed like pattern with start with circles, and then another tiny
circle in the center. Next on a separate layer, I'm going to add dots in the
center of these circles. Next, I want to show you how you can change the
color of a pattern. Since there are multiple
patterns on the same layer, I'll use the free
hand selection tool to select the specific area, swipe down with three fingers
and tap on cut and paste. This will take the
selection on a new layer. Next, I'll alpha log this layer, select the color
you want to add, tap on this layer
and tap fill layer. And this is one of the way you can change the color
of your pattern. Next, I'll add a new layer
with the clipping mask on it, and we can add pattern
to one of the leg here. And I'll select
this yellow color, and we'll be adding the grass
like pattern to this area. Let's add a new layer
for our next section. This can be for the
gray area at the back. I'll select a darker gray
from the color palette. I'll go with the
fish scale pattern. Next, let's fill
in the belly area. I'll add a new layer. I'll select the
dark maroon color, and we can add basic
simple dashes. For the leg here also
with the same color, I'll again add
simple basic dashes. I think I don't want the neck and this leg of the same color. So let's change the
base color for the leg. I'll select this yellow,
the mustard yellow. I'll go back to the
colored fill layer, drag and drop into this shape. I think this looks more
coordinated and balanced. Let's move on to the
next lesson where we can continue with the
part two of this deer. I'll add a new layer, and we'll continue with
the legs at the back.
6. Deer Artwork - Part 2: This is the part two of adding patterns and colors
to our dear artwork. Let's move on to the legs. We have the base as this
light yellow color. So for that, we need
something darker. I'll select this
brown from the belly, and I'll be adding the
line and waves pattern that we practice
before in the lesson. I'll start by dividing our
shape into different sections. And while I'm drawing,
I'm trying to create a very flowy and
smooth transitions Once we are done
dividing in section, we need to fill these shapes. Just drawing parallel lines
following the section. Next is the fourth
leg at the back. For this, I'll select
the bright red. And the pattern that I'll be illustrating on this
will be the feather one. This pattern, too, we had
practiced in the lesson before. An another detail I want to add to this pattern
are the lines in the center. For that, I'll add a new layer and I'll select this
mustard yellow color. And we'll just add these tiny
dash lines in the center. Now for the tail, I'll add
something very simple, like basic parallel lines. I'll select a dark
gray color for this. Now, let's move on
to the branches. For that, I'll add a new layer with the
clipping mask on it. And with the darker gray, I'm going to add stripes. But you can experiment
with a lot of other pattern to add
to these branches. Now for the leaves, I'm going to select this bright
mustard color, and we need to add
clipping mask. And this clipping mask has to be on top of the base layer that
we created for the leaves. So I'll add a new layer, tap on the layer and
add clipping mask. I'll add a very basic grass
like pattern to each leaf. So we're done with
our leaves here. Let's move on to the base, the tiny mountains
at the bottom. We need to create
a clipping mask on the base layer that we
created for the mountain. That is here, add a new layer and add clipping
mask to this layer. For all three sections, I want to add different pattern. For the first one, I'll be
adding the fish scale pattern. Another detail I want to add for this pattern
are the dots. For that, I'll add a new layer. Make sure the layer is
below our first pattern. For this, I have selected the darkest blue from
our color palette. Done with our first
section here, let's move on to the second one. I'll be adding a
new layer for this, but you can also have it on
the same one as fish scale. We'll be going for a basic
star pattern for this section. Now for the third one, I'll
be adding some dash pattern. Now, our last two
elements are the birds. For both the birds, I'll be
adding the same pattern. I'll add clipping mask to the base we created
for the bird. I have duplicate the pattern
layer from the first bird, and now I have the same pattern
on the second one, too. So here we are done with our first Gonda
inspired pattern. I hope you enjoyed this
class and the process and you feel inspired to create something
beautiful from this art.
7. Final thoughts: Each line, dot, and
texture you have created adds character
and life to your artwork, making this a unique
and personal piece. I hope this class inspires
you to keep exploring this art style and bring this calm and creative practice
into your future work. If you have any question or
doubt regarding the class, you can post in the discussion
section of this class. You can follow me here on Skillshare to get
notified when I publish a new class and you can follow
me on Instagram two. Your reviews help me improve
and plan my future classes. Thank you for taking
this class with me. See you in my next class.
 Vinita Upadhya, Illustrator & Pattern Designer