Transcripts
1. Introduction: Hello and welcome
procreate artist. Are you ready to make your
illustrations pop without spending hours on complicated
scenery in this class? I'll guide you
through setting up a reusable procreate
Canvas template, then show you how to fill
it with clean shapes and smooth two ton gradients that harmonize perfectly
with your main subject. You'll also discover easy ways
to design simple patterns, whether you draw them yourself, use procreate brushes or
import handy resources. And I'll reveal my
favorite tips for adding charming accents
like delicate flowers, a cozy window vignette, dreamy clouds, and
subtle light effects to set the perfect mood. Through each lesson, you'll see my apcriate workspace
in action step by step. And you'll gain access to downloadable resources to
jump start your projects. By the end of this journey, you'll have a stream
line toolkit for crafting stylish backgrounds
in just minutes, giving your artwork a
polished, professional finish. Are you ready to dive in? Let's open Procreate and get
started with Lesson one.
2. Creating Your Base File: So hello and welcome to this class on drawing simple
backgrounds on Procreates. So the first thing we're going
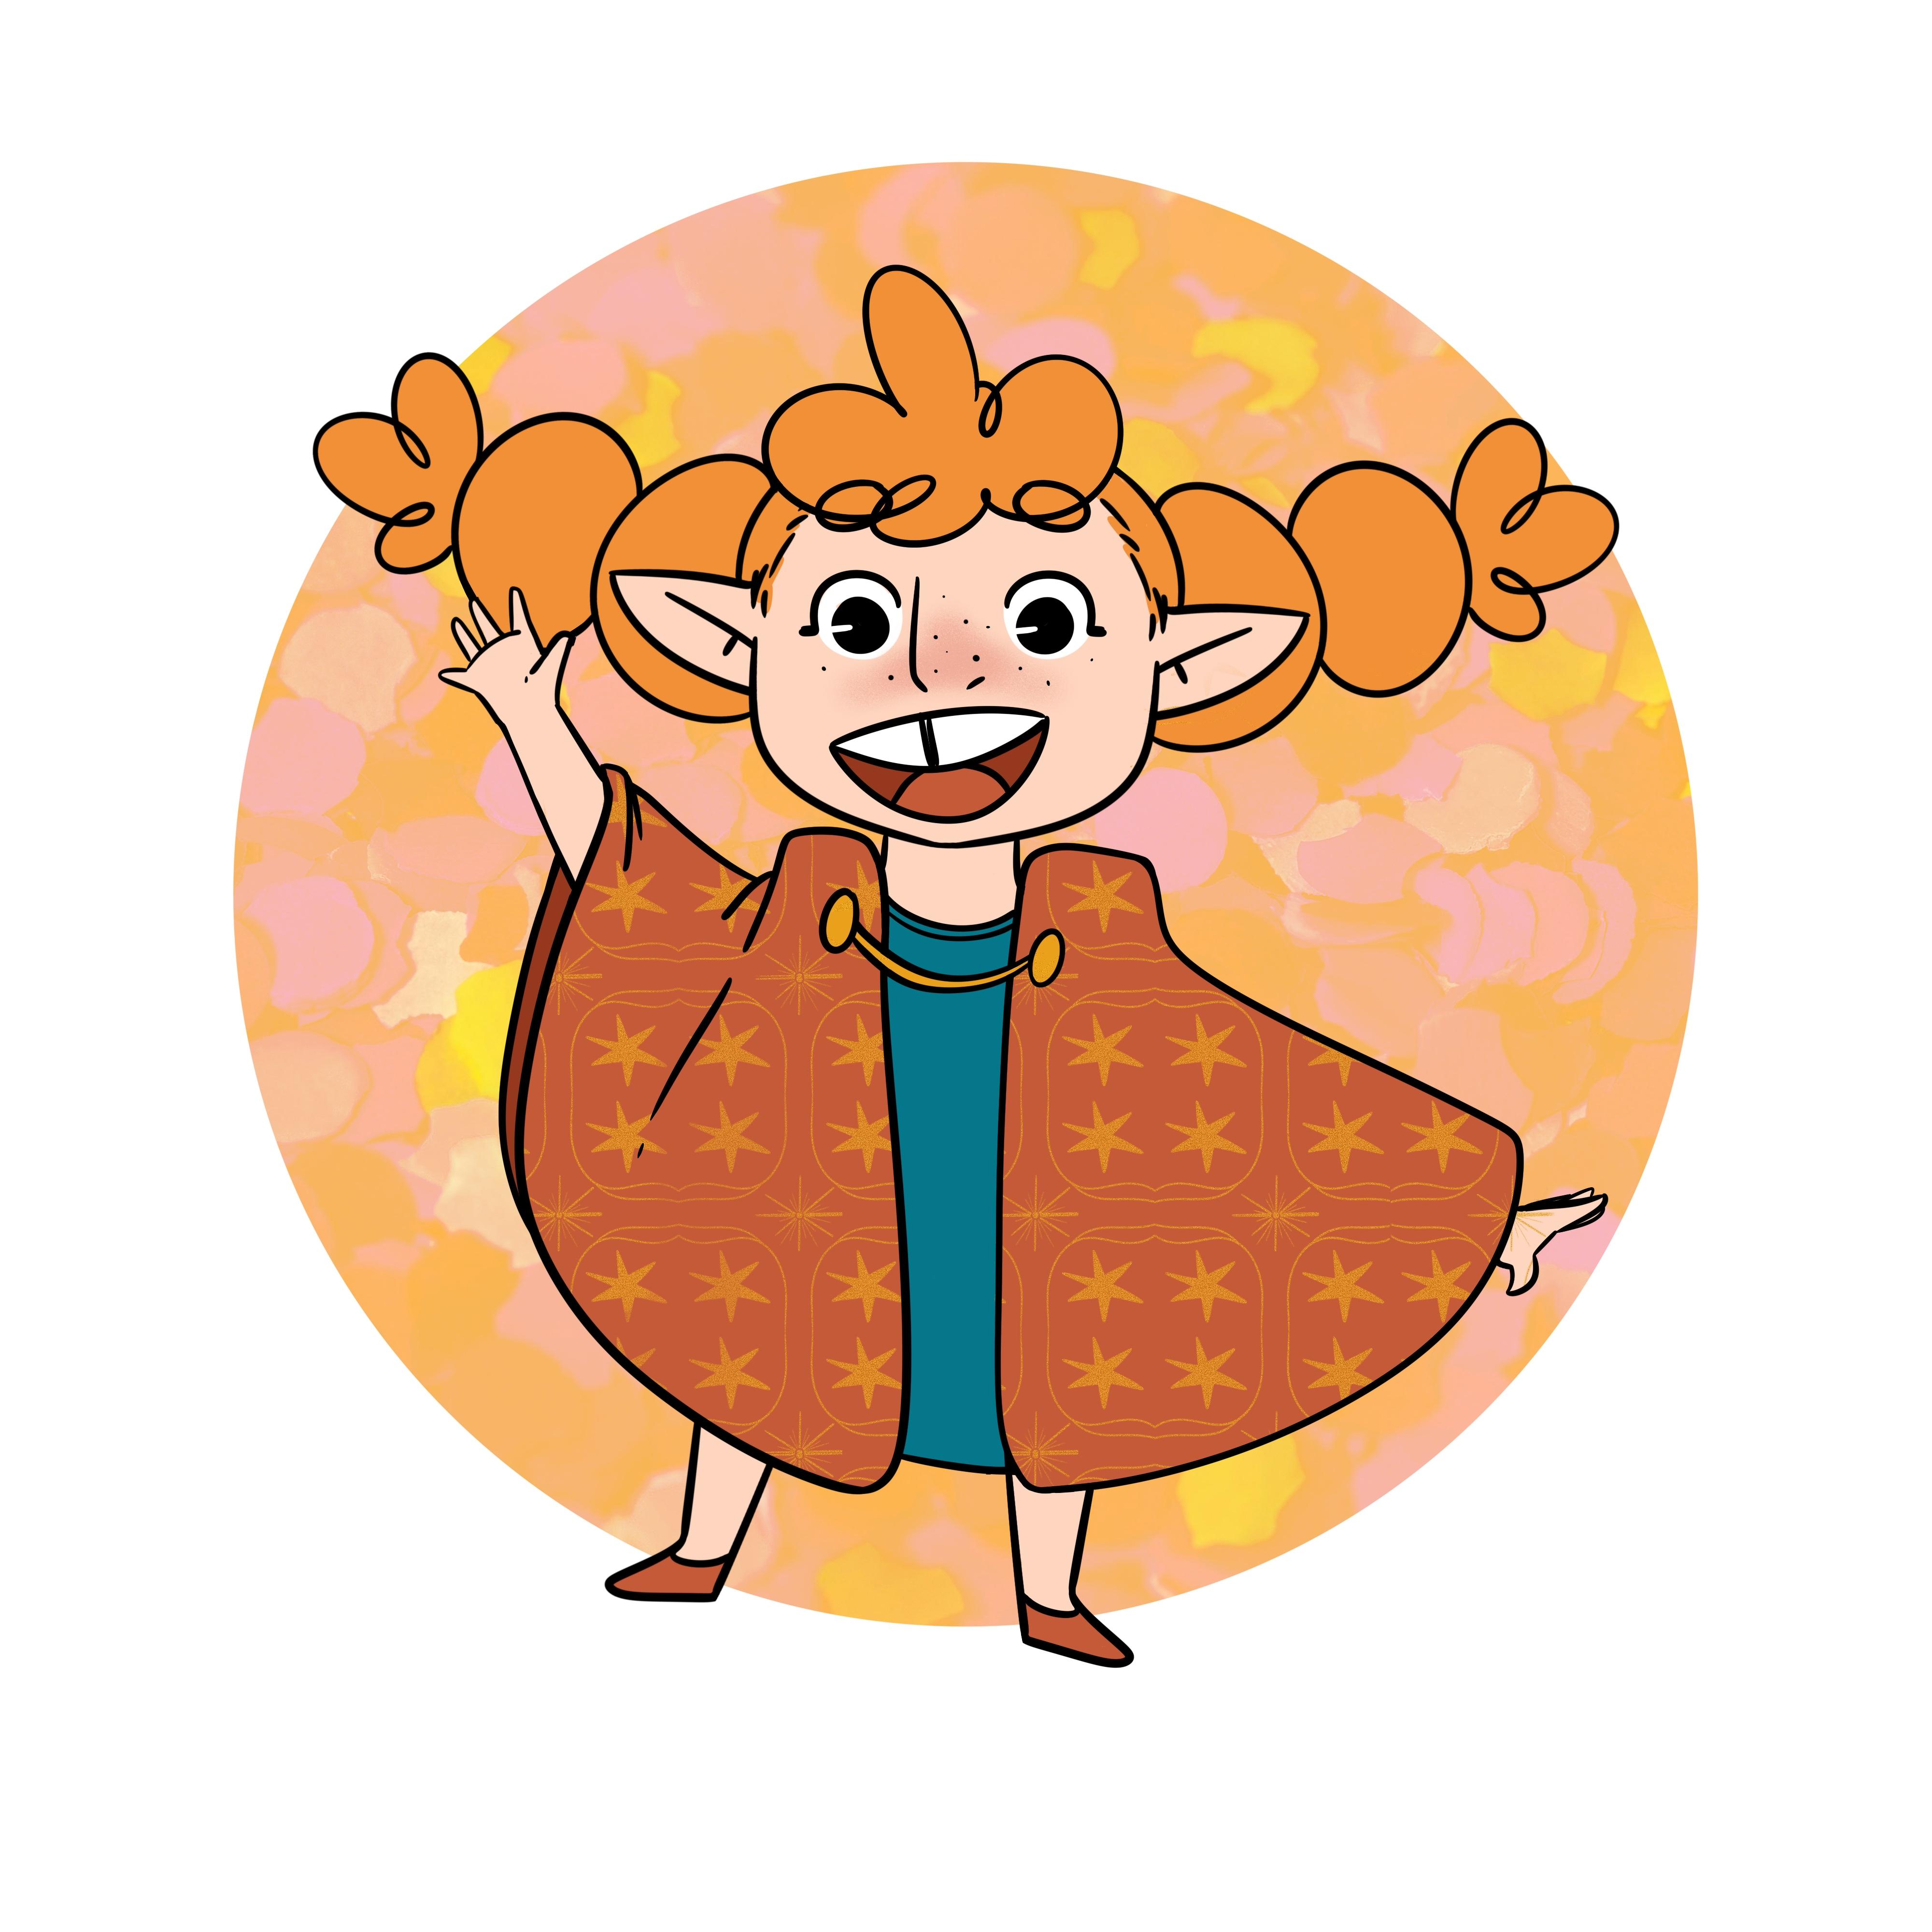
to do before starting to draw is creating our file. First thing is, I have
here this character. This is my character gene. This is a PNG file, and you can download
that for this class. So if you want, you can use a drawing you already have
without any background, or you can use this
character right here. We can either open this
image, as you can see, we can open this file and use it or if you want to
create a new file, you can tap this plus
sign right here. Procreate already has
quite a lot of options, but if you want, you
can create your own. And for that, we're going to
tap this icon right here, and now we're going to
write down our dimensions. So if you want to make a
file or if you want to make an illustration where you will
want to print it later on, I would say to go for something a bit big like
this, 4,000 pixels. It's only for something
online to post online, then you can go lower than that. But it's always good to
have a big file so you have more versatility and flexibility on what you're using
your illustrations for. So this is a good number, and don't forget to
set your DPI to 300, so it has a high quality. So for now, this is
all you need to know. Just set up the dimensions. We're not going
to worry too much about the color profile
and stuff like that. Mostly because
Procreate already has its settings as best as
it can for illustration. So we're going to
leave it like this because we're not going to be
focused too much about it. So yeah, just create a file. You can name it here, let's say, drawing backgrounds. There it is. You can name
it wherever you want. But there, we created a file. I like to create
a squared canvas, but of course, you can
do whatever you want. So now that our file is ready, all we have to do is add
a drawing here first. So I'm going to grab my
character, and for that, I'm going to go to
this icon here, then go to AD insert a photo. And here she is my character all ready to be used
for this class. This is it for
creating our foil. The dimensions of your
canvas is totally up to you the dimensions and even
formats. So this is it for now. And if you follow me
to the next video, we're going to start
drawing our backgrounds.
3. Simple Shape Background!: Alright, so welcome back. We have here our file
with a character. Don't forget to
download my character Jean if you want to use
her for these exercises, or if you want, you can
use your own drawings. And now we're going to start
with something very simple. This is the most simple
background you can do, which is using a shape. Just come up with
any shape you want and put it behind the character
or the drawing you have. So first thing I'm
going to do is go here to my layers
and add a new layer, but bring it below
my illustration. Now, I'm going to
pick a random color. Let's see maybe a yellow. You can pick whatever you want, and then pick a brush. Again, use whichever
brush you want. It really doesn't matter. It's all a matter of preference. Now we're going to create
a shape to draw a shape. So for example, something a bit more squared or rectangular. Let's go over here, hold it down, and there we go. It's a bit wobbly
right now, right? So you want a square
or rectangle. Let's tap this small arrow
here and then choose rectangle or square.
And there we go. Now, as you can see, there
are some gaps here and there. We can fix those very easily. Just go over them
with your brush. This doesn't need to be perfect. I like for things to be perfect. In my drawings, I think it gives them a bit
more uniqueness. But there we go. So
our square is done. We can even transform it a bit, make it bigger, perhaps,
move it around. And now, be sure that
all the gaps are closed. Let's go over here, tap our layer, and
then tap reference. And now we're going to drag
our color here and there, there we go. You
have a background. This is the simplest
background you can do, and now all you have to
do is adapt those shapes. It doesn't have to be squared. It could be perhaps a circle. For a circle, you
can just do this, hold it down, and then go to the arrow again
for a perfect circle. And there we go, move it around, change its dimensions, and
then fill it with color. So the process is the absolute same as we
did with the square, but this time we drew a circle. It doesn't even need
to be regular shape. You can draw something that resembles a star
perhaps, something like this. Let's put it as reference, so the color goes inside of
our lines, and there we go. Just don't forget to not leave any gaps in the line you drew, so the color stays inside
the shape, but there we go. Very simple way to
draw a background. It has a lot of versatility because you can draw
whatever shape you want. And there's also another
thing you can do. For example, you want to have it a gradient, you
can do that as well. For example, let's go
back to our square here. I'm going to duplicate it and wrap this color here
and now color it. Now what I'm going to do is to cut a shape or
anything in procreate, all you have to
do is go outside, pick the transform tool and then go outside
of your canvas. Di selected, select
it again, and bum. It has been cut. There we go. Now I'm going to merge both
of these layers together. So I merge those two
layers together, and now there are two
ways to go about this. We can, for example, go to our adjustments and
then Gaussian blur and move it until the two colors merge more or less together,
something like this. So there we go. We can even imagine that this is a drawing. By the sea side, we
have the sand here and the s right here.
This is an example. Something else you can do is. So instead of merging
these two together, we can use our smudge tool and just smudge these two colors
together, just like this. Now we can merge it down and cut what we don't need
anymore. And there we go. This way, you have a gradient, two colors or even more
if you want background, using a simple shape,
and you can do this with any other shape. The process is exactly the same. So as you can see, you can
very easily and very quickly make an interesting background that doesn't really
require a lot of skill. And it can make very
creative backgrounds and add a lot to your drawings. So yeah, this is it. Very
simple background just using a shape and playing
with colors or radiance. So take your time if you want, you can practice this and
then once you're ready, follow me to the next video.
4. Easy Pattern Backgrounds: All right, so hello
and welcome back. This is our second example of drawing a simple
background on Procreates, and now we're going
to go up a level. In the previous video, we
drew simple shape background. I kept the circle one so we
can work on the next one. So basically, we can keep the idea of the
shape background. Square, a rectangle, a circle, or any other shape
you might want. If you want, it doesn't
need to be a shape, but you can just add
it to the full canvas. Color the full canvas with
solid color that you want, and then we're going to
go to the next step. So what we want to do is add a pattern to our background to make things a bit
more interesting. So, for example, I'm
going to go right here. And I'm going to
add a new layer on top of my background shape, and then I'm going to tap
it and tap clipping mask. This way, whatever
I draw inside of this will stay inside
of this shape, just to make my
life a bit easier. Now I'm going to
color pick here the white because I want
it to be white, but you can use any other color, and now we're going to
draw a simple background. It doesn't really
matter what it is. For example, I'm going to
draw perhaps few stars. Just pick any brush
you like and go over your background
and draw a few stars. If you want, we can hide here
our character for a bit, so we can really see
what we're doing. And just go over the whole
shape with your drawings. We can also do
something like spirals, since those are easier
to draw. Like this. Just think of simple elements
you could draw and go in and start drawing them throughout your
background. There we go. Now I'm going to make my
character visible again. Now, I feel like for me, the white is a bit too much. So I'm going to go over here, tap this letter here, look at the opacity
and go down a bit, 40%. Yes, that's better. There's a little
bit more focus on my character and less
on the background. So these are all
things that you can very simply do and very quickly do to make your backgrounds
a bit more interesting. Just a few more elements, and that's it, very simple. You don't need to overwork this, drawing some spirals
or some flowers, stars, maybe a few random
lines, wherever you want. Aside from drawing
your own pattern, something else you can do
is actually use a brush. So I'm going to hide
here this layer, my pattern layer, and I'm
going to add another. I'm going to go to
my brush library. And as you can see, for example, if you go to the textures, you can see already some very interesting patterns
here like this one, the circles, a grid, some lines. So you can go over your library. And if you have others that
are not default to procreate, you can use those as well. But yeah, just go over
everything and see. For example, this
one is very fun. I really like to use this brush. I really like to use
this one, the fever one. Let's see. So it has
clipping mask as well. Then I can just go in
and start drawing. Now, once again, I'm going
to lower the opacity. Let's go to 40. There we go. And there it is another
very quick background done. Percut has a lot of brushes, a lot of interesting brushes, feel free to explore those and use them
on your backgrounds, maybe even on patterns on
your character's clothes. There are many ways
you can use them. So this is another way to make a more complex background
with more elements. And now I have just one
more method to do this, which is using an image
you found online. So I do have three images
that you can download. You can find I found
this on pixels. So you can find many
different images, look up patterns online on
websites such as unsplash.com, or pexels.com, and download
those images for free, and you can use them in your drawings or
projects or wherever. So we have this one, this one, and this one. So these are three images
that I got for you, so you can download
this if you want. And if not, feel free
to find something that you really enjoy
for this exercise. Going back to my character, I'm going to select
this layer here, and now we're going to do
the same thing as before. So we want to import
a file or a photo. I'm going to tap this tool. I can here, go to AD
and now insert a photo. And I'm going to choose
this one. So there we go. Since I added above
my background, it automatically added
as a clipping mask. But yes, we have here our image, and now we don't want it
to have all this color. And now we can do is
play with layer options. Usually, your layer will
be set as normal, right? We can play with this
along with opacity. So for example, you can
actually leave it as normal. And lower the opacity
so it looks a bit more integrated
in the illustration. Or we can go through all of
this and see what we want. For example, this one, the
101 looks really good. It changes the colors a bit. It doesn't even look like
a photography anymore. I really like it. Another
option is the multiply one. Let's go lower the
opacity, and there we go. Let's see something else. I also really like
the overlay one, so we have a bit less of color. We maintain a lot
of the yellow here. So yeah, just play with these
layer options right here. I think I'm going to keep
it as the lightened one. Really like the
colors we got here. And there we go with a photo and a simple shape background. You can make a very interesting
background as well. So just play with your
layer options right here, go up and down, play
with the opacity, and see what happens there. You can even change the
color of your shape, and see what happens there. What's the see now
the colors change. Maybe I'll go a bit
lower with my opacity. So there are many options here, and this is very, very simple. You don't really need
to go through a lot of work to draw a
detailed background. This is it. I hope you
have fun with this. So try all three of these methods and see
which one you prefer. Just take your time, have fun. And once you're ready,
follow me to the next video.
5. Creating Elements For Backgrounds: Alright, so hello
and welcome back. This is going to be our
last style of background. So we're going up
yet another level. These are going to be
a bit more complex, but still very easy. First thing, I'm going to draw a shape below
our character. So these are always going to use a shape as the background. I like to leave a frame
around my drawing, so that's usually
how I go with this. But if you want,
you can just fill your whole background with any color you want
or leave it white. It's totally up to you. All right, let me just
adjust this a little bit. There we go. So now,
for this video, what we want is create
a background with some more specific
and complex elements without it being too difficult. So the first one that I really, really like to use is flowers. Like there's a field of
flowers behind my character. So the first thing I'm
going to do is create a layer on top of my
background and then use the clipping mask once
again so I can freely draw inside my shape with
nothing going outside of it. And I'm going to go
here to my brush because even though I want
to draw a field of flowers, I don't want this to be too complicated and time consuming. So what I'm going to use
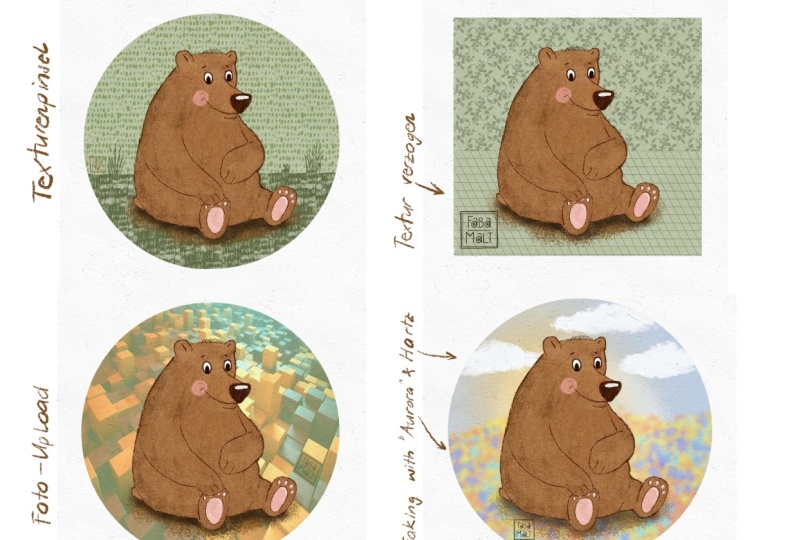
is go to my brush library. And then go to the artistic tab. And then we have this
brush here called Aurora. And what I really like about this one is the dynamic colors. So for example, I'm
going to go over here and pick,
let's say, a blue. And now I'm going to start just passing my brush one
side, and the next. There we go. So as you can see, it has this abstract look. To it, and we can make
it look like flowers. So for example, now
I can go over here, make it the brush a bit smaller and draw
like little buttons in some of these shapes to make it look
closer to flowers. So as you can see, I'm
doing this very quickly. Now, if you want it to be
a bit more interesting, we can add some more and create a bit of depth
to our background. So, for example, I'm going
to go over here, this one, go to my adjustments, and then caution blur and
add a bit of blur like this. I'm also going to
the adjustments and now hue saturation
and brightness. I'm going to lower the
saturation here and make it a bit brighter and
lower the saturation. Now I want a layer
on top of this one. We can even perhaps add a little bit of opacity
here. There we go. Now again, in this new layer, I'm going to go over here, perhaps go a bit for the greens, and I'm going to add more
flowers to the front. Really happy about the
color, so let's redo this. Maybe keep the blue. There we go. Now, draw some
buttons like we did before. And as you can see,
all you have to do is play around
with the opacity, maybe go to your
adjustments again, and just play around until you have something that
you really, really like. Something like this.
Let's see here, play a bit with or hue. Yes, for example, I prefer
this color here. There we go. And here we have it a field
of flowers very simply done. Now, we can even go in and
add a bit of lighting there. So I'm going to add a new layer, put it above everything else. I'm going to color pick my
yellow and make it brighter. And now I'm going
to grab any brush. It doesn't really matter
which one right now, and I'm going to
draw a circle here. And now I'm going to go
to my adjustments again, Gaussian blur, add a lot
of blur here like this. And now we can even play with our layer options
here and we opacity, and we added a bit of light
to the back of our character. Very simple, as you can see, not too time consuming. Again, we're using brushes
from Procreate that can give us a lot of creativity and flexibility here,
very, very simple. My next background is also
going to be using some nature. So let me hide this one. Let me add a new layer
below my character. And now, actually,
instead of doing this, I'm going to duplicate
my background here, move it this freeway. Let's show it, and now I
want to change the color. Let's go for a blue because now I want to draw the
sky, drop the color there. And now once again, I'm going to add a
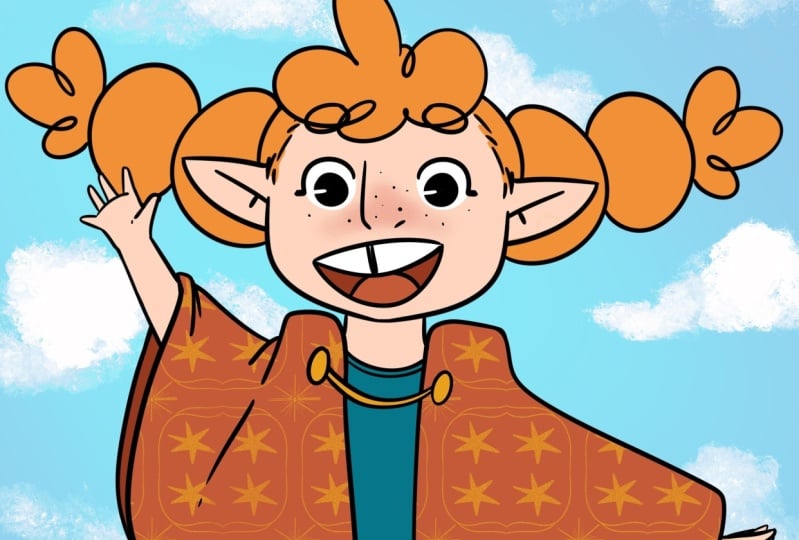
new layer on top, toggle on clipping mask, and then choose a white color. Now, what I want to do
is draw some clouds. So instead of having
just a shape there, I can make it look like the sky. And once again, I'm
going to use one of procreate brushes this
time, the hard swan. I really like this one
to draw clouds because I think it gives a really
great texture for it. So let's go in, and now
we can draw some clouds. We have one here,
another to this side. Perhaps here. So play with
pressure here with your pen. You can press a
bit in some areas, less than the others, and we got here great texture. You can draw bigger
clouds, smaller. It's totally up to you. But as you can see, you can very quickly draw a cloud sky, resizing here one of my
clouds that I wasn't too happy about,
and there we go. You can also try other brushes
that you might prefer. But for me, this one works great for clouds.
And there we go. As you can see, very simple. We have here our clouds. Once again, we can add
a bit of light there. So, for example,
I'm going to add a new layer, bring it forward, and let's say let's pick
a yellowish perhaps. And now with any other brush, let's say I want a light
to come from here. So once again, just a
spot of color there. Now let's go to Gashi and blur, go all the way up. You can play with
the percentage here. You can prefer any
other lower or higher. And now again, go over
here, choose screen. Or any other that
we might prefer. Let's see lighter color. Perhaps, perhaps look like
this. And there we go. We can even. Let's see if we want it on top
of our character. Not really. And there we go. We can even change its color. So let's go here
to hue saturation. Let's see if we prefer
another color like this, perhaps, a bluish one. Yes, I like this best,
and there we go. Let's hide it and
see if we like it with or without this bit of extra color and
light. Like it with it. And there we go,
simple background, the sky and some clouds. Now, for a last background, this is going to be
the most complex one, but you'll see that you'll be able to do it
very, very easily. So I got this image for
you with two Windows. We just need to
use one of these, but we have here this
reference for you to download. So don't forget
to download it if you want to use it
as a reference, and now we're going to go to our drawing here and
import our image. So going here to
our tool icon add and then insert a photo once again and we got our windows. So what I like to do
sometimes I'm going to cut here the image a bit because we don't
need the two windows. So sometimes what I
like to do is add a very commonplace element to my background,
such as a window, perhaps some piece of
furniture, a bench, wherever you can think of just one element to add a little bit
extra to my drawings. So I'm going to
duplicate here this background. Select
the yellow one. Let's make it visible, and then we have
here our window. Now, what we'll be doing now is going here into our window. I'm going to lower
the opacity a bit, then add a new layer on top. Now I'm going to grab a black
color and my inking pen. Since it's my favorite
one, there we go. And now I want to
redraw this window. So I'm going to
draw a rectangle, right, like we did before, go over here, rectangle. There we go. Close the gap here. Now let's duplicate
this, make it smaller. I'm just following my reference. There we go, merge
these two together. Let me lower the opacity
a bit more here so I can clearly see it and now we just continue
doing the same thing. This window is basically
all squares and rectangles. As you can see, I'm
not being too perfect about it because sometimes
that can also be quite fun. New layer on top and
now draw a few squares. Right now I don't need
my reference anymore. Let's duplicate the squares. Now let's select this side, copy and paste it, and move it to the other
side, and there we go. Our window is finished. Now, all you have to
do is add some colors. So I'm going to set this
layer as reference, and our window was white, so I'm going to
keep it that way. Alright, so now our
window was white, so I'm going to use the same just drag and drop
it. Now we can option. You can use the continued
feeling option and just go all over
everything. There we go. And now we can even use the same idea we had
for the other two, the clouds and the flowers. For example, let's pick up
our blue here, any blue. I'm not too worried about
the colors right now. I just want to show you
different examples. And now, once again,
I can go and grab my painting my artistic brush, the heart swan.
Draw some clouds. And there we go, simple
element that you can draw on a background, a window. It can be anything
else you might want or might make sense for
your drawing in general. But just use a
reference, draw it, and add any other extra
elements you might want. This is it very simple. I know these were a
bit more complex, but as you can see, they are very easy
and quick to do. So once again, just
take your time. And once you're ready, follow me to the next video.
6. Conclusion - Before You Go!: Hi, and welcome back. Congratulations on
completing the class. I hope you had a
fantastic time exploring these simple yet
effective ways to create backgrounds in Procreate
and feel confident in adding that perfect final
touch to your illustrations. We went through
setting up your file using simple shapes with
solid colors and radiance, creating fun patterns
in different ways, and adding charming
elements to build a scene. Now it's your turn to shine. Your assignment, I
encourage you to choose your favorite
background style we covered, whether it's the clean shapes, the playful patterns,
or the scenic elements. Draw it, and if
you feel like it, post it in the project gallery. I absolutely love seeing
your unique creations, and I'm always
here if you'd like any feedback or have questions. The most important thing is to have fun with it and experiment, and don't forget
to download any of the resource mentioned if you'd like to use them
in your own work. Thank you so much for
joining me in this class. It's been a pleasure guiding you through
these techniques. If you enjoy this class
and found it helpful, I will be so grateful if
you could leave a review. Your feedback not only
helps me improve, but also assists
other students in finding the right classes
for their artistic journey. Until next time, keep creating wonderful art and as
always, keep on drawing.
 Patricia Caldeira, Illustrator | Digital Artist | Designer