Sewing Alchemy : Build Sewing Confidence With a Tea Towel Bag | Cloudia David | Skillshare
Search

Playback Speed


1.0x


  • 0.5x
  • 0.75x
  • 1x (Normal)
  • 1.25x
  • 1.5x
  • 1.75x
  • 2x

Sewing Alchemy : Build Sewing Confidence With a Tea Towel Bag

teacher avatar Cloudia David, Co-Founder | Entrepreneur | Designer

Watch this class and thousands more

Get unlimited access to every class
Taught by industry leaders & working professionals
Topics include illustration, design, photography, and more

Watch this class and thousands more

Get unlimited access to every class
Taught by industry leaders & working professionals
Topics include illustration, design, photography, and more

Lessons in This Class

    • 1.

      Introduction

      1:53

    • 2.

      Class Project

      0:56

    • 3.

      Materials required

      0:19

    • 4.

      Getting Started With Sewing

      7:24

    • 5.

      Finishing The Bag

      2:23

    • 6.

      Conclusion

      0:53

  • --
  • Beginner level
  • Intermediate level
  • Advanced level
  • All levels

Community Generated

The level is determined by a majority opinion of students who have reviewed this class. The teacher's recommendation is shown until at least 5 student responses are collected.

76

Students

2

Projects

About This Class

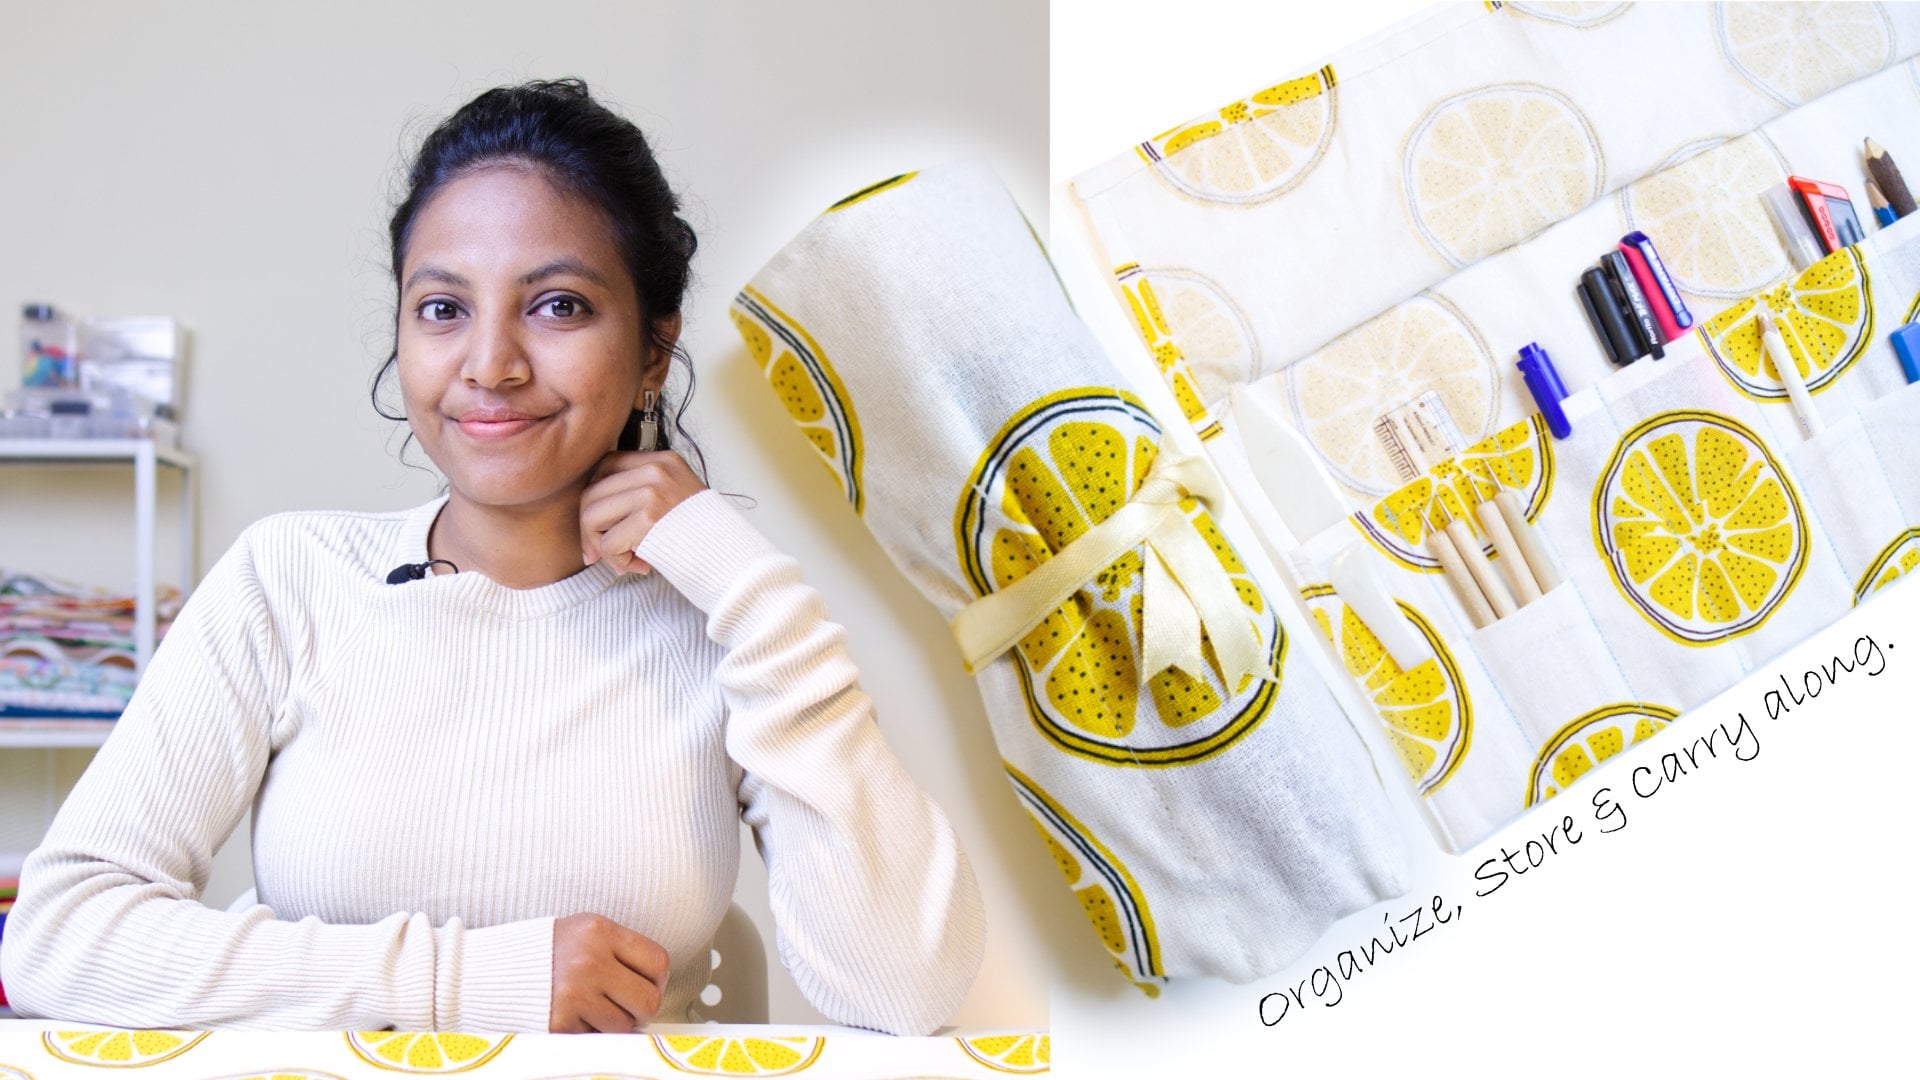
Create an All-Purpose Drawstring Bag: Boost Your Beginner Sewing Skills with Cloudia.

Are you ready to kickstart your sewing journey with a fun and practical project? Join Cloudia, a passionate sewing enthusiast, in this beginner-friendly class where you’ll learn to create an all-purpose drawstring bag. Perfect for organizing and storing materials ranging from pins to shoes, these bags are also excellent for gift packaging because they are reusable and eco-friendly.

Class Description:

In this class, Cloudia will guide you step-by-step through creating a versatile drawstring bag from a simple tea towel. This project offers a fantastic opportunity to upcycle old materials sustainably while putting your beginner sewing skills to use.

Throughout the class, you’ll learn essential techniques, from marking your fabric to sewing ribbon casings, making this project a crucial stepping stone in your sewing journey. By the end of this class, you'll not only have a handy and stylish bag but also the confidence to tackle more advanced sewing projects.

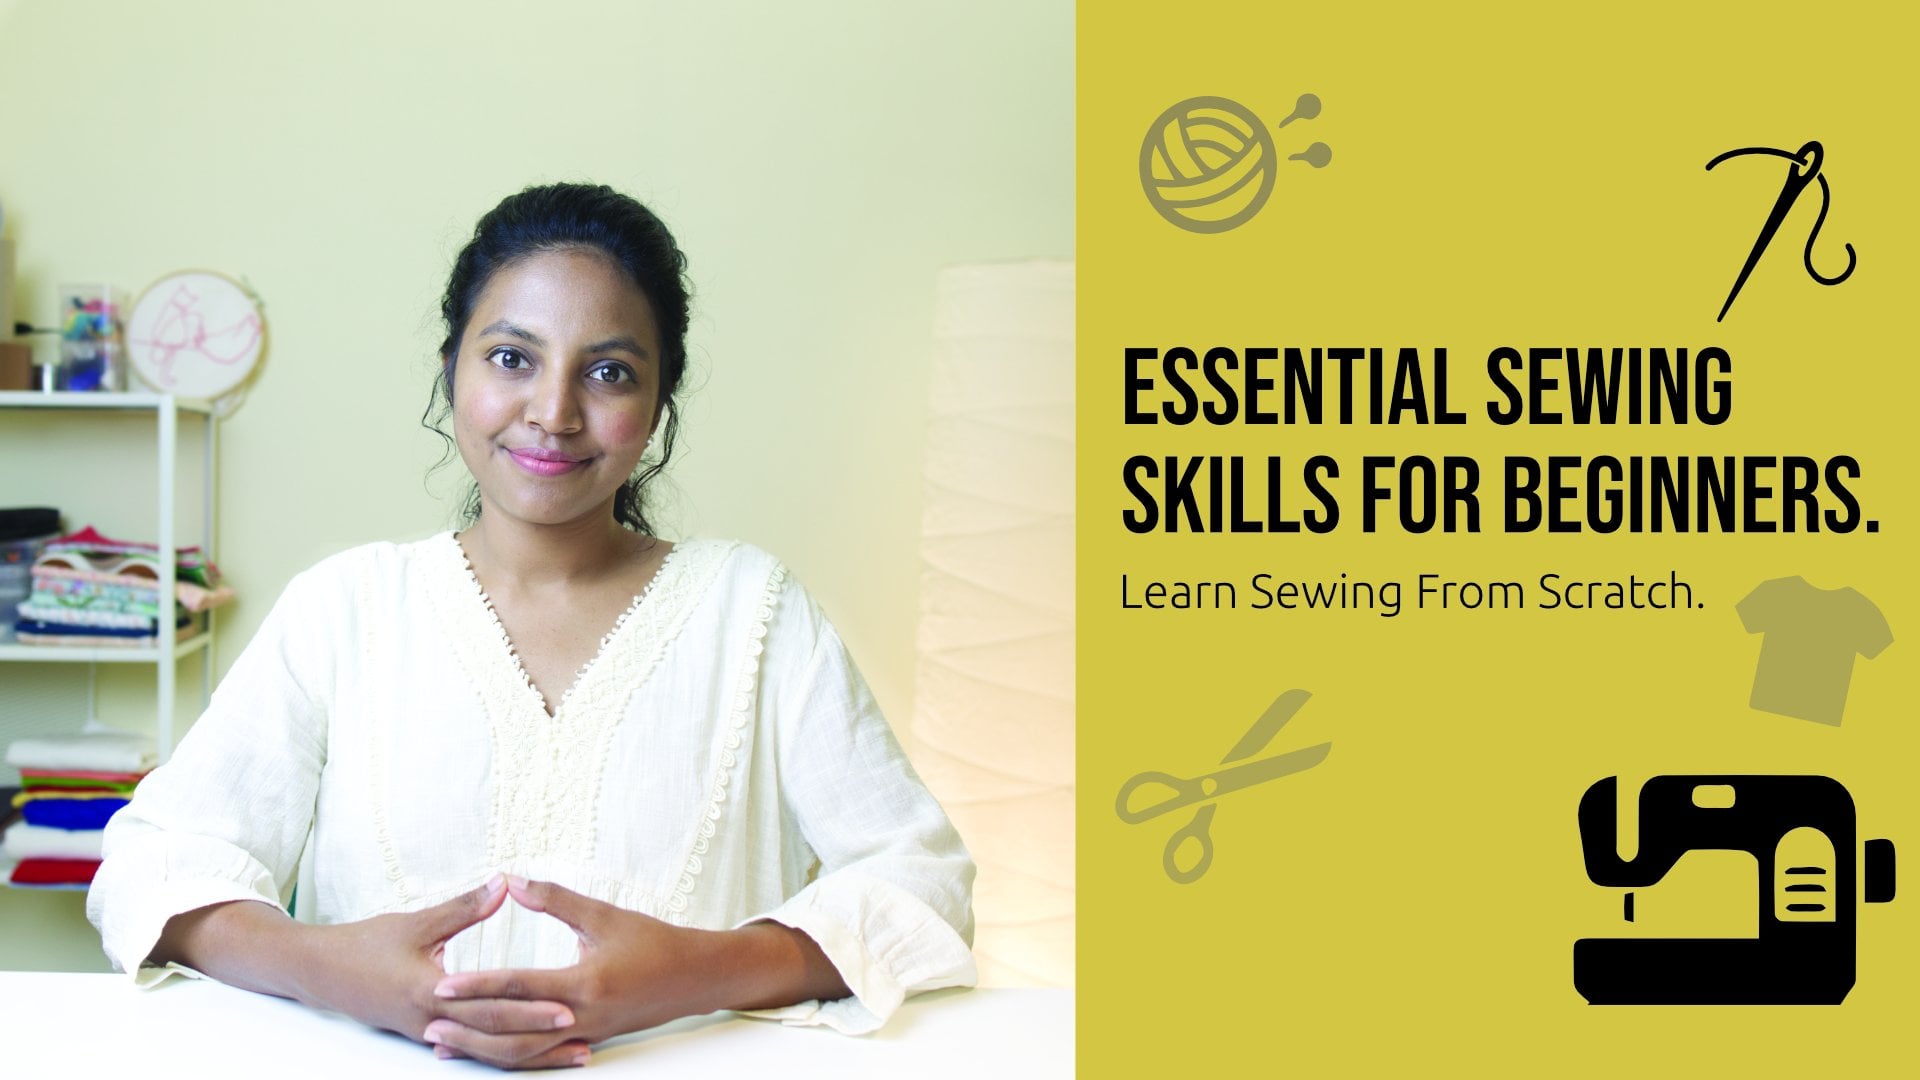
Cloudia, who has completed over 100 sewing projects from scratch, will share her expertise and passion, ensuring you gain valuable skills and insights. If you’re a complete beginner, she recommends starting with her other class, “Sewing Alchemy: Essential Skills & Techniques For Your First Day,” where you can learn the basics and essential tools of sewing.

Simple projects like this one provide instant results, keeping you motivated and encouraging you to sew more. Join Cloudia and embark on this sewing adventure.

Happy sewing!

Royalty free music provided by Fesliyan Studios.

Meet Your Teacher

Teacher Profile Image

Cloudia David

Co-Founder | Entrepreneur | Designer

Teacher

Cloudia is a visionary product designer whose exceptional problem-solving skills and expertise in sewing and lifestyle crafts distinguish her in the design world. Her creations are not just aesthetically pleasing but also stand as testaments to sustainable living, reflecting her commitment to eco-friendly practices. As an entrepreneur, Cloudia co-founded Harsh and Cloudia Digital Imaging and Design LLP in 2020, a venture that has made significant strides in the visual media and design industry.

Her passion for design is matched by her love for adventure. A motorbike enthusiast, Cloudia often embarks on journeys across the diverse landscapes of southern India, from rolling hills and dense forests to ancient monuments, seeking inspiration in the tranquillity of nature. Her affinity... See full profile
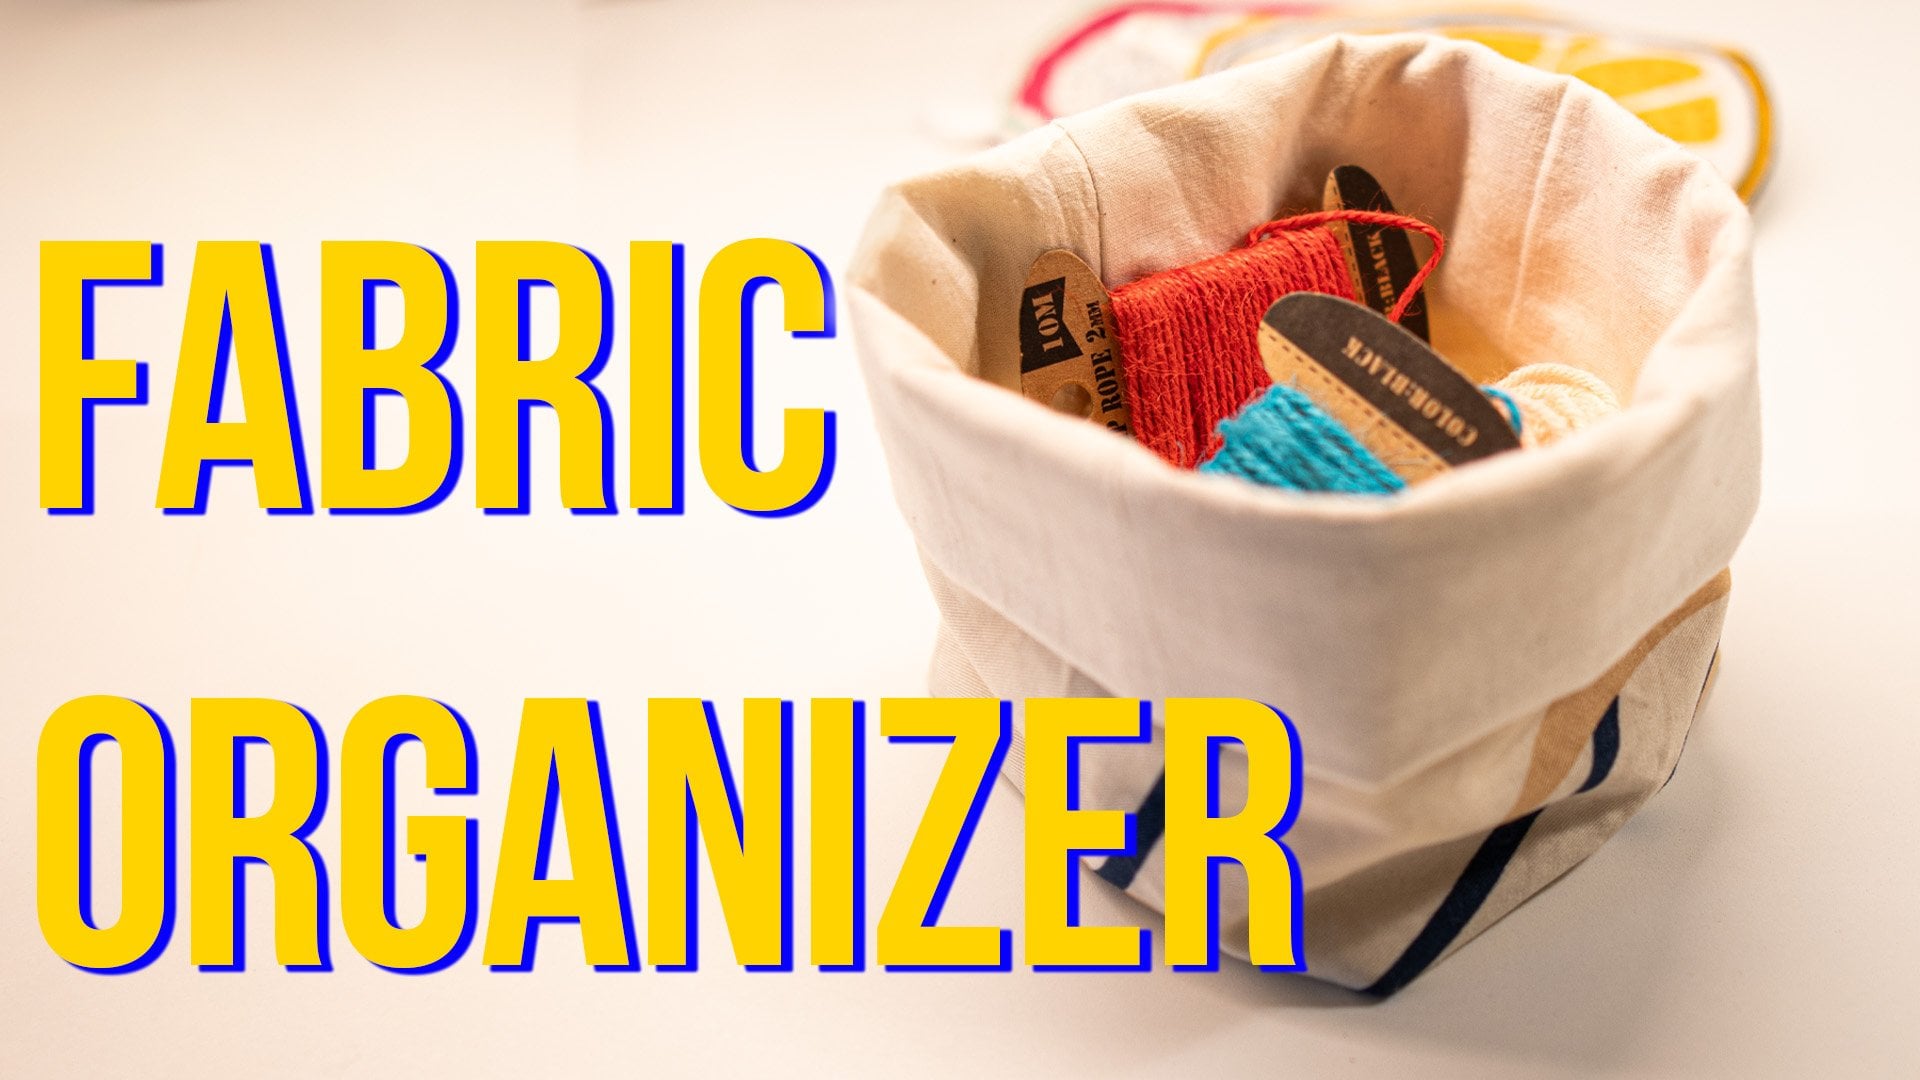
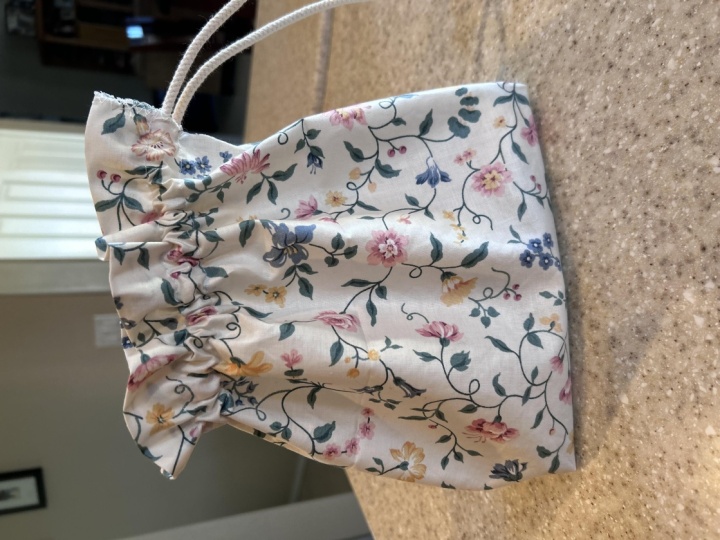
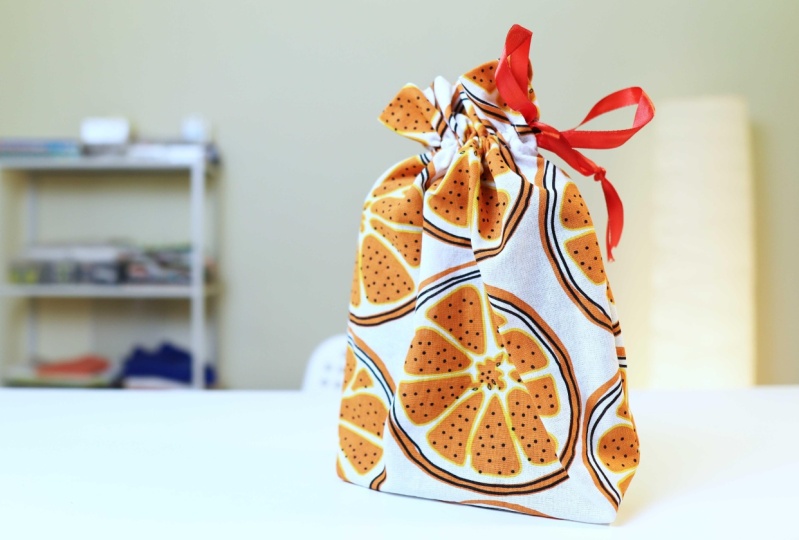
Level: Beginner

Class Ratings

Expectations Met?
    Exceeded!
  • 0%
  • Yes
  • 0%
  • Somewhat
  • 0%
  • Not really
  • 0%

Why Join Skillshare?

Take award-winning Skillshare Original Classes

Each class has short lessons, hands-on projects

Your membership supports Skillshare teachers

Learn From Anywhere

Take classes on the go with the Skillshare app. Stream or download to watch on the plane, the subway, or wherever you learn best.

Transcripts

1. Introduction: All purpose rostering bag will help you store and organize your materials neatly. Roasting bags are really essential ones for everyone for storing any materials ranging from pins to shoes. These bags are also great for gift packaging because they are reusable and eco friendly. It is a sustainable way to recycle your old tetart or any textile with beautiful color and prints. This simple project offers wonderful opportunity to put your beginner sewing skills to use. And also kick start your sewing journey with confidence. Hello. I'm Claudia, a passionate sewing enthusiast. Today, I will guide you through a quick and rewarding project. Throughout this class, we will make use of essential techniques from marking your sewing ribbon casings. These small manageable projects are crucial stepping stones on your sewing journal. Building these skills and confidence needed for more advanced projects. If you are complete beginner, I recommend you to watch sewing alchemy, essential skills and techniques for your first day where you can learn about sewing basics and essential tools. I have shared the link of this class in class description. Simple projects like this one can provide instant results and helps us motivate ourselves to sew more. While we try a new hobby or skill, it's really essential to try simple projects and crossing small milestones. Join me in this class, and let's kick start your sewing journey together. 2. Class Project: Your class project is to make a drawstring pack from a te tar. I recommend to use a te tar to get started with your first bag. Since it is heat to source, and you won't have to cut and finish the edges. You can begin to sew directly. You may choose to have the size of the bag depending on your requirements. The size is defined by the size of the item you wish to store in it. Think of what kind of objects you will be keeping in the bag to get idea of the overall size. Please post a picture of your bag in the project section. So I can have a look at your creation and provide feedback in the community can get inspired. All the essential steps are explained throughout the class. Wrap your materials, and let's start so simple but beautiful bags. 3. Materials required: This lesson, let's see the materials required. Etar, scissors, Ruder, marker, some pens and clips, ribbon, and all purpose thread, sewing machine. 4. Getting Started With Sewing: Now let's decide the size of the bag. For that, I would ask you to answer the following questions like, what is the purpose of the bag? Think of what kind of objects you wish to store and how many bags you plan to me. Once you figure out these, let's get started. So let's first start by making the casing for the ribbon to pass through. For that, let's fold the top edge over 2 " and then add some pins to secure the fold in place. Make sure the fold is uniform overall, the line. Now, let's start making a stitch over this line here. We can use the hemline as the guide for making the stitch. Let's place the pressure footer above that hemline and start with the backstitch. Slowly make the stitch using that hemline as a guide. Now, finish it with again a backstitch. Now we can remove the pins and we have made the casing. Let's use the ruler and marker to make channel for ribbon to pass through. So this step is completely optional, but I'm going to make that. 1.5 centimeter above the stitch line that we have made here. This will act as a channel for the ribbon pass through. So this is completely a decorative process. I'm making the line connecting all the points that I just made. Let's make a stitch just above the line like this. Perfect. We can start making the fold and close the edges together to finish our back. I'm going to open the De tar and fold the top and bottom edges matching together like this and also the right sides facing each other. Okay, perfect. So let's use some pins here. You can even use clips if you prefer to. Since we are using a tet all the edges are finished. So if you are using some other fabric, you can finish the edges using hemstitch before you start. Now I have secured before using the pins. Now let's stitch both the fabrics together. Let's place the presser footer just below the casing that we have just made and start with the backstitch. And also here you can notice that the hemline will act as a guide for you to finish the stitch. I'm stitching along the edges. Once I reach the corner, I'm locking the needle in and lifting the presser footer and changing the direction of my bag, again, continue to stitch. And finish the stitch with using a bask. Now it's time to remove all the pins and cut all the threads. Okay, perfect. Now we have made a simple roasting bag ready. But I'm going to add some base detail. This is completely optional. If you want, you can skip this process. Okay? For that, adding the base, I'm going to open this bag like this. Completely opening this and matching my center edge to the side edge is completely like this. So if you notice here, there is a diamond shape. You can form a diamond shape like this. So in this way, we can hold both the corners like this. We'll get both the corners. So we are going to add a triangular detail here just to add some base for our back. So let's do that. So let's open this like this. You can notice here it's perfect. We have also opened the seams like this to make it flat. Using our ruler, just place the ruler against the corner edge and then draw a line. In a similar way, let's place the ruler against the corner and draw another line. So we are holding these two corners of our bags base and making this triangular detail. So let's play some clips here. Now, let's make some stitches above this line. Make sure you have opened the seam flat starting with arranged with that stitch. And slowly removing my clips. Perfect. Finishing it. In a similar way. Let's finish the other corner as well. Now it's time for us to flip this side out. I'm going to do that. If you see we have made this bag in a very quick and easier way. You can notice here, we have added beautiful corner details and we have enhanced the bag with some volume. In the next lesson, let's see how we can insert the ribbon inside this casing and finish the bag. Oh. 5. Finishing The Bag: In this lesson, let's see how we can insert the ribbon inside the casing. For that, I'm going to wrap my ribbon and fold them into half like this. And I'm going to place it just above the casing and leave four to 6 " extra and cut the ribbon slide this. So this is perfect. So we can finish the edge of the ribbon by adding a v slit like this. Or you can simply use lighter and fuse the edges of the ribbon from fraying. Now let's use safety pin or any other needle and insert the ribbon inside the casing. So I'm going to insert and pull this through till both the ends are the same length. Make a simple knot here to lock the ribbons inside the casing. So we have our beautiful bag ready. It's very simple process. Okay, let's see how this is working. So if you notice here, the channels that we have added is giving adding some detail to the top. Otherwise, these gatherings will not be like this clean and precise. That's why we added those channels. We have this extra. We can either wind this ribbon like this to die not or simply make bohe. Perfect, right? So this bag can be used as a multipurpose bag for storing anything you want or even it's a perfect for gift packing. 6. Conclusion: You are here, then you have completed watching the class successfully. I express my heartfelt gratitude for joining this class and making me part in your sewing journey. Now it's time to gather all the materials required and quickly make a back from what you just learned and pour on all your love and creativity to make it unique with a personal touch. Please post a picture of what you have made and inspire fellow students. I request you to leave a review of this class, sharing your thoughts how you found this glass useful to you. Thank you so much for being with me. See you again with another interesting class. Until then, Bye bye and Happy surging.