Transcripts
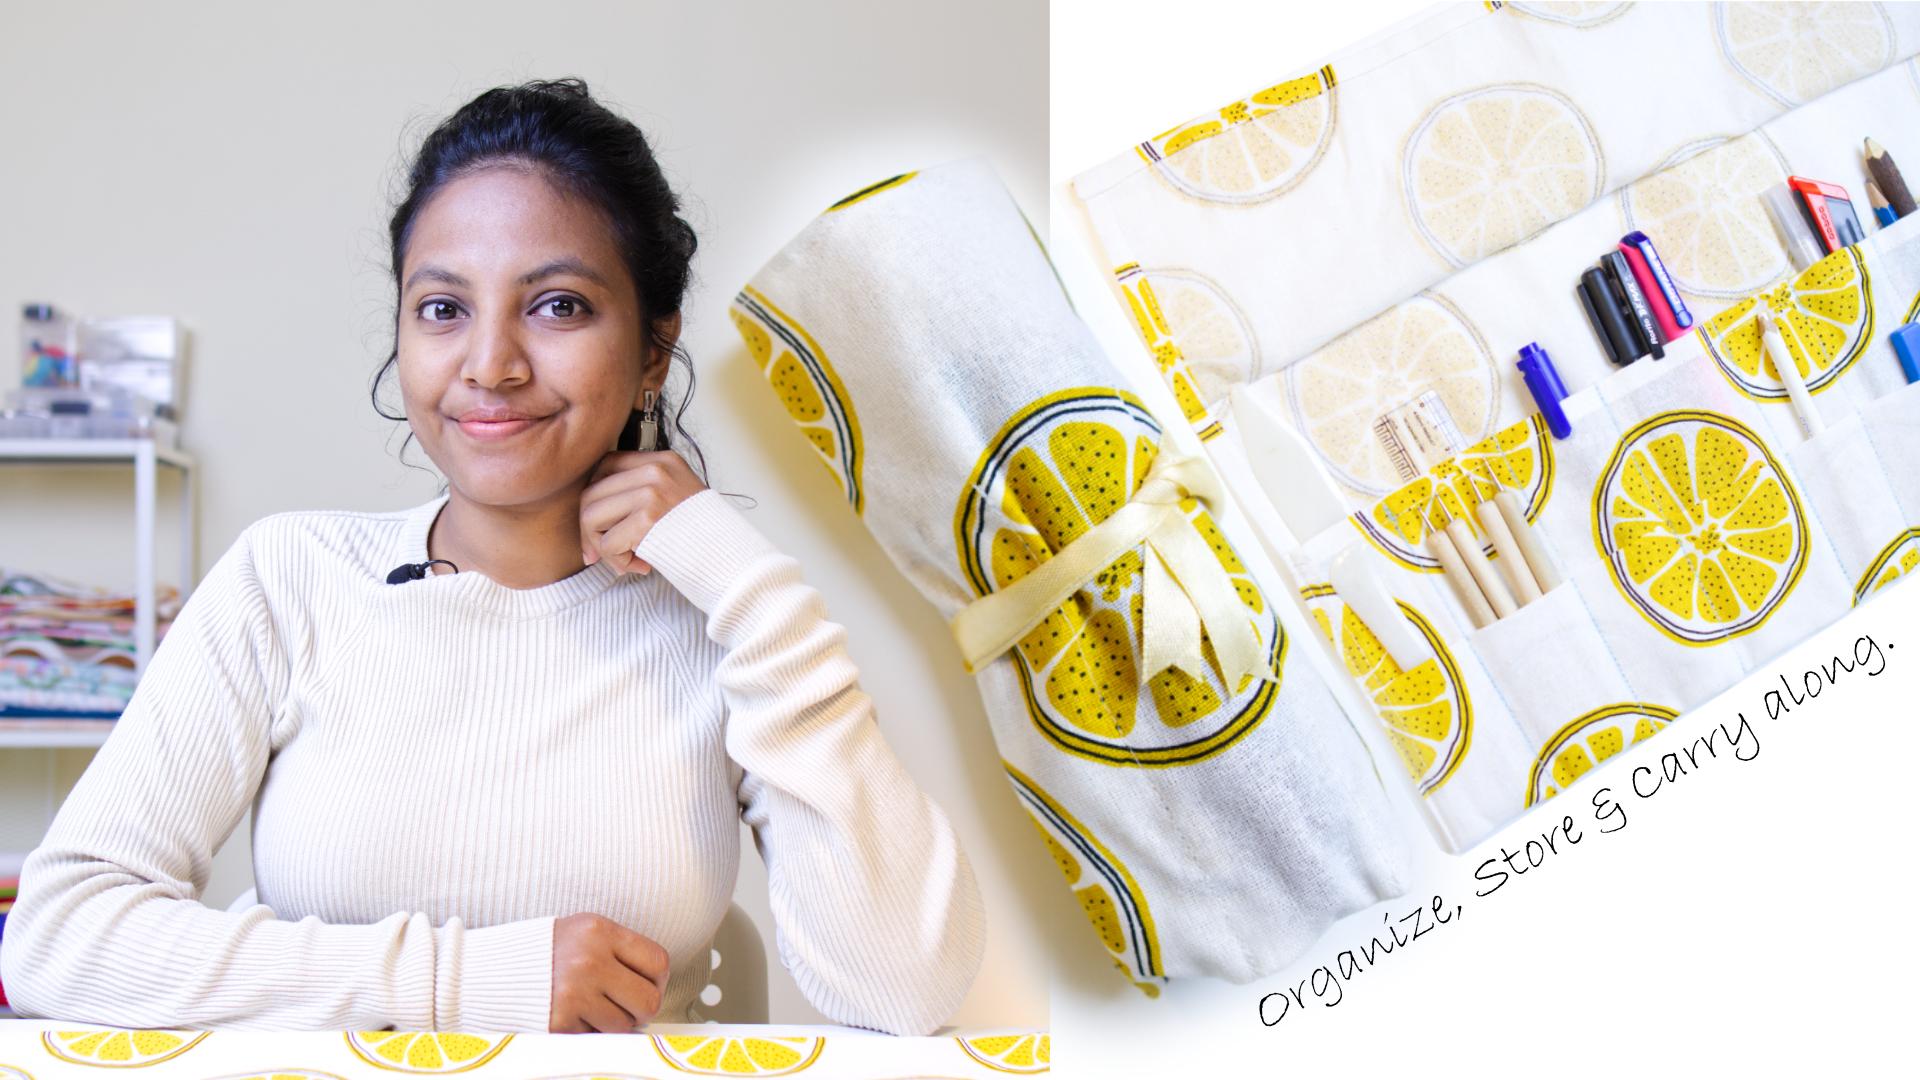
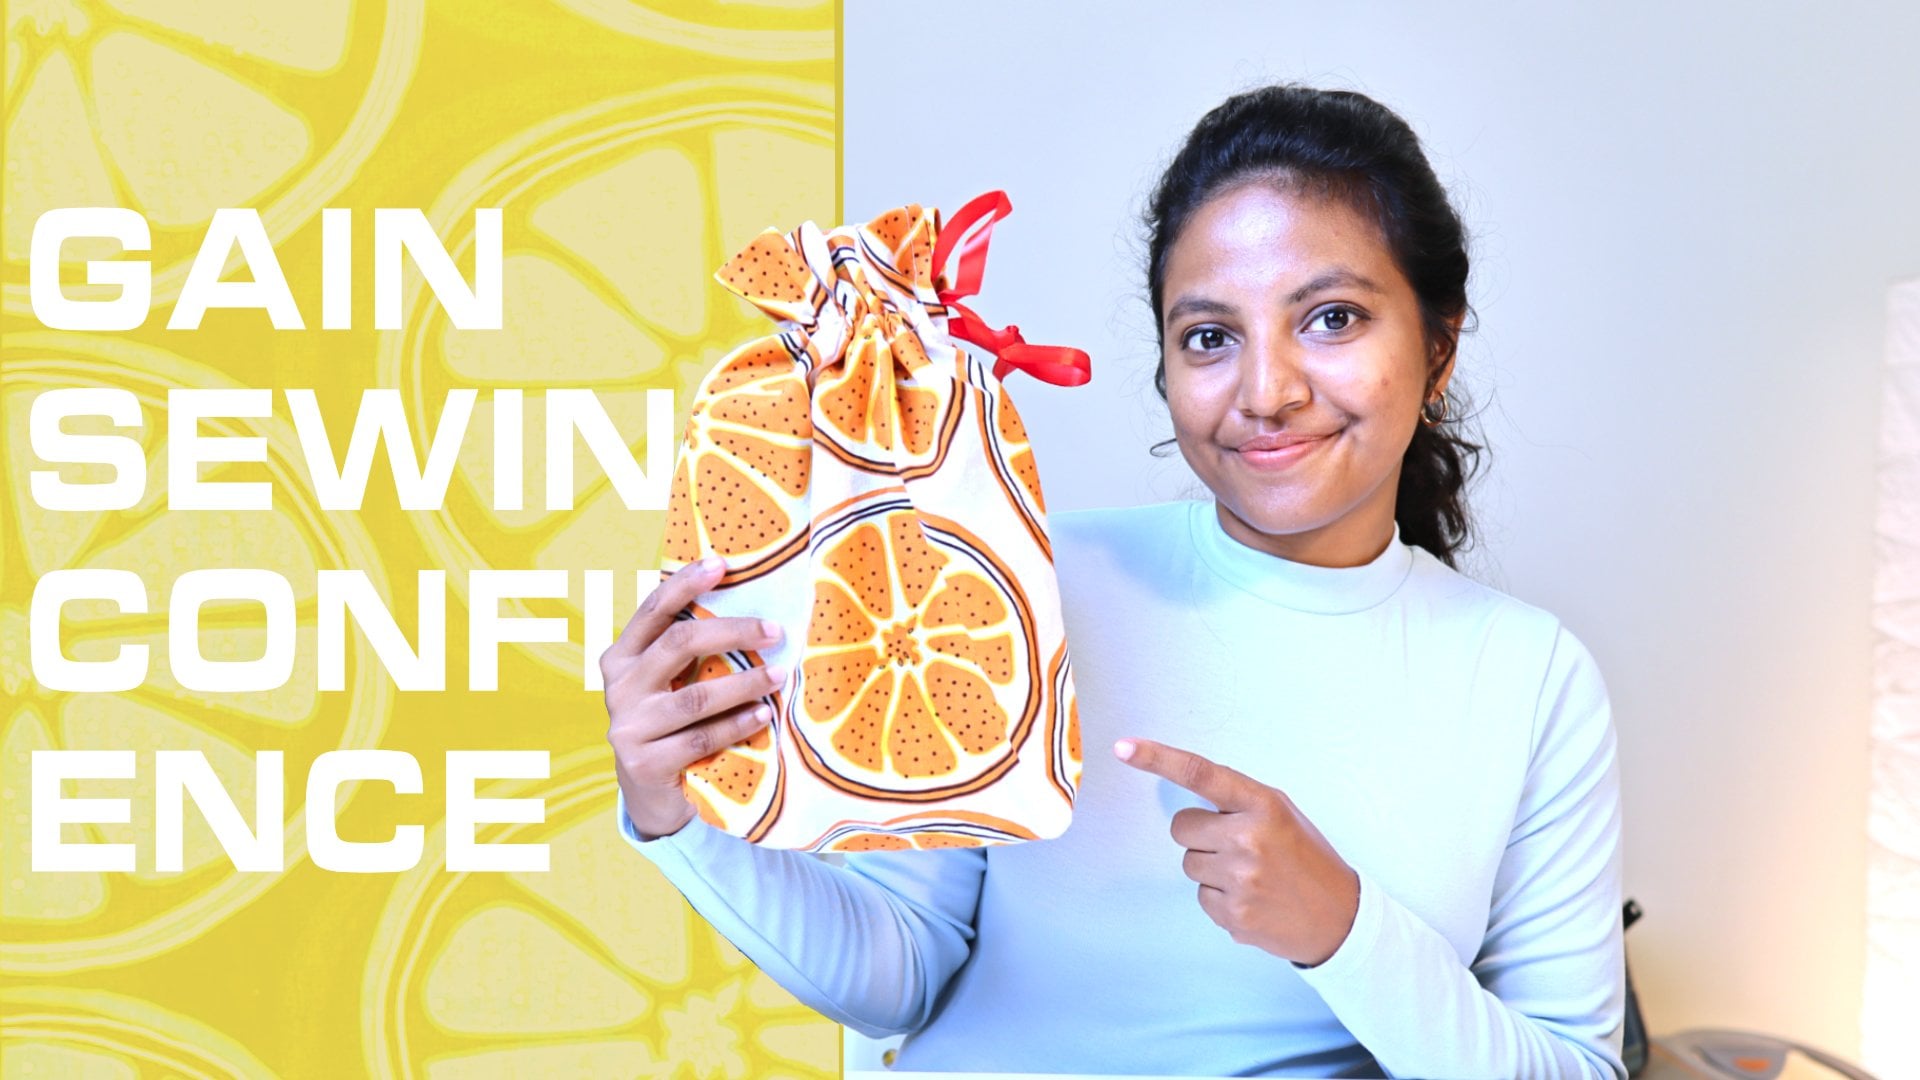
1. Introduction: Handy roll up organizer
will help you store, organize, and carry your
materials with ease. Perfect for artists
and crafters to keep your tools neatly rolled and ready for your next
creative adventure. This project offers a
wonderful opportunity to put your beginner
sewing skills to use and boost your confidence by turning your skills
into a tangible creation. Hello, I'm Claudia, a
passionate sewing enthusiast. Today, I will guide you through a quick and
rewarding project. We will be creating
a roll organizer from a simple TTA,
throughout this class, we will make use of
essential techniques from marking to sewing pockets and
adding finishing touches. These small manageable
projects are crucial stepping stones
on your sewing journey, building these skills and confidence needed for
more complex creations. Many of us dream of sewing masterpieces
with our own hands, but we often lack the right experiences to build the skills needed
for such creation. Simple projects like this one can provide the
perfect practice. Consistent practice with
the right projects can make all the differences
in our sewing journey. Every project you complete, no matter how small, brings you one step closer to mastering
the art of sewing. Join me in this class, and let's boost your sewing
confidence together.
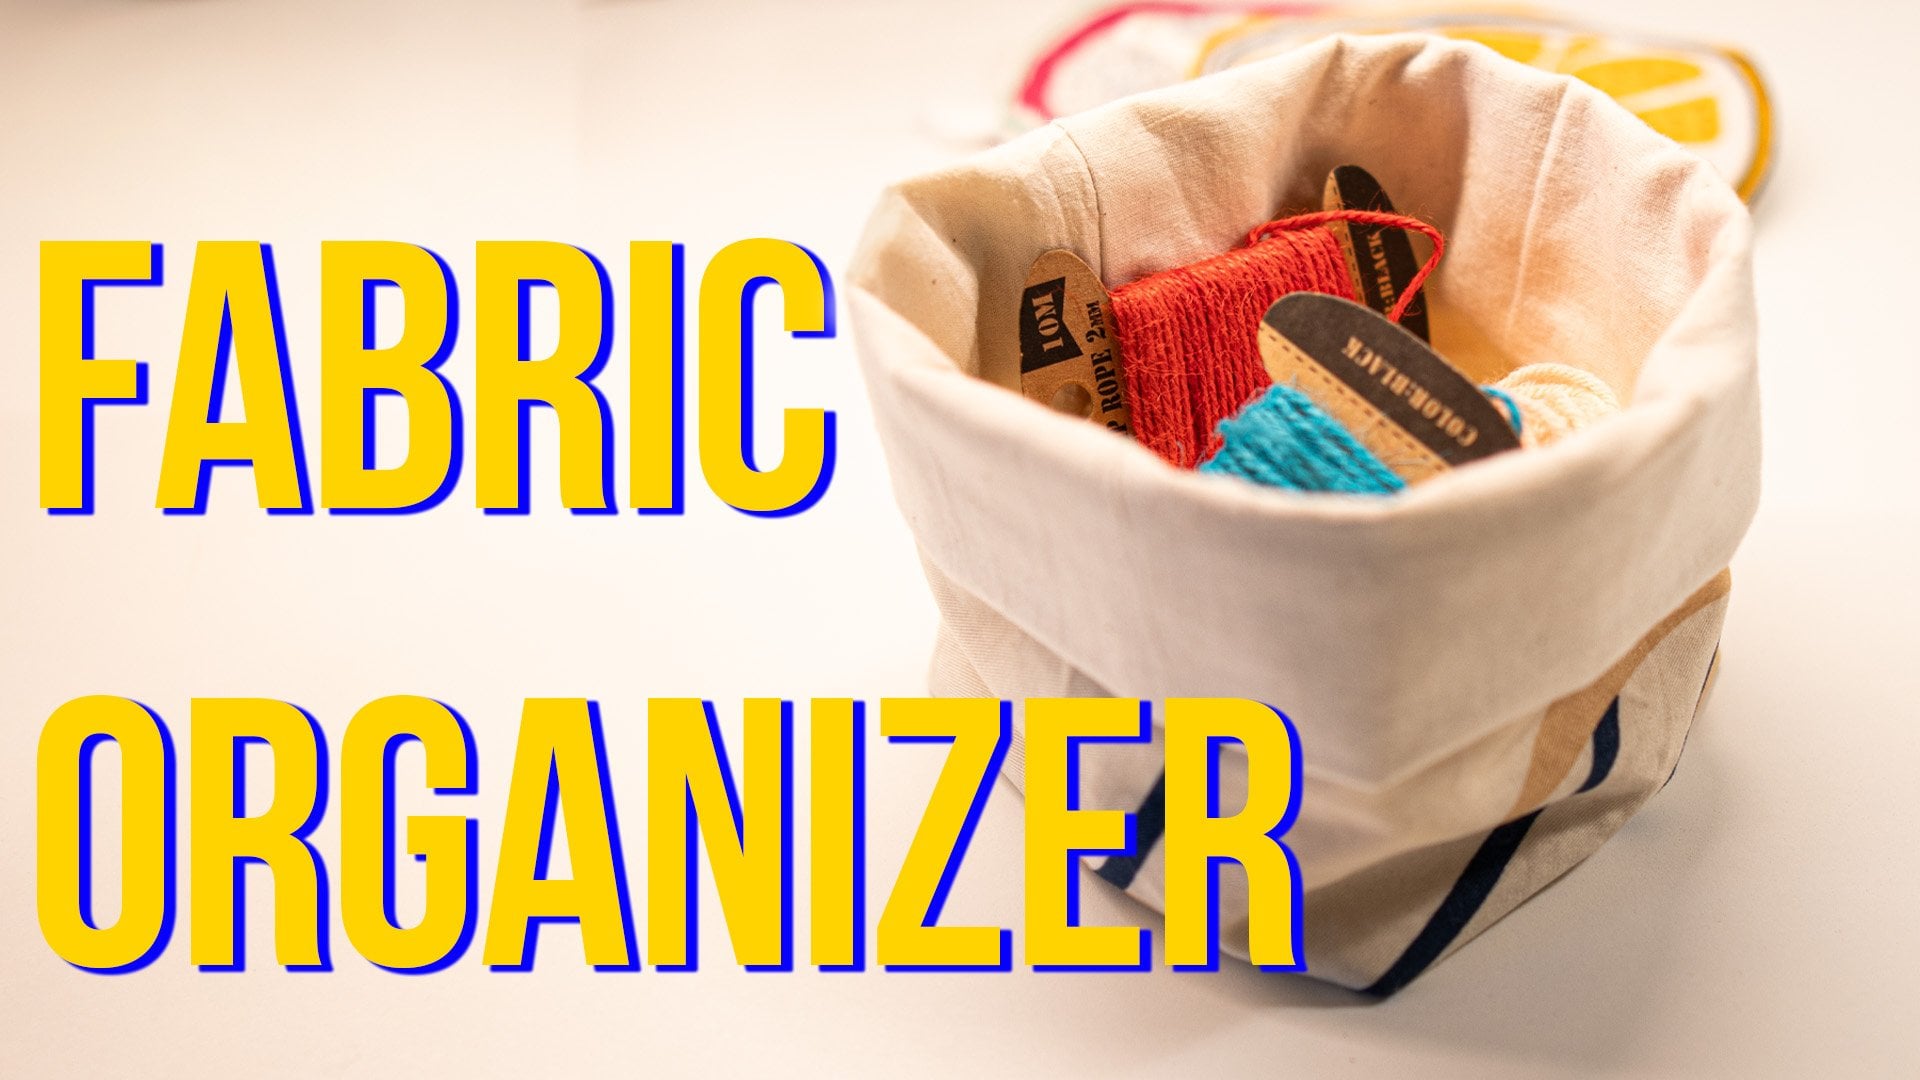
2. Class Project: Class project is to make a
roll up organizer from a TTA. You may choose to
have the size of the organizer depending
on your requirements. The size is mostly defined by the tools the
organizer would hold. Think of what tools you will be keeping
in the organizer to get an idea of the overall size and
the number of pockets. Please post a picture of your organizer in
the project section. So I can have a look
at your creation and provide feedback and the
community can get inspired. All the necessary steps are explained
throughout the class. Grab your materials
and let's get started.
3. Materials Required: In this lesson, let's see
what are the materials we require for making
this roll up organizer. So let's start with the TTA. So TTR of your choice,
clips, matching thread, all purpose thread
for your tetar ruler, some ribbons, fabric chop, pins, scissors, and
new sewing machine. In the next lesson, let's get started with our roll organizer.
4. Planning Our Project: This lesson, let's
plan how we can take forward with
our toll organizer. So we have the TTL. Of dimension of 18 by 23 ". So you can decide which will be the length of
your roll up organizer, whether you can go with
this 18 " or you can go with 23 " as per
your requirement, the number of items you would
like to store and organize. So I'm going to keep it as 18 " as my length
because I'm going to use this roll up case for storing my stationary items like
paper cutter, ruler and pens. So let's see how we
can start with it. So first is I'm going to fold my bottom edge up around 8 ". So let's measure it. It's an approximate
number. Yeah, perfect. It is 8 " and make sure you have same 8 " this
edge also. Okay. So this will be our
first compartment, Okay, first level compartment. And the second fold
is at about 3 ". So the folded edge of my bottom, I'm going to fold again. Up around 3 " like this. Perfect. So now let's see what is the designing factor for these two measurements. You can go with the longest
item that you would like to store with the
top level compartment and the tiniest item
that you would like to store in the bottom
level compartment. These are the two
items that I'm going to use for the
demonstration purpose. So if you notice here, the first level of
the compartment, I'm going to use this
scoring tool for storing. I have defined the height
somewhere like this. In the second
level, I'm going to use the glue bottle for storing. If you see here, you can notice here the glue
bottle is also visible. This is how we are going to decide the folding
measurements. It might vary with your items that you would
like to store. Okay. Let's start. With the divisions, the
number of divisions now. So once this is folded, we can use some pins to
secure them, the edges. Okay. Now, let's range the items
that we would like to store in this roll up organizer
for finding the width, like how much white we
have to make our pockets. So let's start with the longest
and heaviest items first. So I'm going to just insert and place it visually
like how it should look. And some of my scoring
tools, it goes together. So I just need one
pocket for all these. And some of the markers and pens like to
club it together. It is so that it
will all be in one. And if you see here, these are my craft knife and
my paper cutter like this. So I would like to store my cutting blades just
below the paper cutters, the knives that I'm
going to store. And again, some other
pockets that I feel it will be useful for me later whenever I wish
to store some things. So if you see now, I had lots
of different stationaries. If you see, it's all
here in one sheet. So it's a very cool way to
store all your stationaries. So now, it's very simple. We are going to use pins for
just marking the pockets. So in this way, we can measure the pockets
set fits, right. So whenever we want to keep our stationaries on
any items, it should fit. So just for checking
the fitting, we are using this trick so now I'm going
to wrap some pins. I'm going to market with this. So once you have marked, you can remove the items. You can slowly pin it up
and then remove the items. So here I'm just roughly marking here to have some more
pockets because I have space, so I don't want
to keep it empty. So we have got the measurements now and we have
also pinned it up. So in the next lesson, let's see how we can start with the prepwork before
we start sewing.
5. Preparing for Sewing: In this lesson,
let's see how we can prep our roller
organizer for sewing. Okay. So let's start with the marking of the
sewing lines first. So now we have now we have the partitions
marked using pins. But for getting straight lines, we have to mark it again
with the chalk and ruler. Just align the edges of
your ruler to this line. So now here we need one line. I'm removing the pin, and then I'm aligning my ruler straight and then I'm
marking with mine. Sure. Perfect. So in this way, we
are going to mark all the lines from this
side to this side. Let's remove the pins
like this and then align the edges with this
just for getting the straight line and
then mark it quickly. A so now we have marked all these
straight lines. Now let's place some of the pins all around this area
because we want the two fabrics
to be aligned and the edges to be aligned
together perfectly. So we will just place one, two pins all over
our fold so that it will not be clumsy when we
start making these ditches. Okay. This really helps when you
do the sewing projects, the more clips and pins you use, you will get perfect product. And it will also be
easy for you well us. Now we have marked the
lines straight lines. Let's see where we
can fit this ribbon. So these ribbons are
well inches folded into, so it's 24 " roughly. So we are going to place
this ribbon center. So I'm going to insert this
ribbon folded into half like this exactly here in this edge. So once that is
done, you can place a clip for holding it. We are going to work
on the top edge. So we are going to
fold it like this. You can decide this folding with the longest item that
you have for storing it. So my case, my longest
item is this scoring tool, so I'm going to insert it again. So just to check how
much to fold it. If you notice here,
this is the edge that their scoring
tool is touching. So I'm going to fold
only that much. Okay, perfect. Now why we are folding
this because we are going to make a top stitch here. For that, we are simply
folding it and we are going to use some clips just to indicate this
is the fold line, so we will be making
the stitch along here. I'm going to place
two clips here. Perfect. In this lesson, we have marked the straight lines for sewing
the straight stitches, and then we have also
attached the ribbons, and we have folded the top flat and marked for
the top stitches. In the next lesson, let's
start with the sewing process.
6. Sewing and Finishing Our Organizer: This lesson, let's
see how we can start sewing our
role of organizer. So we have finished the marking, pinning, clipping all the parts. So this is going to make our
sewing process very easy. We are going to make
stitches along both edges. Then we will be making
straight stitches along the lines like this. And then we are going to make a top stitch
along this edge. So let's start with the back stitch using
the reverse button. And also, we are
making more stitches on this ribbons edge so
that it will be strong, starting with the backstitch, and I end with a pack stitch. That's a good practice. Now, let's quickly stitch
all these straight lines. So I'm going to
do it one by one. So let's start it from
this bottom edge. You can cut this off the
threads and go to the next. But I'm going to just
lift my press footer. I'm going to rotate my
handil for a few rotations. So now so that I can jump
to the next position. So the next line is here, so I'm going to do it
throughout like this. So if you notice I'm not
cutting the thread at all, I'm just continuously sewing
them by giving some gaps. So in this way, I'll not
be cutting trimming, so the process will
be a little slower. So if you wish to do it in that way, that's
completely fine. You can do it. A I would like to finish the top stitch also. So let's do the top stitch. Now let's take time for
trimming all the threads. So if you see all the edges, we'll have some joint threads. I can trim it off. I like this. And also the top side topage there will be some threads left. You can see all
around the product, all around your roller case wherever there are
some loose threads. It's just the usual
trimming process. Cause leaving any loose threads in your product is
totally professional. So for getting a very
professional look, so we have to trim off
all the threads neatly. Perfect. Now we can remove
the cleats and all the pins, whatever we have used it
for pinning these together. So if you notice, I have
used ribbons that is satin, so this may fray off. So I'm going to
give a we cut just to give a temporary
solution like this. So this will avoid your edges from fraying off if you're using
a satin ribbon. You can even use
heat that is, sorry, lighter or candle for doing this so that you
can fuse the edges. We have finished. It's a
time where we are going to use this product and
see how it's fitting. So let's arrange all
the items very quickly. I think I have found a
solution for this messy tools, so I'm going to quickly
organize and make it tidy. As we planned earlier, I'm going to use this
scoring tool here. And I have enough room
for my tools to store, and it is very easy for
me to even take it off. I'm going to use my
scoring tools here. It's fitting perfectly. So it's perfect. So I have arranged it, so I'm
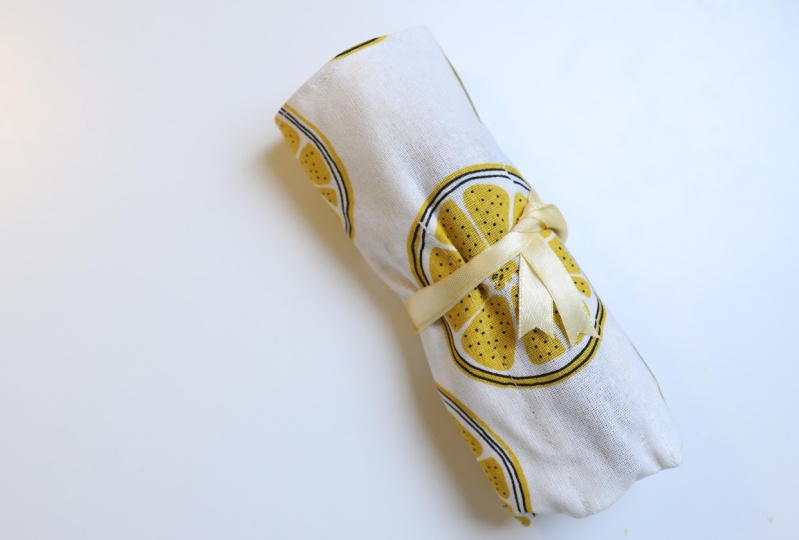
going to close it. I will start rolling from here. And then let's side. Simply, let's give a bow here. So I have added a
tag call stationary just in a cdstok paper. In this way, you can easily
identify the roll up case. You saw how easy was it to make a roll up organizer
out of a T tal, and I hope you liked it. So using this roll up organizer, you can organize, store, and carry along with you.
7. Conclusion: There you have it stylish practical role of organizer
from a simple Tita. This project is more
than just a useful item. It's a testament to your growing sewing
skills and confidence. Remember, the
consistency is key. Every project you complete, no matter how small, brings you one step closer to mastering
the art of sewing. So keep practicing,
experimenting and most importantly,
enjoying the process. I'm Claudia, and
it's been a pleasure guiding you through this
fun and rewarding project. Don't forget to share your finished roller organizer
in the projects section. Your unique creations
can inspire and encourage others in
our sewing community. Thank you for joining
me in this class, and I can't wait to see
what you create next until then happy
sewing stay inspired.
 Cloudia David, Co-Founder | Entrepreneur | Designer