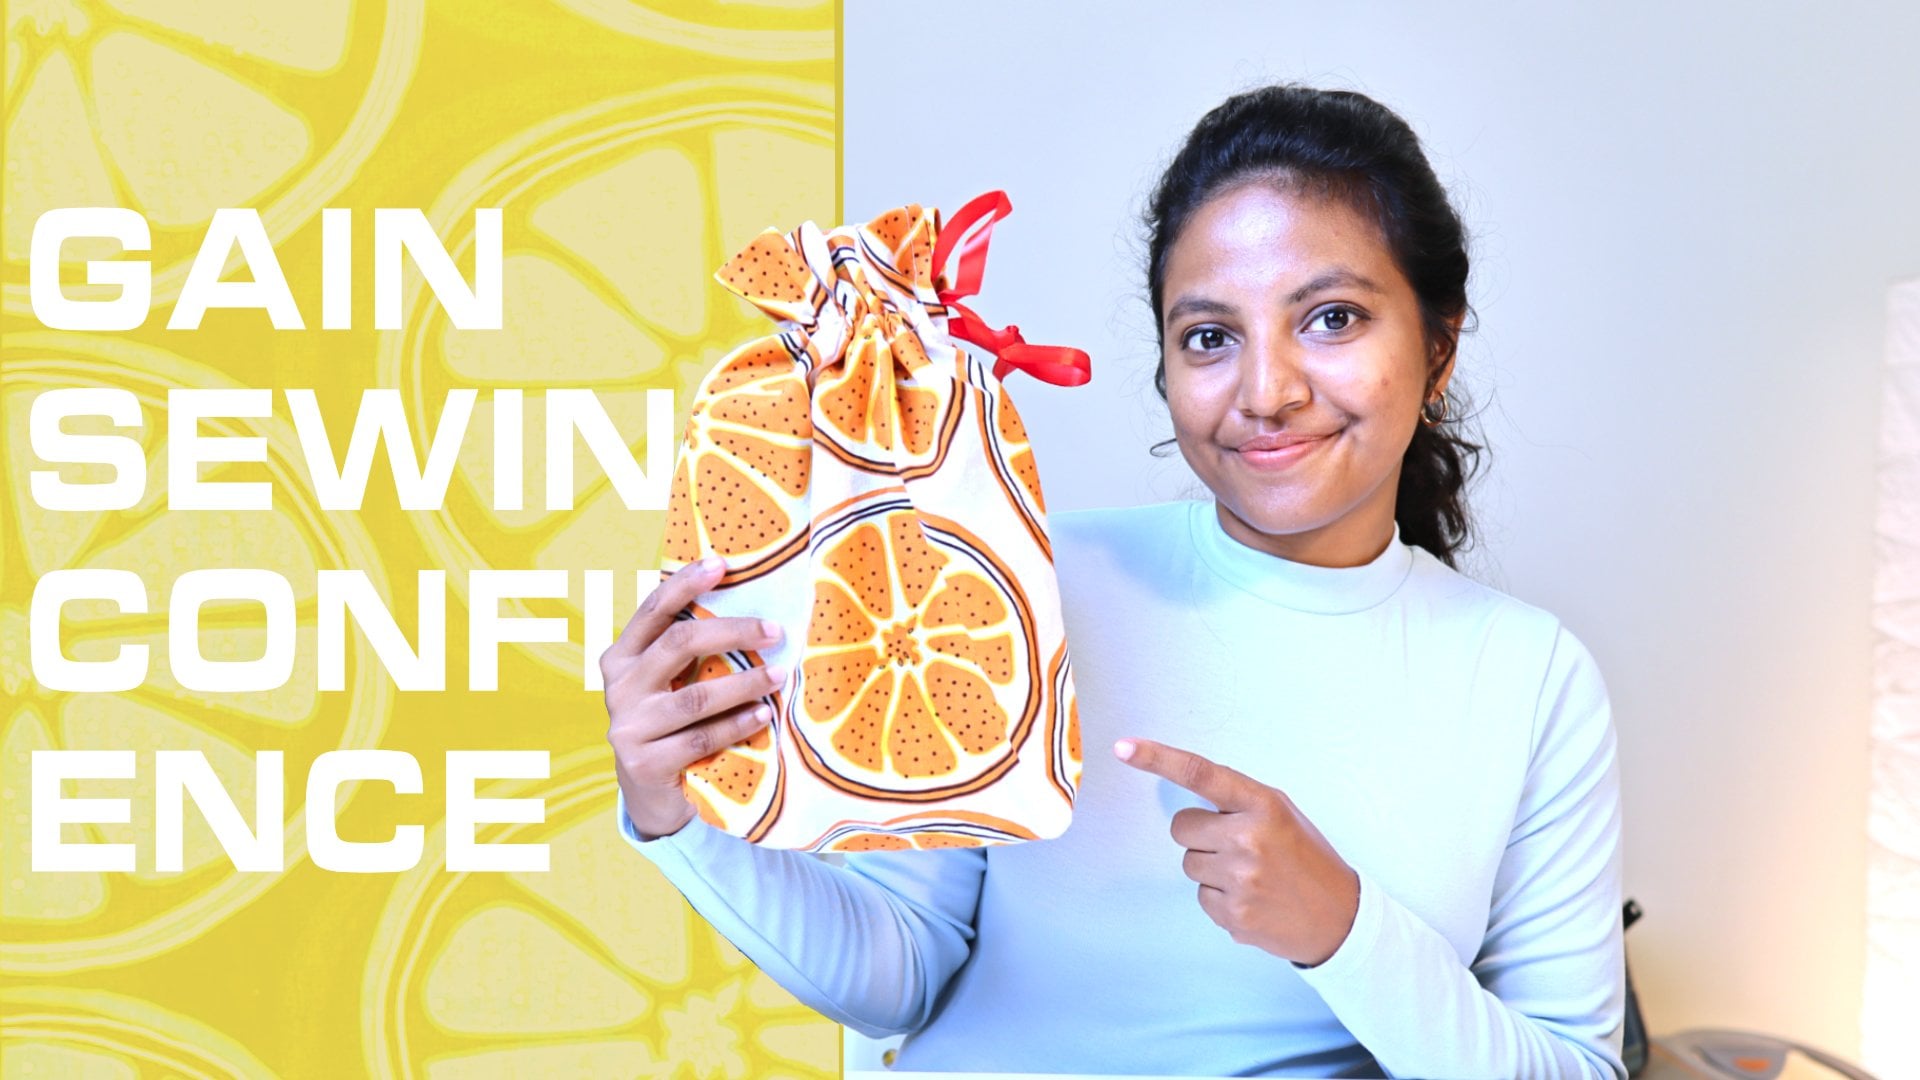
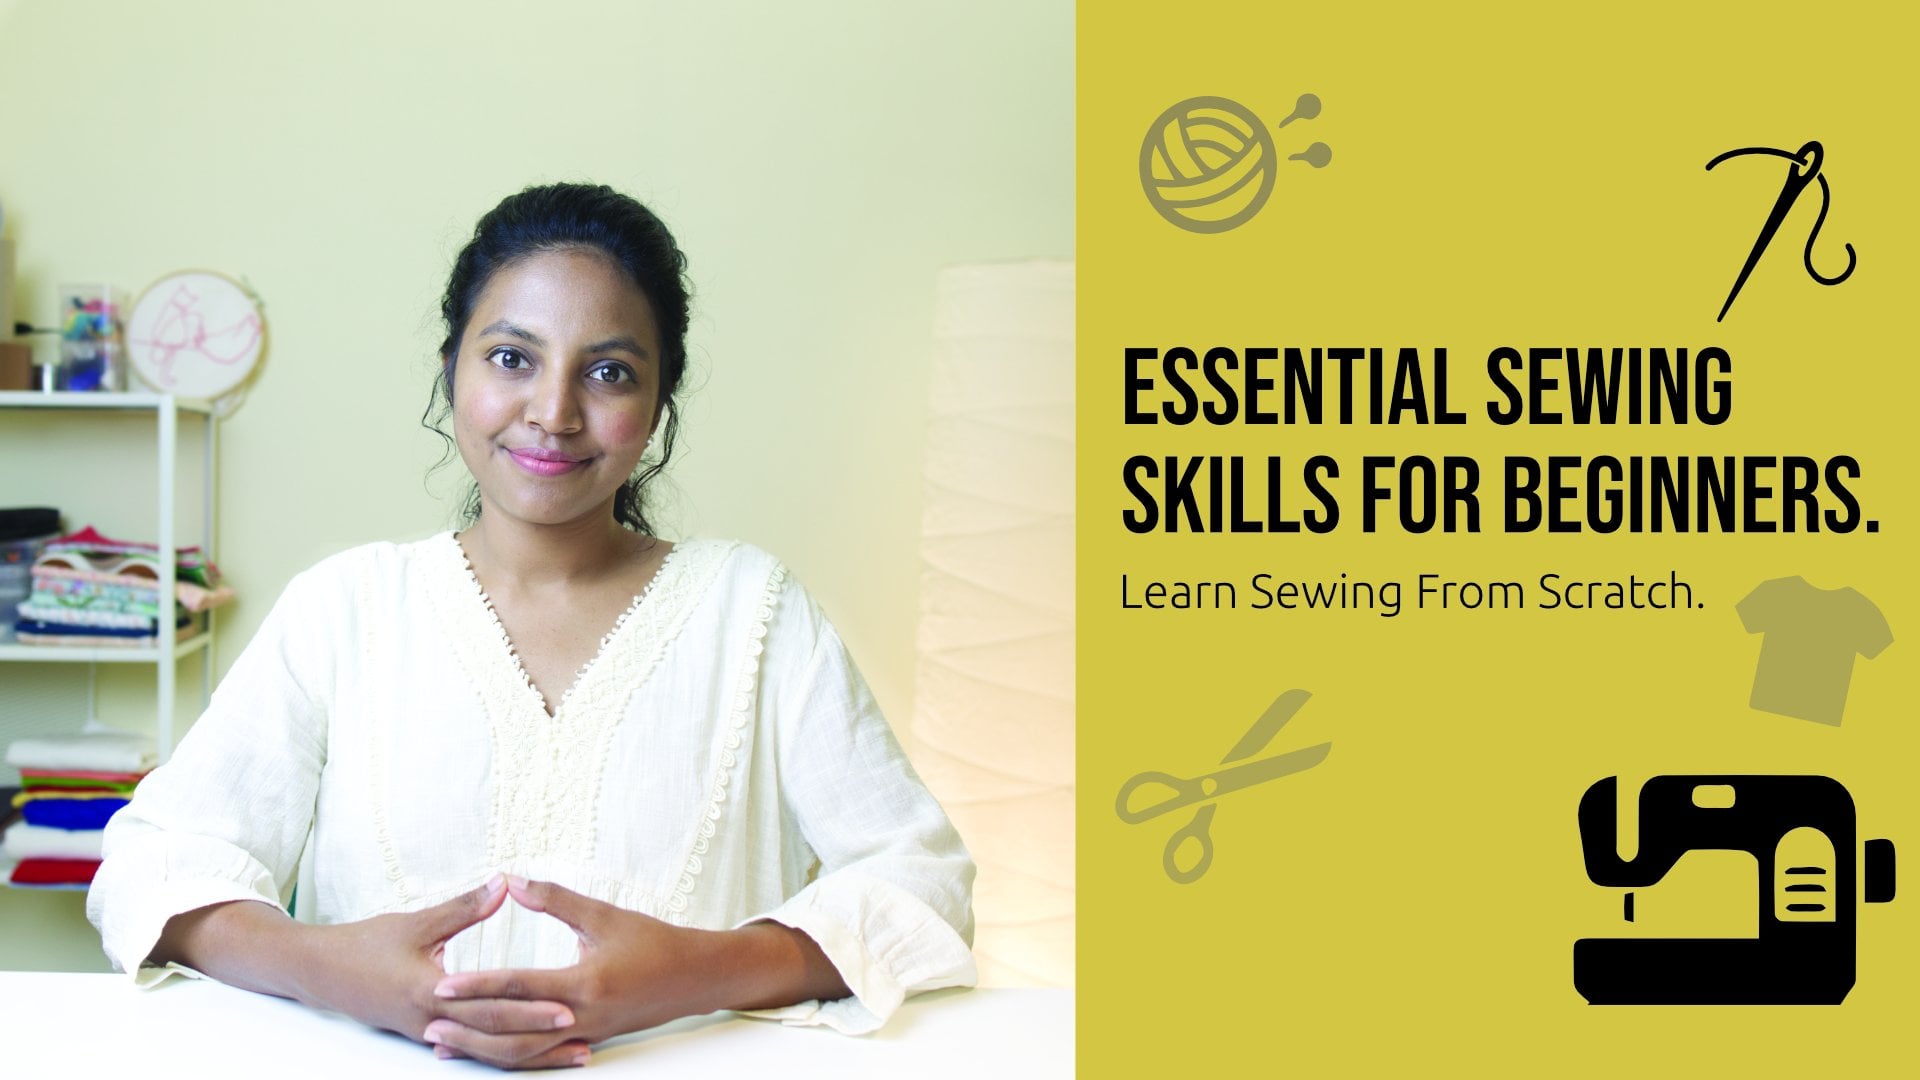
Fabric Organisers: Simple Sewing for Stylish Storage
 Cloudia David, Co-Founder | Entrepreneur | Designer
Watch this class and thousands more
Watch this class and thousands more
Lessons in This Class
-
-
1.
Introduction
2:57
-
2.
Getting Started
6:19
-
3.
Finishing and Conclusion
5:26
-
-
- --
- Beginner level
- Intermediate level
- Advanced level
- All levels
Community Generated
The level is determined by a majority opinion of students who have reviewed this class. The teacher's recommendation is shown until at least 5 student responses are collected.
27
Students
--
Projects
About This Class
Fabric Organisers: Simple Sewing for Stylish Storage
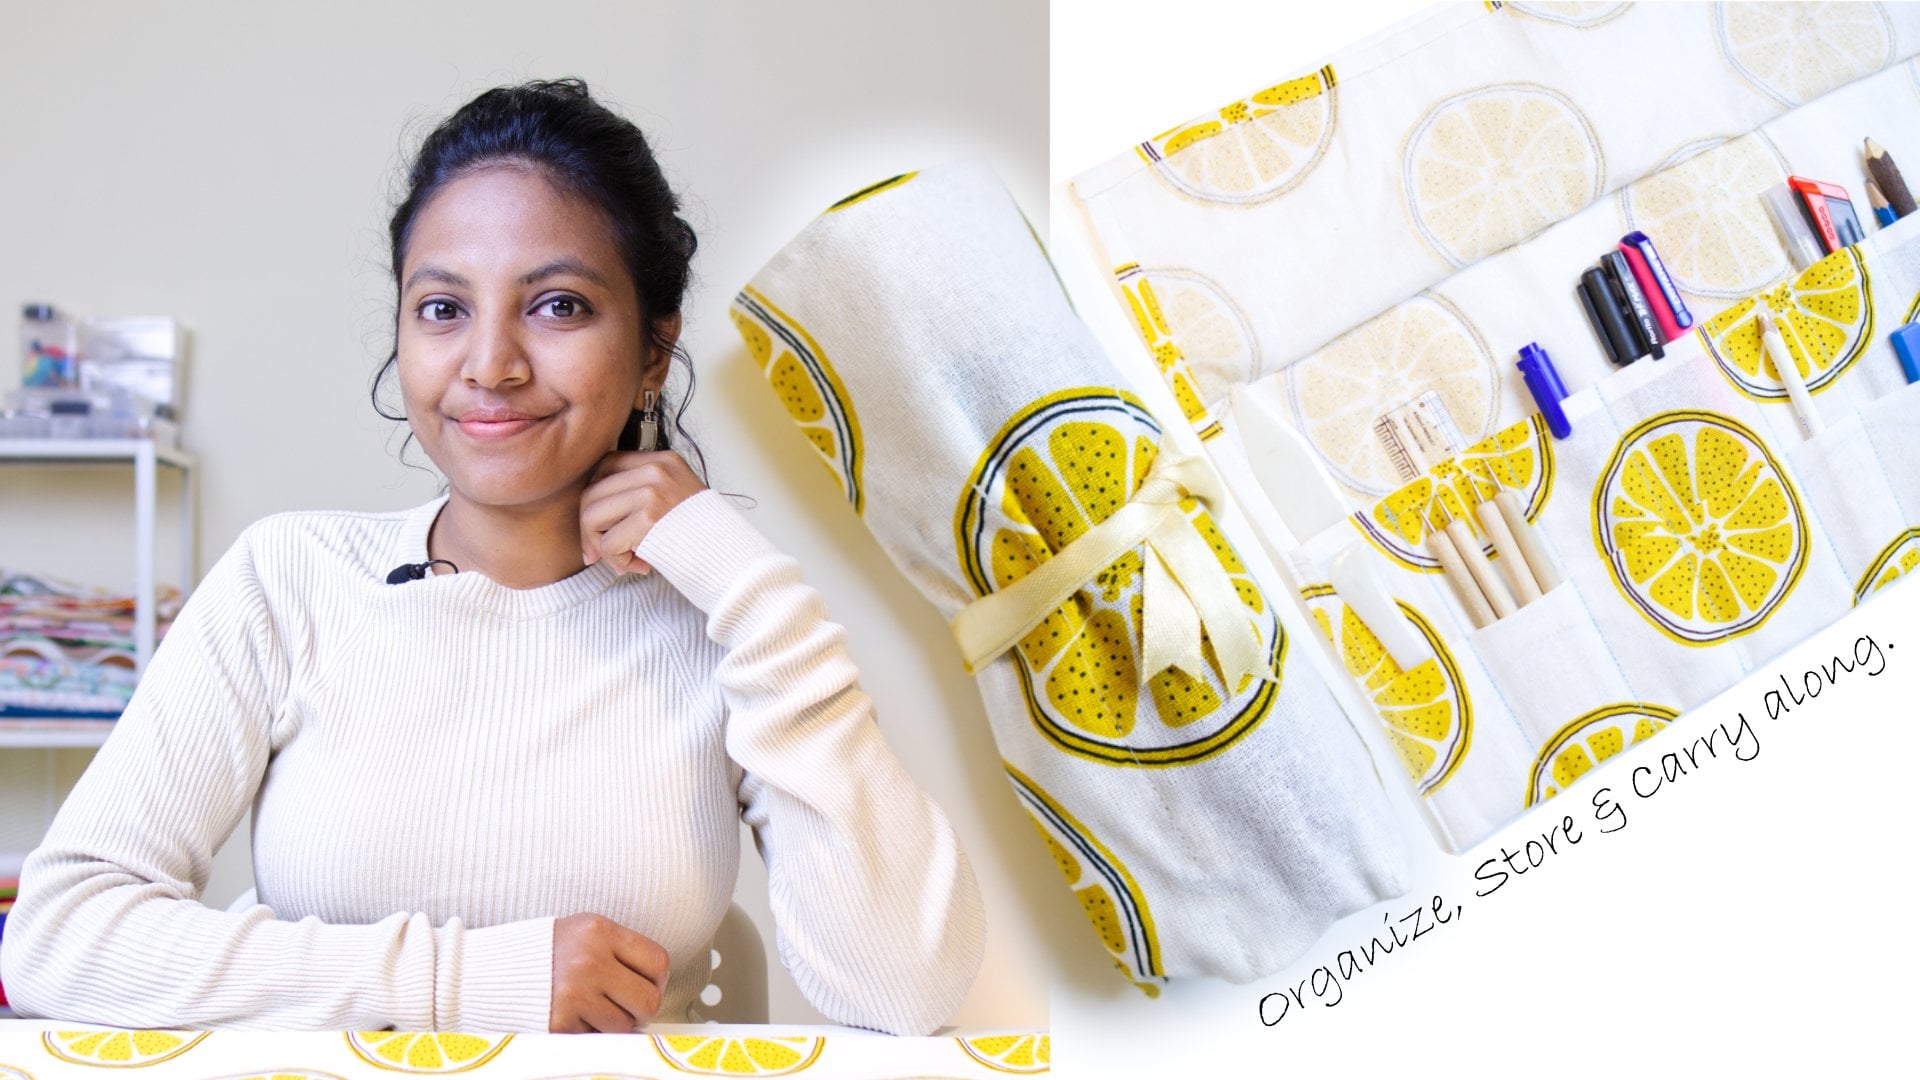
Ready to transform your clutter into charm? In this beginner-friendly sewing class, you'll learn how to create beautiful, functional fabric organisers that elevate your space while showcasing your personal style. Whether you're tidying up your stationery supplies, kids’ toys, or craft essentials, this project blends utility with creativity.
What You Will Learn :
- How to choose the right fabric for structure and style
- Step-by-step sewing techniques for making organisers
- How to customize size and shape for different storage needs
Why You Should Take This Class :
Fabric organisers are a game-changer for home storage: eco-friendly, reusable and endlessly customizable. You’ll walk away with a practical skill that helps you declutter with flair. Plus, handmade organisers make thoughtful gifts and sell well at craft fairs. I’ll guide you with clear instructions, creative hacks, and a warm, encouraging vibe.
Who This Class Is For :
- Sewing beginners looking for a fun, functional project
- Crafters & DIY lovers wanting to up-skill
- Anyone craving stylish, handmade storage solutions
- No prior sewing experience needed just a willingness to learn & create.
Materials & Resources :
- Basic sewing machine
- Cotton or canvas fabric
- Scissors, pins, measuring tape
- Iron & thread
I’ll also provide a materials checklist to make your process smooth and stress-free. I’m so excited to welcome you into this creative sewing journey!
By the end of this class, you’ll have a set of stylish fabric organisers and the confidence to keep stitching your way to a more beautiful, functional space. Let’s get started & make something truly useful & lovely together.
Meet Your Teacher

Cloudia is a visionary product designer whose exceptional problem-solving skills and expertise in sewing and lifestyle crafts distinguish her in the design world. Her creations are not just aesthetically pleasing but also stand as testaments to sustainable living, reflecting her commitment to eco-friendly practices. As an entrepreneur, Cloudia co-founded Harsh and Cloudia Digital Imaging and Design LLP in 2020, a venture that has made significant strides in the visual media and design industry.
Her passion for design is matched by her love for adventure. A motorbike enthusiast, Cloudia often embarks on journeys across the diverse landscapes of southern India, from rolling hills and dense forests to ancient monuments, seeking inspiration in the tranquillity of nature. Her affinity... See full profile
Hands-on Class Project
Class Project: Sew Your Own Stylish Fabric Organiser
You’ll create a custom fabric organiser that’s both functional and fabulous. Whether it’s for storing craft supplies, makeup, stationery, or household items, your organiser will reflect your personal style and help bring order to your space. This is a beginner-friendly project designed to help you practice essential sewing techniques while making something truly useful.
Project Steps -
- Choose Your Fabric & Design - Select sturdy cotton, canvas, or linen in prints or solids that match your aesthetic.
- Prepare & Cut Materials - Wash & prepare the fabric. Cut the required fabrics pieces neatly.
- Sew the Base Structure - Follow the guided sewing demonstrated in the class.
- Final Touches - Press your organiser neatly. Add any decorative elements like labels, trims, or buttons.
- Share Your Creation - Upload a photo of your finished organiser to the project gallery. And also don't forget to include a short note about how you plan to use it or what inspired your design.
Let’s stitch something beautiful and functional!
Class Ratings
Why Join Skillshare?
Take award-winning Skillshare Original Classes
Each class has short lessons, hands-on projects
Your membership supports Skillshare teachers
Learn From Anywhere
Take classes on the go with the Skillshare app. Stream or download to watch on the plane, the subway, or wherever you learn best.