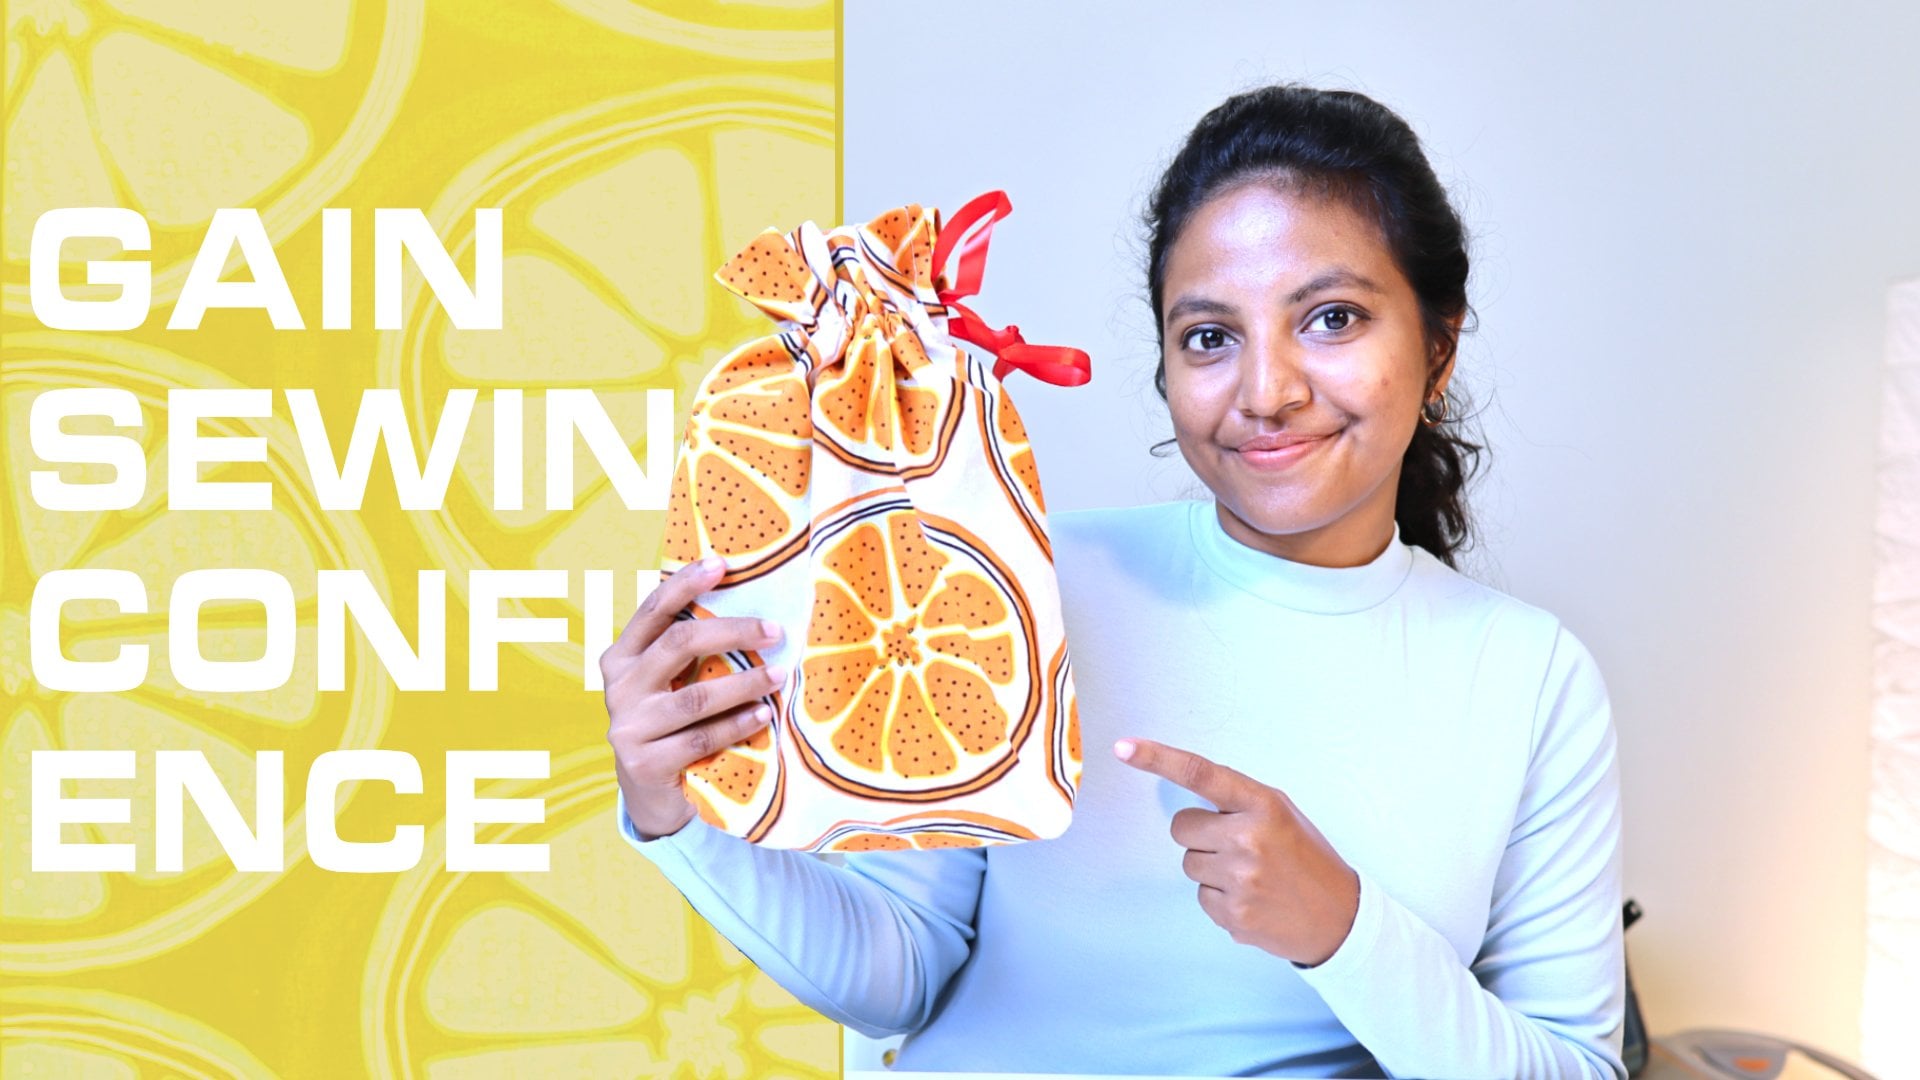
Sewing for the Season: Craft Custom Christmas Stockings
 Cloudia David, Co-Founder | Entrepreneur | Designer
Watch this class and thousands more
Watch this class and thousands more
Lessons in This Class
-
-
1.
Introduction
1:11
-
2.
Class Project
0:32
-
3.
Materials Required
0:24
-
4.
Sewing Our Mini Christmas Stocking
7:38
-
5.
Conclusion
0:26
-
-
- --
- Beginner level
- Intermediate level
- Advanced level
- All levels
Community Generated
The level is determined by a majority opinion of students who have reviewed this class. The teacher's recommendation is shown until at least 5 student responses are collected.
70
Students
--
Projects
About This Class
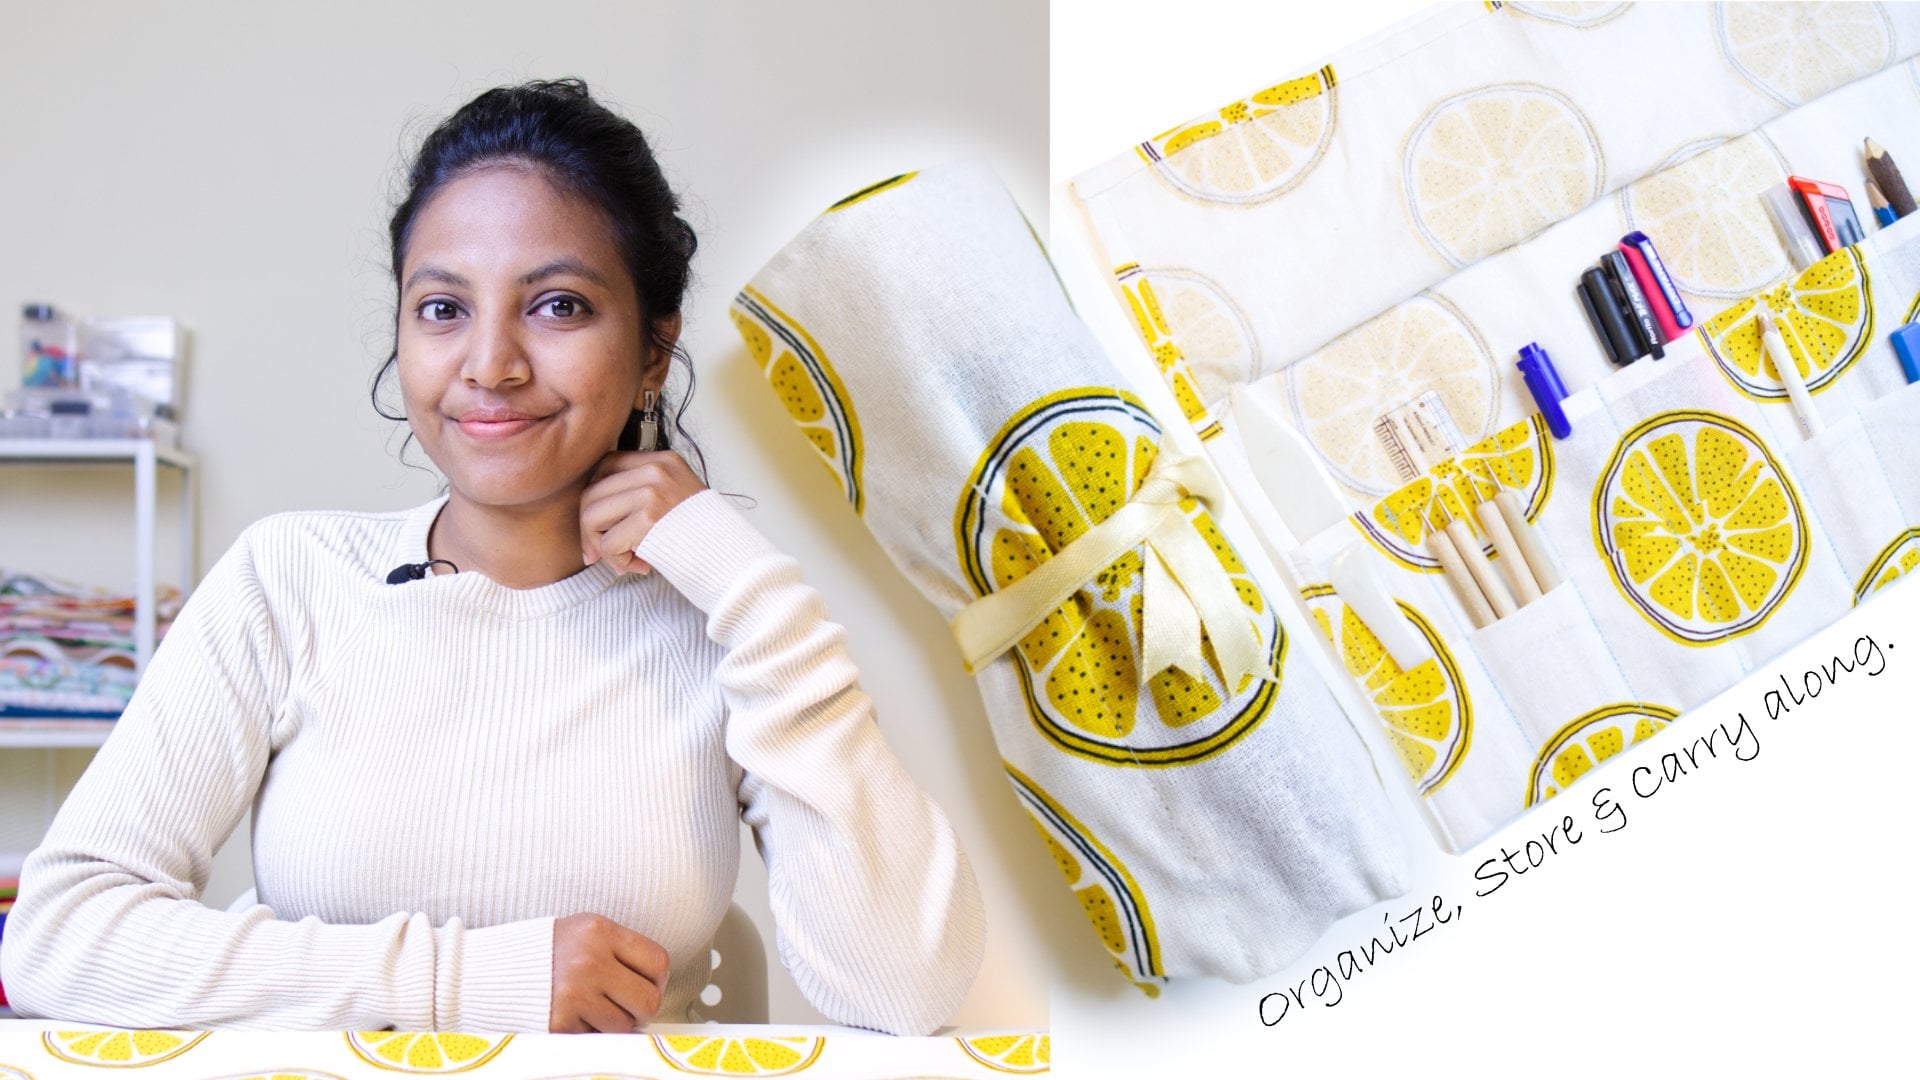
Get ready to craft beautiful, personalized Christmas stockings with me, I am Cloudia, a designer and passionate sewing enthusiast!
Whether you’re a seasoned crafter or just starting out, this class is designed to bring joy and creativity to your festive preparations. We will create mini Christmas stocking together, perfect for hanging by the fireplace or giving as heartfelt gifts.
Before we start crafting, I’m excited to share my holiday decorations digital product! It’s packed with printable DIY Christmas ornaments and a complete guide to add extra cheer to your home. Check it out for holiday inspiration and make your celebrations even more magical! Click this Link.
Grab your fabric, scissors, and a warm cup of hot cocoa. Let’s dive into this wonderful world of holiday crafting together! By the end of this class, you’ll have a handmade Christmas stocking ready to add a touch of magic to your holiday décor.
Happy crafting and happy holidays!
Meet Your Teacher

Cloudia is a visionary product designer whose exceptional problem-solving skills and expertise in sewing and lifestyle crafts distinguish her in the design world. Her creations are not just aesthetically pleasing but also stand as testaments to sustainable living, reflecting her commitment to eco-friendly practices. As an entrepreneur, Cloudia co-founded Harsh and Cloudia Digital Imaging and Design LLP in 2020, a venture that has made significant strides in the visual media and design industry.
Her passion for design is matched by her love for adventure. A motorbike enthusiast, Cloudia often embarks on journeys across the diverse landscapes of southern India, from rolling hills and dense forests to ancient monuments, seeking inspiration in the tranquillity of nature. Her affinity... See full profile
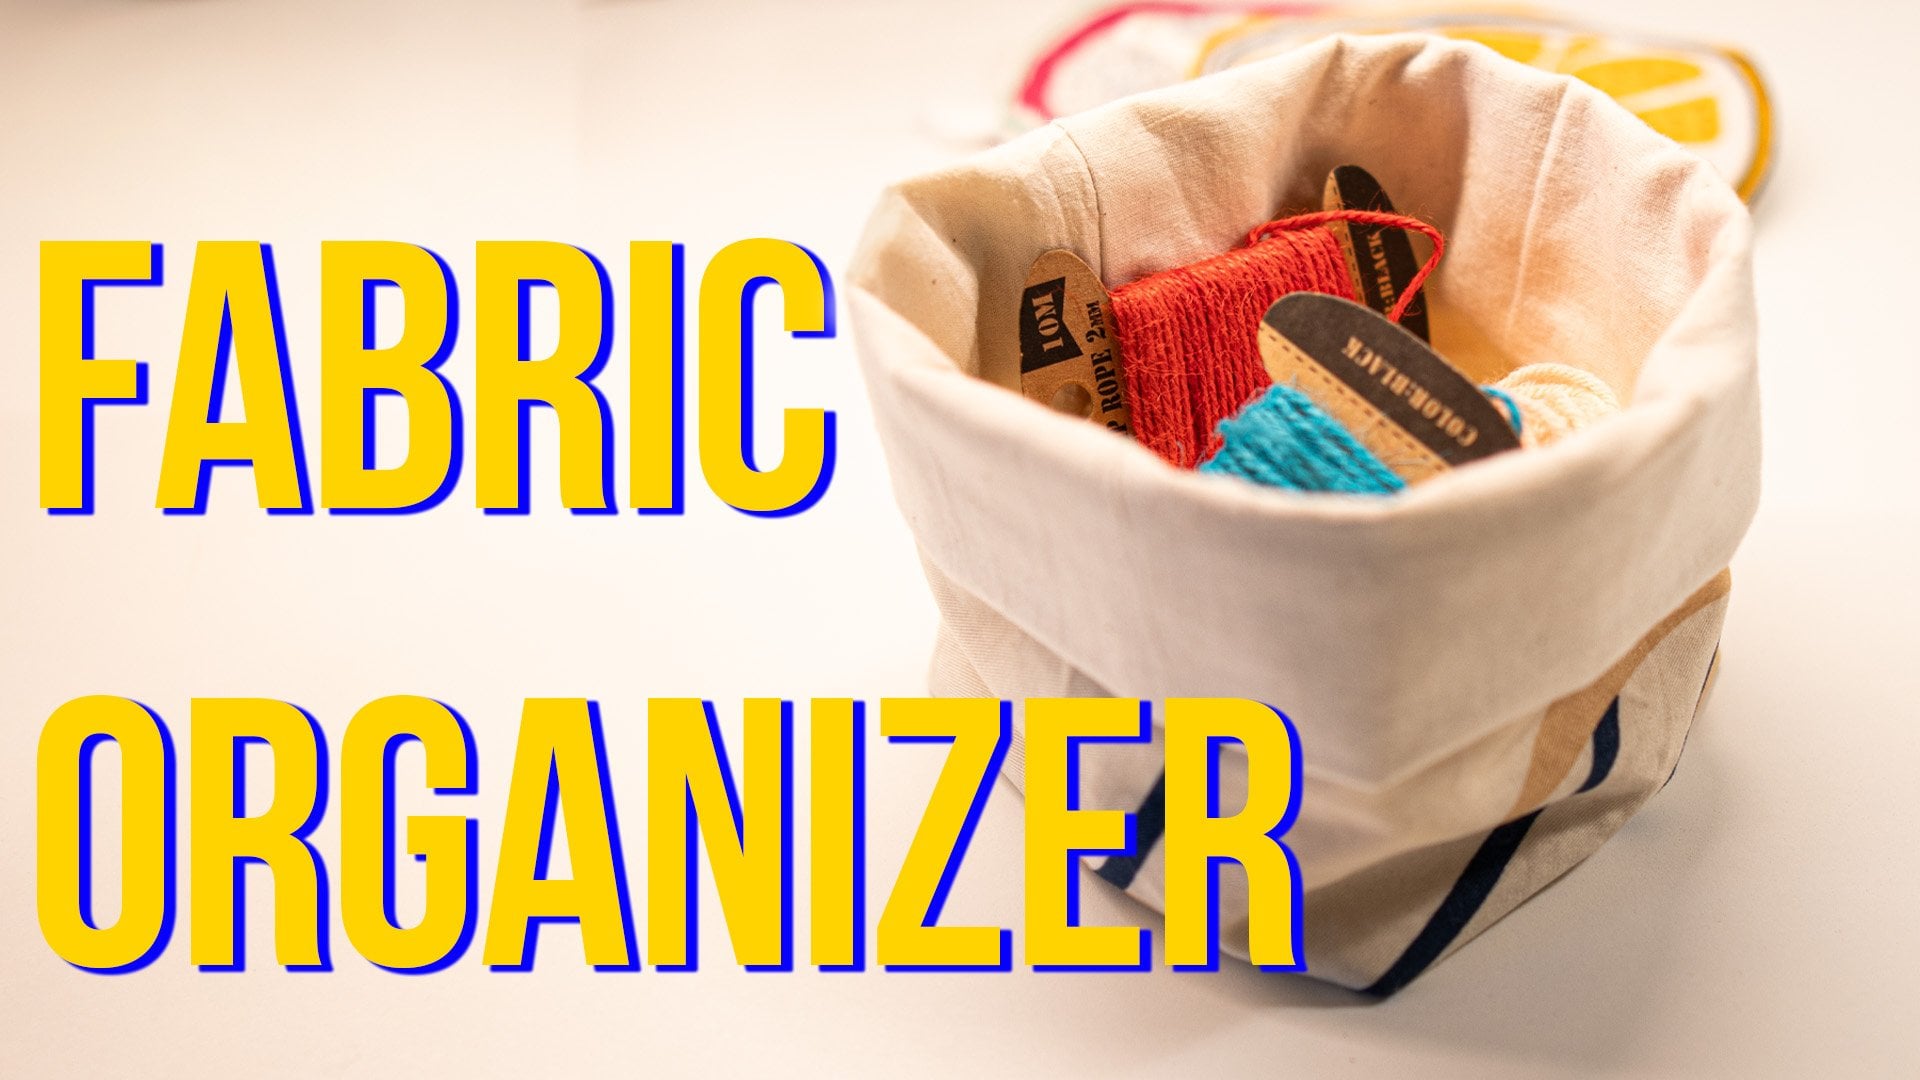
Hands-on Class Project
For your class project, you'll create a Christmas stocking in your choice of size and fabric. I’ve included an easy-to-follow list of materials and a ready-to-print template to help you get started quickly.
Once you’ve completed your masterpiece, please upload your beautiful creation to the project section. I can’t wait to see your unique designs and share my feedback. Seeing your creativity truly brings me so much joy!
Materials Required -
- Printed template
- Printed and solid Fabric of your choice
- Sewing machine
- Marker
- All purpose polyester thread
- Ribbon
- Pins
- Scissors
Class Ratings
Why Join Skillshare?
Take award-winning Skillshare Original Classes
Each class has short lessons, hands-on projects
Your membership supports Skillshare teachers
Learn From Anywhere
Take classes on the go with the Skillshare app. Stream or download to watch on the plane, the subway, or wherever you learn best.