Transcripts
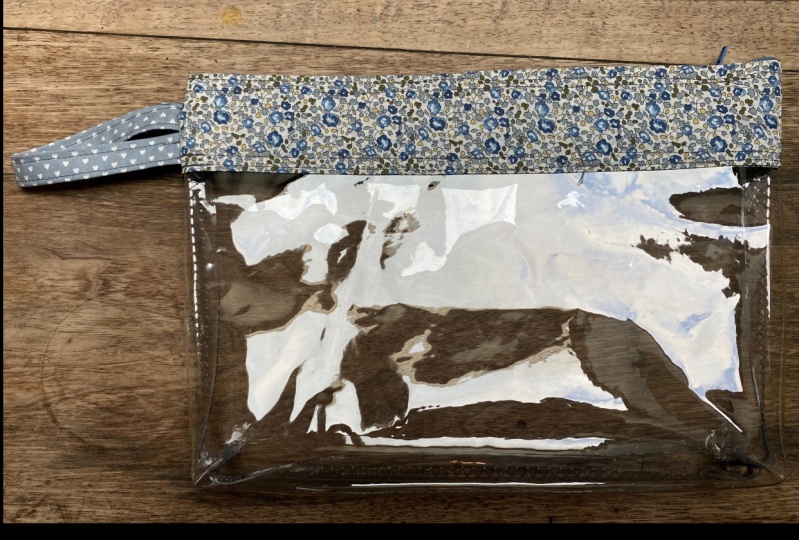
1. Clear, Zippered, Pouch Introduction: Being clear is what makes
this item so amazing because you can see everything
that's in it without having to dig around or
hunt for your items. Hi, I'm Zoe bigs. And in this class I'm
going to teach you how to make the very easy, super functional,
clear, zippered pouch. These patches are
amazing for travel. You can put anything in them. Divide up toiletries, make-up, Madison's First Aid,
travel activities. You name it, or
use these pouches for art supplies or
electronics chords, sort underwear,
socks, bathing suits. Use the pouch to hold a gift. Customize a pouch
for special needs, or match a patch to go
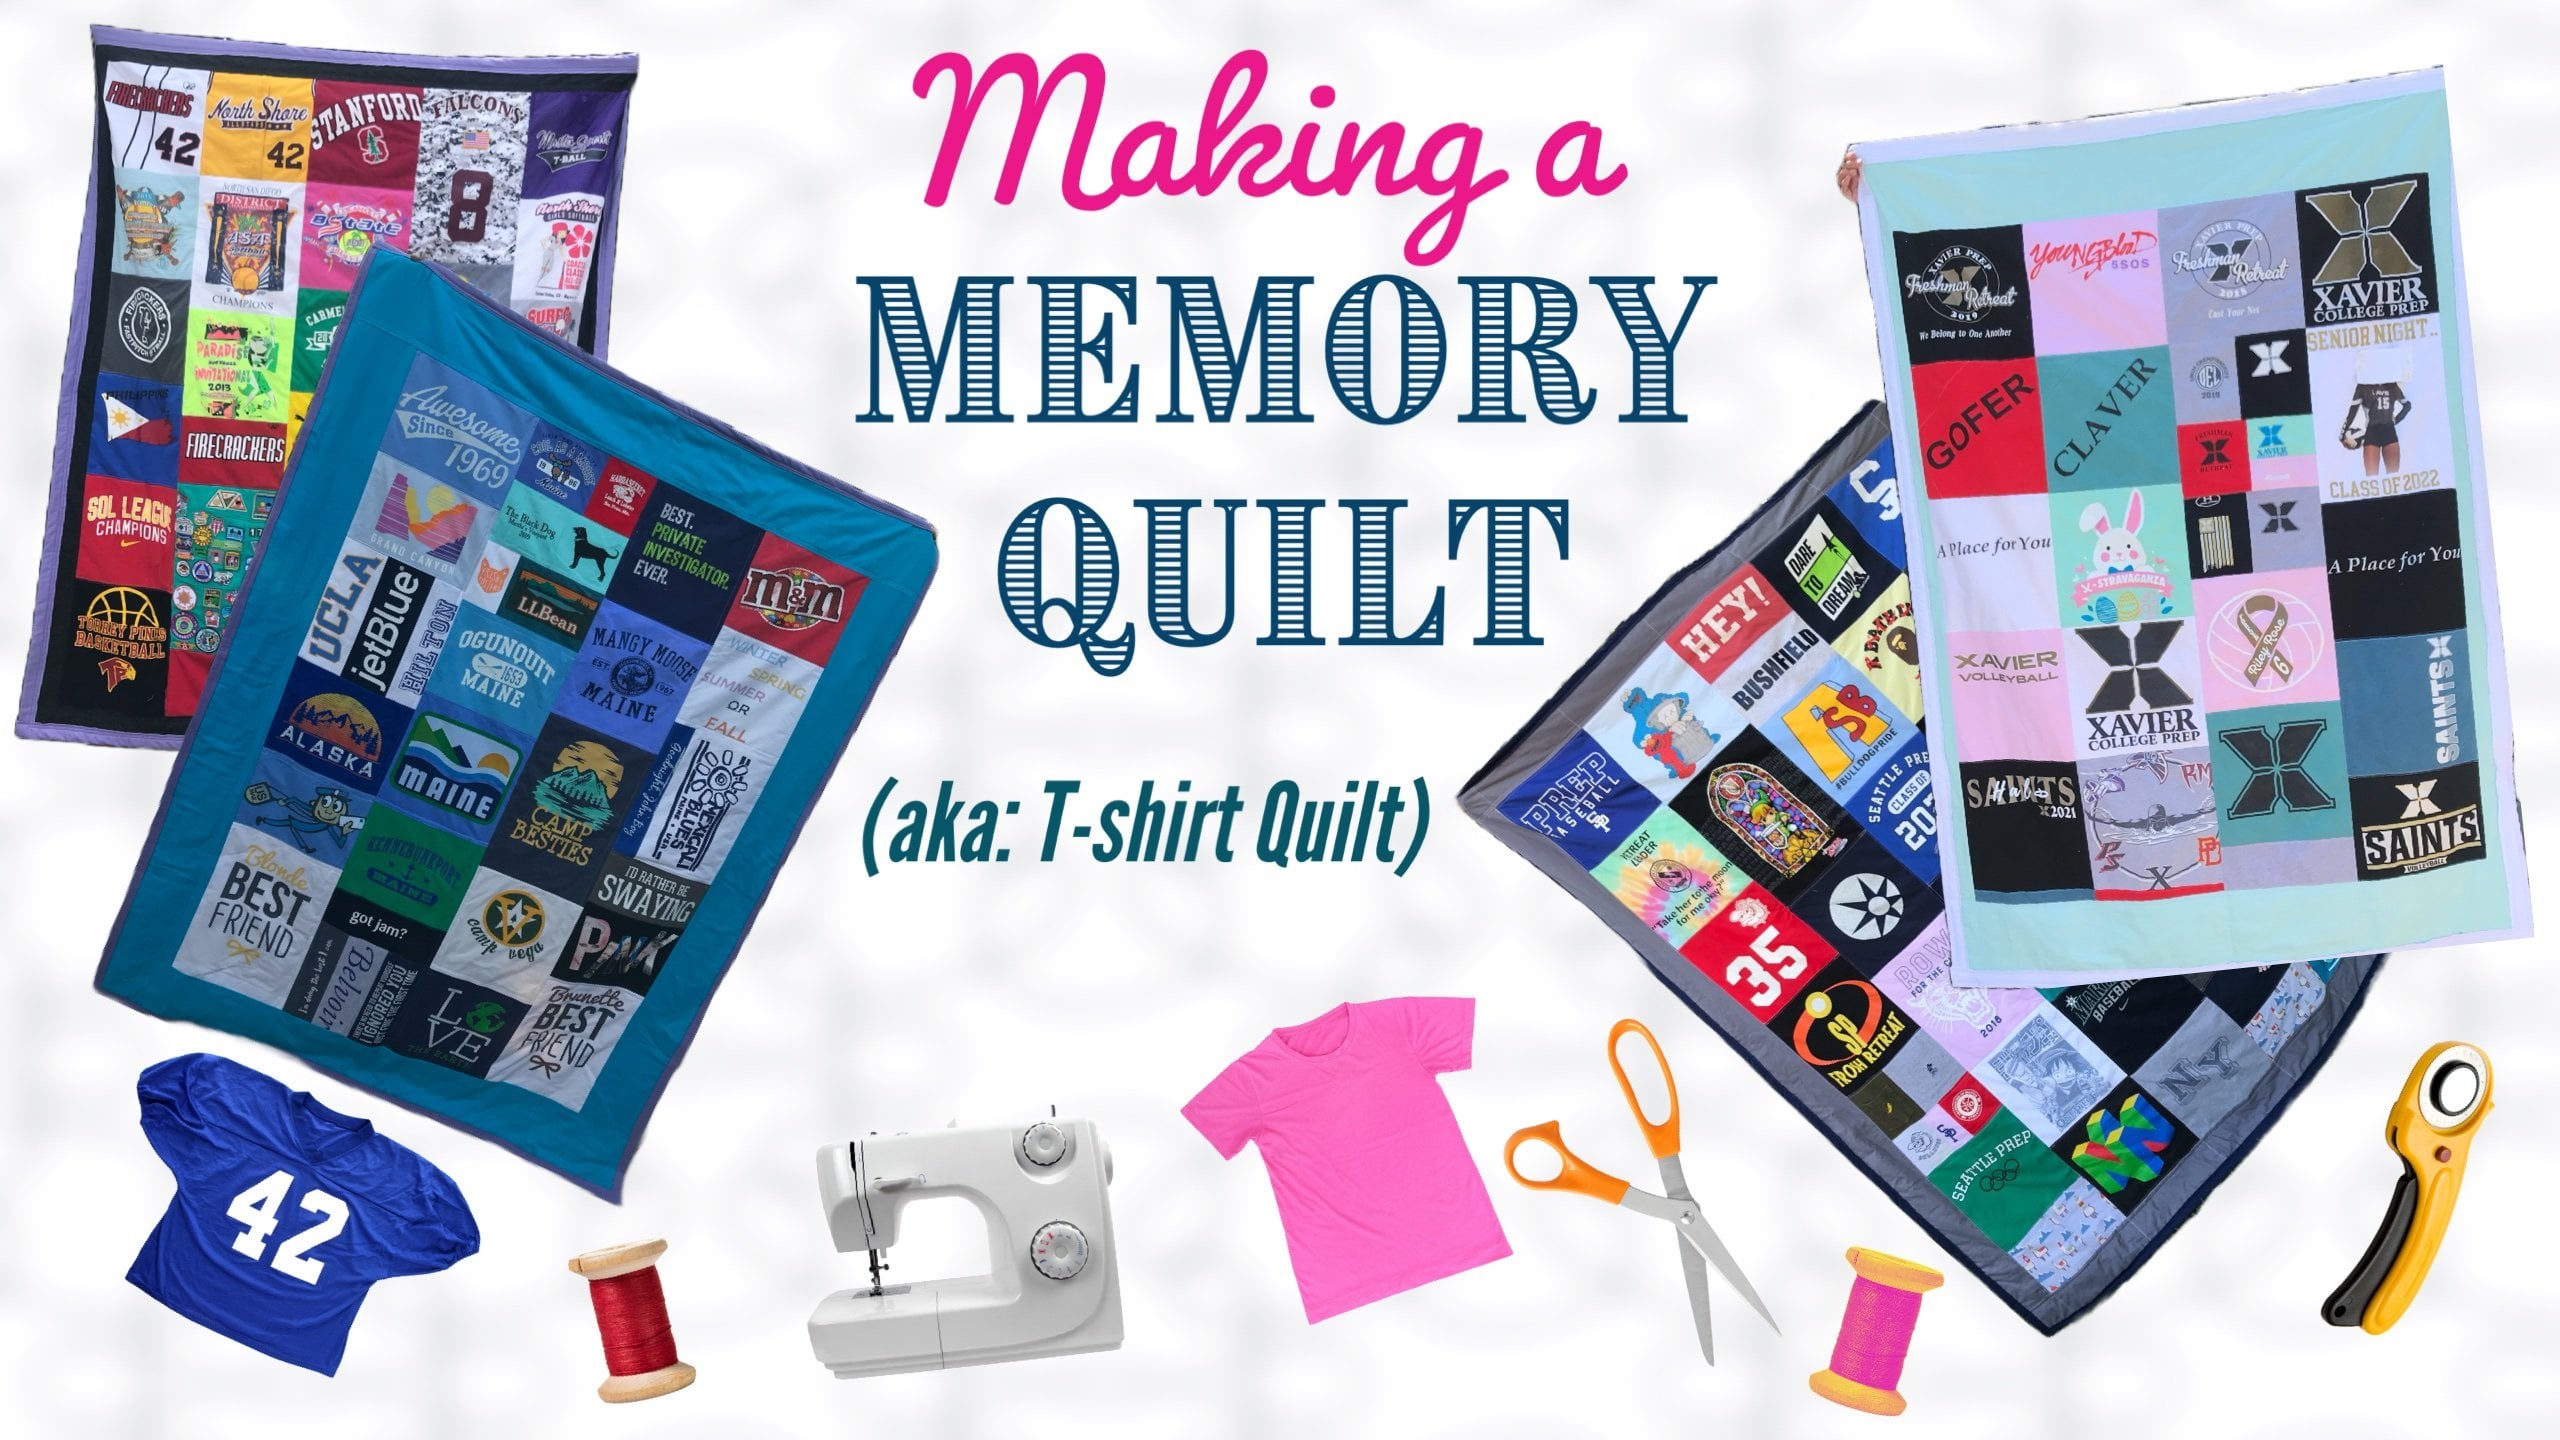
with another project. I've been sewing memory
quilts, pouches, masks, and other stitched up
goods for many years now, I have a background
in fine arts, graphic arts, multimedia,
and mixed media. And I simply love making things. This is one of my favorite
projects because a, it's fast and look
so professional. Be these patches
make terrific gifts. And see, I love coming up with a color combinations
between the strap, the main fabric, the
zipper. So much fun. This is a project anyone can do with minimal sewing
machine experience. In this class, you will
learn about attaching zippers in a very easy way
and working with vinyl. I hope I've made
myself clear when I let you know that this is a very doable project, Let's go.
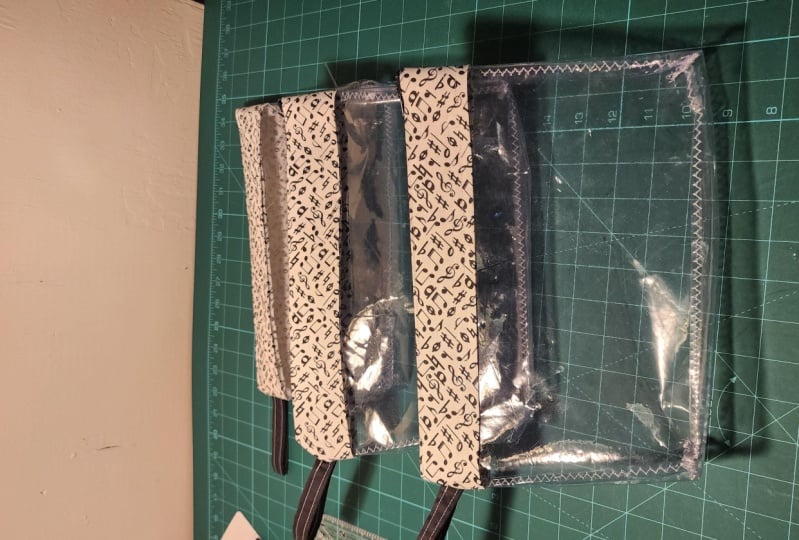
2. The Project: The project. In this class, we will make a clear
zippered pouch, 13 inches wide by
nine inches height. We will include a
boxed corner so that the pouch can easily hold
items and stand up, right? We will work with two fabrics, one zipper and vinyl. First we will prep
the zipper by adding the tabs that go at
each end of the zipper. We will also make
the handle or strap, which I like to do in the same
fabric as the zipper tabs. These two fabrics together
make a fun accent to the other fabric used as
the top part of the pouch. Next, we will cut
vinyl pieces and the main fabric and
sew them together. Following, we will attach the zipper to the
two sides of vinyl. The final stages involve sewing
all three sides together, including inserting the handles, managing the boxed corners. Then we turn the
project right-side out. And voila, like I said, this is an incredibly
easy project which can take under an
hour to complete. Let's go.
3. The Supplies: Let's take a look
at the supply list. Now. I've attached it as a PDF to the resources
section of this lesson. You're going to need
two pieces of fabric. One we'll use for the
main part of the pouch and the other for access
to the zipper tabs. And the handle. You won't
need much of either fabric. The main fabric. You can use half a yard, even less, a fat quarter. You're going to cut
two pieces this size. So that's the amount
of fabric you'll need. 13 inches by eight
inches times two. For the handle and zipper tabs, you're going to need
this much fabric. So even less quarters of a yard, an eighth of a yard, scraps that you have. Part of a fat quarter. This is very doable. You're going to need
to get some vinyl. It comes with tissue paper. So you can see it
makes easier to see. The different weights of vinyl come with different
colored tissue papers. I like the 16 gauge or gouge. I'm not actually sure
how it's pronounced. I find it's a good thickness. It's easy to work with. It sturdy but not so stiff
that it doesn't give a little. But when you go to your
craft store or order stuff, you might find different ways to work better for you or
whatever your need is. But in this project,
I really like 16. Still need a 12 inch zipper. In this project we
use a 12 inch zipper. You can use smaller. Just adjust your
project accordingly. Rulers. You're sewing machine and the
machine should do the job. Plus a non-stick
Teflon presser foot. You really going to need that. Otherwise, when you go to so
if you use a regular foot, foot, it catches on the
vinyl and it won't move. So the Teflon foot
slides again spinal. And I've put it on right at
the beginning of my projects so that I'm ready to go when
I get to the final part. Cutting tools, scissors,
rotary cutter, exact dough knife,
There's one part of the project where an
exacto knife is handy, but you can do the job
with the scissors also. Clips and pins. Thread, white. Perfect. But if you want to add an accent color with
your colored thread, that works to fabric glue. There's two spots in the
project where it's very handy, but it's not
required, just handy. Sewing needles. Here's a vinyl needle
or regular needle. I've used both and
both do the job. Now that we've gone
over the supply list, are ready to tackle
this project. Let's go.
4. Preparing the Zipper & the Handle: Prepping the zipper and handle. The first thing we will work
on is prepping the zipper. Your zipper is going
to look like this. When we're finished adding
the end tabs of fabric, the green zipper
is 12 inches long, but after we add the tabs, it's going to be 13 inches long. And that's the
width of the vinyl that we're going to cut
later on in the project. We're going to add fabric tabs to both ends of the zipper. You will need to cut to one inch by four inch
pieces of fabric. We will end up
folding them in half, ironing them, and then
attaching them to the zipper. You're also going to cut a piece of fabric
that we'll use for the handle that's 2.5
inches by eight inches, will end up folding it and
ironing it and selling it. So it ends up like this. We will start by cutting two tabs for the two
ends of the zipper, one inch by four inches. Then we will cut one piece that will be 2.5 inches
by eight inches, and this will be
used for the handle. Next we will iron the tabs on both sides to make them
crisp at the fold. These tabs are great design
element for the pouch. A little hint of accent color that will match the handles. Plus add a finished look to
the zippers and the corners. Then we will iron the handle in half and then in half again, also making it Chris, before we sew it together
with two lines of stitching. Next up, attaching the tabs
to the two zipper ends. I use a touch of fabric glue
to hold the tabs in place. Then I pin the fabric
tab right in place at the bottom stop and the
top stop of the zipper. Stops are the end parts of the zipper where there is a
small rectangle of metal. It helps to move the zipper slider away
from the top stop and use the pin to
bring the strips of fabric as close
together as possible. At the sewing machine, I get as close to the metal stop without having my
selling foot go over it. I go forward and backward
to reinforce the stitching. I so two rows on the strap, backwards and forwards equally
distant from the edge. In this class, we
prepared the zipper and the handle next
up, cutting the vinyl. Let's go.
5. Preparing the Vinyl: Prepping the vinyl. We have our zipper
and handle ready. Now it's time to
get the vinyl cut. Vinyl is super easy to
cut with a rotary blade. You just have to be careful
because since it's clear, it's hard to see
where you're cutting. Sometimes it comes with a tissue paper so
that makes it easier. Remember the zipper
was 13 inches long and that's the width of the
vinyl we're gonna cut. We're also going to cut
the length at nine inches. That really determines
the depth of your pouch. And you can cut
that at any length. Also, often when you buy
vinyl from a craft store, it comes in huge 54 inch roles. And you ask for them to
cut however much you want. When you get home, you
may discover is a little trickier to cut down to
size than regular fabric. I find placing it on the floor and cutting sections off
help manage it more. When I get to my cutting table. You're cutting two
pieces of vinyl, each 13 inches wide by
nine inches height. The longer the height, the deeper the pouch. You can still cut
without the tissue. But once again it is clear. So just be careful. We've cut two pieces of vinyl. Next up, getting the
fabric ready, Let's go.
6. Fabric, meet Vinyl: Fabric meet vinyl with the
two pieces of vinyl cut, 13 inches by nine inches. We're now ready to
cut the fabric that will go along the
top of the pouch. We're going to cut
two pieces of fabric, 13 inches by eight inches. We're going to fold an iron it so that it looks like this. And then we're going
to attach it to the top of the vinyl. And so this acts as the border and the
top flap of the pouch. And also it's where
the zipper attaches. I'm going to cut two
pieces of the main fabric. Then I will just finger
press them before heading to the iron to
reinforce the folds. I will iron in half. And then in half again. I will take each piece
of fabric and clip it to the pieces of vinyl to prepare
for sewing them together. I like to so two
rows of stitching. One close to the edge at
about the quarter-inch mark, and then another one about a
quarter-inch or half an inch from that original sewn line. We cut our two
pieces of fabric and attach them to the
two pieces of vinyl. Next up, attaching
the zipper. Let's go.
7. Attaching the Zipper: Attaching the zipper, we
have the zipper all prepared from earlier in the class and the vinyl and fabric
all prepared. Now it's time to put these
two elements together. I make sure that the
side of the fabric that will be facing
out is facing up. I line up one side of the
patch to the other side of the zipper equidistant
from each edge. It's okay that the tabs
are a little longer. We will trim them shortly. I used the fabric glue to loosely hold the
zipper in place. Be careful to glue does not scrape against the zipper teeth. Then I clip the two ends. At the sewing machine, I
get close to the edge of the fabric and the zipper
and then sew along a line. When I get to the zipper slider, I usually make sure
the needle is down. Lift the sewing foot and slide the zipper past
where I am working. Then I put the foot back
down so the sewing can continue in a
straight line without bumping into the
slider of the zipper. Then I repeat for
the other side. At the machine, it's helpful to roll up or pin the vinyl on the first side so
it doesn't get in the way and stick
to the machine. The finished work looks
very nice and polished. On both sides. We attach the zipper to the
two sides of the pouch. Next up, sewing the sides, the bottom, the box
corners, and the handle. Let's go.
8. Sewing the Edges & Corners: Sewing the edges
and the corners, we are in the final
stages of the project. Now we're going to
so the two sides, the bottom and the
two box corners. And we're going to
include the handle. The first thing I do is trim the taps flush with the fabric. I make sure to open the zipper, which should be facing inside. The side with the zippers open, is where I will put the handle. Make sure when you fold
the handle unhappy that the outside stitching
is facing outwards. I also separated
a little so it's not too thick where
it will be sown. When the pouches folded in half, I make sure the fabric lines
up as well as the corners. I clipped one side. I clipped the other side. I trim off any spots where
the vinyl does not line up. Next, I prepare for
the box corners. At each corner I
mark and cut with an exacto knife, a
one-inch square. This is easy to see because
of the clear vinyl. I make sure my non-stick
Teflon presser foot is on my sewing machine. This makes selling
on vinyl possible. When I head to the
sewing machine, I was to just straight stitch on each edge where the fabric, vinyl and zipper are joined. I will go over it a few times. Then zigzag on each side
and along the bottom, stopping at the cut-out corners, making sure to backstitch
where the corners are. Back at the cutting table, I will cut off any
extra strands. I cut off extra strands
everywhere on the project. Then I will push the
corner sides together. I make sure that the bottom
seam folds over the same way on both sides. Then I clip. Then I head back to
the sewing machine. Sometimes you can get
some drops ditches with vinyl and with the seams
and the bumpy terrain. So I saw a few times
back-and-forth on these box corners for
extra reinforcement. In this class, we
sold the sides, the bottom, and the box corners. Next up we're going to turn
this thing right-side out and see our final
project. Let's go.
9. Finishing Up: Finishing up. Now, it's time to turn our
project right-side out, since we're working with
vinyl and it's a little bit sticky and doesn't
bend that easily. You have to be patient
while doing this. I like to start by folding
the two corners in, sort of grabbing them. Make sure to push my finger
through to the corners. Okay, so there we have it. That's probably the most
challenging part of the project. No joke. We have our zipper. We have our tabs poking through, accent color or handle. Our boxed corners. Looking pretty good guys. Please make sure to share
images of your projects in the project and resources
section of this lesson. I'm so excited to see
what you've done.
 Zoe Balsam Biggs, Memory Quilts & Other Fun Art Stuff