Transcripts
1. See Objects as Shapes Without Feeling Overwhelmed : If you have ever looked
at the object and felt stuck before
drawing even one line, this will feel very familiar. You might look at
a cup, a chair, or a phone and think it
looks too complicated. Your eyes jump to the curves, the small details, the
shadows, your hand freezes. Your mind says,
This is too hard. If that is how drawing
feels for you right now, there is nothing wrong with you. This is one of the most
common beginners struggles. Most people are never
shown how to look at objects in a simple way. They are shown
finished drawings, not the calm thinking
behind them. Here is the good news. You do not need talent or
confidence to start here. You only need one small
shift in how you look. Today, you will take
one everyday object and turn it into something calm
and manageable on paper. Even a few simple shapes
is already a win. I and Paul, I help beginners
to learn new skills in a clear and simple way so they can feel safe trying
something new. When I first tried drawing, I thought my hand
was the problem. I kept judging every line. What I did not realize was that my eyes were overwhelmed first. Once I learned how to
simplify what I saw, my hand relaxed on its own. I like this topic because
it removes pressure fast. Seeing objects as shaves is not about drawing
better pictures. It is about making
drawing feel possible. That feeling of possibility is what keeps beginners going. Here, you will go slowly. We will work with paper
and pencil, nothing fancy. You will build one simple
drawing step by step, without details and
without stress. This is not for advanced
artists looking for realism. This is for absolute beginners or anyone who wants
a count reset. By the end of this,
you will have one finished drawing
made only of shapes. More importantly, you will
see objects differently. That shift stays with you. Take a breath. You are
already in the right place. Let us begin gently.
2. Draw One Object Using Only Shapes : I starting feels scary,
that makes sense. A blank page can feel loud. That is why we will focus on one small project and stay
with it from beginning to end. While you're here, you will
create one simple drawing of one everyday object
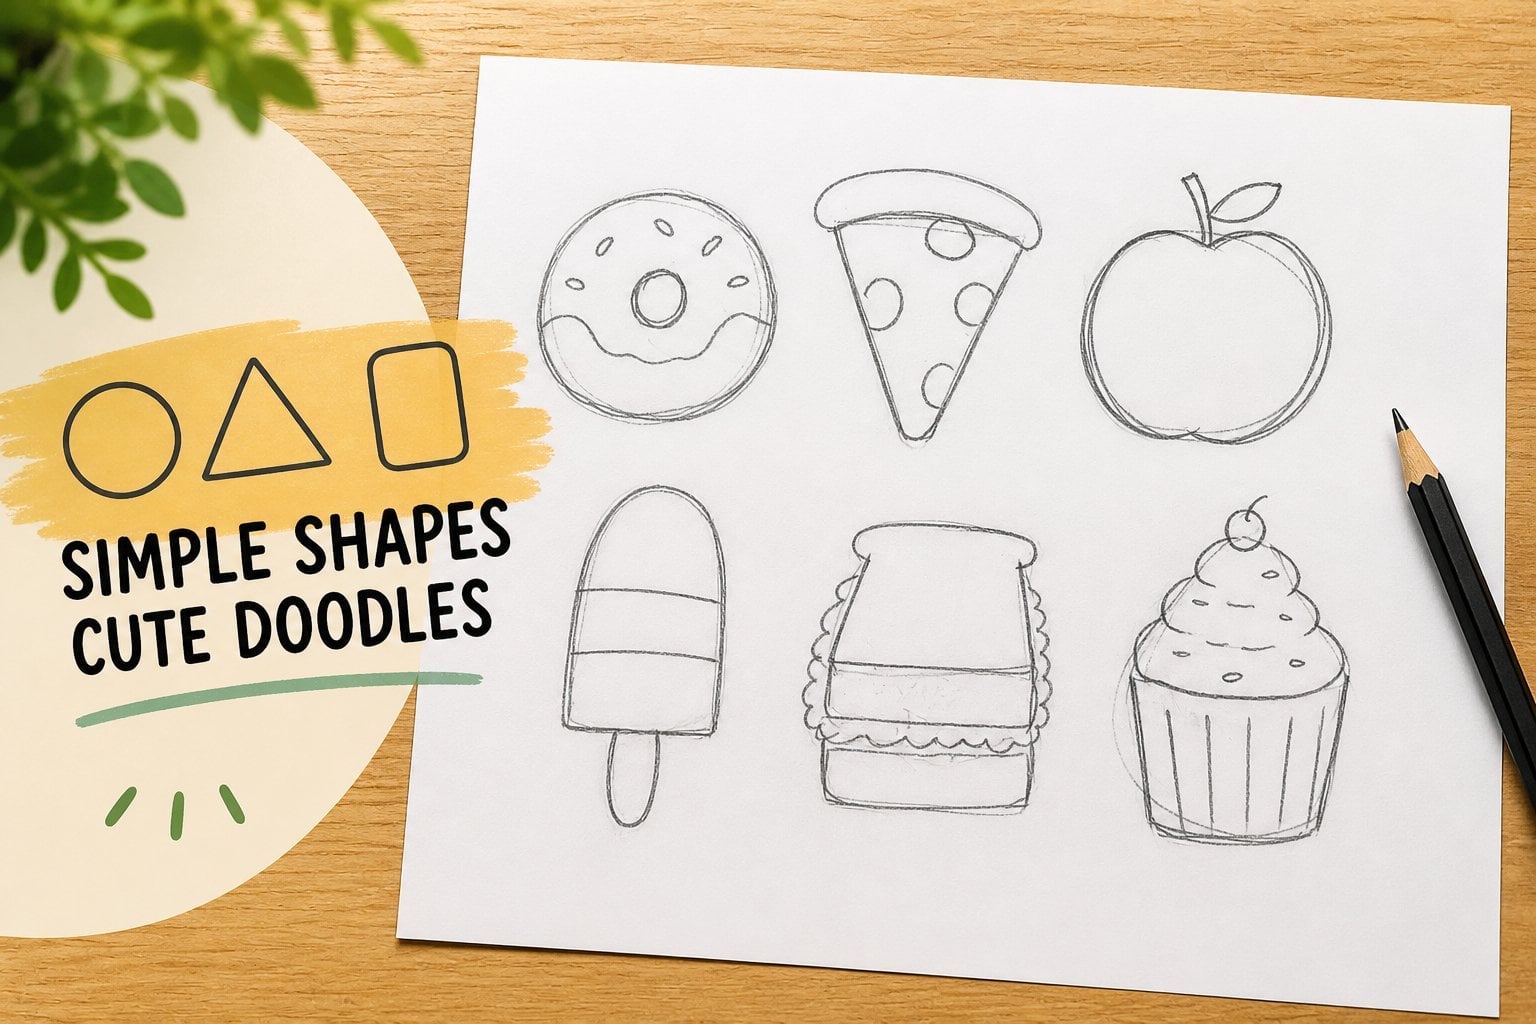
using only shapes, not details, not
shading, just shapes. The only material you need
is paper and a pencil. Any paper is fine. Any
pen or pencil is fine. If you have something
nearby, that is perfect. Not, you can even imagine
the steps and draw later. We will build this drawing
slowly across the lessons. First, you will choose
one simple object, then you will break
it into shapes. Finally, you will draw those shapes calmly
without adding details. You are welcome
to pause, rewind, or draw along at your own
pace. There's no rush. The final results will be one drawing that looks
simple and clear. It will feel unfinished in a
good way. That is the point. This project is about
practice, not perfection. In a rough shape,
drawing counts. You are doing this
to train your eyes, not to impress anyone. By the end, you will
have one drawing you can take a photo of and
apploud. That is it. Simple, complete and done. You are already doing
something brave by starting. Let us look at the
idea behind this next.
3. Simplify What You See Before You Draw : Many beginners struggle
because they try to draw everything
they see at once. Your eyes notice curves, edges, shadows, and small changes in
shape all at the same time. Your hand tries to keep up, and that is when drawing
starts to feel stressful. The simple idea here is this. Before you draw an object, you simplify it in your mind. You turn it into a
few basic shapes. Simplifying what
you see means you are choosing calm over accuracy. You are deciding
what matters right now and letting
everything else wait. One helpful way to
think about this is that objects are built
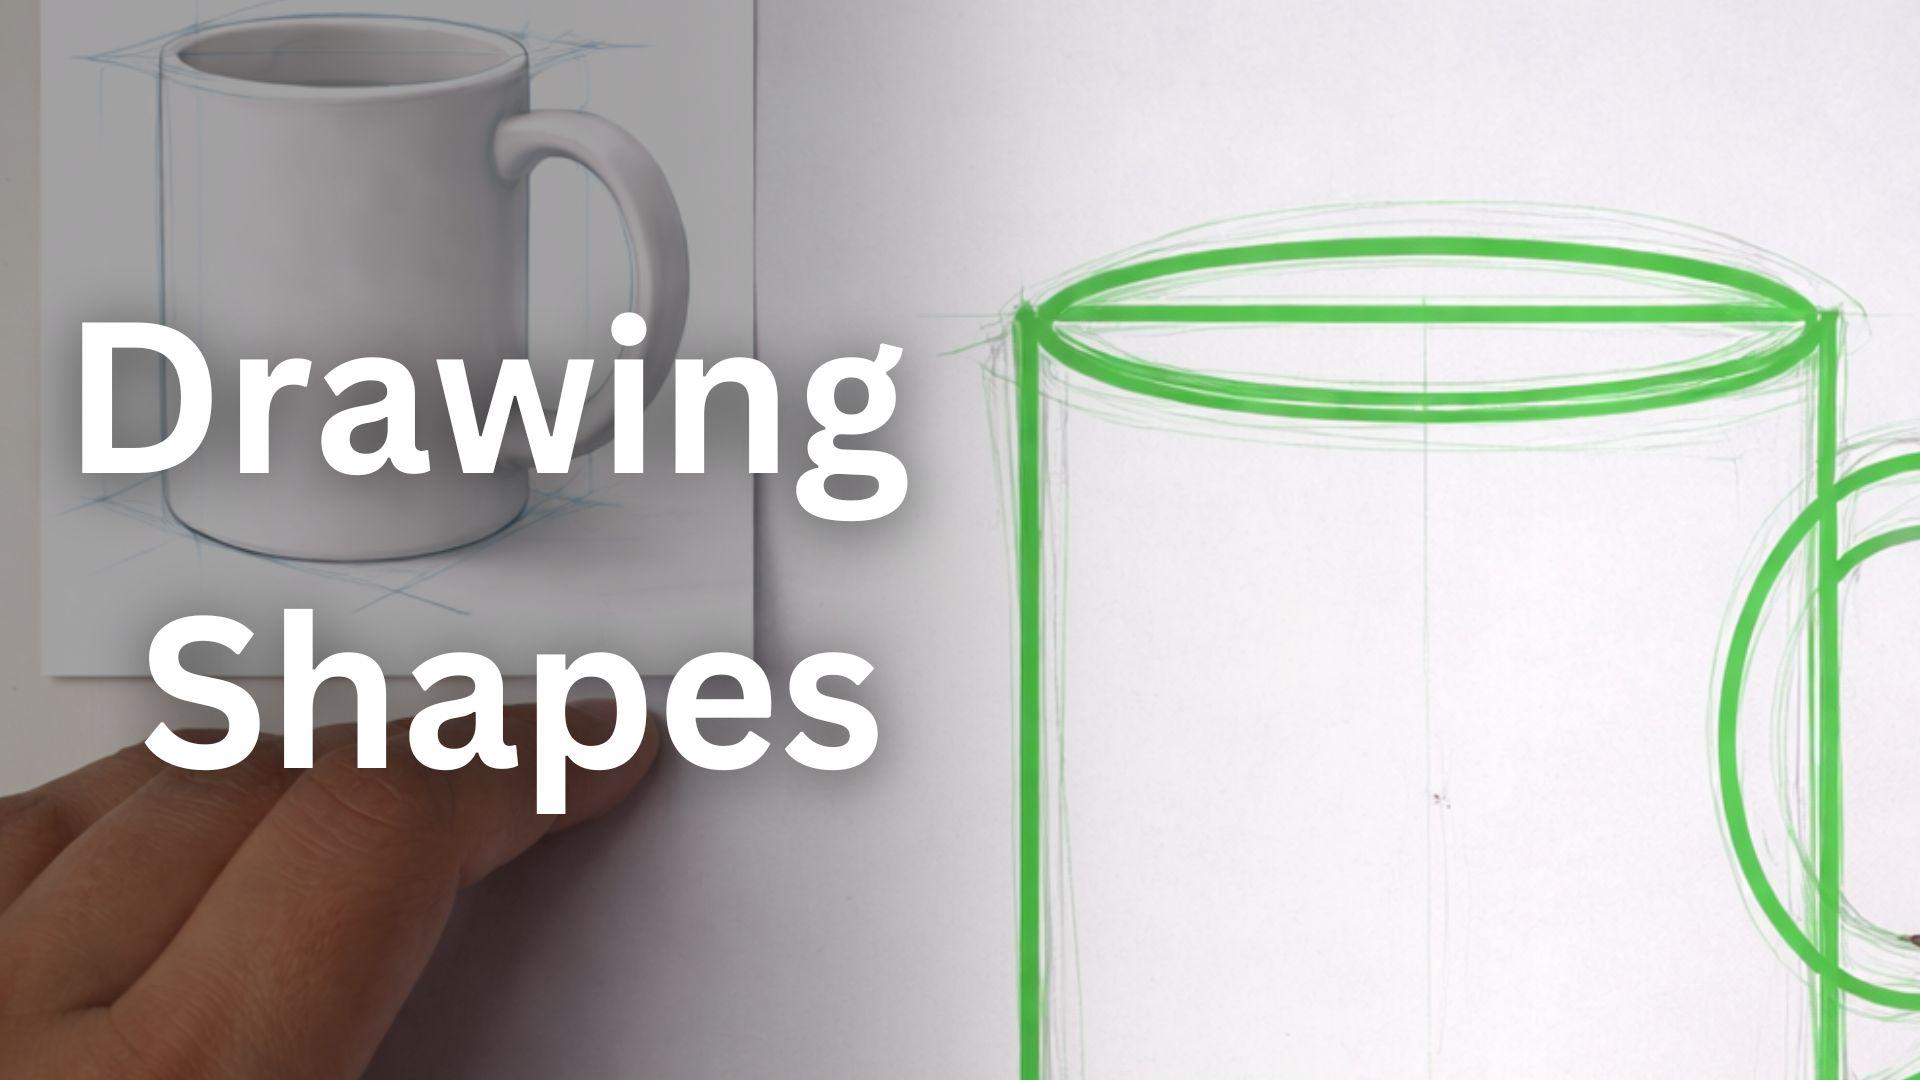
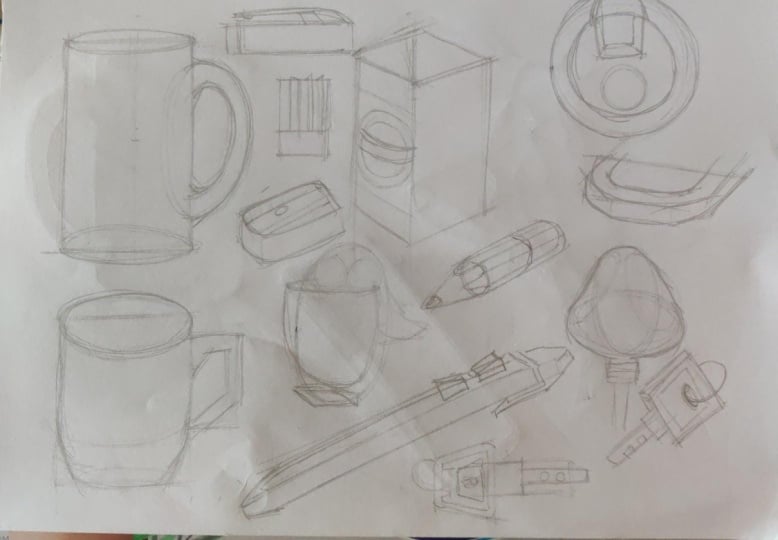
on simple forms. A mug can seen as a tall shape. A plate can be seen
as a flat shape. A book can be seen
as a box shape. Another important part
of this idea is that shapes give your hand
something solid to follow. When you draw a simple shape, your hand feels more confident because it knows where to go. Details can always come later, for now they are
pause on purpose. A quick note about size and proportion because beginners
worry about this a lot. You do not need to
measure anything. You only need one calm anchor. The first and the biggest shape you draw becomes
your anchor shape. That shape quietly sets the
overall size of the object. After that, every
other shape only needs to belong to
that first shape. So instead of asking, is this the right size
or is this correct, you ask one softer question. Does this shape feel like it
belongs to the other one? That is how proportion
improves without pressure. For example, if you look
at the mug and try to draw the curves and thickness
right away, it feels hard. But if you see it as
a tall shape with a smaller shape attached,
your hand relaxes. When you simplify what you see, you are not making
the drawing worse. You are building a clear base. Here is how this flows. First, you choose
one simple object, then you break it
into basic shapes. Finally, you draw those shapes calmly without adding details. This works because you are no longer trying
to draw an object. You are drawing shapes your
eyes already understand. Keep this idea with
you as we continue. You are training how you see, not how perfect
your drawing looks.
4. Choose One Simple Object to Draw : It is very common to feel unsure about what
object to draw. You might think
you need something interesting or
special. You do not. The easiest way to begin is to choose something
simple and familiar, something you often see, something with a clear outline. Take a moment to
look around you. A mug, a cup, a book, a phone, any of these are fine. For this project,
I will use a mug. I like mugs because they have one clear body and one handle. You can choose the same
or something similar. Place your paper
in front of you, hold your pencil lightly. You do not need to
commit to anything yet. First, write the project title at the top of the
page in your mind. One object as shapes. You do not need to write it
down unless you want to. Next, place the object in front of you or
imagine it clearly. Let your eyes reson
it without drawing. Then notice the overall size. Is it tall or wide? Do not judge it. Just notice. After that, remind yourself that you are not
drawing details today. Say that quietly if it helps. Finally, make a small mark on the page to show where
the object might sit. This is just a placeholder.
It can be messy. Here is an example we will
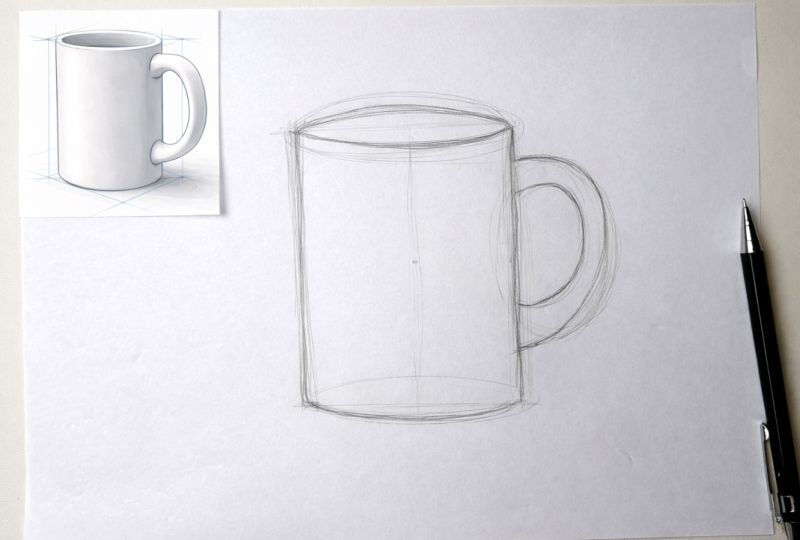
use across the project, a mug seen as a tall shape with a curved
handle, nothing else. At this stage, your
page might have only a light mark or nothing
at all. That is okay. The real work here is choosing and committing
to one object. By doing this, you have
already reduced the chaos. One object, one focus. That alone can feel calming. Take a breath. You have started.
5. Break the Object Into Simple Shapes : Once the object feels chosen, the next challenge appears. How do you turn into shapes
without overthinking? If your mind says you are doing
it wrong, that is normal. This part feels
strange at first. Look at your object again. This time, ignore
what it is called. Do not think mug. Think shape. First, find the biggest shape. For a mug, this might
be a tall rectangle. It does not have to be perfect. Next, lightly draw that
shape on your paper. Do it slowly. One
side, then the other. It can be crooked. Then look for the
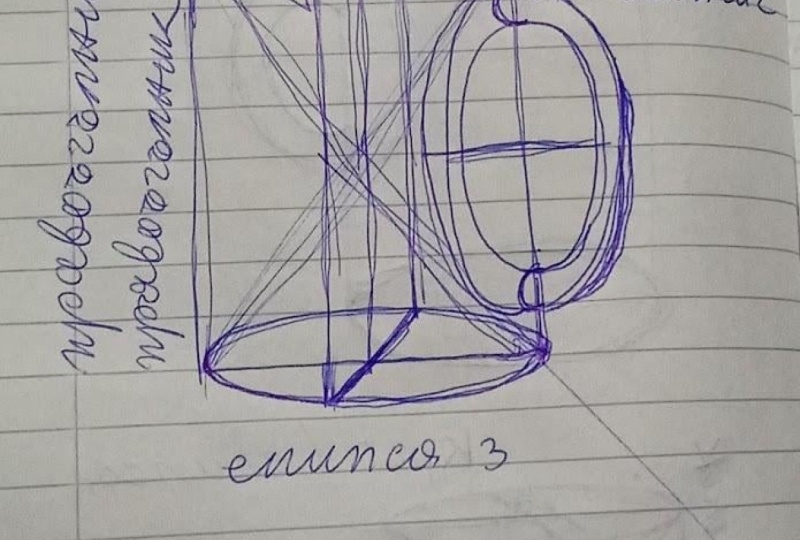
next largest shape. The handle can be seen as a long curved oval
or a bent rectangle. Add that shape next to the
first one. Keep it simple. One line for the outer curved. One line for the inner curved. After that, check if there's
one more obvious shape. The top opening of the mug
can be seen as a flat oval. Add that oval lightly on
top of the tall shape. It does not need
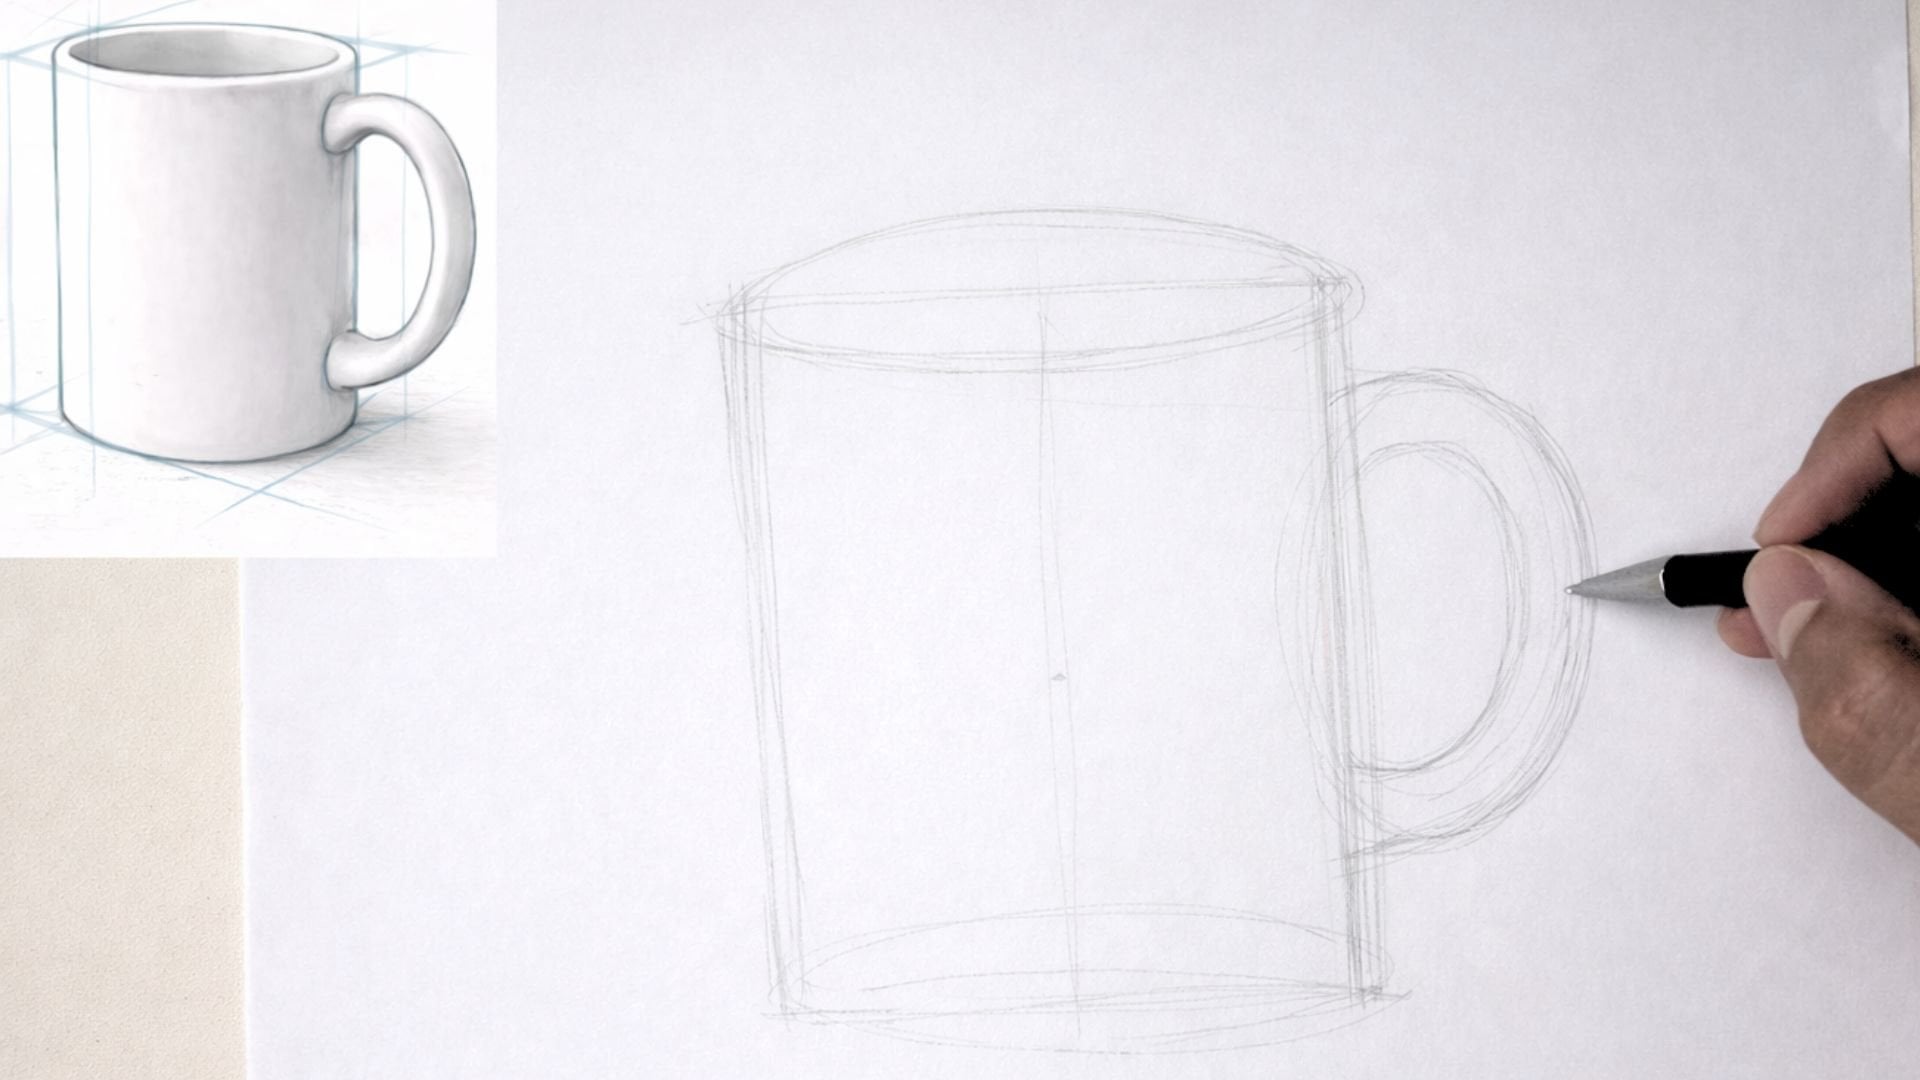
to match exactly. Now, pause. Look at your page. You might feel surprised. It already looks like something. Here is the example
we are building toward a tall rectangle in
the center of the page. A curved handle shape
attached to one side. A flat oval resting on
top of the rectangle. That is all for now. No shading, no texture, no fixing. Breaking the object into shapes is not about
being correct. It is about giving
your eyes a map. If it feels awkward, that means you are learning
something new. That is a good sign. Take another breath. You
are doing this right.
6. Draw the Shapes Calmly Without Adding Details : This is where everything
comes together, and this part is meant to
feel slow and reassuring. If you usually feel pressure to rush or judge your drawing, this is your chance
to do the opposite. Before tracing anything,
we are going to make sure the shapes
feel come together. This is where size
and proportion quietly became
easier, not harder. I'm not going to
measure anything. I'm just going to adjust gently. First, I look only at the
biggest shape on the page, the tall shape that represent
the body of the mug. I ask one soft question. Does this feel tall
enough to be a mug? Or does it feel a
little too short? If it feels off, I gently stretch the shape
a tiny bit taller. Just a small adjustment. Then I pause. Next, I
look at the handle shape. I ask another soft question. Does this handle feel
like it belongs to this mug or does it feel
too heavy or too small? If it feels off, I
adjust it slightly. I might move it a
little higher or lower or open the
curve just a bit. So Again, very small changes
are enough. Then I pause. Finally, I look at the top oval. I ask one last question. Does this opening feel like
it sits naturally on top of the mug or does it feel
squeezed or floating? If it feels off, I gently widen it or flatten it a little. Then stop adjusting. Now, the shapes feel
calmer together. They feel related. Look at the shapes
you have drawn. They are already enough. First, gently trace over the main shape to make
it a little clearer, not darker, just clearer. Then, trace the handle
shape the same way. Keep your hand relax. Let the line wobble
if it wants to. Next, trace the
top oval lightly. Do not try to make it perfect. Let it be what it is. After that, stop.
This is important. Do not add anything else. Notice how your drawing
feels and finish. That feeling is okay. This is what
simplicity looks like. If your mind wants
to add details, remind yourself
that this project is about stopping early. Here is the final example. A simple drawing on a mug
made from tall rectangle, a curve handle shape, and a flat oval on top. No details, no
shading, just shapes. When you compare this to
how drawing felt before, there is often a quiet relief. You did not have to
solve everything. This is the scale
you are practicing, seeing less, so you can do more. You have completed
the final step. Let that sink in.
7. Upload One Shape Drawing : Let us gently walk
through what you created. The project is one drawing of one everyday object
using only shapes. The material is
paper and pencil. The project title is
one object as shapes. The finish example we use is a mug drawn as a tall rectangle, a curve handle shaped, and a flat oval on top. You begin by choosing
one simple object. Then you broke it
into basic shapes. Finally, you trace those shapes calmly without adding details. This works because it
trains your eyes to simplify before your hand moves. That is the foundation
of drawing. To upload your project, take one clear photo of your drawing. Make sure the
shapes are visible. Upload that one photo
at the project title, and write a short
line if you want. It is best to create and upload this while
the idea is fresh. Even a quick version is enough. Most people upload simple
imperfect drawings. That is normal here. This space is for practice. Once it is uploaded,
you are done. You completed the whole flow.
8. Common Questions Beginners Ask : You made it through
all the steps. It is normal to still
have few questions. First question. What if my drawing looks too
simple or childish? Well, that feeling
is very common. If your drawing looks simple, that means you did the
project correctly. Simplicity is the
9. Feel Proud Seeing Objects Differently : You did it. You started with uncertainty and finished
with a completed drawing. You learn how to
choose one object, simplify it into shapes
and draw without pressure. If there's one thing I hope you take with
you, it is this. You do not have to draw
everything you see. I believe small concepts
are what build confidence. Today, you practice
seeing clearly. There's a simple rhythm
behind what you did. Look, simplify, and draw. Sometimes, when you look
at everyday objects, after this, they
feel friendlier. That small shift
can make you smile. Thank you for being here and giving yourself
time to practice. Applaud your project
when it feels right. Living in review
helps me grow as a teacher and helps other
beginners find this. If questions come
up, that is normal. You are welcome to ask. Be proud of what
you finished today. You moved forward. I will
see you in the next lesson.
 Paul Nene, Helping beginners take action