Transcripts
1. Start Drawing Slowly Without Feeling Behind: If you have ever
tried to draw and felt like your hand
was moving too fast, this will feel familiar. Maybe you sat down
with paper and pencil, and before you knew it, your lines were
already rushing ahead. You might have felt
pressure to finish quickly or to make
it look right away. That can feel uncomfortable, especially when you
are just starting. If that sounds like you, I
want you to know this first. Nothing is wrong with you. Many beginners rush
without realizing it. It usually comes from
wanting to do well or wanting to get past the
uncomfortable beginning. You are not alone
in this feeling. While you're here, we are going to take one small gentle step. We are going to slow
things down together. Not to make drawing harder, but to make it feel
calmer and more possible. Even deciding to slow down a little is already a small win. I and Paul, I help beginners
learn new skills in a clear and simple way so they can feel safe trying
something new. When I first started drawing,
I rushed constantly. My lines feel tight,
my hand feel tense. I thought speed
meant confidence, but it actually made
me feel more stuck. Learning to slow down changed
how drawing felt for me, and that is why I enjoy
sharing this topic. I like teaching
this topic because slowing down removes pressure. It gives your eyes and your
hand time to work together. It turns drawing from
something stressful into something quieter
and more focused. This is for beginners
who feel rushed, tense, or unsure when they draw. If you are very
advanced or looking for fast sketching techniques,
this will feel basic. But if you want a
column reset or a gentle foundation, you
are in the right place. You do not need special tools. Paper and a pencil are enough. By the end of this,
you will have simple drawing that you
made slowly on purpose. We will move through this step
by step without brushing. Let us take a breath and begin.
2. Create One Slow Drawing With Paper and Pencil: It is very common to feel unsure when starting
something like this. You might wonder if
you are doing it correctly or if you
should already be better. That feeling can make
you want to hurry. Here we are doing the
opposite, and that is okay. You will be creating
one simple project. You will draw one object slowly for 5
minutes. That is it. One object, one drawing
slow on purpose. We will use one primary
material for everything. You can use any paper
you already have. You can use any pencil
you already own. This keeps things
simple and familiar. You will build this drawing
gradually as we go. In the beginning, you will only be thinking about slowing down. Then you will practice
watching the object. Finally, you will
move the pencil calmly while staying
connected to what you see. You can work along
while listening or you can just watch
first and draw later. You are always allowed to pause, rewind, or stop
when you need to. There is no rush here. The
finished project will be one simple drawing of an object made slowly over 5 minutes. It might look
unfinished or quiet. That is perfectly fine. The goal is not how it looks. The goal is how it felt
to draw it slowly. You are already doing the
right thing by being here. Let us move gently into the main idea behind
slow drawing.
3. Understand Why Drawing Slowly Changes Everything: If drawing has ever felt
stressful or uncomfortable, slowing down can help
more than you expect. Many beginners think the problem is their hand or their skill. Often, the real issue is speed. Drawing slowly means
giving your eyes time to look and your
hand time to respond. It is not about being
careful or perfect. It's about staying present
with what you see. The simple idea here is this. When you slow your drawing, your attention shifts
from worrying about the results to
noticing the object. That shift reduces pressure. There are a few
parts to this idea. First, your eyes need time. When you rush, your eyes jump
ahead and fill in guesses. When you slow down,
your eyes actually observe shapes,
edges, and spaces. Second, your hand
needs permission to move at the same
pace as your eyes. If your hand goes faster
than what you see, your lines feel disconnected. Slowing down helps
them work together. Third, slowing down
helps your mind settle. When your movements are calmer, your thoughts usually fallow. This makes drawing feel
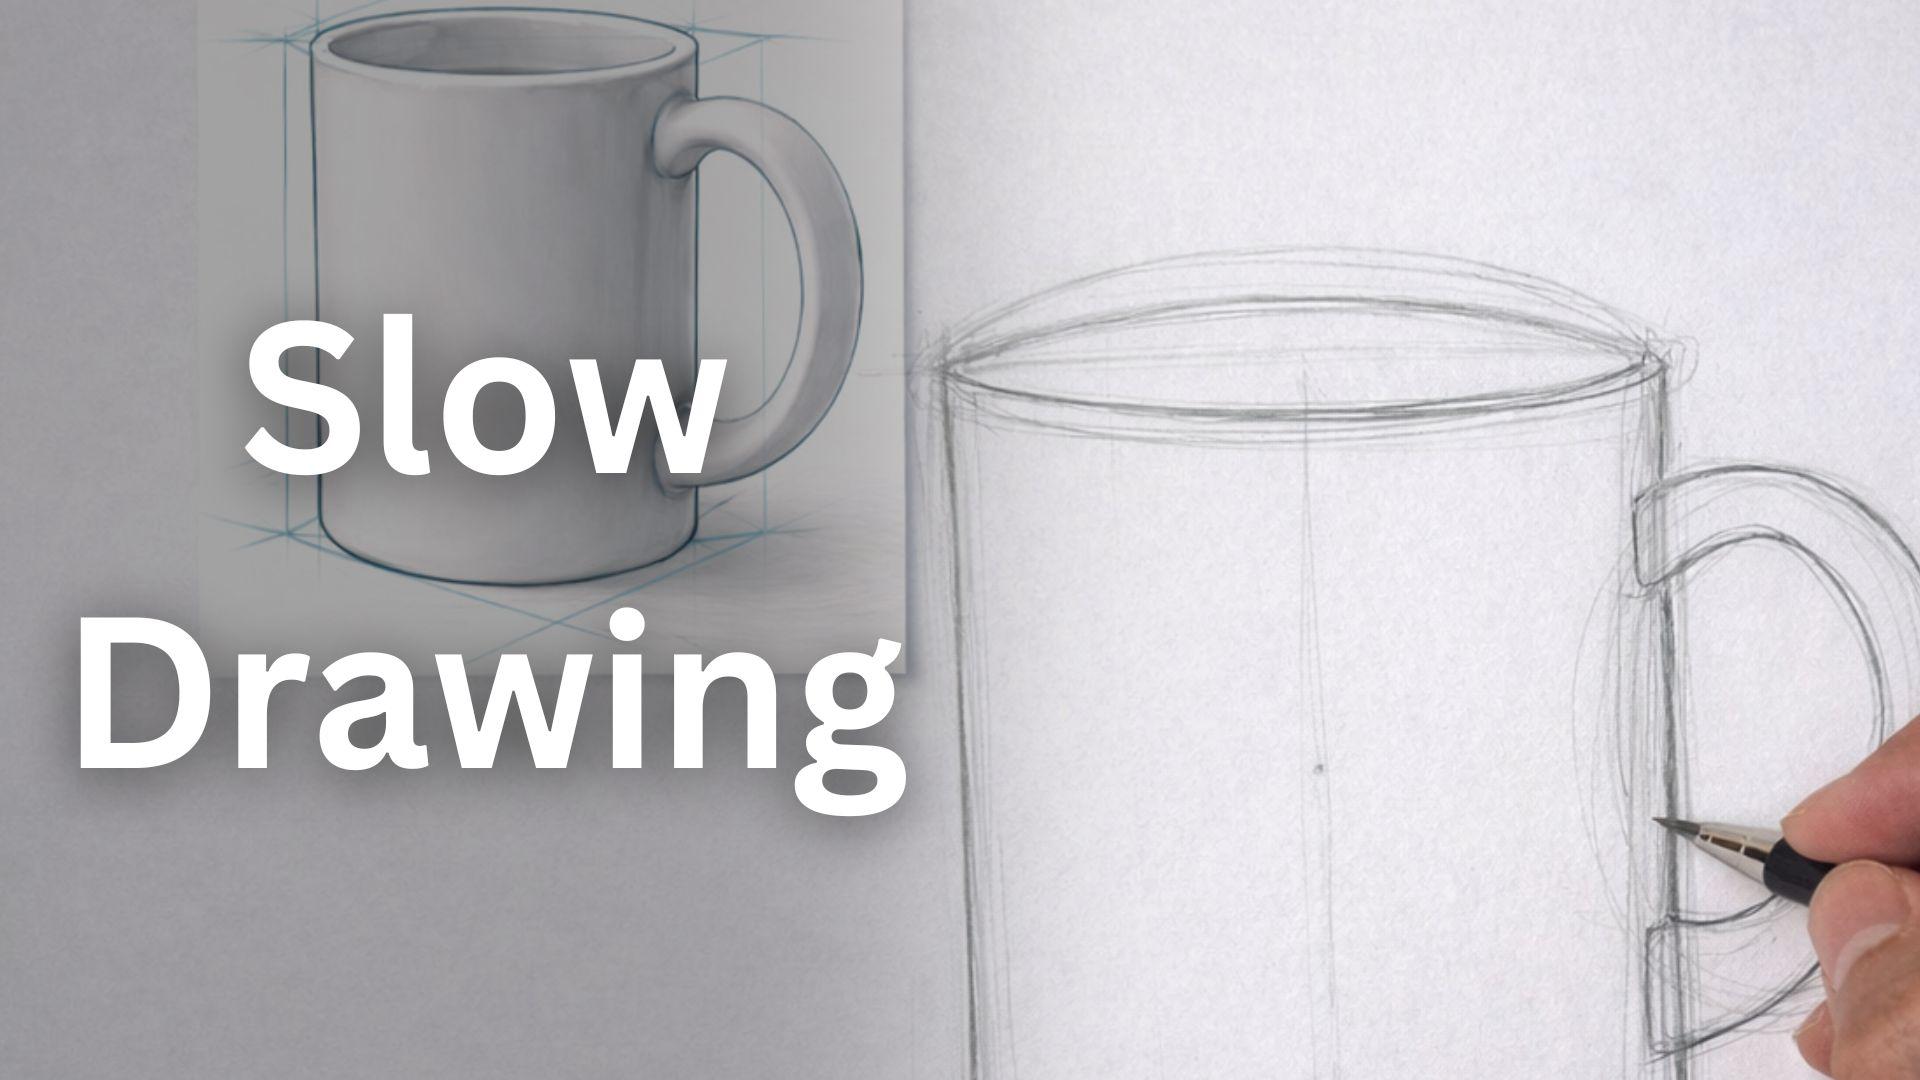
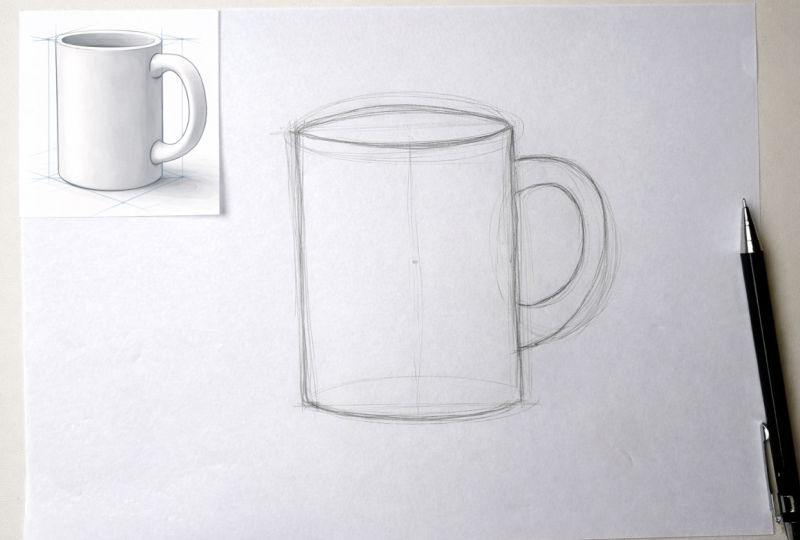
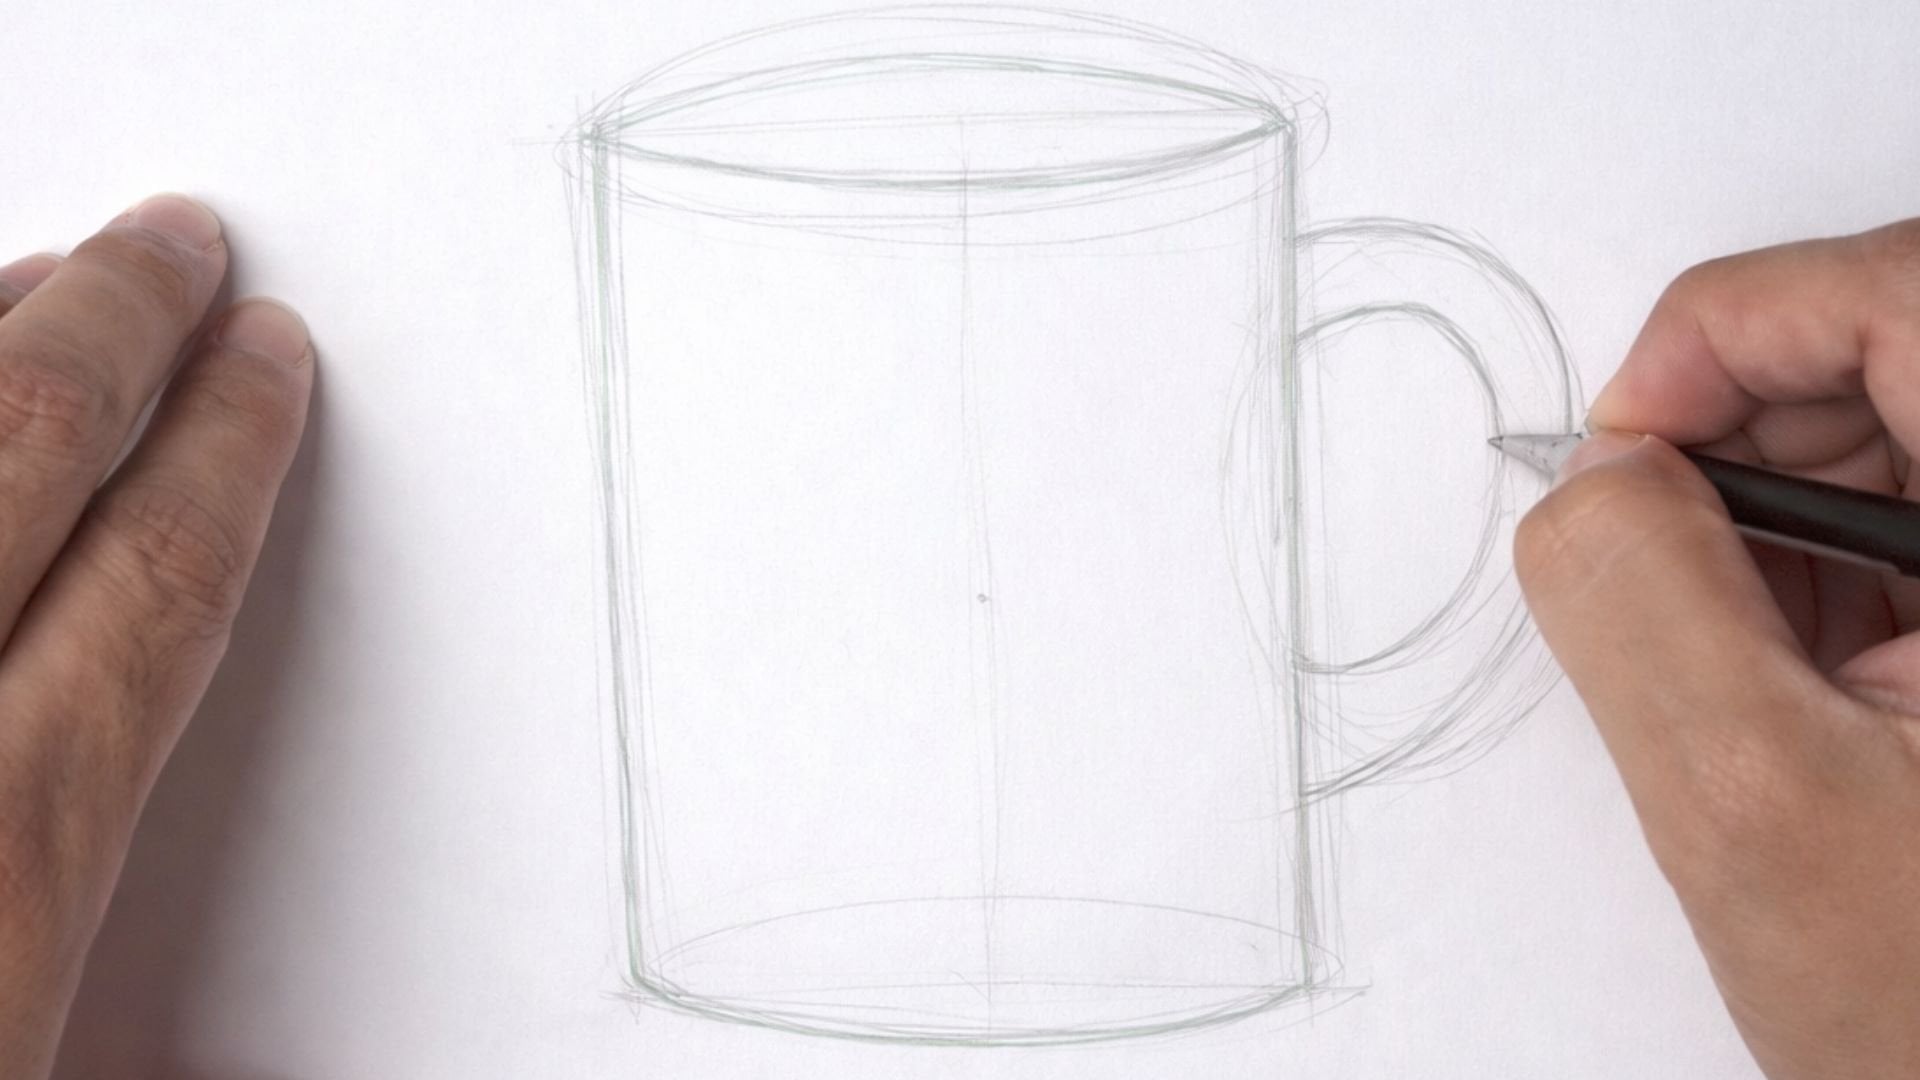
quieter and more focused. For example, if you
draw a cup quickly, you might draw what you
think a cup looks like. If you draw it slowly,
you start noticing the curve of the rim or
the angle of the handle. That noticing is where
learning happens. Here is how we will
do this together. First, you will understand
why slowing down matters. Next, you will practice watching the object
without rushing. Then you will move the pencil calmly while staying
connected to what you see. This simple flow
works because it removes pressure step by step. You are not forcing
yourself to be good. You are giving yourself time. Keep this idea in mind
as we move forward. Slowing down is not
falling behind. It is creating space to see.
4. Begin Drawing by Choosing to Slow Down: Many beginners feel like they should already be
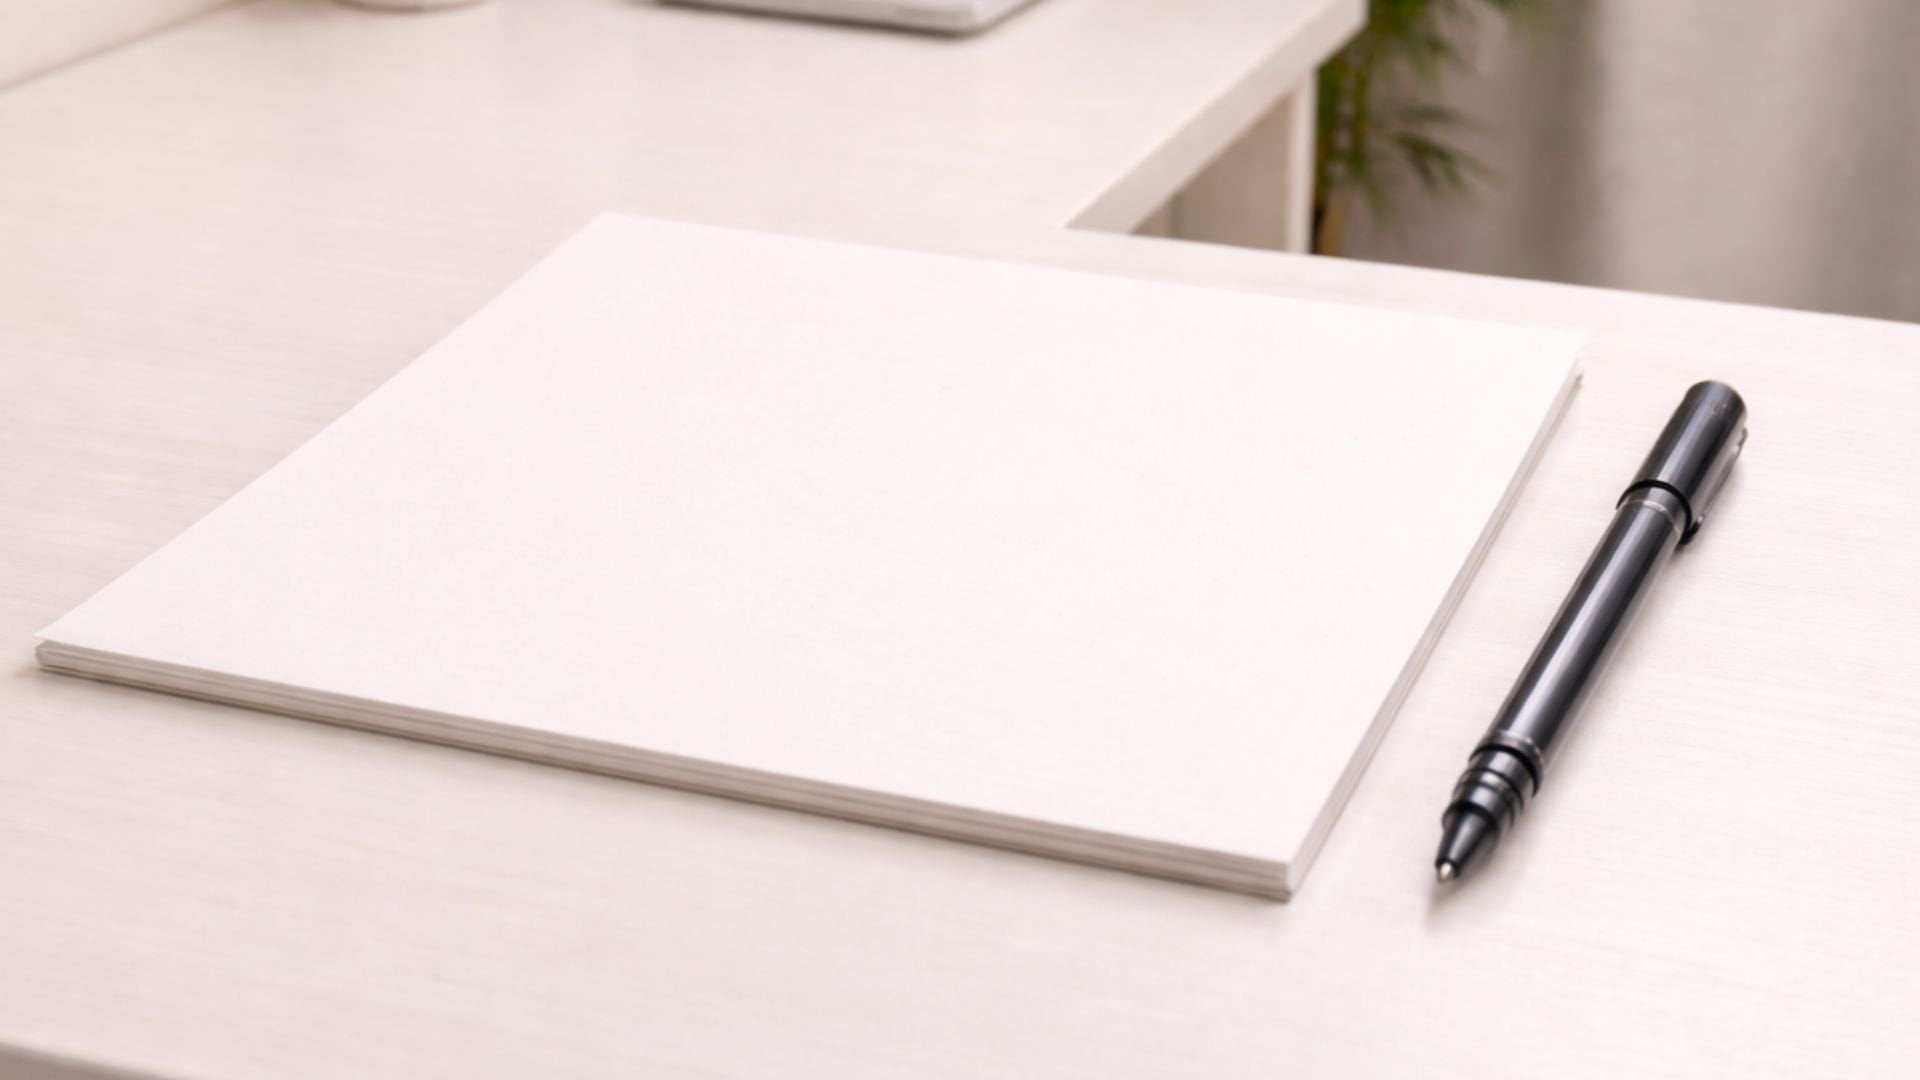
faster or better. That feeling can make your hand tense before you even start. If you notice that, it is okay. You are allowed to begin slowly. Let us ease into this. You will need one piece of paper and one pencil. That is all. If you do not have a
pencil, any pen will work. If you do not have
drawing paper, regular paper is fine. Starting with what
you have is enough. The project title
is slow drawing. I remember when I first tried slowing down, it felt strange. I worried that I
was wasting time. But over time, I realized I
was actually learning more. First, place the
paper in front of you and hold your
pencil loosely. You do not need to
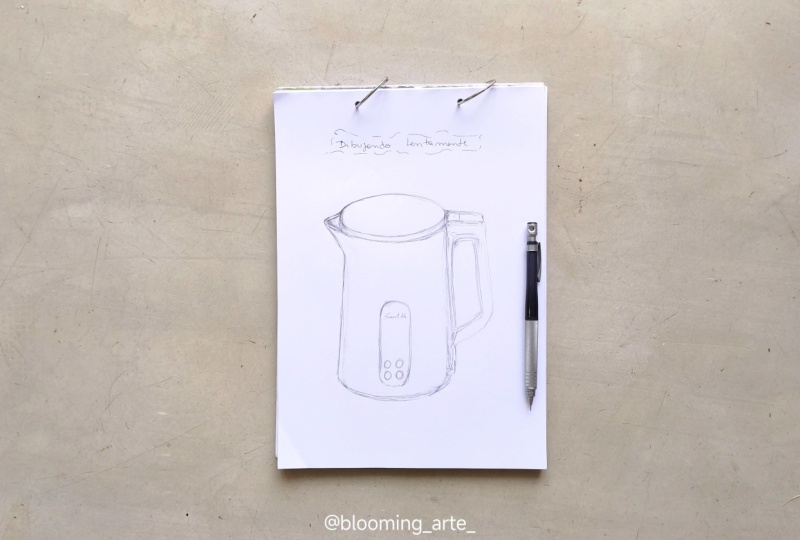
grip it tightly. Let your hand rest. Next, choose one simple
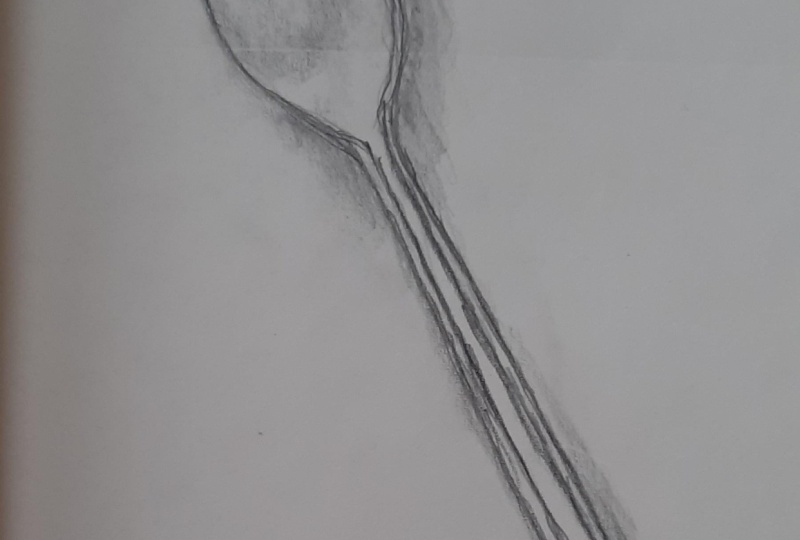
object near you, a mug, a phone, a spoon, or a book works well. Place it where you
can see it clearly. Then before drawing anything, take a moment to decide that
this drawing will be slow. You're not trying
to finish quickly. You are just showing up. After that, make your
first line very gently. It can be short.
It can be light. There's no need to
commit to anything yet. As you continue, keep reminding yourself that speed
does not matter here. The goal is simply to stay slow. If your hand starts to rush, pause, look again,
then continue. This first part is about
choosing a slower pace, even if the drawing
feels awkward, you are already
practicing the skill. Take a moment to notice how this feels compared to rushing. That awareness is important. We will build on this
in the next lesson.
5. Watch the Object Before Moving the Pencil: Sometimes rushing
happens because your eyes move too fast. We glance and then
draw from memory. This part helps
slow the eyes down. If you ever feel unsure while
drawing, that is normal. It does not mean you
are doing it wrong. It usually means you are
learning something new. As you continue
your slow drawing, keep the same paper, the same object, and
the same pencil. Before adding more lines, spend a few moments just
looking at the object. Notice its outline.
Notice where it is wide, and where is it narrow. I often remind myself to look longer than I
think I need to. When I do that, my
drawing feels calmer. First, look at one
edge of the object. Trace it with your
eyes without drawing. Next, slowly move your pencil along the edge while
watching it closely. Let your hand follow
what your eyes see. Then pause again. Look back at the object. Notice another small area. After that, add
another line slowly. Staying connected
to what you see. If you feel yourself guessing, stop and look again. Guessing is a sign that
your eyes need more time. This part is about
watching before moving. You are teaching your eyes to lead and your hand to follow. When you slow, you're looking, your drawing
naturally slows, too. Notice how this changes the
feeling of the drawing. It might feel quieter
or more focus. We are almost ready to
bring everything together.
6. Move the Pencil Calmly From Start to Finish: It is very common to lose calm near the end
of the drawing. You might feel tempted
to hurry and finish. That urge is normal. Here, we practice staying
slow all the way through. You have already
done the hard part by staying present so far. Continue working on
the same slow drawing. Keep your paper and
object in place. First, check in with your grip. If your hand feels tight,
losing it slightly. Next, move your
pencil at a pace that feels almost slower
than necessary. Let each line take time. Then if you notice impatience,
pause and breathe. Look at the object again
before continuing. After that, continue
adding lines slowly until you feel the
drawing is complete enough. It does not need to be
finished or detail. I remember learning
that stopping before overworking a drawing can be just as important
as continuing. Trust that you have done enough. This final part is
about calm movement. You are showing yourself
that you can stay steady from beginning to end. Before drawing might
have felt rush or tense. Now it likely feels
more grounded. You have completed
the main part of the project that is something
to feel good about.
7. Review Your Completed Slow Drawing: You have created
one slow drawing using paper and a pencil. This drawing was built
gradually by slowing down, watching the object and
moving the pencil calmly. The project title
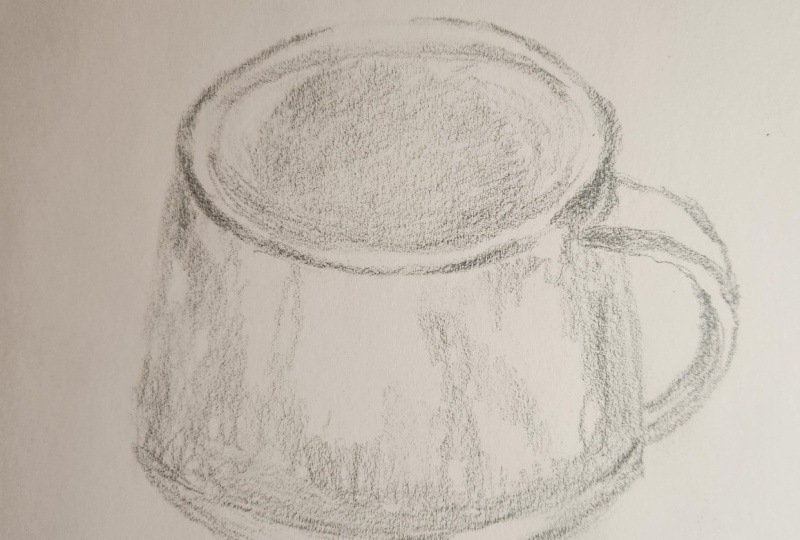
is slow drawing. The final project
is one drawing of single object created
slowly over 5 minutes. Here is an example of what the
finished project might be. A simple drawing of a
mug with gentle lines showing the outline and a few details drawn
without rushing. This drawing started by
choosing to slow down. Then it grew by carefully
watching the mug. Finally, it was
completed by moving the pencil calmly
until it felt done. This simple project works because it trains
your attention. It is not about making
something impressive. It's about practicing calm
observation and movement. Upload your project, take one clear photo of your drawing. Add the project
title Slow drawing. Write a short description about how it fell to draw slowly. You can upload right
after finishing or later the same day.
Both are fine. Keep it simple. Many students applaud very quick and
imperfect drawings. That is expected and welcome. Once you upload, you are done. There are no extra steps.
8. Common Questions About Slow Drawing: You made it through
the whole process, and it's normal to still
have few questions. One question might be,
what if my drawing looks messy or
unfinished? That is okay. If your drawing shows
that you slowed down and stayed present,
then it worked. The look of the drawing
is not the measure here. Another question might
be, What if I could not stay slow the whole
time? That is very common. If you notice when you rush and gently return
to slowing down, you practice the skill. Awareness matters
more than perfection. A third question might be, can I draw something
different next time? Yes, you can use the same
process with any simple object. The structure stays the same. Slow down, watch
carefully, move calmly. A helpful tip is to set a
quiet timer for 5 minutes. This can help remove the urge to hurry because you
know there is space. Remember, every time
you practice this, it gets easier to stay slow.
9. Keep Drawing Slowly With Confidence: You did it. You slowed down and completed a drawing
from start to finish. That is something to celebrate. You learn how slowing down
changes how drawing feels. You practice watching
instead of guessing. You move your pencil
calmly and stayed present. If there's one thing I hope you take with you, it is this. Slowing down is not a weakness. It is a skill that
creates clarity. I believe small con practice
builds confidence over time. You do not need to
rush to improve. A simple way to remember this
process is the word slow. See the object, look carefully, outline calmly,
wait when needed. Many beginners smile when they realized they were
already doing this. Thank you for being here today. Please remember to applaud
your project photo. Living a review helps me grow as a teacher and helps other
beginners find these lessons. If questions come
up, that is normal. Feel free to ask. You started
with a feeling of rushing. You are ending with more
calm and awareness. That is the real shift. I will see you in
the next lesson.
 Paul Nene, Helping beginners take action