Transcripts
1. Welcome to the Class! (Overview): Welcome to the class scrapbook mini album for baby girls. In this class, we use a project life app to scrapbook our pages, get them out of the computer, create our own album and decorated with our own elements and papers. This group of elements and papers you need for that are already included in this class. You can download them from our website. I won't hide from you that you need to sign up for my newsletter to get them to 0. But of course, you can add scrap at anytime, even directly after you have downloaded the material. If you don't know me yet, my name is ammonia and I'm owner of digit design resource since 2008. And even before I started to preserve my memories. So I'm all about modern memory keeping and enjoy mixing dishes. Scrapbooking was hybrid scrapbooking to preserve our environment and save money and store it at home. So if you'd like to preserve your memories in a modern way, join me in this class. I promise we'll have a lot of fun together.
2. Gather the Material (and download the files): So for this course you need just some basic material. So what you actually need iris scrapbooking elements, you get the sheet here in the class and you can print and cut it manually, or you can cut it with your silhouette or cricket, whatever you have. I have included the files to do them. I've also included the scrapbook papers you can just print out. And yeah, I've printed both on both sides. Let me show you here. But you can totally do that on just one side if you prefer. We don't really need that for the scrapbooking. We needed just for some decoration. Maybe. What we need are some papers. So what way you print your scrapbooking paper on? It should be a little bit stronger. And this is what you also print your project life scripts on. These are just two scripts and I have imported it on the computer. I have a template. And just, you can just drag and drop your pictures into it you don't have you don't need a lot of experience was Photoshop or any other program which can open PSD files. You basically just opened, double-click, drag and drop your sheets into it, your scraps, and then you print it. That's it. I'm going to show that to you in detail on the computer, but for that you need some strong or paper because we are gluing both together here. So we create our book from that. And later on you have hopefully many more sheets here. And then on the top we are going to create a cover. And for that we need some cardboard. I also need a ruler. Here, a cutting machine, and maybe here at cutter knife. And I also have a picture for the front of my book. Baby, I needed maybe not I'm not sure yet, but better, safe than sorry. So I printed those and I might put it on the front. You can of course use your baby pictures. But just because this class is online, I decided to just use my baby girl, my cat, because I prefer not to put my child into the Internet. So that's why we're going to scrap little cats here. But you can totally of course, use your baby girl, your grandchild, your, you know, whatever person you want to scrap can go here. Yeah, that's the basic material and of course you will need your iPad and the project life. We're going to scrapbook on that one. It doesn't matter how old it is, you just scrapbook, get to put it on your computer, use a template and print it out. I'm going to show you that as well in detail what just, you know, what kind of material you need to go on with this class. So now we are going to start with our scrapbook.
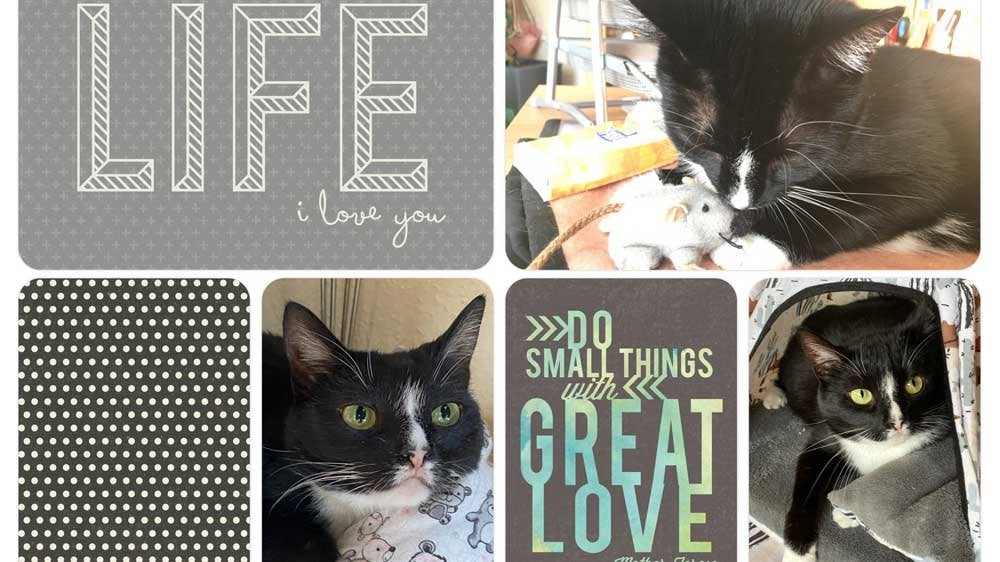
3. Let's Scrapbook with the Project Life App: So I know started the project life. And now it gets pretty easy. You can't go wrong here. You just start scrapbooking. I click hit Create, and then collage page. And you'll see, I already have here something to choose from, but you can definitely just click on top. And then you can use any other layout you prefer. Maybe a quick one that would be a quicker one. We can start with that because I start with four layers, just quick get-togethers. And then I want to show you how to print them and get them into your album. But of course you can do a lot more. You don't have to just use for scrapbook pages. I type on the page here and then I decide if I want to have a card or even want to have a picture. And I think I started with a cart because I have something special in mind. And now here I have more kids which I can purchase here I have my kids, my favorites, and also new ones. I just start with my kids. And now I can scroll down and see what kind of kid would shoot here. And I think it should be something like for a baby girl. For a girl, at least. Because I have printed these elements and the papers from our kit. It's a girl's world. And yet this way or think, I should also pick something similar here. And now I have all the cart I can use for this field here. And you can just type in and you see it just switches over and over this side to have something else. They can just type on that. So I guess I'll go with that one. Or let's see if there's anything else. Or you can just add something like that. You see pretty simple cards. But I guess, yeah, I just want something merely simple here. Just nice. And now I switched over to the next one. And you see according to that, I always have these images here which fit into this one. But now I want you to have a picture. So let me go out here and I click here on the pitch picture icon. And now I'm in my photo roll and Click on favorites because, you know, I just picked a few favorite ones. Yeah, let me go with this one or no. Why don't we start with this one? And now I can move her around that a story. For he is such a sweet little girl. She never does any breadth lengths here. She stared on the table. Yeah. Well, I guess she wanted to do something bad. So here you just to glimpse into her life. And now I go out, I click on that one. And now I decide I want to have another car tier and you see, it comes up just again, which card I ever want. So I guess this it already. I can also write something on it if I type here, but I don't want to or just want to have it like that. When I click here now it asks me, Are you done editing? Yes, I yeah, and now it saves it into my library. So for now, I just keep creating because I need four pages here. So let's see. I need another one. Maybe. I don't want one was too many pictures or cars or whatever. And just want to have some quick designs here. Well, that looks a bit too small. I need a 12 by 12 and resize it later. But I can also use something like that. Okay, here is no space for a project life cards. If I want to include a picture and I want you knickers, this is one of my favorite pictures of her. It's actually that one. And another one is her as a baby girl. So okay. That's it. So again, I click the X and then I, I, you don't editing? Yes, I am. And it takes it into the library. So let me quickly show you here. You see these are one I started late earlier and asked me to keep scrapbooking, but if I'm done already with a two I have here are those we just created. And now as a sub, I want to keep scrapbooking. So maybe I put together such a quick a big one now. So we started with a card and we start with that one. And you see wherever it click, it comes up here is pretty nice. So I keep moving. Yeah, we'll see what could fit here. I of course want to include some pictures as well. You see whatever IT type they according cars come up on the right side. Here. I wanted to show you how to type here. And so a type her name. Okay, that's it. So now I need my pictures. Again, camera roll, my favorite ones. And I pick that one. And here I pick her as a baby girl. Or is it okay? I can't find it now. So let me go with that one. She's reading my iPad. I just zoom in a little bit. And that's it. Close here on top right. Click in here. Yeah, I'm done. Here. Zoom out, close. It asked me again. I just leave it like that because we can grade with the elements I have later on if we want to. So click yes. And a last one. I need for actually to have two pages. So that's why I create four of them. There are also many more of these layouts in the stores. So if you want to have something else, you can totally do that too. Okay. Let me grab that one as well. So you see now some cuts come up and I can add to something else later here. Yeah, maybe something simple. So later we can just add a bit more. Some decoration maybe. Yep. Yep. Let me go with something that's simple. So I'm closing it and adding a picture once again. No, no, let me see which one I don't already have. There are not too many here. So I go back to camera roll and see if there is anything else. I can add. Your C. You have a lot of pictures here. Okay. I'm done. Let me go out. And again, it will ask me, Are you done anything? Yes, I am. It saves and now I have all my pages here and our collage. So these four pages, and now I need to get them into the computer and out of out of the computer actually with a printer. So what you do, okay, let's do that again. I have all these four layouts here. So we start by clicking here. And now we are going to send it to the computer. Click on that one, and then click Export. And it asks you which size. It won't be that big because we need an A4 paper and we want to have two on a four. So eight by eight is totally fine. I just do it followers lotion. Now in 10 by 10. And I'm going to do that with AirDrop, put it on my computer, and then I show you how to go on there.
4. Adapting the Scrapbooks for Print: So now we need to transfer our layouts to the computer. And I do that with my AirDrop. You can of course, do that by email if you want to, but I just click Add, Drop, and click on my computer and it's going to be sent over there. And I'm going to do that now with all the layouts I have here. So let me go back. Okay, now switch over to the computer and you see I already have the template photos here, and I have installed Adobe Photoshop, but you can totally use whatever program you like. As long as it opens a PSD file because we need that PSC, I just double-click and it opens Photoshop. And if you don't, you can use Photoshop 30 days free trial, and go from there if you're interested in the program, but maybe not just for that one. But in case you are, it's no big deal. You can totally do that. Download it for 30 days for free and you can get your project done. So what we need to do now, we need to get our pictures. You see here are my images and I'm going to mark them all and just drag them into Photoshop. I actually need to force them to create two layers and now you see puts it all together. I don't like that. I just get it out here to sort it a bit because I need to get to my template. So, and I guess I'm going to start with a one where verge store he on here. And I just add now my picture here. And here are little squares on the layers. If you don't see your layers palette, you just go to Window and Layers. And I'm going to open and it looks like that. I just drag it out here so you can see it better. And now what we do is we double-click on the image here. I'm going to double-click on that one. We cursed by first want to add something to the left side. So we start here. Okay? This was in it as a smart object. And you don't need to go into detail with that. It just, whatever I put in there is going to be added to the layer now. So I just press the Shift key and drag it over. And you see now it's pretty big. I can close that one. And I'm going to modify that to make it fit to that picture here, Command T. And now I make it smaller. You see even 10 inches are way too big. So I can make it smaller. So that's it. Confirm and then says Close and I'm going to say Save and it's inside. Yeah, that's pretty handy, isn't it? Now we do the same with the right side. I click on that one. You see that layer here double-click once again, it jumps up to here. And I'm going to press the Shift key again, drag it over. I can close that for now just to clean up my desktop a bit. So untwist, come on t, I know it's much too big and I make it smaller. Once again, you see how easy it is to just match it to your image here. Then you confirm, then you close and safe. And it's inside. And that is what we're going to print now, when we print that one, the good thing here is that you have a line here and that line is where you can just cut it. And then we fold it in half and we have our layered or our first pages ready. And I'm going to do the same now with the other two layers here. But I'm going to go off here so you don't have to watch that.
5. Creating the Baby Girl Mini Album: Now I have printed both pages. Now I can cut them. And the one we're going to create, the covers. So first here's a line and we're going to cut it with a paper trimmer. Along we see how it goes. Okay, so now we need to fold it in half. And once we've done that, we are going to use it as a template for the cardboard. Most probably not necessary, but in a safe than sorry, once again. So I'm going to measure it here with the help of the papers so it's not too big, not too small, so much easier, so okay. So now I have my cutoff line here, but I also have other paper to know. So I will first use a paper trimmer and some pre-coded. Actually. Then later on, I might need to use the other one as well. Not the best idea to use a paper trimmer because you can, of course, easily kill it, was something like that. So don't use it too often for such a work. You see I now need to rake it and to heart are usually, I'm going vaguer ahead and then mark it here once again and go over it as well. So usually I get the line pretty good. And once again, the other side. Okay, so that's the first thing. And now we need to do it again. I just put that on here so we can't be 100 percent sure it's the same. And I use a trend line. So that's it. I have my cover. And now I'm going to use the layers as a guideline. Of course, at this point you should have many, many, more than two layers. It's just not enough, but you get the idea. So we're gluing that together. Then we're gluing bed on the other side here. And you see it does not fit 100 percent wherever that came up, but we can totally cut that off. Yeah. Then we'll make a nice cover. And that's it. So I just had a little bit off. Somehow we glue it together. You need to be really precise with that. Because we'll be seeing later on. So be really careful when lining that up here. Okay. And you said you would now sec many more of your layers here. So we have a nice little book actually, and you see what happens. I can now. Easily use it as a book and if I add more pages, I could just keep going over them here. So now we're going to cover somehow it's as I wanted. I wanted a little bit smaller, and that's how it is now. Sum, now we need here a spine and we're going to add that with our paper. So what I do now, I'm going to pick the paper I want and put both pages or voice covers here on it. And you see I have a little bit left here, and that is what I use over spike. But now what I don't like is that I have enough left here to flip it around. You can do that. Do it like that. But I prefer to not do it this way. But to flip that over here, it looks nicer and cleaner. So that happens to you. You can make it smaller, so it won't happen. But if it happens to you and you are like me and want to do it differently. It's pretty easy as well. We just put some adhesive here. And just in case I put some liquid in the middle as well. And on the edges. And now I just put it on here. Now I cut it off and now I flip it around. So let me show you what I mean. And our gave it some space. I won't tell you a number now. I just leave for six centimeters. It cut off six centimeters here. But it's not necessarily that you have absolutely the same measurements here. It doesn't really matter. It's more. Do you need to know how it works? Next step, we're going to cut off the edges. Leave a little bit here. Leave a little bit because we want to have it looking good. So that's why. And when I pull it over, otherwise you will see that now you won't. So now I can just cut it over here, flip it over, and on the other side as well. And it looks much nicer, much cleaner. So I'm going to add this one here. Well, yeah, I guess I first pulled it over here as well. So now you have nice clean edge and spine. So first I will need to add that here on top. And once I've done that, I'm going to add the other one on the other side. So let me show you how that will work. So this is how it will go later on. First of course, this one also needs a cover, so we're going to do that. But you get the idea. So we have S, you can put as many pages here on top SQLite, you can basically put it like that and then pulled over, no problem at all. Okay. You can now use another paper or you can use the same. That's totally up to you. I'm going to use the same. And since I just needed at, you know, I'm going to cut all the edges now and then flip it over. And I might cut off a bit more here or put it on the read. So let's see to have it much easier. So I usually keep these leftovers for later. For later use may mean age for the cover or something. So now you have two options, whether you use the spine over here. So when you have a little bit of spine here, you can of course, put an underage so or you don't, and then you have just the papers looking up here. Both options are possible. I'm going to use the spine now because I like it because I think it is It's not mess up as quickly. If I have a spine and such book is there to be used on terms, I don't want it to look like shared and just have the two times going over our Otherwise you can see that you added some blue and I don't want that. So now I put a bit of a clue here and pull it over. And to have it less strong, I'm going to cut off these edges here. As I said, if you have more than that, you leave that a little bit longer and then you pull it forward. Just make sure you get some glue first or some adhesive fold over. And then you start adding that one. So if your book is thicker, now your spine will be thicker. But besides that, it's totally the same. So now you can go over it and even cut that off if you like. I'm going to like and this is what I have clubs night for. I'm going to cut that off. So you won't see that anymore. Read a, it doesn't matter right now. For now, we're going to create a cover.
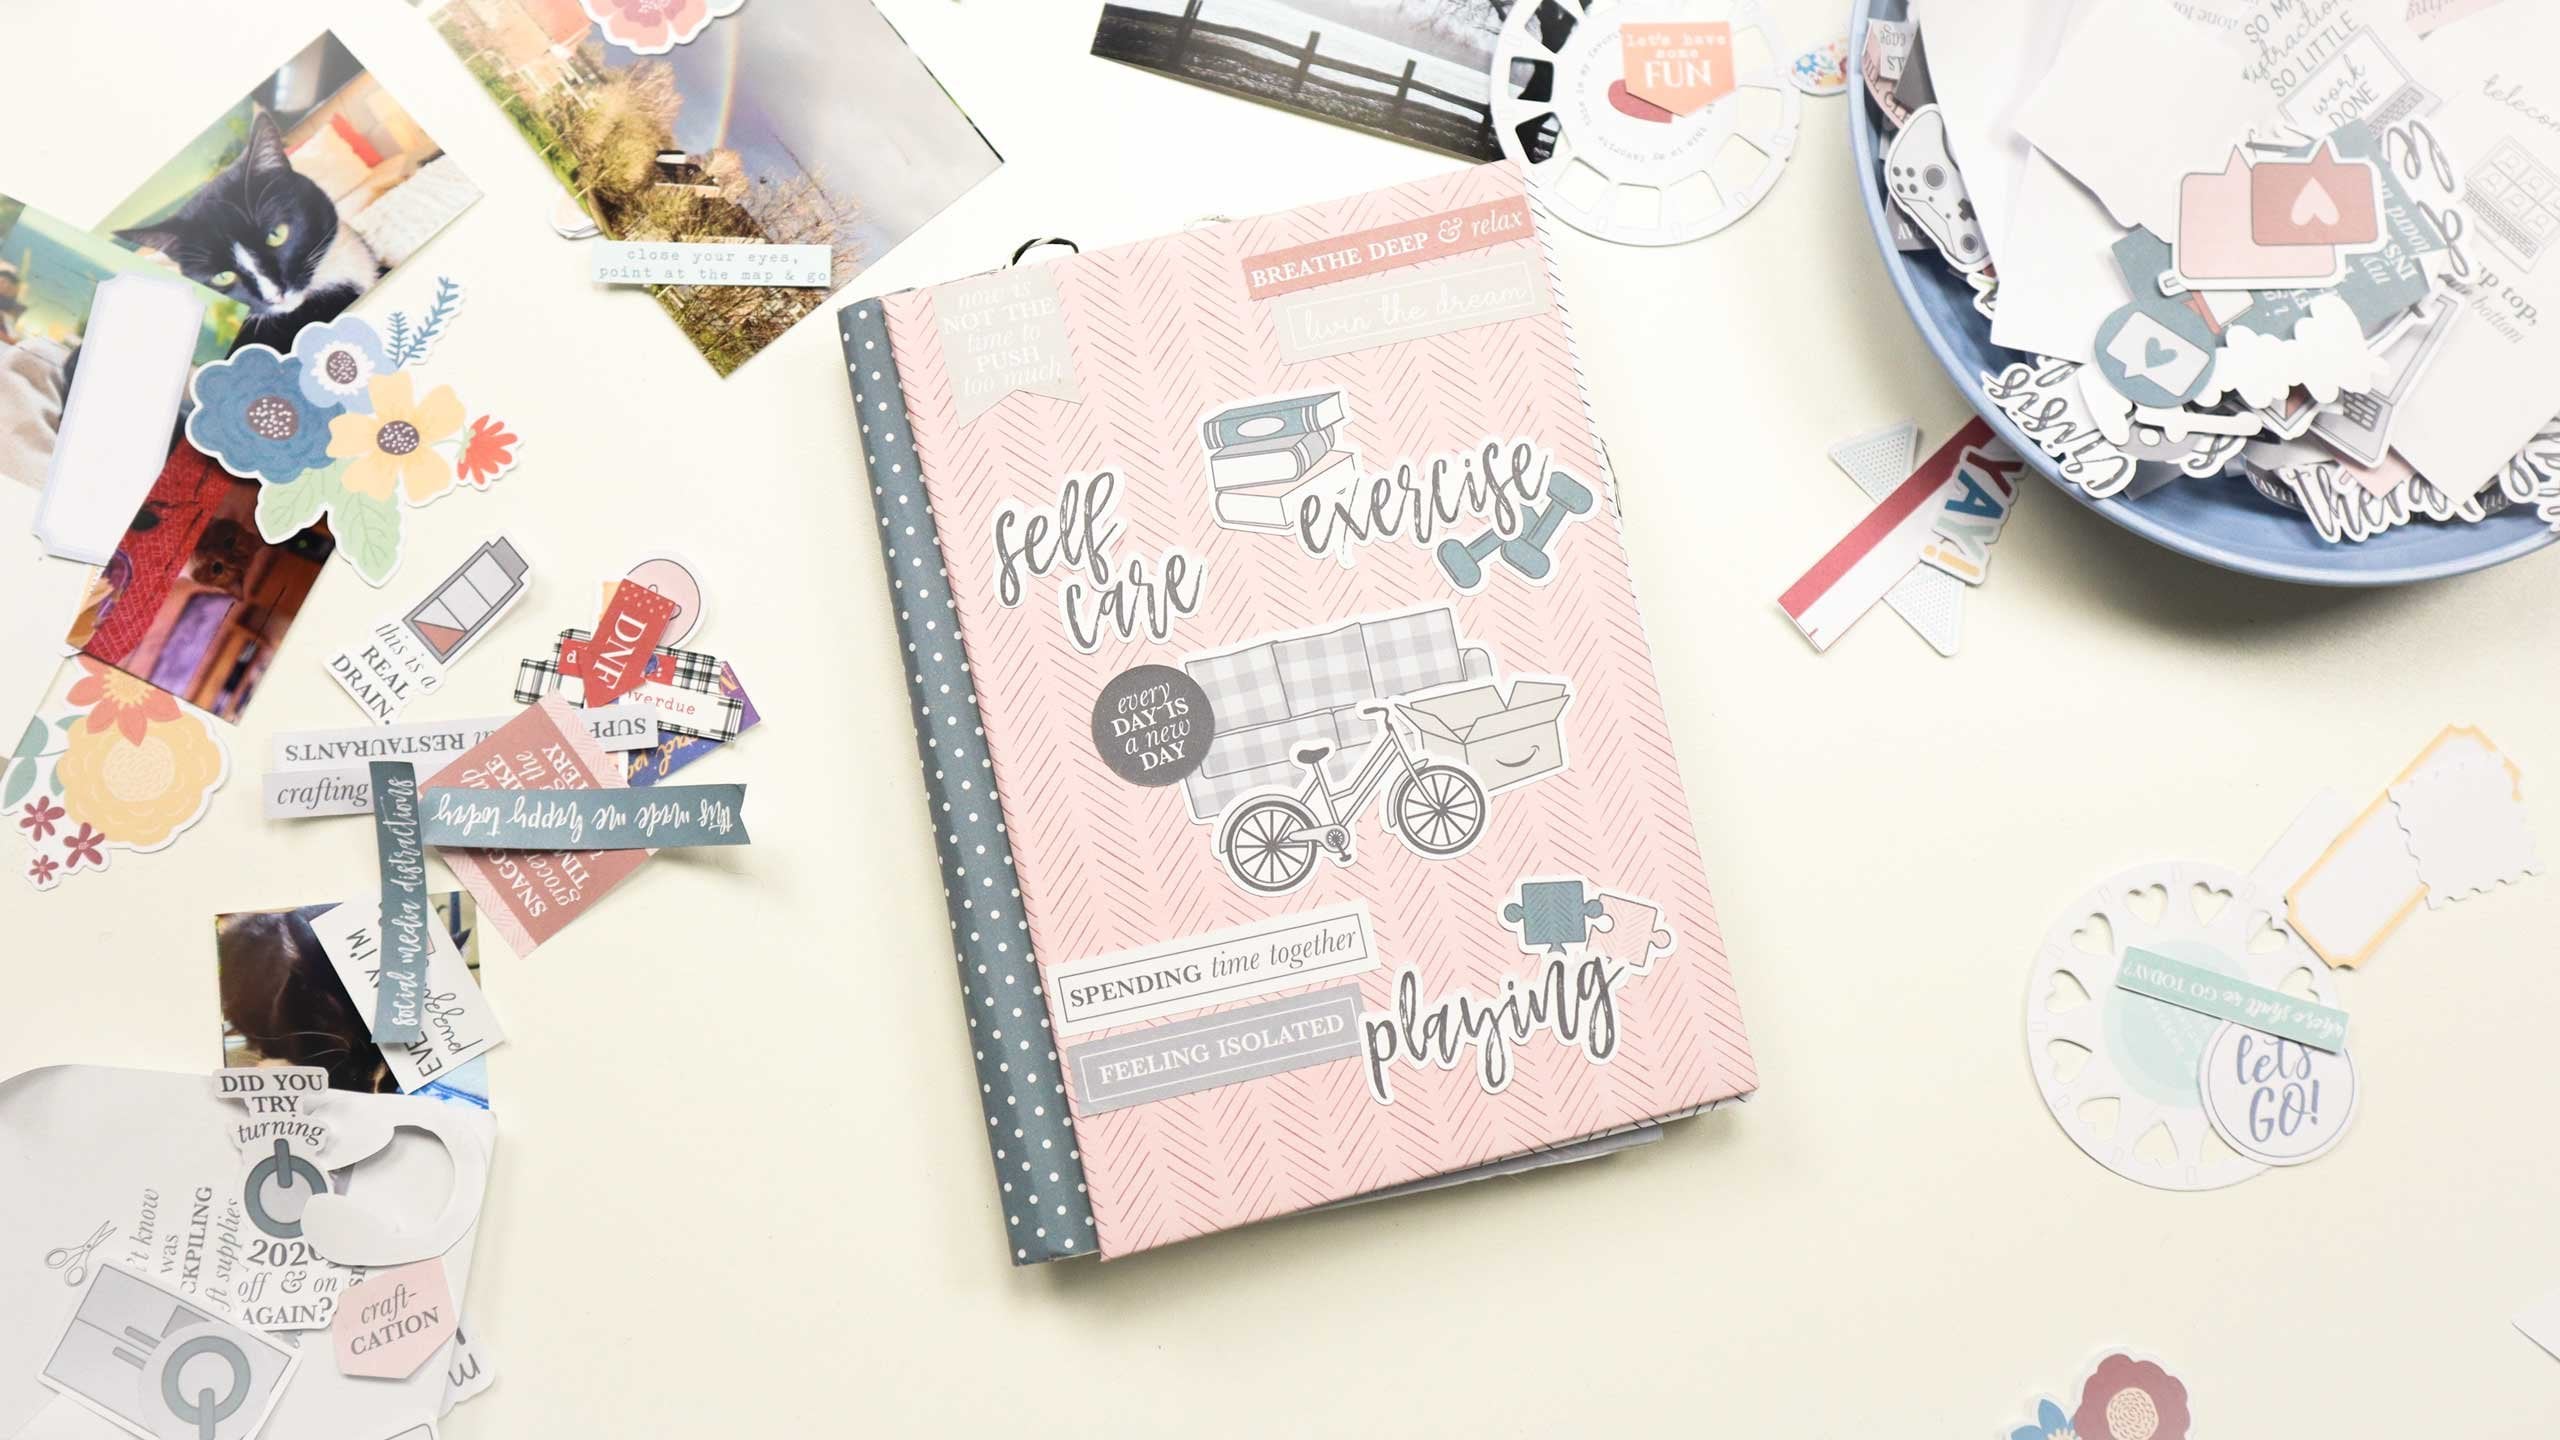
6. Creating the Mini Book Cover: Last step, we need to scrapbook our cover. And I put together two photos and I want to include them both here on my cover. This is one photo when he was very little, a little super little girl. And this is a new one from a year ago or so. And I want to have them both here on my cover and two met them. I'm going to add that one here on the bottom. And we go from there. All these elements and shapers I included in the class. So you just can download them and use them for your own scrapbooks. You can, of course, use whatever you want, but this is already prepared and maybe it's helpful. You can cut that with your silhouette or cricket. But you can of course, also do it by hand. I don't press it down right now, just in case I want to change something. I'm careful. Maybe a little bit. You see if you don't press too hard, you can easily move it a little bit too small. I'm using the liquid limit. Of course we cannot miss the little fairy. I think I need one error according so that it fits both sides. And points to the right direction. Yeah, that's pretty much it. So now I could go on and even put some, something here, like I can put another integrals world here. I took care for colors so they match. But I don't have to or maybe I've put the tear. So you see there's pretty much you can do here. Also have a girl's world here. These letters. Yeah, we could, we could totally do that and decorated even further. That's up to you. Of course. You can go ahead and have an hybrid album, but you can also leave it like that and just have project life inside and your own stuff outside.
7. Your Project: So here is a ready mini album and your project is of course to create your own. So created with a cover, created with these cardboards and create some of the project live scripts. And you see, I have also added a few elements here inside the album. You can do that, but you don't have to, of course. And what you should do is at more at more than just four pages, that's a waste. Somehow I would love to have, such as that gulf of layouts here too, demonstrate how she developed from a very, very little girl where she was, where it was hard to keep her alive until now where she is a strong cat. Yeah, it's also pretty amazing time, so I would love to have it altogether. Maybe you are the same. Maybe you want to document your baby to a toddler or something like that. That's a pretty nice album and you see, it doesn't cost you much. It a little bit of ink maybe, and some cardboard and paper, but pretty much it. So you definitely can do it and you should do it. So go ahead and please take care of this project. And when you are ready, please don't forget to post your project here in the gallery. I would love to see what you have come up with.
 Monja Wessel, Graphic Designer and Teacher