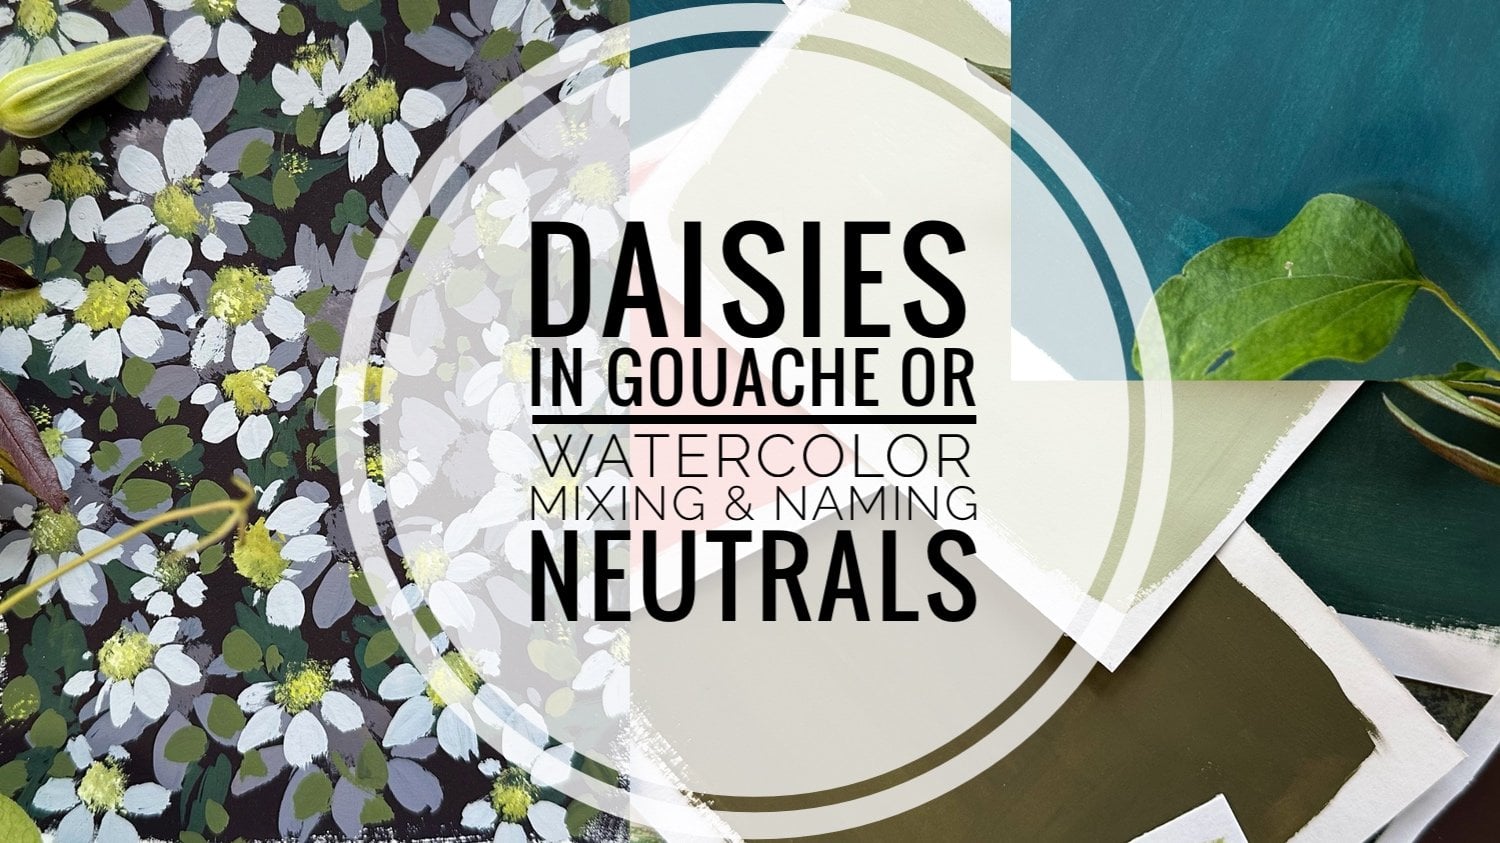
Rose Leaf Study in Gouache or Watercolor | Mixing & Naming Neutrals
 Holly Tomas Art, Watercolour | Gouache | Mixed Media
Watch this class and thousands more
Watch this class and thousands more
Lessons in This Class
-
-
1.
Welcome!
4:29
-
2.
Creating Neutral Backgrounds
10:17
-
3.
Rose Leaf Study | Practise
4:49
-
4.
Rose Leaf Study | Class Project
3:38
-
5.
Thank You!
1:15
-
-
- --
- Beginner level
- Intermediate level
- Advanced level
- All levels
Community Generated
The level is determined by a majority opinion of students who have reviewed this class. The teacher's recommendation is shown until at least 5 student responses are collected.
29
Students
1
Project
About This Class
Accessibility: There are subtitles available for my hard of hearing & Deaf followers. Start your lesson rolling and click on the icon, which you'll find next to the volume button. A full transcript it also available. If you experience any problems with access, please don't hesitate to get in touch via a Discussion or over on instagram hollytomasart
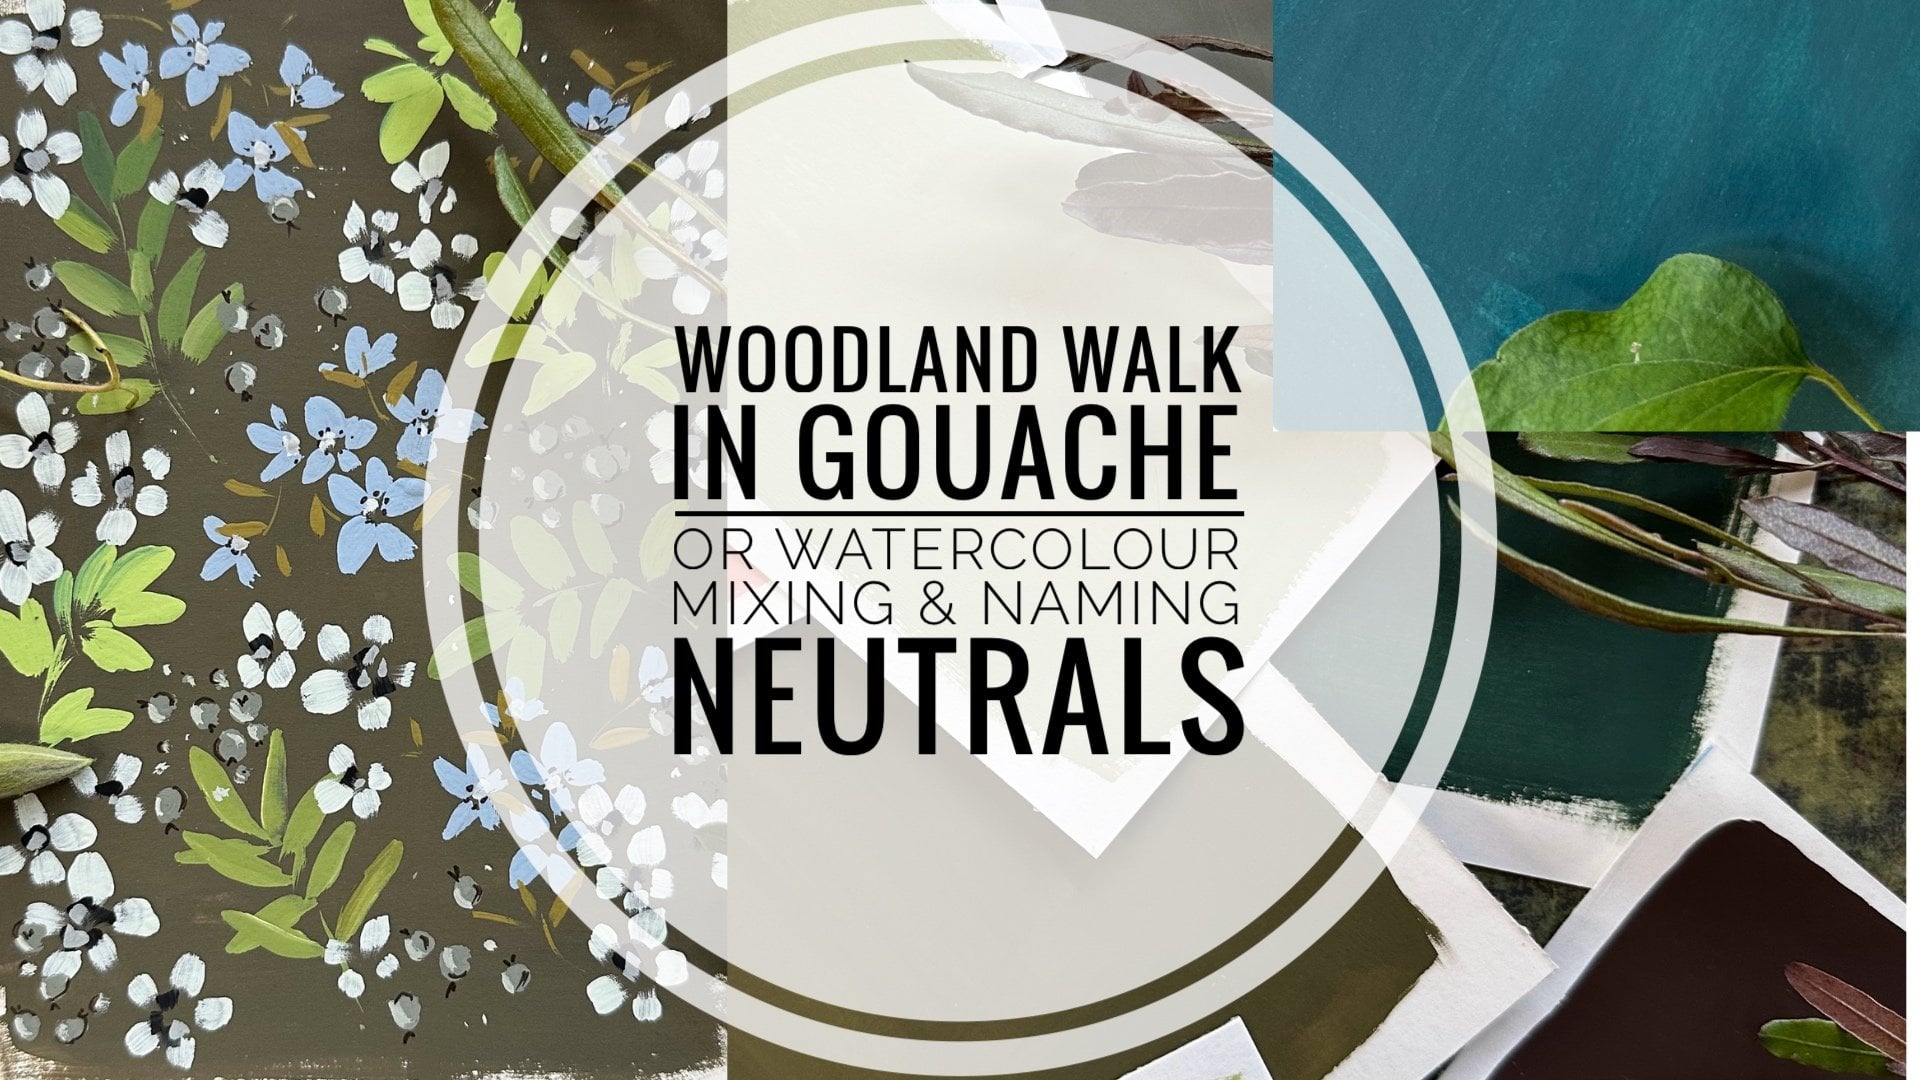
Welcome to this is Grassroots introduction to mixing neutrals. In this series of classes, we're going to be creating effortlessly beautiful neutral backgrounds. Even more fun, we're going to name each one before choosing our favourite to paint a study on. In some classes the focus will be on the neutrals, in others the study will take Precedence.
- The classes in this series will either be 'total beginner' level, or 'confident to intermediate' level. This class is set at beginner level.
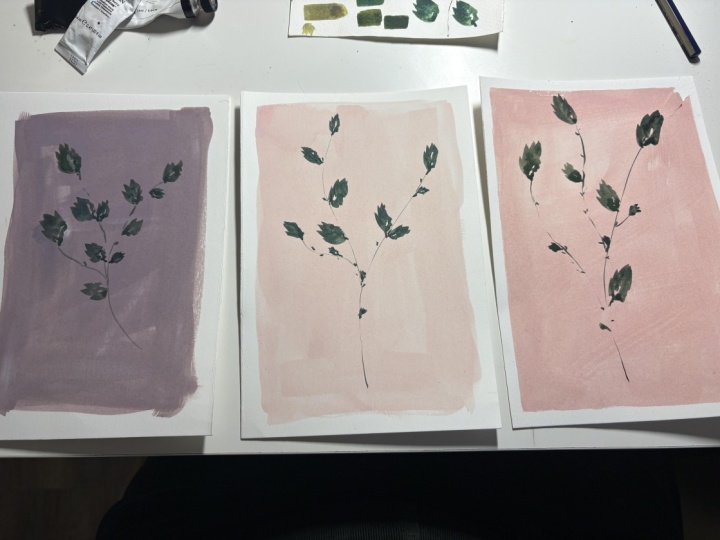
Neutrals make THE best background for your studies. as they don't compete with your paintings, but rather offer a balanced supporting background, allowing your paintings to stand out.
* I would suggest that you do a few backgrounds in each neutral colour, so that you don't feel pressured when it comes to committing paint to paper :O)
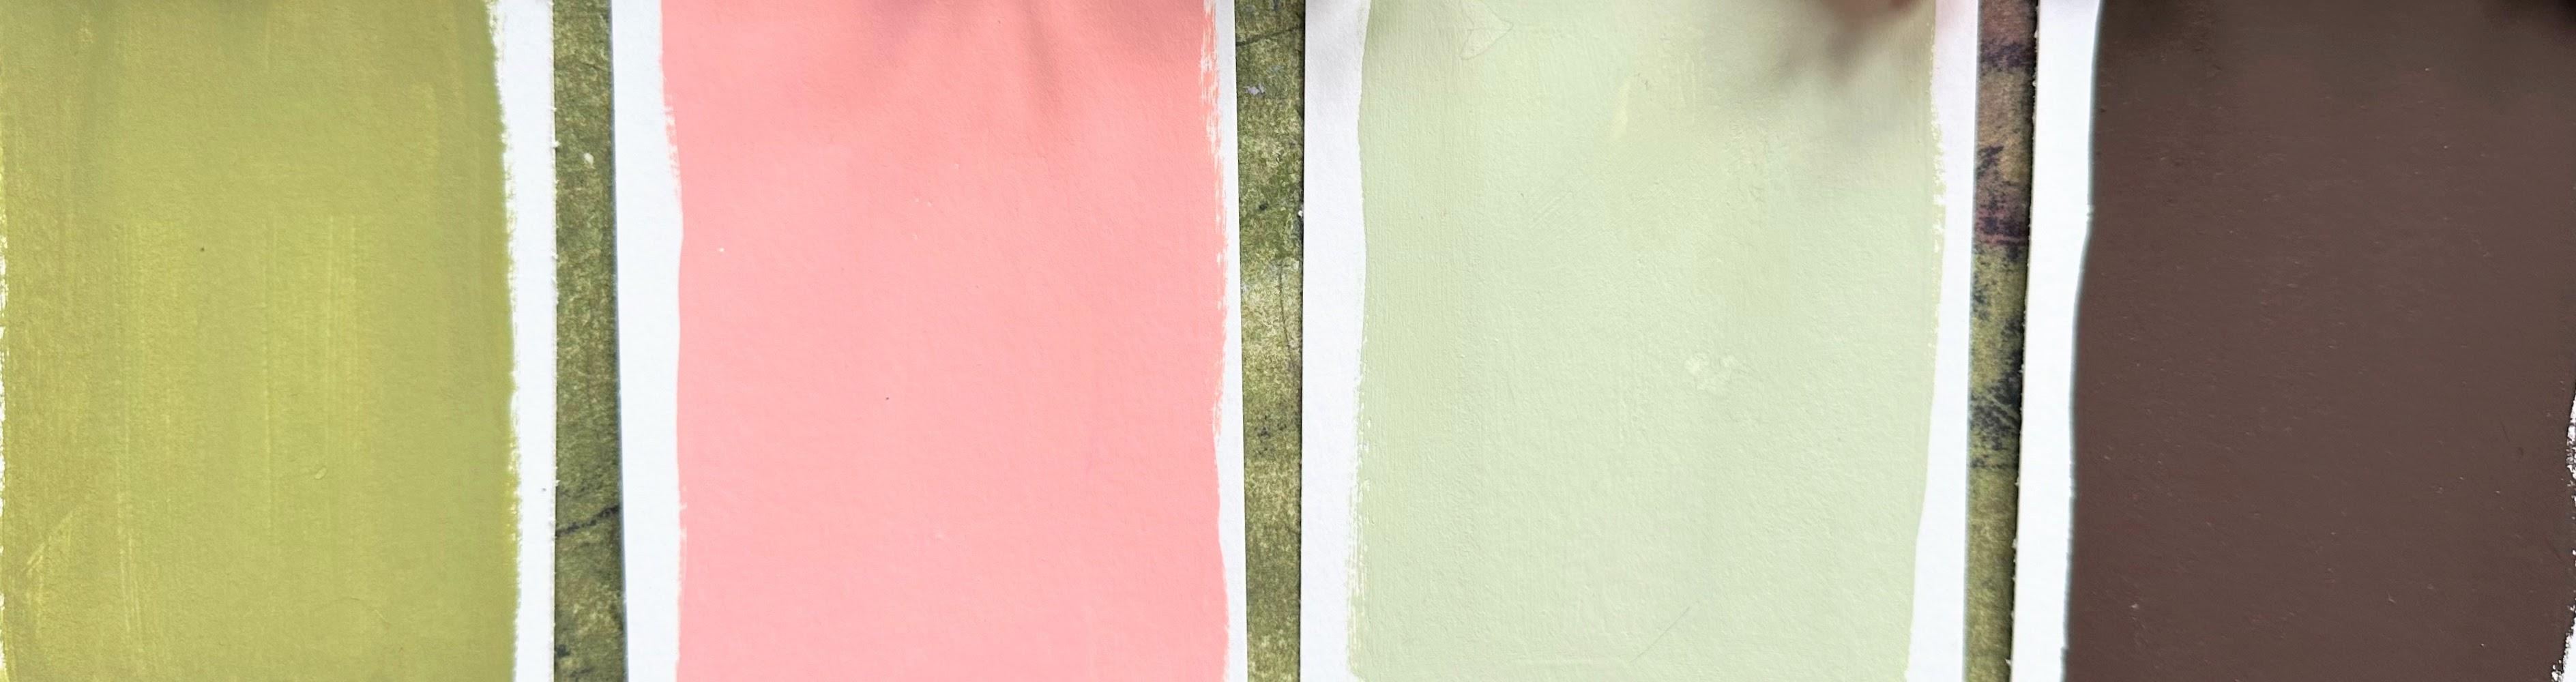
Neutrals can be warm or cool, 'Near to' (pale beige, green, mauve etc) or deeper hues. and we'll be running the full gamut of hues, from lighter grey, cream and fawns to Deep Violets, Caput Mortuum Browny Pinks and Russet Fox hues.
We'll be using only the 3 primary colours, plus white or black!!
If you have found, even getting started on neutrals a bit overwhelming, then this is your space to develop and learn. To tune into your intuition & relax. To challenge art technique "Oughts' 'Shoulds' & 'Have To's' & allow yourself to mix colours with abandon. We're going to engage with our curiosity and ask 'what would happen if'... and then do it!
We're going to reach a place of confidence, where we'll feel able to replicate our neutral 'recipes' time and time again.
Even better.... we're going to name our curated colours! It really is great fun and will help to solidify your learning, whilst providing you with handy backgrounds for future studies.
So, I invite you to:
- Explore,
- Experiment
- Express yourself
If you get an inkling to plump for a certain colour or colour combi, go for it! Don't question yourself. Getting in in that split second before our analytical brain kicks in, is the sweet spot! The more we practise this, the more trust we build in our decisions.
Above all, have fun!.... the great thing about neutrals is, you won't mix any 'yukky' colours!! lol... because the white and/or black is so balancing.... The addition of white transforms even the muddiest colours into sumptuous neutrals!! Don't take my word for it... try it for yourself :O)
Class Study:
So, what are we going to be focusing on today?
In Class One of the series, we're starting off with warmer neutrals of Pink & Peach with a slightly red bias, before exploring Light greys.
This class is a beginner level class, though I feel it might be of interest to everybody & anybody... it's always handy to revisit neutrals from time to time, even if you're a seasoned artist.
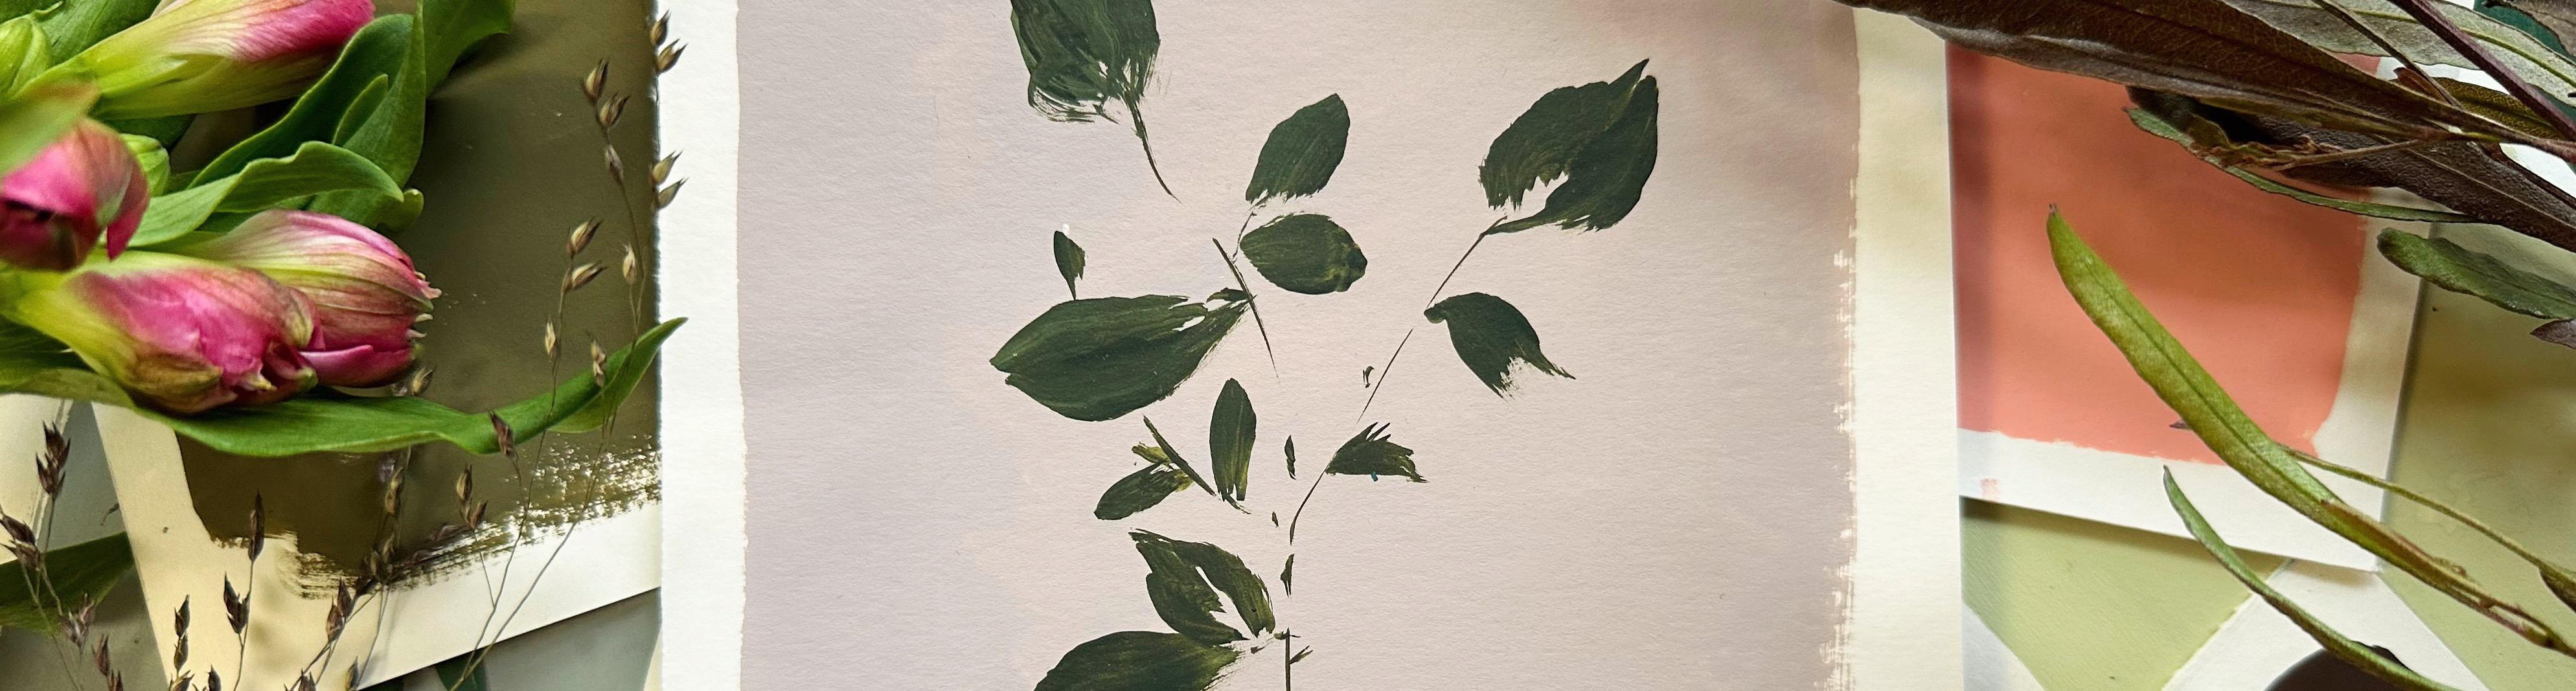
We're going to create a wee Rose Leaf Study, choosing our favourite background to paint on. We'll have a quick practise on some scrap paper recreating on our background.
So, above all, we're going to have fun.... the great thing about neutrals is, you won't find any 'yucky' colours lol... because the white and/or black is so balancing.... so the addition of white transforms even the muddiest colours into sumptuous neutrals!! Don't take my word for it... try it for yourself :O)
So, shall we get started? Let's go!
MATERIALS
Watercolour or Mixed Media/Sketch paper (I used Fabriano Student Hot pressed)
White
Black
Ultramarine
Pyroll Red
Quinacridone Gold
Hansa Yellow Light
Prussian Blue
1/2 inch flat brush
Size 10 round brush (I used an Escoda brush)
Meet Your Teacher

Hello, I'm Holly :O) I am so happy to have you here!
I'm a Skillshare Teacher, recently selected for the Skillshare Rising Teacher's Programme. I paint flowers and leaves for the most part, particularly wildflowers, as I am surrounded by so much inspiration, living, as I do, in rural Scotland.
I love exploring new techniques, and I'm very keen on finding brush strokes and media which make painting just that little bit less challenging for us, whilst gently broadening our knowledge.... I always say 'easy but effective' is the way forward! My classes are mostly watercolour and gouache, but I also delve into mixed media & leaf printing.
I have a humble little mission statement :0) .... 3 facets which are really important to me, when I am considering cla... See full profile
Hands-on Class Project
There are three components to our class projects,
- Creating neutral backgrounds
- Naming your curated palette!!
- A Rose leaf study
You can choose to focus solely on neutral backgrounds or the Rose Leaf study.... or follow along with me and do both!
I found the more neutrals I mixed, the more confident I became. I hope you also feel that and can let go of the more orderly part of your brain and create some random mixes..... there are no mistakes.... ever! All is learning.
The backgrounds were particularly relaxing, as it was very low pressure! There was something meditative about just painting colour!
How did you feel about the process?
If you'd like, you could share your:
- Backgrounds
- Names for your own unique curated palette
- Your Rose Leaf Study
...with the class. It can be all part of the process, getting to the 'performance' part of the creative process. And it's a very supportive environment, where you can share and receive tips and feedback :O)
Any questions, fire away.
Have fun!!
Class Ratings
Why Join Skillshare?
Take award-winning Skillshare Original Classes
Each class has short lessons, hands-on projects
Your membership supports Skillshare teachers
Learn From Anywhere
Take classes on the go with the Skillshare app. Stream or download to watch on the plane, the subway, or wherever you learn best.