Transcripts
1. Welcome & Class Overview: Hi, I'm Fio. I'm a watercolor
artist and teacher. And in today's class, I will show you how to
give your illustrations a fan and glossy
twist using resin. It's a simple process, but the result looks so professional like your
artwork was friend in glass. You don't need to be an expert
or have fancy materials. I will guide you step by step. Firstly, I will introduce you to the materials we will
use for the project, and then we'll dive into creating your resin
coated piece. For this class, I'm using
an illustration that was part of my five day Metali
W Color challenge class. We'll go over how to
protect your artwork, mix the rest in the right way, and get that perfect
bubble free finish. I've also created a
guidebook that you can download from the Projects
and Resources section. It includes a materials list, safety tips, and quick reference to help you through each step. By the end, you have your own resin coated
illustration ready to display, give or even sell. And a brand new technique to add to your creative toolkit. Let's get started and make
your art shine. Literally.
2. Materials: Before we dive
into the fun part, let's take a look to
all the materials we'll be using in this class. Having everything
ready will make the whole process smoother
and much more enjoyable. First, something to
protect your word table. I'm using just a paperbag. Next, resin and
hardener, of course. You also need glue to
mount your illustration. I'm using one that works
as both glue and ciliar. A mixer cap with measurements, a spatula or steering stick,
gloves, very important. We also need a lighter or heat
tool for removing bubbles. For the prep stage,
we'll be using acrylic paint and a palette. I'm using black paint to paint the panel and give the whole
piece a clean, unified look. Next, the wood panel. This will be the base where
we mount our artwork. Choose one that fits
your illustration with a little matching
around it, if possible. A something flat to
elevate your panel so it doesn't stick to your
table while the resin cures. For protection, grab some tape, ideally painter's tape, but washy tape was too if that's
what you have on hand. A later on, something
to cover your piece, what it cures, like
a clean box lead. And, of course, you'll
need your illustration, the artwork you want to
seal and coat with resin. I'm using a piece
painted on black paper, but you can use any illustration
that's completely dry. Finally, if you have
a fixative spray, you can use it to protect your artwork before
applying sin, although this step is optional. And remember, you can download the guidebook from the projects
and resources section. It includes the
full materials list and more helpful tips
to follow along. Once you have everything ready, we can jump into preparing our surface in the next lesson.
3. Prepare Your Surface: And let's start painting
our wood panel. Since the illustration I'm using for this class is
on black paper, I will paint the panel
with black acrylic paint. So it all looks like
one seamless piece. So the color of the paint
depends on your illustration. To make sure everything
is nicely covered, I'm also painting a small margin on the front of the panel, just a bit around
the edges so that if the illustration is slightly smaller or not
perfectly straight, the background will still look
neat and completely black. And, of course, don't forget to paint all
the borders, too. Acrylic paint dries really fast, so we won't have to wait long
before applying the glue. When the paint is dry, apply a moderate even coat
of glue across a panel. Try to spread it consistently
over the whole surface. The glue I'm using also
works as a sealer, which means that even if you
just let it dry by itself, it gives the surface
a smoother finish. That's why I'm also adding
a bit on the borders. It gives the black paint a
cleaner, more polished look. Remember to clean the
lid of your glue before closing it and seal it
right after you finish. It helps keep the glue
fresh for next time. Now, since this part
of my paper bag that I'm using as a protector
has gotten a bit messy, I will just turn it over to get a clean
surface to work on. With clean hands, carefully, place your illustration
on the panel. Here, please take your time to position it just
how you want it. Once you are happy
with the placement, press gently to smooth
out any air bubbles. I like to turn it over and place a bit of
weight on the back. That helps the illustration
stick evenly while it dries. Then we wait. I usually let it dry for
about an hour at least. After that, check if the
illustration is fully glued down or if it needs a touch of glue anywhere
around the edges. Look at how beautiful
it is already looking. In the next lesson, we'll protect our artwork
before applying the resin layer on top. Mm.
4. Protect Your Artwork: Before we add the resin, we are going to seal
our illustration. I'm using this fixative
for war color. This step is optional. If your illustration was painted days ago and it's
completely dry, the resin won't damage it. But since I have this
product, I'm using it, and maybe you also
have something similar at home. Give
it a good shake. And make sure you apply it outdoors or in a well
ventilated area. It dries really quickly, so we don't have to wait
long before moving on. Next, cover all the
orders with tape. Painter's tape is ideal, but I don't have it today, so I'm using washi tape instead. The important thing is
that the tape is white enough to cover the whole
thickness of your panel. If you check here,
the washi tape that I'm using is really white. Now we'll set our piece up so
it's ready for the raising. Even though we still
need to mix the resin, it's better to prepare
the setup now. I like using this
base under my piece. That way, if the resin
drips over the edges, the panel won't get glued on the paper that I'm working on. This step is really important. We need to check if our
piece is perfectly level. I'm using the level
app on my phone, keep in mind that the
camera bump can make the phone sit at a slight
angle on flat surfaces. Check how it is for you. You might need to
slide something under one side of the base to
get it perfectly level. Here, for me, the difference
is really subtle. I know that is because
the cameras bump. So if I till my
phone a tiny bit, it reads as level, and I'm happy with that. In the next lesson, we'll put our gloves on and start
mixing the resin.
5. Mix the Resin: Before we start mixing, we need to know how much sin and hardener we'll
need for our piece. So for that, we
need to measure it. I'm using the brand art resin, and they have a super handy
calculator on their website. You just enter the measurements, and it tells you exactly
how much products to use. Resin is always a 11 ratio, equal parts resin and hardener. Once you get your numbers, I recommend writing them down. We won't want to grab our
foam once we start mixing. Our hands will be
sticky with resin. Let's put our gloves on. I like wearing them even
before opening the bottles because the lids often
get sticky over time. It just keeps everything
cleaner and safer. Make sure the mixing cup
is completely clean with no dust or little surprises that could end up
inside our final coat. I need 27 milliliters of resin, but I'm rounding up to 30. Pour it slowly so you
don't waste any product. Once you're done, close
the bottle right away. Then do the same
with a hardener, slow and steady and close it as soon as
you finish as well. Now, we gently start mixing. Slow movements are key. We don't want to introduce
too many bubbles. Bubbles will be there anyway, but we don't want too many. Every brand has its
own instructions, so keep yours nearby, and double check the
process if you are unsure. Even after years of using
the same resin, I still do. In the next lesson, we'll finally pour the resin onto our artwork.
It's the fun part.
6. Pour the Resin: Y, we made it to the
fun part of this class. Once the sin is ready, we have a few minutes
to work with it. There is no need to rush. We don't have a lot of time, but we do have enough to
coat the whole piece calmly. Start pulling the sin slowly, just like I'm doing here. I usually pour only
half of the sin, and with the spatula gently guide it across
the entire panel. Take your time here. And when most of the
surface is coated, go ahead and pour the
rest of the resin. As I said, take your time, making sure every
corner is covered, and there are no dry spots. One common mistake here is to focus only on the
edges of the panel. And forget to check the
center of our artwork. Sometimes it happened
to me in the past that I check the corners are perfectly
covered with resin, but in the center, there is one spot tiny spot without sin, and we don't want that. So always please
double check that you cover all the
surface with resin. I know you can't move your work because it's
already on level, but you can move yourself. You know, you can check
against the light to see if there's a tiny
spot without sin. You'll probably notice lots of tiny bubbles, totally normal, and now comes a
very important step removing the bubbles like a pro. I use a lighter with a handle because it's easy to
move around the surface. I make sure that I'm
not touching the resin. The gently heat helps the
bubbles rise and disappear. Keep the lighter moving. Don't stay in one spot too long, please, because you
might burn the resin. Continue until the
bubbles are gone. Since my piece is black, it's easy to see
when the surface looks smooth and even and, you know, just black
without bubbles. So take your time here, and don't forget to also check the center
of your artwork. Oh When you are happy with how it looks, cover your piece
with a clean box lid to protect it while it cures. Let it cure for
at least 48 hours or follow the instructions
of your resin. This part requires
a bit of patience, I know, but we are very close
to the end of this class. So in the next lesson, we'll finish our piece
together. I almost forgot. Immediately after you finish
working on your project, clean the cup where
you mix the resin, put some gloves on and use a paper towel to remove all
the resin that's still there. After that, you can tidy up your workspace and weigh
out those 48 hours.
7. Finishing Touches: After letting the resin cure for those 48 hours that
we mentioned before, it's time for the most
satisfying moment, revealing the edges and see
how our work looks now. Start by gently
removing the box lid or whatever you use to protect
your artwork. Take your time. The resin is fully hardened, but we still want to
treat it with care. Now, let's remove the tape. I like to peel it slowly. If any resin spills
over the sides, the tape should prevent it from sticking
to the wood panel. But sometimes, you know, it could happen, and
that's totally normal. Take your time to
remove the tape, and if you notice
any sharp drips or bits of resin along the
borders, don't worry. They're easy to fix. You can lightly sand those areas with a
really fine sandpaper, or just scrape them
gently with a craft knife or your nail until it
feels smooth again. Just be patient and work carefully so you don't
scratch your panel. Once the tape is off and
the edges look clean, take a moment to really
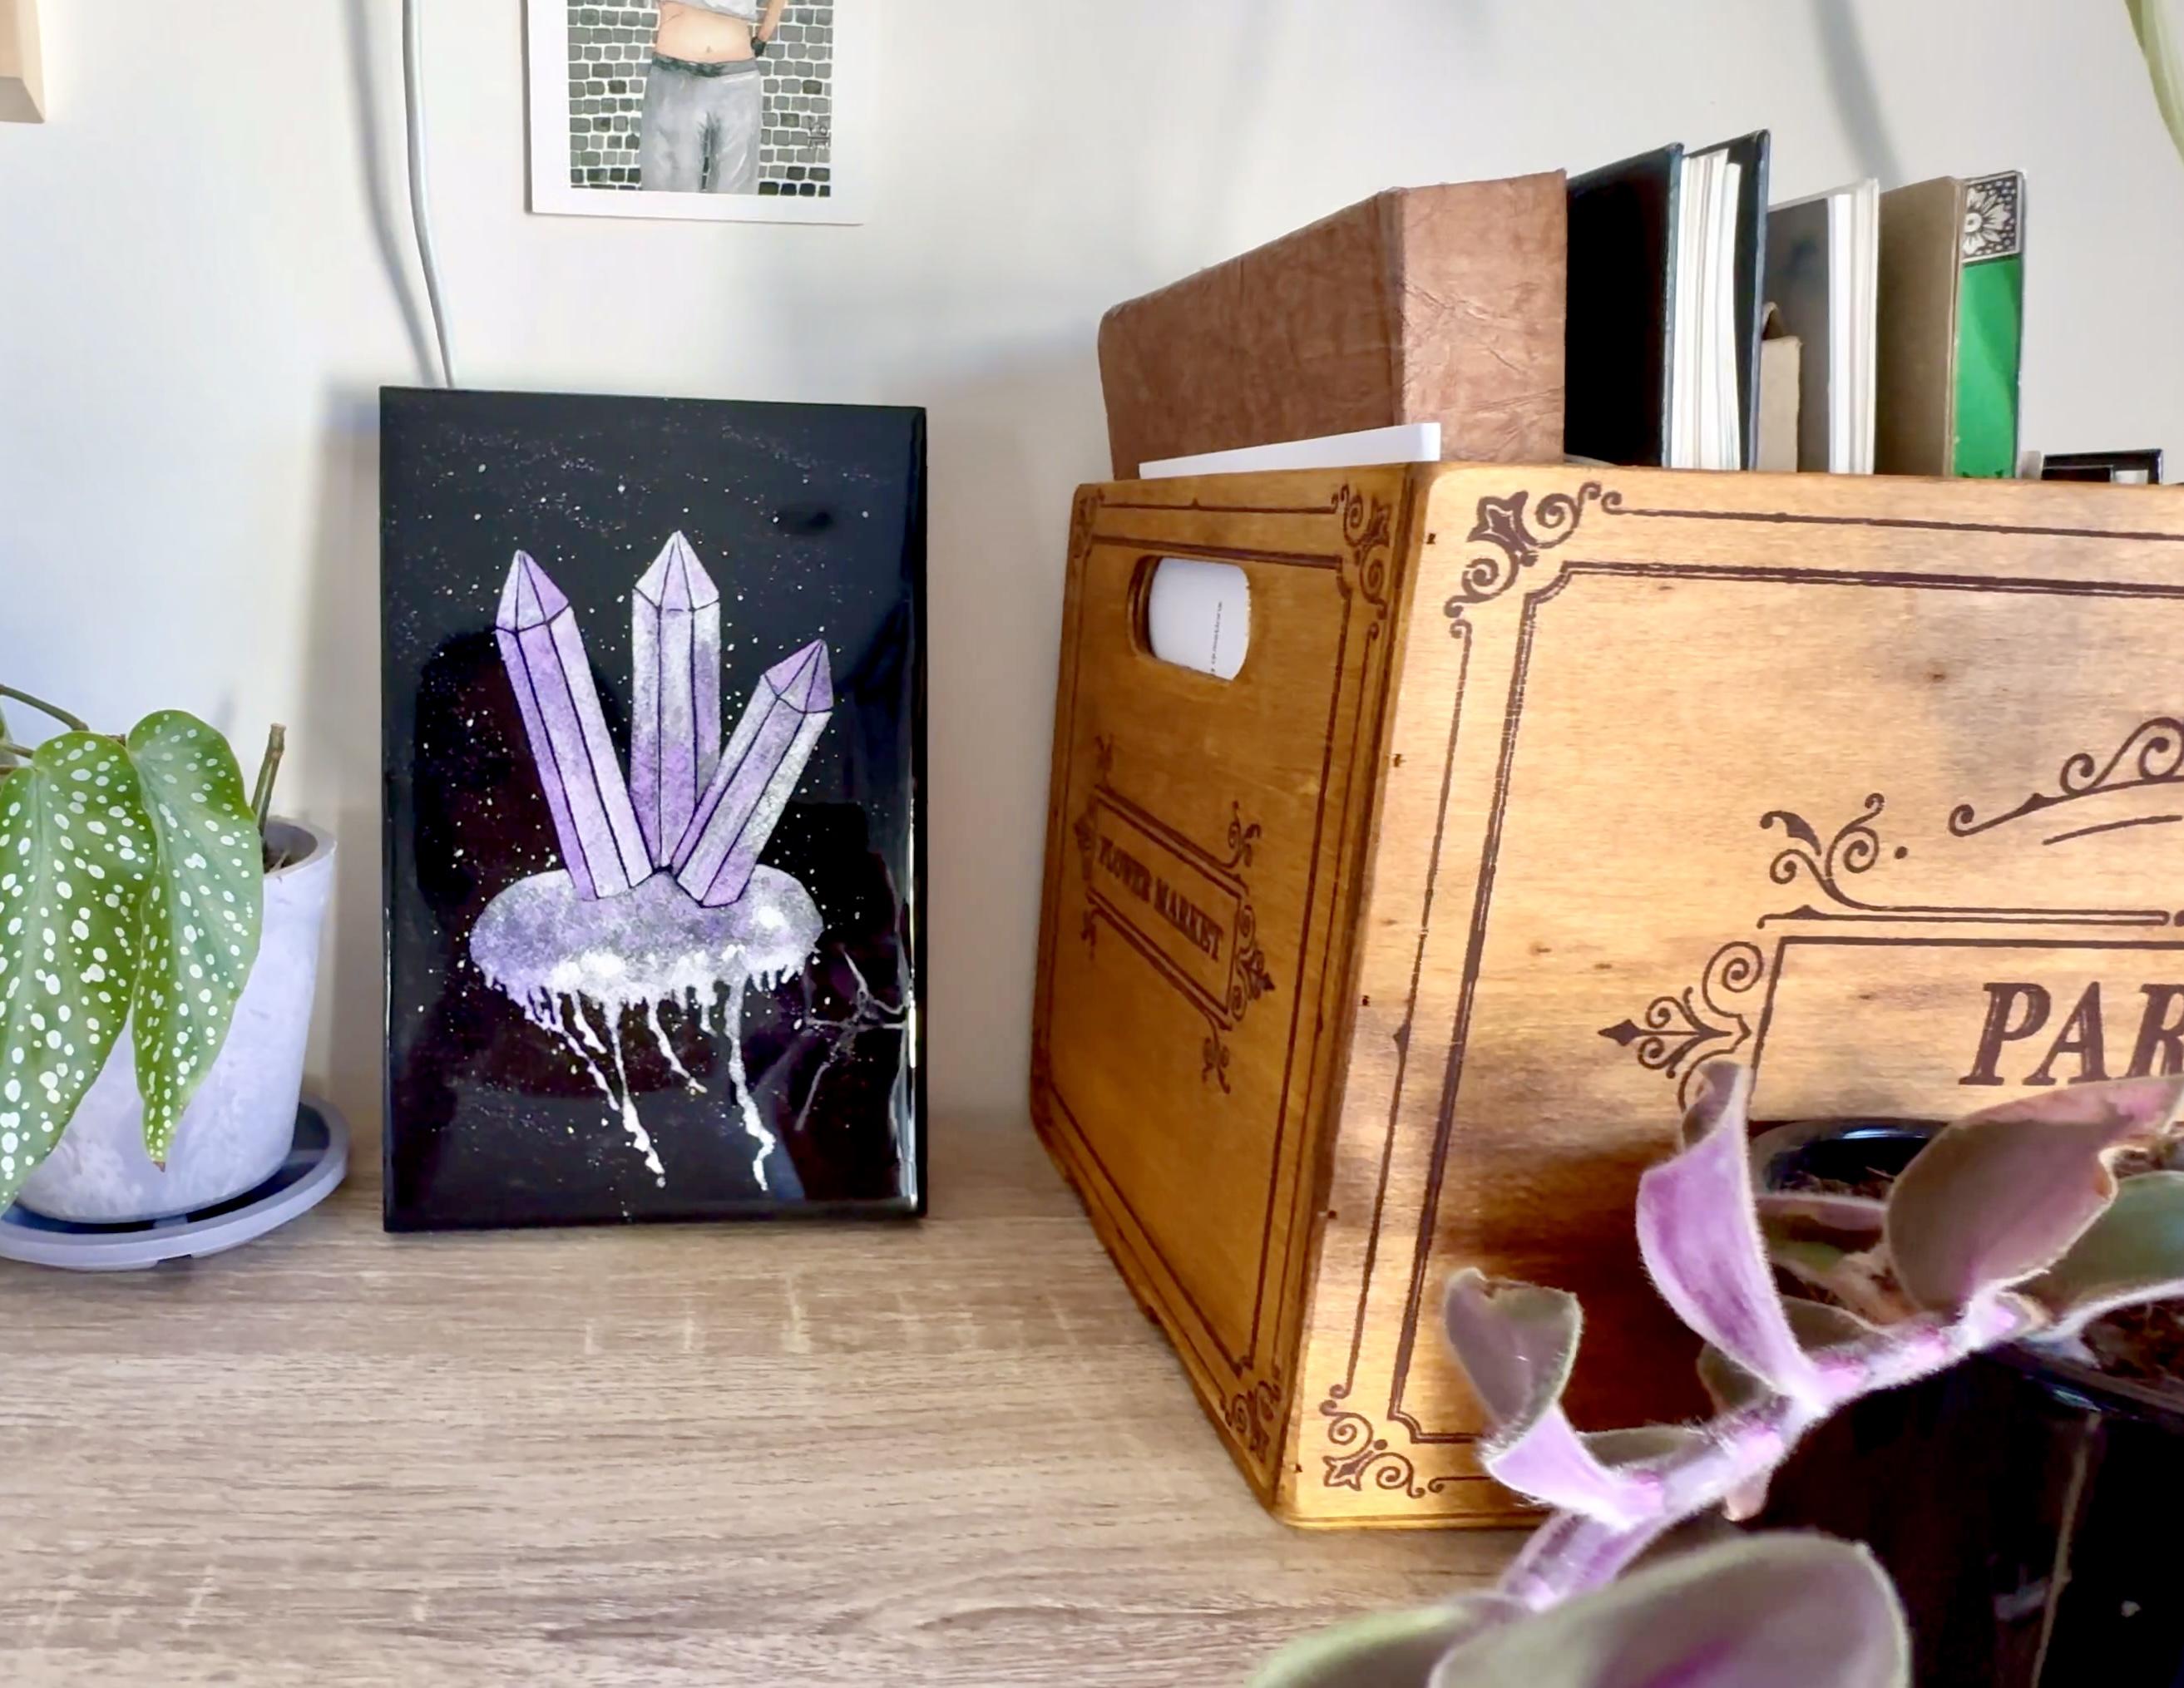
look at your finish piece. The resin creates
this beautiful, glass like finish that makes
your illustration pop. Your artwork is now fully
protected and ready to display, gift or even sell. You've officially completed
the resin project.
8. Share Your Work: You made it to the
end of the class. Well done. Thank you so much for joining me in this
creative journey. I want to encourage you to share your project in that
class project section. I absolutely love
seeing what you make, and it also helps inspire other students who are
learning alongside you. It doesn't need to be perfect. Resting always has
its own personality, and that's part of the fun. Just take a photo of your
finished piece, upload it. And if you like, tell us a
little bit of your process. You can also tag
me on Instagram. I love to share
projects on my stories. If you like this class, please leave me a short review. This helps me to make more
classes in the future. And don't forget in the project
and resources sections, you'll also find a guidebook
I created for this class. It includes tips, checklists and reminders you can use every
time you work with resin. Hope this class has given you the confidence to
keep experimenting, keep learning, and keep adding fun twist to your
illustrations. See you soon.
 Fio Ortecho, Watercolour Artist & Teacher